manuals.online logo
Brands
  1. Home
  2. •
  3. Brands
  4. •
  5. GBC
  6. •
  7. Binding Machine
  8. •
  9. GBC WIREPRO 1000 User manual

GBC WIREPRO 1000 User manual

Other GBC Binding Machine manuals

GBC Magnapunch 2.0 User manual

GBC

GBC Magnapunch 2.0 User manual

GBC CombBind C20 User manual

GBC

GBC CombBind C20 User manual

GBC Velobind System Three Pro User manual

GBC

GBC Velobind System Three Pro User manual

GBC GBC WireBind W15 User manual

GBC

GBC GBC WireBind W15 User manual

GBC MultiBind 420 User manual

GBC

GBC MultiBind 420 User manual

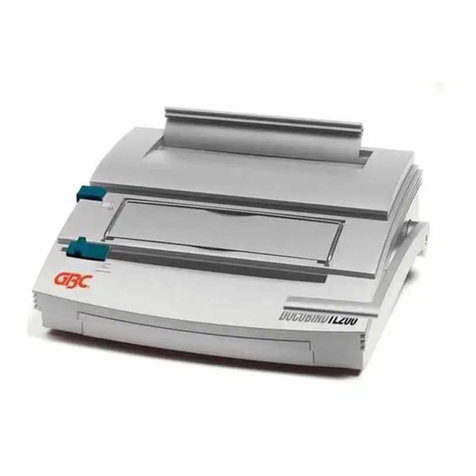
GBC DOCUBIND TL200 User manual

GBC

GBC DOCUBIND TL200 User manual

GBC Combind C20 User manual

GBC

GBC Combind C20 User manual

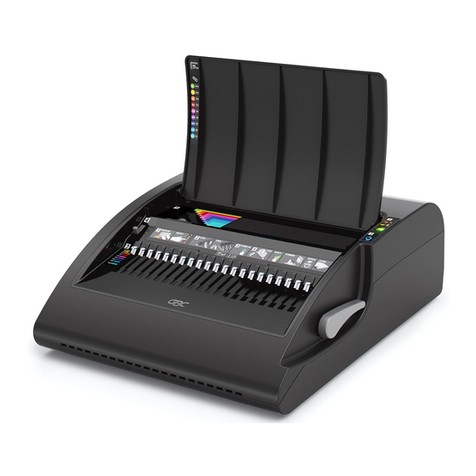
GBC CombBind C210E User manual

GBC

GBC CombBind C210E User manual

GBC System Four User manual

GBC

GBC System Four User manual

GBC CombBind C20 User manual

GBC

GBC CombBind C20 User manual

GBC GBC STL1000 User manual

GBC

GBC GBC STL1000 User manual

GBC 16 DB User manual

GBC

GBC 16 DB User manual

GBC DOCUBINDP50 User manual

GBC

GBC DOCUBINDP50 User manual

GBC 100E Electric Velobinder User manual

GBC

GBC 100E Electric Velobinder User manual

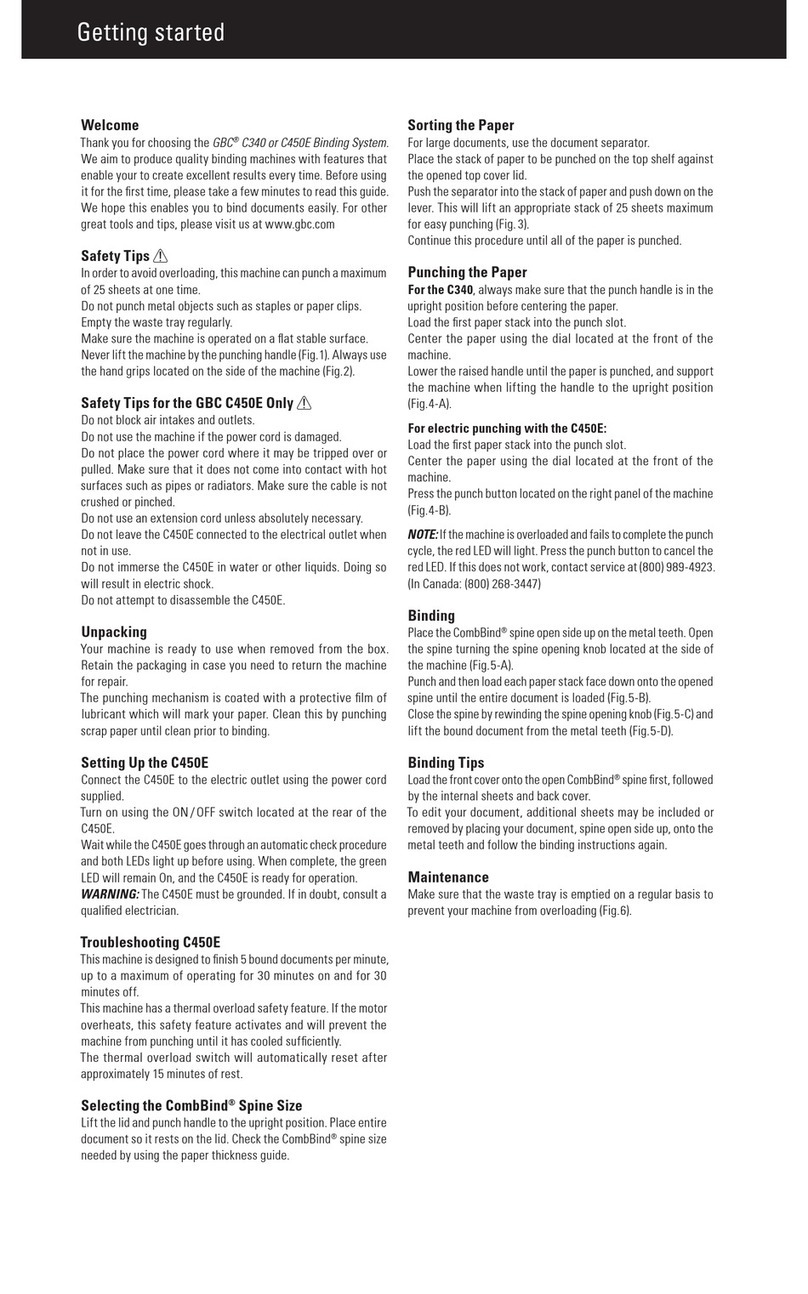
GBC Pronto C340 User manual

GBC

GBC Pronto C340 User manual

GBC KM1000PB User manual

GBC

GBC KM1000PB User manual

GBC DOCUBIND P200 User manual

GBC

GBC DOCUBIND P200 User manual

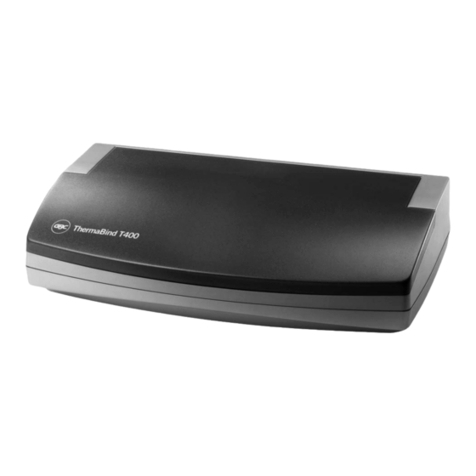
GBC ThermaBind T200 User manual

GBC

GBC ThermaBind T200 User manual

GBC COILBINDC200 User manual

GBC

GBC COILBINDC200 User manual

GBC C210 User manual

GBC

GBC C210 User manual

GBC WireBind E-Karo 40Pro User manual

GBC

GBC WireBind E-Karo 40Pro User manual

GBC CombBind C210E User manual

GBC

GBC CombBind C210E User manual

GBC DOCUBIND TL350 User manual

GBC

GBC DOCUBIND TL350 User manual

GBC AP-2 User manual

GBC

GBC AP-2 User manual

Popular Binding Machine manuals by other brands

Tamerica OPTICOMBO-341 quick start guide

Tamerica

Tamerica OPTICOMBO-341 quick start guide

JBI Alpha-Doc MKIII instruction manual

JBI

JBI Alpha-Doc MKIII instruction manual

Rexel CB345E Service and parts manual

Rexel

Rexel CB345E Service and parts manual

Morgana DigiBook 450 Technical manual

Morgana

Morgana DigiBook 450 Technical manual

Fellowes Orion-E 500 manual

Fellowes

Fellowes Orion-E 500 manual

Fellowes Pulsar E 300 instructions

Fellowes

Fellowes Pulsar E 300 instructions

Qupa M600 Manual instruction

Qupa

Qupa M600 Manual instruction

Rollabind PBS 2000 operating instructions

Rollabind

Rollabind PBS 2000 operating instructions

ibico ibiMaster 250 instruction manual

ibico

ibico ibiMaster 250 instruction manual

Peach Starbinder Pro PB200-30 operating instructions

Peach

Peach Starbinder Pro PB200-30 operating instructions

Fellowes Starlet 90 instruction manual

Fellowes

Fellowes Starlet 90 instruction manual

Peach PB200-70 operating instructions

Peach

Peach PB200-70 operating instructions

DeLuxe Stitcher G8 Operation and maintenance manual

DeLuxe Stitcher

DeLuxe Stitcher G8 Operation and maintenance manual

Opus MBE-300 user guide

Opus

Opus MBE-300 user guide

GMP Model J2 Instructions for use

GMP

GMP Model J2 Instructions for use

Fellowes Starlet 2 120 manual

Fellowes

Fellowes Starlet 2 120 manual

Morgana KB2000 Operator's manual

Morgana

Morgana KB2000 Operator's manual

JBI Alpha-Doc Mk4 operating instructions

JBI

JBI Alpha-Doc Mk4 operating instructions

manuals.online logo
manuals.online logoBrands
  • About & Mission
  • Contact us
  • Privacy Policy
  • Terms and Conditions

Copyright 2025 Manuals.Online. All Rights Reserved.

Operating
Instructions
General Binding Corporation
Northbrook, IL USA 60062
SAFETYMESSAGES
Yoursafetyaswellasthesafetyof othersis importantto
GBC.InthisOperatorManualandontheproductareimpor-
tantsafetymessages.Readthesemessagescarefully.
r.. Thesafetyalertsymbolprecedeseachsafetymessage
..in thisOperatorManual.Thissymbolindicatesa
potentialpersonalsafetyhazardthatcouldhurtyouor
others.aswellascauseproductor propertydamage.
Thefollowingwarningisfoundonthis unit:
Thissafetymessagemeansyoucouldbeseriouslyhurtor
killedif youopentheproductandexposeyourselfto
hazardousvoltage.
ACAUTION:INCASEOFEMERGENCY,USETHEPOWER
CORDASAMAINDISCONNECTDEVICE!
.Unplug theWirePRO1000beforemovingit, or whenit is
notin usefor anextendedperiodof time.
.Do notoperatewithadamagedsupplycordor plug,afterit
malfunctions.orafterit hasbeendamagedinanymanner.
.Do notoverloadelectricaloutletsbeyondtheircapacityas
thiscanresultinfireorelectricalshock.
.Do notalterattachmentplug.Plugis configuredfor the
appropriateelectricalsupply.
.The unitis intendedfor indooruseonly.
.Never pushobjectsintothisproductthroughcabinetslots.
Donotspillliquidofanykindonthisproduct.
.Do notoperateif theproducthasbeenexposedto rainor
water.
SERVICE
Donotattemptto serviceor repairtheWirePRD1000your-
self.UnplugtheunitandcontactanauthorizedGBCservice
representativefor exchangeor repair.
El3PUNCH
CLEANING
A CAUTION:Unplugthis productbeforecleaning.
Wipeexterioronlywitha dampcloth.Donotusedetergents
orsolvents.
Thefollowingnotesapplyonlytotheunitsrated230V50Hz.
MAINCORDSETSELECTION(FOR230VACMACHINESONLY)
Whenchoosingadetachablelinecordfor usewiththe
WirePRO1000,alwaysobservethefollowing.
Thecordsetconsistsofthreecomponents;theattachment
plug,cordageandapplianceinlet.Eachof thesecomponents
mustmeetEuropeanregulatoryapprovalsfor safety.
Thefollowingminimumelectricalratingsfor thespecific
cordsetarepublishedfor safetypurposes.DONOTUSE
CORDSETSTHAT00 NOTMEETTHEFOLLOWINGMINIMUM
ELECTRICALREQUIREMENTS.
PLUG:3A,250volts,50/60Hz,Class1,3conductor,
Europeansafetyagencyapproved.
CORDAGE:TypeH05W-F3GO.75,Harmonized( ~ HARt> ).
The" ~ ~' symbolsindicatecordageapprovedto appro-
priateEuropeanstandard(NOTE:"HAR"maybesubstituted
bytheapprovalmarkoftheEuropeansafetyagencywhich
approvedthecordage.Anexamplewouldbe" ~VDE t>".
APPliANCECONNECTOR:3A,250volts,50/60Hz,European
safetyapproved,TypeIEC320.Cordsetshallnotexceed3
metersin length.Cordsetwith componentelectricalratings
greaterthantheminimumspecifiedelectricalratingsmaybe
substituted.
AWARNING:Foryourprotection,donotconnectthe
WirePRO1000to electricalpoweruntilyoureadthese
instructionscompletely.Keeptheseinstructionsin aconve-
nientlocationfor futurereference.Toguardagainstinjury,
thefollowingbasicsafetyprecautionsmustbeobservedin
theset-upanduseof this product.
IMPORTANTSAFEGUARDS
GENERALSAFEGUARDS
.Use theWirePRO1000onlyfor itsintendedpurposeof
punchingandbindingpaperandcoversaccordingtothe
indicatedspecifications.
.Do notplaceanythinginthepunchopeningofthemachine
otherthanpaperandcoverstock.
.Place unitonasecure,stableworkareato preventthe
machinefallingandpossiblycausingpersonalinjuryand
damagetotheunit.
.Follow allwarningsandinstructionsmarkedontheproduct.
.Lift themachinefromthebottom,notthecover.
.Do notlift themachinebythecoveror paperholderwire.
ELECTRICALSAFEGUARDS
TheWirePRO1000mustbeconnectedto asupplyvoltage
correspondingtotheelectricalratingof themachineasindi-
catedontheserial/ratingplateorinthismanual
ACAUTION:THEPOWERRECEPTACLEMUSTBELOCATEO
NEARTHE EQUIPMENTAND BE EASILYACCESSIBLE.
3
Thefollowingsymbolsappearonthis product,andtheir
meaningisasfollows'
againstthePaperSupport,or,youmaypreferto holdthe
sheetsin placewithonehand.
4. Topunch,pressthePUNCH~ button(D2).The
WirePRO1000punchesupto 17sheetsof20Ib./80
grampaperatonce.PunchonlyTWOclearcoversata
timeto preventjamsandexcessivewear.
5. If youtry to punchtoomanysheetsGBC'spatented"Jam
Stopper"safeguardfeaturewill automaticallystopand
reversethepunchdie.AtthistimetheyellowLEDindicator
will temporarilyflash.Removethepaperfromthepunch
throatanddecreaseit'sthicknessbeforetryingto punch
again.
E.BINDING
1. UsingthedialontheleltsideadjusttheWireCrimperto
correspondwiththewireelementsizeto beused.
2 PlacethelargeloopsofthewireelementintotheWire
Holderasshowninfigure3. Besureit isfirmlysecured
withthesmallloopsfacingtowardyou.
3. Placeyourpunchedpagesfacedownwardontothesmall
loopsofthewireelement.Thenplaceyourfrontandback
coversface-to-faceagainsteachother.Placethecovers
ontothewireelementwiththebackcoverfirst andthe
insideofthefrontcoverfacingupward.Thisstepensures
thataltercrimpingtheseamofthewireelementwill be
hiddenbetweenthebackcoverandlastpage(figure4).
4. Holdthewireelementfirmlyateachendofthebookand
removeit fromtheWireHolderbyslidingit to thelelt or
liltingit off.Whilefirmlyholdingthewireelementateach
endplacethebookwiththeopenendofthewireface
downintotheWireCrimper.Youcanreleasethebook
soit restsagainstthesupportrackor continueto holdit
withonehand(figure5).
5.Tocrimpthewiretogetherpullthehandledowntoward
youcompletelyuntilit goesnofurther.Removethebook
andflip thefrontcoveraroundto thefront.Your
presentationis nowcomplete.
F.EMPTYCHIPDRAWER
1.EmptyChipDrawer(F)afterrepeateduse.Pulldrawer
gentlytowardyouto open.Whenputtingbackin,the
drawerwill snapintoplace(seefigure6).
G.SERVICE
ShouldyourWirePRO1000requireservicecontact:
GeneralBindingCorporation
6210CapitolDr.
Wheeling,IL60090
1-800-790-7787
ThankyoulorpurchasingtheGBCWirePRO1000.Thissystem
leaturesournewexclusivewireholderdesignthatenables
youtoassembleyourdocumentasyoupunch,makingit
easiertoloadpaperontothebindingelementthanprevious
systems!TheWirePRO1000advancedpunchingtechnology
alsomakesit easiertopunchmorepaperatoncewhile
providinggreaterreliability.
A.GEmNGSTARTED
1.Pushthehandle(A)ontotheshaltlocatedontherightside
of themachine(seefigure1).Aligntheflat spotof the
\ handlewiththeflat of theshaltandsecureit withtheallen
wrenchprovided.
i 2. InsertUshapedwiresupportbracketintoholesontoprear
of machine.
r3. Firmlypushthefemaleendof thepowercordintothe
powercordreceptacle(A1)locatedon thebackofthe
machine
ACAUTIDN:Makesurethis stepis completepriorto
pluggingthe maleendof thepowercordintoa power
receptacle.
4. Plugthemaleendofthepowercordintoanappropriate
powerreceptacle
B.DETERMINESHEETWIDTH
1.SetEdgeGuide(B)to papersizeyouwishto bind(11",
8-1/2"lettersize,11-1/4"oversizedcover.A4ring.AS.
JapanA4)(seefigure1).Whenusingoversizedcovers,set
theEdgeGuideonCovers,punchallof thecoversforyour
jobandsetaside.MovetheEdgeGuidebackto the11"
settingto punchyourcontentsthenbind.
2. Raiselid oncover(D).andpullupappropriateselector
pinsto disengagepunchpinsthatmaynicktheedgeof
yoursheet.Todeterminewhichpinsshouldbepulledup
followthepunchstepsindicatedin section"D" usingblank
testpaper.
C.DETERMINEWIRESIZE
1.SlidetheBinderSizeropen(C)(seefigure1).
2. PlacedocumentincludingcoversbehindBinderSizer.
3. ReleasetheBinderSizerandselectthewirebinding
elementthatcorrespondswiththe sizeshownbyguide.
Forbestresults.alwaysuseGBCbrandcoverswithGBC
color-coordinatedwire.
I D.PUNCHINGPAPER(seefigure2)
I 1. LiltthePaperSupport(D)into place(optional).
2.Alignsheetsor coversandinsertedgeto beboundinto
punchthroat(D1).
~ 3.Jogthesheetsuntiltheyareflushagainsttheedgeguide
( andthebottomof thepunchthroat.Allowthepaperto rest
SPECIFICATIONS
Dimensions. 18"(W)x 8112"(H)x 16"(D) PunchCapacity: 17sheetsof 20Ib.paper
457mmx 216mmx 4D6mm 17sheetsof 80gm2paper
361bs.(15.5kg.) 125sheetsor 9116"
(14mm)
115VAC.60Hz.2.0amps.
or 230VAC.5OHz.1.2amps 11.7"(297mmA4)
14
Weight:
ElectricalPower:
Bind Capacity'
MaximumSheetWidth:
Dis-engagablePunchPins: 5