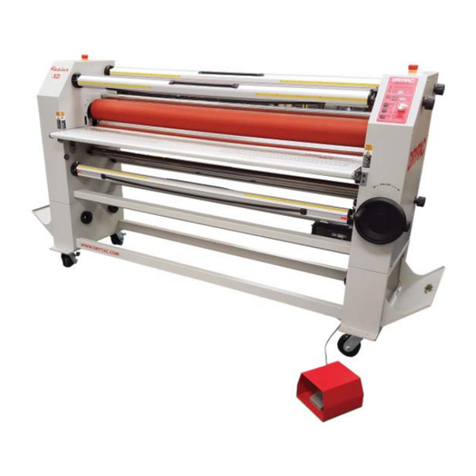
GMP RTR-380COMBI User manual

2015. 08
RTR-380COMBI User Manual
Before operating the unit, please read this manual thoroughly and retain it for future reference.
※ The design / specification of the machine could be changed for improvement without any prior notice.

CONTENTS
Important Safety Instruction 3page Product Maintenance 21 page
Safety Device
6page Malfunction & Measures 22 page
Contents 7page Product Specification 24 page
Each Part Name
8page Subsidiaries 25 page
Transportation & Installation 9page
How to use the control panel 10 page
How to use Main Device 13 page
How to laminate 15 page
Pre-information
How to install
Maintenance & Service

IMPORTANT SAFETY INSTRUCTION
"Important Safety Instruction " is for the purpose of user's safety
Read thoroughly and use rightly according to the manual
Important safety Instruction is classfied as "Warning" and "Caution", the meaning is as follws;
Warning: If you ignore this symbol, you could suffer serious injury or death.
Caution: If you ignore this symbol, you could receive a serious injuty or loss property.
This symbol means a prohibited action. If you ignore a prohibited action, you could suffer a personal
injury and damage the machine.
This symbol means a required action.If you donot follow this action, your safety is not guaranteed.
Requried action will be included in this symbol.
Reference : The sign above refers the contents for user's safety and prevention of property loss.
3/25

IMPORTANT SAFETY INSTRUCTION
Do not connect of disconnect with wet hands, as this will cause an electric shock
Do not overload a power supply, as this will cause a fire and an electric fire and an electric shock
Do not use a damaged plug or lead, as this could cause a fire or an electric shock
Make sure plug is in the socket, as it could cause fire or an electirc shock
Danger, Malfunction, loss of electricity could cause an electric shock
Do not pull the plug or bend improperly
Do not use materials near a naked flame
Do not dissemble, make repairs or convert the machine. Contact your dealer for repairs
Contact with the purchase place about the checks inside the laminator or making repairs.
Do not spill any liquids on the laminator as this will cause damage and a possible electric shock
Do not use the flammable spary or flammable materials inside or outside the machine. As this could cause a fire.
Do not allow children use of this equiment
Warning
P
o
w
e
r
I
n
s
t
a
l
l
a
t
i
o
n
4/25

IMPORTANT SAFETY INSTRUCTION
When moving the product, turn off the power switch, disconnect the power plug from the socket
When the laminator is not in use, you must turn off the power switch, disconnect the power plug from the socket
This product is rellay heavy. Please carry this with 2 to 3 people together.
Please avoid installing near the following place;
Gas stove, Ventilator or Air conditioner due the higher temperature or higher humidity
Do not place any materials on the laminator as they could catch a fire
Avoid the direct sunlight for the installing the machine
Make sure no vibration and dusts are found in the place during the installation
Avoid the dark and slope place for installation
Do not place any materials on the laminator as they could catch a fire
Do not touch the film and laminating machine just after lamination finishes as you could be burnt
Long hair, neckles, necktie will cause injury to the machine
Use the machine with laminating purpose only
Tidy up the place near the laminating machine
P
o
w
e
r
I
n
s
t
a
l
l
a
t
i
o
n
Caution
5/25

SAFETY DEVICE
Push the below red botton, and emergency switch will works
☞ Safety Device stop all system.
Emergency Switch fucntion is stopping drive motor. Turn red botton as below and it will return to normal.
This is only for the emergency.
※ Emergency Stop & Emergency Cancellation
Push the below red botton, and emergency switch will work
All stystems stop, if turning it clockwise as below, it reutnr to normal.
☞ Safety Cover
It is to prevent the injury like the burning in the high temperature roller
, getting stucked to the motor drives.
The safety covers switch installed in left/right sides stop the system
when the cover is open.
Meke sure that the safety cover is always closed except the film loading
Safety Device
Emergency Switch
Emergency Stop
Emergency Cancellation
Safety Cover Switch
6/25

PACKING CONTENTS
Item Q'ty(EA)
LAMINATOR 1
User Manual
1
4mm T Wrench 1
3mm L Wrench 1
3.15A FUSE
2
6.3A FUSE 2
LAMINATOR
User Manual
Packing Contents
7/25

EACH PART NAME
1. Rewinder Tension Handle
2. Emergency Switch
3. Upper Film Tension Handle
4. Lower Film Tension Handle
5. Decurling Adjusment Handle
6. Upper Rewinder Tension Handle
7. Seperator
8. Power
9. Lower Rewinder Tension Handle
10. Control Panel
11.Lower Film Shaft
12. Buffer Idle Shaft
13. Safety Cover
14. .Upper Film Shaft
Each Part Name
8
10
13
6
11
9
12
14
1
7
4
5
3
2
Please refer to main devices
8/25

MOVEMENT & INSTALLATION
Warning : Product is so heavy, necessarily 2 people are needed. It is a main reason of breakage and personal injury
Warning : Please sepregate plug from an outlet. If you don't, it a reason of electricity shock
Warning : For safety, grounding is necessarily needed
Mechanical disorder and electricity breakage can be a reason of electricity shock
Warning : Do not use many product simultaneously with one outlet. Outlet overheating can be a reason of fireflame
Warning : Only use the specified power and voltage. It can be a reason of fireflame or an electricity fireflame.
Warning : Insert inside the outlet certainly. Outlet overheating a reason of a fireflame
Warning : The socket-outlet shall be installed near the equipement and shall be easily accessible
Connecting Power:
Power supply used with AC 220~240V/15A.
For safety, grounding is needed.
GROUND
Carriage & Installation:
If you carry this product. 2 people is needed with extra
caution
9/25

HOW TO USE CONTROL PANEL
☞ What's on the control panel
Control panel consists of display window(A) & master dial(B) & function button(C~L) A. Display
B. MASTER DIAL
C. Button for upper roller temperature setting
D. Button for upper roller temperature setting
E. Button for roller run/stop
F. Button for roller reverse running
G. Button for roller pressurization/release
H. Button for selecting printer IN LINE/OFF LINE
I. Button for setting speed
J. Button for selecting job mode
K. Button for selecting fan ON/OFF
☞ Details of control panel
A. Display
① To show laminating roller temperature & state
② To show roller speed
③ To show job mode
④ To show message
① T show laminating roller temperature & state
It shows temperature set of up/low hot roller & present temperature. Regarding how to set temperature, refer to function of "TEMP" button.
It usually shows temperature set. When pressing MASTER DIAL, present temperature comes up.
- "W"(WAIT) : This means that laminating job is not proper (that is, temperature is high or low).
- "R"(READY) : This means that laminating job is proper. Start laminating job.
TOP:100℃R SPD:1
BOT:100℃W JOP:P
①②
③
④
A
C
B
D
E
F
G
H
I
J
K
10/25

HOW TO USE CONTROL PANEL
② To show roller speed
It shows running speed of laminating roller. Regarding how to adjust roller speed, refer to function of "SPEED" button
③ To show job mode
It is a function of saving the value of temperature & speed set by user in accordance with kind of film.
This mode can save 13 different kinds of job condition ranging to 1~9,H,U,P,C
Ref. : Regarding how to set value of mode and save it, refer to function of "JOB" button
④ To show message
- EMS/COVER OPEND! : When roller runs & safety switch operates, this shows.
Check out emergency switch & if safety cover is in right place.
- PRS POSITIONING! : When roller is pressurized, this appears. This comes up in the state of "RUN" or "PRESSURE PRESS"
- REL POSITIONING! : When roller is released, this appears. This comes up in the state of "STOP" or "PRESSURE RELEASE".
B. MASTER DIAL
Dial to adjust value set for up/low roller temperature(C,D), job speed(I), job mode(J)
☞ How to use master dial
After selecting function button which can adjust value set, set value you want by rotating "MASTER DIAL".
When rotating "MASTER DIAL" to right, value set is increased. When rotating it to left, value set is decreased.
☞ Other functions of master dial
1. When pressing & holding "MASTER DIAL", "TOP", "BOT" flickers and present temperature of up & low roller is shown.
2. Initialization of JOB MODE value set [Factory Setting Progress]
When JOB MODE is "C", in case you press "PRINTER" button & "MASTER DIAL" together, "Factory Setting" message comes up on display,
and it flickers for about 15 seconds, also value set of "JOB" mode user saved go back to the value set at the time of factory outgoing.
TOP:100℃R SPD:1
BOT:100℃W JOP:C
11/25

HOW TO USE CONTROL PANEL
C & D. Temperature set button (TEMP) : This is to set roller temperature. Temperature setting range is "0 ~ 150"℃.
TOP TEMP : temperature setting button for upper roller, BOTTOM TEMP : temperature setting button for lower roller
☞ Temperature setting : after pressing "TOP" or "BOTTOM" button, adjust temperature by rotating MASTER DIAL
E. Roller run/stop button : To stop or run roller. t
When pressing "RUN" button, roller is pressurised and run at the speed set. When pressing "STOP" button, roller is released & stop.
Ref. : If roller starts running at extremely high speed in the state of STOP, problem may happen.
e
F. Button for roller reverse running : To make roller run reversely
When roller is pressurized ("RUN" or "PRESSURE PRESS"), during the time of pressing "REV" button, roller runs reversely,
The numbers on display window for speed flicker and beep sound comes. Use this only for roller cleaning or when problem happens.
G. Button for roller pressurization/release
Button for roller pressurizing or releasing. Use this function for roller reverse running or when installing film at the beginning of job.
H. Button for selecting printer IN LINE/OFF LINE
Button for selecting function of connecting printer, IN LINE type or OFF LINE type.
I. Button for setting speed : To set laminating speed. Speed setting range is "1 ~ 9".
☞ Speed setting : After pressing "SPEED" button, adjust speed by rotating MASTER DIAL.
J. Button for selecting job mode
"JOB" button is to save job condition(Temperature) user set very frequently for lamination.
13 different kind of job condition (1~9, H, U, P, C) can be saved.
Regarding how to initialize value set, refer to function of "Master Dial".
☞ Selecting job mode : double side laminating -> JOB 1~5, single side laminating -> JOB 6~9, H, user-fixing -> U, P, C
K. Button for selecting cooling fan ON/OFF
To run cooling fan. When pressing "FAN" button, cooling motor runs, when pressing the button one more time, it stops.
During the time of laminating large quantity, this function is used to protect lamination results from getting wrinkles
by curbing temperature increase of rear roller.
12/25

MAIN DEVICES
☞ POWER SWITCH
to supply / stop power to the machine.
Press "-" to turn on the machine and press "0" to turn it off.
☞ CIRCUIT BREAKER
to stop supply power when the machine has overload/overcurrent.
If this is activated, cool down the machine and press the outstanding part of it.
* If this is activated for more than 2 times, please contact to a supplier.
☞ FILM TENSTION ADJUSTABLE KNOB
to adjust film tension.
Turn the knob to the right to increase its tension and turn it left to decrease its tension.
Adjust its tension to remove wrinkle of film at the rollers.
Basically, a laminted result is curled downward, increase the top film tension and
increase bottom film tension when a laminated result is curled upward.
☞ BUFFER
for integrated operation with printer, the buffer controls laminating speed automatically in accordance with prints speed.
If laminating speed is higher than prints, the buffer moves upward to reduce laminating speed.
As the left picture, the butter would be moved upward to the top, the laminator stops work and
it works normal automatically when the buffer is downward.
Power S/W
Circuit Breaker
Film Tension Adjustable Knob
Buffer
13/25

MAIN DEVICES
☞ DECURLING ADJUSTABLE KNOB
to avoid curling on laminated results in single side lamination.
It is natural that a laminated result is curled to the film direction in single side lamination,
then this is not caused by a trouble in the machine.
As the left picture, a curling can be controlled by the knob.
Turn the knob to the right to increase its decurling volume and turn it left to decrease is volume.
[Curling Direction when the knob is turned to right.]
[Curling Direction when the knob is turned to left.]
NOTE : Adjust the decurler angle in accordance with thickness & material of substrate.
☞ SEPERATOR
to separate the liner for Micronex lamination.
for film loading, remove the separator (open the left/right fixing lever).
Pull Roller
Decurler
Decurler
Decurling Adjustable Knob
SEPERATOR
14/25

HOW TO LAMINATE
1st step : Loading a film
☞ Components of Film shaft
① Film shaft : This is used to install Laminating roll film.
② Film shaft holder fixing pin : This is used to fix the film shaft holder.
③ Film shaft holder : This is used to support film shaft to prevent the shaft from wobble.
④ Film core : This is used to fix the laminating roll film.
※ Installing laminating roll film
① Remove the Film shaft holder fixing pin and pull the Film shaft holder.
② Remove a film core by using the film holder fixing pin.
③ Load the roll film (Please pay attention to the direction of the film)
④ Insert the film core, close the film shaft holder and fix the holder by using a pin
⑤ Put the film on the center line of the machine, and tighten the bolt.
Remarks :To prevent contamination of the roller caused by adhesive when doing "Single side lamination"
Please use the film 5~10mm smaller than paper width.
How to laminate
①
④
③
②
15/25

HOW TO LAMINATE
2nd step : Preparation for lamination
Warning : When preparing the lamination, Please pay attention to not touch the laminating roller. It would cause a burn.
2. Pass the upper and lower film through the guide roller and attach the
film to the loading paper using a tape.
※ If the film does not pass the guide roller, it would cause wrinkles.
※ It would be helpful if you preheat the roller before doing this step
1. Insert the loading paper between the upper/lower roller
when the machine is stopped.
※ The paper length must be long enough pass the decurling
bar and deculing guide roller and should adequately
contact the Pull roller.
1
2
3. Close the upper cover, and press the run button and attach the
paper when it comes out.
3
4
4. You can set the speed and temperature using Control panel.
16/25

HOW TO LAMINATE
3rd Step : Lamination
☞ Test Lamination : When the temperature of the roller reaches the Set temperature, do a test lamination to check the status.
A low speed lamination is recommended for test lamination and please follow the below instrutions
1. Decurling : Please control the curves fo the papers with DECURLING ADJUSTABLE KNOB, Please refer Main device section as reference.
2. Lamination : Set temperature and laminating speed depend on the laminating quality.
☞ Lamination : If the result of test lamination is okay, increase the speed and proceeed with lamination
Warning : Ensure all hair, neckties, necklaces, are kept free from the feeding table to avoid injury.
※ This machine contains special speed and temperature control program to improve lamination quality.
1. Soft Accelerate System
- This program is to apply the change of the job speed within 20secs if the job speed is rapidly increased.
This delays the temperature decrease caused by the high speed rotation to prevent the low temperature that causes deterioration of laminating quality
2. Temperature control program
- the heater would be linked with speed to compensate the heat of the roller faster while the roller is on the job.
Start
(Speed 3)
KEY IN
(SPEED 6)
20sec
20sec
20sec
Example) Starting job with a speed of 3 and increase the speed to 6
①The speed message will blink while changing the speed
②The message will no longer blink when the speed reaches
the set speed.
Remarks : If the temperature of the roller is lower than the set temperature while increasing the speed,
the speed will not increase from that point and "L-TEMP" message will appear on the display. This
message will be disappeared when the compensation of the temperature is made. Please increase the
speed again after the "L-TEMP" message disappears.
17/25

HOW TO LAMINATE
1. Please avoid using very thick papers. It could be stuck
2. A sudden stop of the job may cause a mark on the output.
3. Generally, the thicker the paper or film is, the slower and higher temperature is needed.
4. The thinner the paper or film is, the faster and low temperature is needed.
5. If you want a perfect lamination, please set the adequate speed, temperature by using similar paper.
6. If you do not feed the paper properly, it would cause wrinkles.
7. If the output of the lamination is not the same aswhat you expected, please lower the speed or increase the temperature.
☞ Standard Laminating Speed and Temperature
▶ Speed 1 = Temp 10℃ = Thickness 25mic
→ if you decrease the speed by 1, the effect is almost the same as increasing the temperature by 10℃ and if the film is
25mic thicker, you have to increase the temp by 10℃ or decrease the speed by 1.
☞ Things that you could not do hot lamination.
Warining : Please be informed that if you do a hot lamination on the outputs of dye-sublination printers,
the color of the paper could change as time passes by
other than papers
Metal, woods, irons
magnetic things such as
credit card
Decoloration
caused by heat
Thermal paper or drawings
in crayon
flammable goods
cellophane, vinyl
Recommendation
18/25

HOW TO LAMINATE
Decurling Bar
Heating roller
Pull Roller
Separator
FILM
Label OR Media
Rewinder
[Single side WEB DIGRAM]
Loading films(OFF - LINE)
[SLEEKING WEB DIGRAM]
Paper Liner
[MICRONEX WEB DIGRAM]
SEPERATOR Label
Paper Liner
SLEEKNG FOIL
Label OR Media
Paper Liner
COLD FILM
Label OR Media
[COLD LAMINATING WEB DIGRAM]
MICRONEX FILM
19/25

HOW TO LAMINATE
PRINTER
[단면 라미네이팅]
[Double side lamination]
▶Standard Laminating speed and Temperature
1) Single side Lamination (Film 100㎛, Paper 100g/㎡)
:Upper Roller Temp 110℃, Lower roller Temp 0℃, Speed 5
2) SLEEKING
:Upper Roller Temp 130℃, Lower roller Temp 0℃, Speed 3
3) MICRONEX
:Upper Roller Temp 130℃, Lower roller Temp 0℃, Speed 3
4) Double side Lamination
:Upper Roller Temp 110℃, Lower roller Temp 110℃, Speed 5
* Set temperature and laminating speed depend on the Lamination quality.
PRINTER
[Single side Lamination]
Loading Film(IN - LINE)
FILM
FILM
20/25
Table of contents
Other GMP Laminator manuals
GMP
GMP PROTOPIC III-540 User manual

GMP
GMP ELECTRO ULTRA LAMITRIM-1800 User manual
GMP
GMP SURELAM-PRO540HR User manual
GMP
GMP EXCELMASTER-1600 User manual
GMP
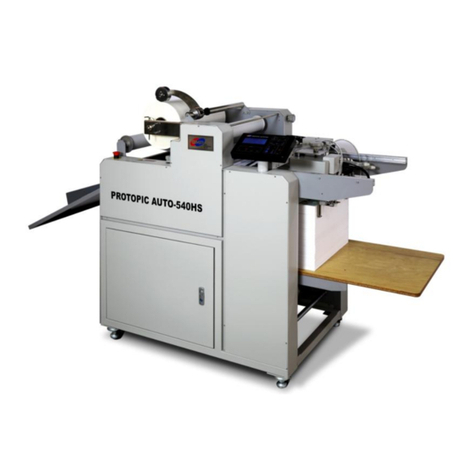
GMP PROTOPIC AUTO-540 HS User manual

GMP
GMP GraphicMaster 1600HR User manual
GMP
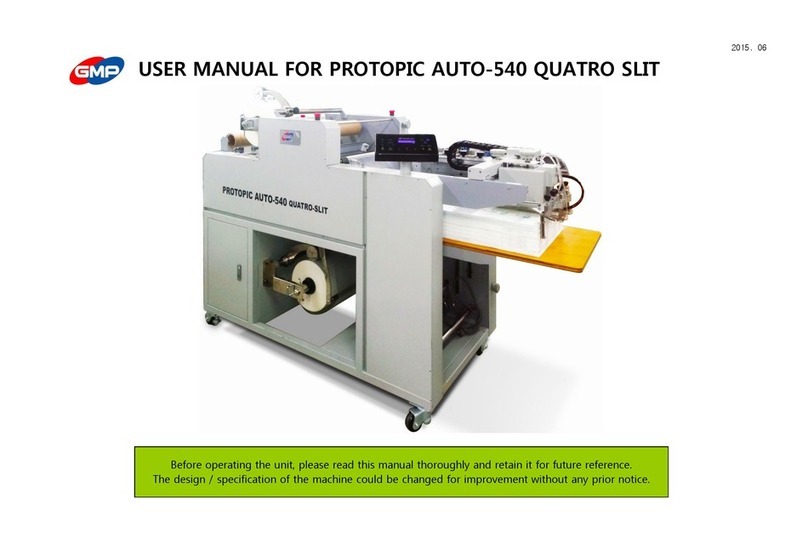
GMP PROTOPIC AUTO-540 HS User manual
GMP
GMP EXCELAM-1100SWING User manual
GMP
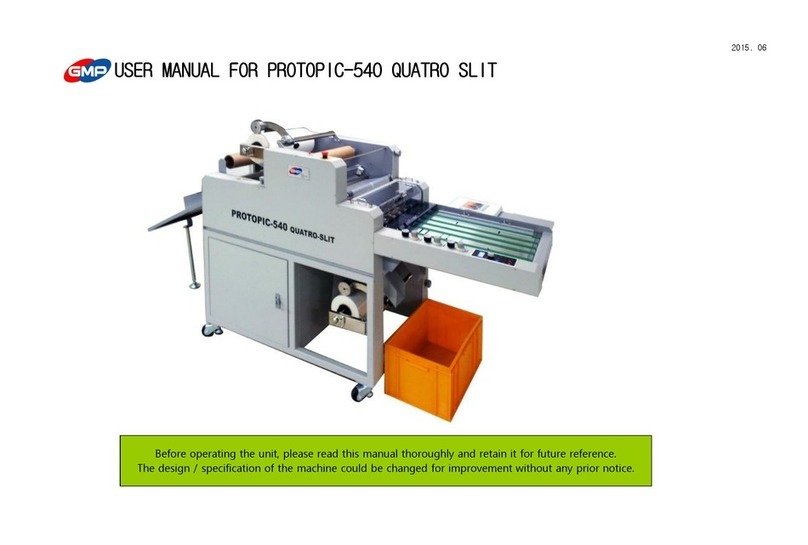
GMP PROTOPIC-540 QUATRO SLIT User manual

GMP
GMP SURELAM-PRO540HR User manual
