4
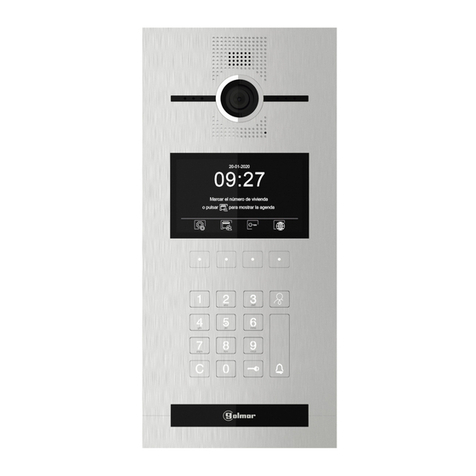
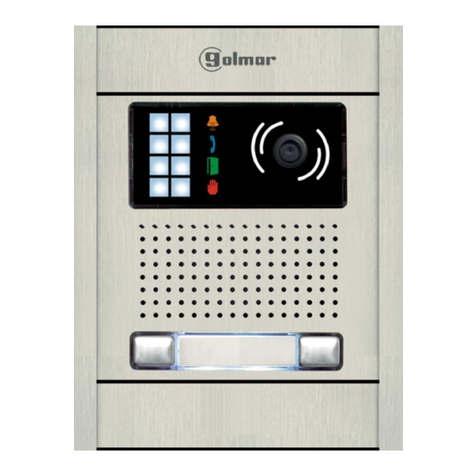
EL632/G+/48 IP G+
www.golmar.es
MODULE CONFIGURATION
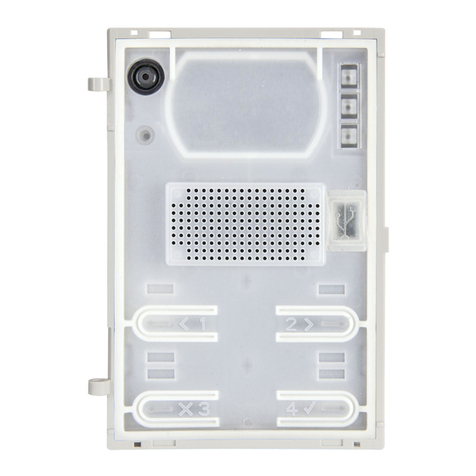
To set the panel as master, press the TACT button 5 times. e module leds will blink.
e new address of the module will change to 10.0.14.9.
Keep pressed for 5 seconds the TACT button, leds will blink.
e module will boot and the address will be again the factory default 10.0.0.254.
- e master panel (Block 1, Panel 1), can be set without the use of any computer through the TACT button.
- For other settings it will be necessary to get connected to the web server of the module as detailed in next section
- In both cases the module leds will blink three times to conrm that the process has been correctly completed.
- In case it is necessary to reset the module to factory default settings:
IMPORTANT: ose process delete the module data base and conguration. In case that the module was previously set-up, it is
warmly recommended to previously save the conguration and data base using the export option (through the Web server).
1- Avoid to expose the panel to direct light sources (sun,
street lights,...) in order to get the best image quality:
2- Locate the upper part of the panel at 1,65 m height for a
correct view of the visitors:
Entry panel location
Necessary elements to complete an installation:
• Power supply FA-G+, use one for every 8 devices (door entry panels, monitors…).
• To connect the devices use the switching units D4L-G+/PoE. Each one can connect 4 devices.
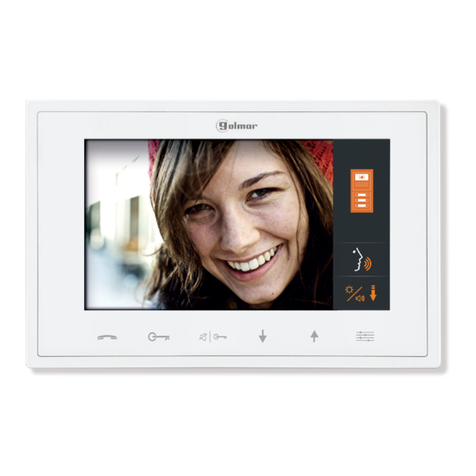
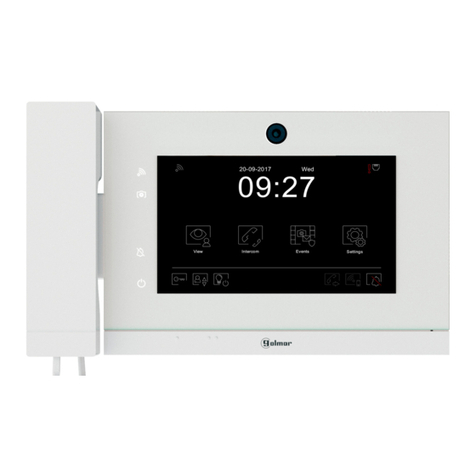
• Chose the video monitor ART 7/G+ or ART 7W/G+ (with Wi built-in), to receive the calls at the smartphone through the
App G2CALL+ (available on Android and iOS).
• If it is required a private call module PCM/G+, select the monitors ART 7/G+/PCM or ART 7W/G+/PCM
In case of daisy-chain connections (IN/OUT) use the power injectors DCP/G+, together with the power supply FA-DC48/G+. Each
of the monitors requires 1 single line switch DCS/G+.
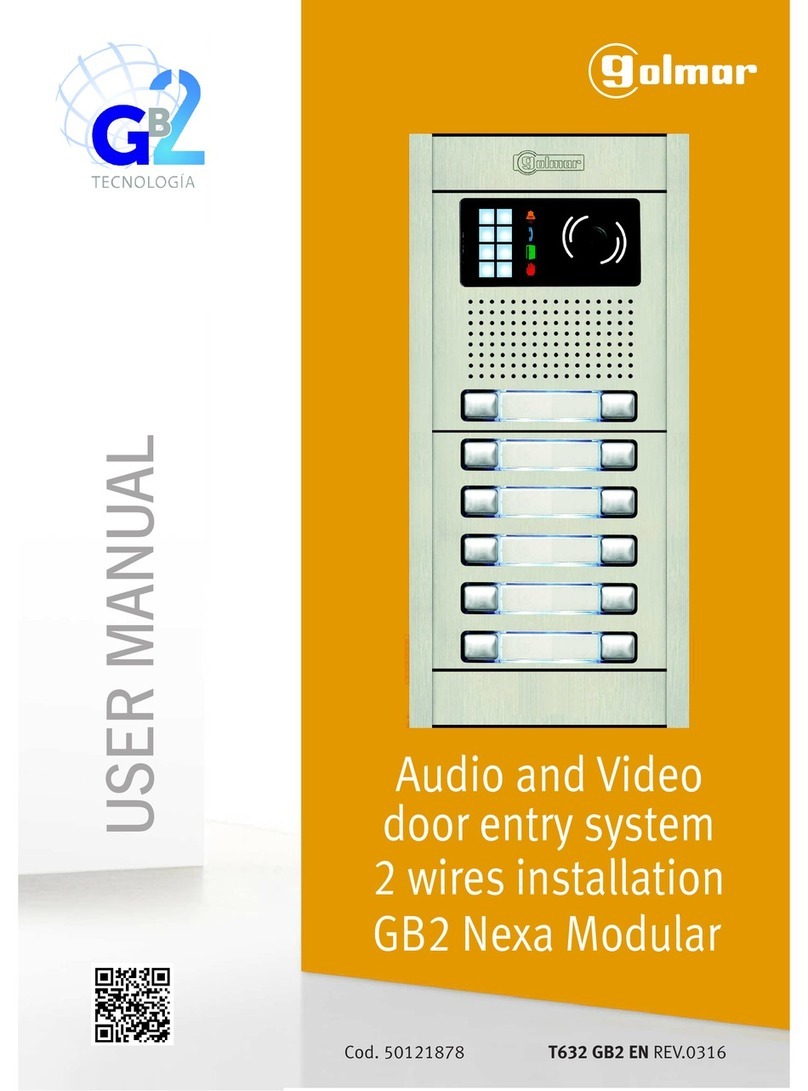
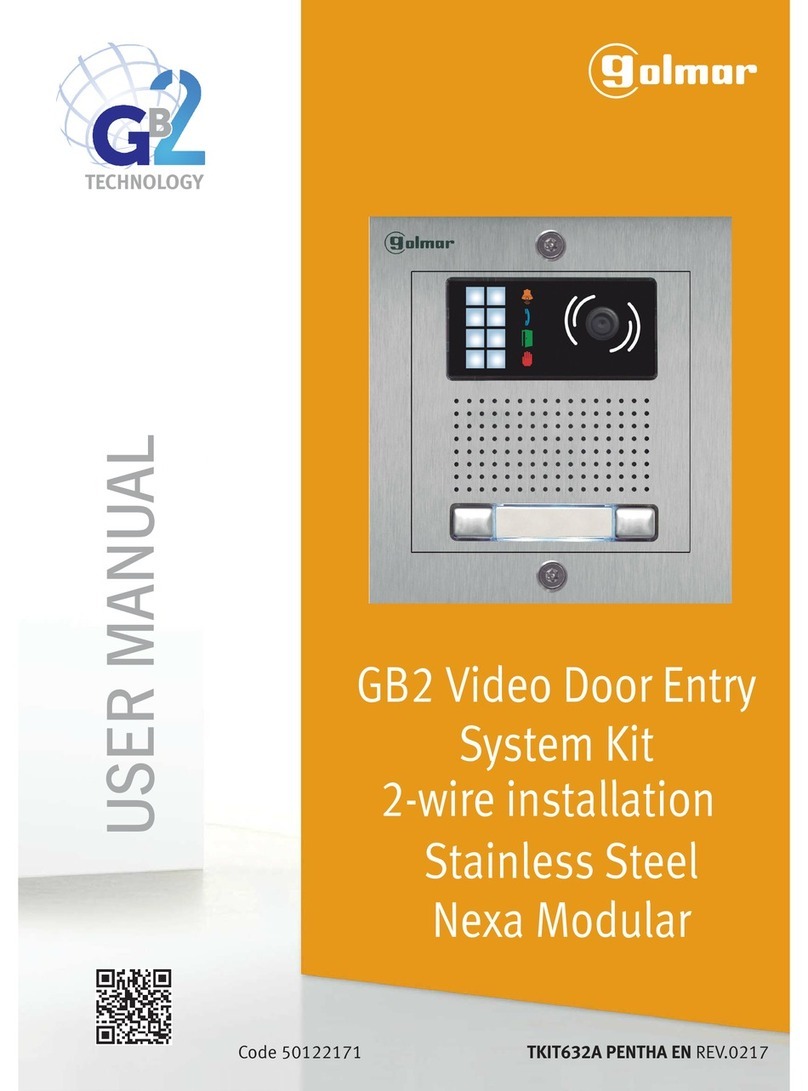
Nexa Inox
• Select an embedding box, depending on the number of modules:
For 1 module panel use CE610, 2 modules use CE620, 3 modules use CE630 and for 4 modules use CE640.
• Select the assembling set, depending on the number of modules:
For 1 module use NX6001, 2 modules use NX6002, 3 modules use NX6003 and for 4 modules use NX6004.
• Select the video grille module for EL632/G+ as per required number of push buttons:
NX1000 (without integrated buttons), NX1110 (1 button), NX1220 (2 buttons).
• Add as many push buttons modules as required (max.132 push buttons):
Single button: NX3110 (1 button), NX3120 (2 buttons), NX3130 (3 buttons), NX3140 (4 buttons), NX3150 (5 buttons),
Double button NX3220 (2 buttons), NX3240 (4 buttons), NX3260 (6 buttons), NX3280 (8 buttons), NX3210 (10 buttons).
Each of the modules requires a push buttons module EL610D.
