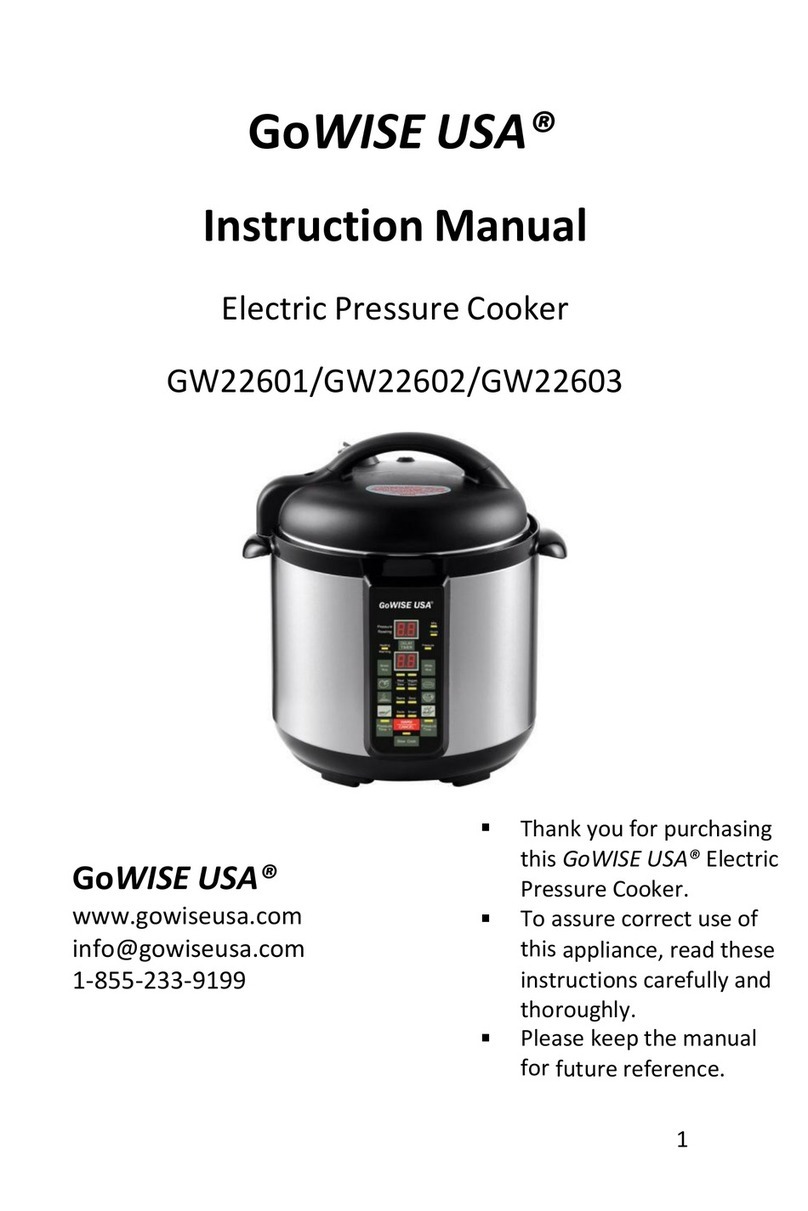
GoWISE USA GW22614 User manual

1
GoWISE
U
SA®
Instruction
Manual
Electric Pressure
Cooker
GW22614
GoWISE USA®
www.gowiseusa.com
sales@gowiseusa.com
1-855-233-9199
Thank you for purchasing
this GoWISE USA® Electric
Pressure Cooker.
To ensure correct use of
this appliance, read these
instructions carefully and
thoroughly.
Please keep the manual
for future reference.

2
Table of Contents:
Product Introduction………………………………………………3
Important
Safeguards………………………………………………………………4-6
Product Structure &
Features……………………………………………………………………6
Before First Use……………………………………….………………7-8
Pressure Cooker Settings…………………………………………8-9
How To Use Your Pressure Cooker……………………………9-11
Slow Cooking…………………………………………………………….11-12
Delay Timer………………………………………………………………..12
Cleaning……………………………………………………………………..13
Troubleshooting………………………………………………………14
Warranty…………………………………………………………………15

3
PRODUCT INTRODUCTION
GoWISE USA® GW22614 is a new model of
programmable pressure cooker. It is a three (3) quart
pressure cooker designed for an individual’s cooking
needs. It is a 5-in-1 multifunction cooker: pressure
cooker, slow cooker, food warmer, steamer, and brown.
It has 6 different cooking options: pressure cooking, slow
cooking, food warming, steaming, and browning. It also
features a delay timer up to 8 hours. This also comes
with a cup and a spoon. It is a new great way to make
delicious food.

4
Important
Safeguards
1. READ THE MANUAL.
2. This appliance cooks under pressure; please do
not attempt to remove the lid while the cooker
is operating. Improper use may result in scalding
or injury.
3. Do not touch hot surfaces. Always use the
handles.
4. Do not overfill the cooking pot because the food
such as rice or vegetables may expand during
cooking. Overfilling the cooker may result in
developing more pressure or clogging the vent
pipe.
5. Be aware that certain foods, such as applesauce,
cranberries, pearl barley, oatmeal or other
cereals, split peas, noodles, macaroni, rhubarb,
or spaghetti can foam, froth, and sputter, and
clog the pressure release device (steam vent).
These foods should not be cooked in a pressure
cooker at all.
6. Do not use this cooker for pressure frying with
oil.
7. Always check the pressure release vent for clogs
before use.

5
8. Do not immerse cord, plugs, or appliance in
water or any other liquids to avoid electrical
shock.
9. Keep away from children. This appliance is not
intended for use by children.
10. Unplug the appliance when not in use and
before cleaning. Wait for the parts to cool
before removing or replacing them.
11. Do not operate this appliance with a damaged
cord or plug or after it has experienced any
malfunctions or has been damaged in any way.
12. Do not let the cord hang over edge of table or
counter. Keep cord away from hot surfaces.
13. Do not use outdoors.
14. Do not use under hanging cabinets because it
may cause damage when steam occurs from
pressure release.
15. Use of any accessories that is not for this
product may damage the unit.
16. Always attach plug into the appliance first
before plugging into the wall outlet.
17. Do not place on an unstable surface. It is strictly
prohibited to use it on newspaper, foam, or any
other material that may block the vent at the
bottom.
A short power-supply cord is provided to prevent the risks of
becoming entangled in or tripping over a longer cord.

6
An extension cord may be purchased and must be used properly.
If a long extension cord is used, the marked electrical rating of the
extension cord must be at least as great as the electrical rating of
the appliance. The longer cord must not drape over the surface
where it can be pulled on by children or tripped over.
PRODUCT STRUCTURE
& FEAT
U
R
ES
Pressure /Steam
Regulator Knob
Floating Locking Valve Handle
Lid/Cover
Removable Non-Stick
Cooking Pot
Stationary Pot
Condensation Cup
Side Handles
Sensor Pad
Heating Plate
Housing
Control Panel

7
The lid has a safety lock pin. The cooker will not start
until the lid is closed and locked in place.
Once the correct pressure is reached, it is
maintained through the duration of the cooking time.
Regulator knob is used to release pressure
instantly.
The cool touch handles are for transporting the cooker
properly.
BEFORE FIRST USE
Remove any packing materials and labels from your electric
pressure cooker. Be sure to remove cook pot and check for
parts.
Be sure that all of the products parts are included before you
dispose of the packing materials. However, you may want to
store the box and packing material to use at a later time.
Before you use your GoWISE USA® Electric Pressure cooker for
the first time, wipe the cooker clean with a damp cloth. Clean
the lid and the cooking pot. The cooking pot can be cleaned
with warm soapy water. Do not put the cooking pot in the
dishwasher. Rinse with clean water, towel or let the pot air
dry, and place it into the pressure cooker.
You must also install the sealing ring onto the inside of the lid
as shown below:

8
Press down
Pull out
NOTE: You can take out the sealing ring after cooking your
meals to clean it. You can clean the sealing ring with warm
soapy water. Make sure to dry it before inserting it back into
the lid.
PRESSURE COOKER SETTINGS

9
There are 6 settings that you can use on this pressure cooker.
All settings have a time range. You can choose one of the
cooking options; you are able to increase times by pressing the
button repeatedly to the desired time.
You are able to choose one of the cooking times by pressing the
button repeatedly. This pressure cooker comes with the
following cooking options and times:
Slow Cook : Up to 12 Hours
Food Warmer : Up to 8 hours
Steam : 0 –99 minutes
Brown : 0 –99 minutes
Low (Pressure Cooker Setting) : 0 - 99 minutes
High (Pressure Cooker Setting) : 0 –99 minutes
Delay Timer : Up to 8 hours
NOTE: The cooking options “Brown”do not use pressure and
do not require the lid; however, when using this option, you
must be present to watch over the food that is being cooked
to prevent it from burning.
How To Use Your Pressure Cooker
When all the parts are assembled properly, you are ready to
start cooking with your pressure cooker.
1. To remove the lid, grasp the top handle and turn
clockwise and lift.

10
2. Take the cooking pot from the pressure cooker and add
food and liquids. NOTE: Do not fill more than 60% of the
capacity of the cooking pot. For food that expands, such
as dried vegetables and beans, you must not exceed 50%
of the capacity of the pot. When cooking with pressure,
you must always use at least ½ cup of water.
3. Put the cooking pot back into the cooker and
close the lid. To lock the lid in place, place the lid on the
cooker and turn it counterclockwise. NOTE: When
opening and closing the lid, there is a locking pin on the
side of the lid that goes out when you are opening the lid
and goes back into the lid to indicate that the lid is closed
and locked.
4. Set the regulator knob located at the top of the
lid to the dot that is labeled “Pressure”by pushing the knob
down and turning it clockwise.
5. Plug in the power cord into the pressure cooker then
into the wall outlet. The LED display will show --:--
Choose which cooking option you would like to use and
set the time. For example, if you choose to pressure
cook at a “High” pressure for 30 minutes, press the
button labeled “High” repeatedly until you reach 30
minutes. For a faster time change, hold the button
down. NOTE: To cancel the cooking option you set,
press the “START/STOP” button.
6. Once you have set the cooking time, press the button that
is labeled “Start/Stop” button to start the cooking cycle.
7. Three dashes will appear repeatedly on the LED display

11
and that means that the cooker is heating up and
building pressure. Once there is enough pressure, you
will see brackets blinking on the LED display. This means
that the cooker has enough pressure to start the cooking
cycle. The timer does not start until there is enough
pressure inside the cooker.
8. When the cooker is done, it will beep. DO NOT
REMOVE THE LID. There is still pressure being used inside
the cooker. Release the pressure by turning to knob to
“STEAM”. NOTE: When turning the regulator knob to
release pressure, keep hands and face as far from the
knob as possible
t
o prevent from injury or scalding from
the steam that will be released. When the cook cycle is
completed, it will automatically go into the “Warm”
mode. To cancel this function, press the “Start/Stop”
button and four dashes should appear on the LED display.
Using the Slow Cooking Option
1. Remove the lid and fill the cooking pot with foods and
liquids then put the cooking pot back into the cooker.
2. Set the cooking time by pressing on the “Slow Cook”
button repeatedly, they come in half hour increments,
until you reach the time that you want.
3. Press the “START/STOP” button to start the cooking
cycle.
4. When there is enough heat, the timer will start to

12
count down and the cooking cycle will begin.
If you are have any questions regarding your pressure cooker, please
contact Customer Service at 1-855-233-9199.
Using the Delay Timer
1. Remove the lid and fill the cooking pot with foods and
liquids then put the cooking pot back into the cooker.
2. Choose the cooking option you want and set the time.
3. After you set the time, press the delay timer option,
the time will come in 30 minute increments.
4. After setting the delay time that you want, press the
“START/STOP” button.
5. The cooking cycle will begin after the delayed time.
NOTE: Do not use the delay timer when cooking foods
that might spoil after being left out at room
temperature.
If you are have any questions regarding your pressure cooker, please
contact Customer Service at 1-855-233-9199.

13
CLEANING
1. Always unplug the cooker and let it cool down before
you clean it.
2. Use a clean dry or damp soft cloth to wipe the cooker
with. Do not immerse or spray the cooker with any kind of
liquid.
3. Remove the condensation collector by pulling it
down. Clean it with warm soapy water. Rinse and dry
it thoroughly. Put the condensation collector back by
pushing it up.
4. Clean the cooking pot with warm soapy water.
Always use a sponge or nonmetal brush to clean it.
5. Clean all parts of the inner side of the lid.
Regulator Knob Cleaning Instructions:
Pull the regulator knob out of its housing.
Clean the space of any food or foreign particles
that may be in there.
Replace the regulator knob by putting it back
into the housing by pushing down.
Sealing Ring Cleaning Instructions:
Remove the sealing ring and clean with warm
soapy water. Be sure to dry the sealing ring
before placing it back into the lid.

14
TROUBLESHOOTING
No.
Problem
Reason
Solution
1
Difficult to
cover the
lid
The seal gasket is not well
placed.
Floating valve is stuck on
the bar.
Place the seal gasket in
the proper position.
Push the bar slightly.
2
Difficult to
open the lid
Floating valve does not
drop after pressure
release.
Take up the regulator
knob to release steam
until the floating valve
drops, then turn the lid
to open it.
3
Steam
leaking
around the
lid
Seal gasket is not placed.
Food remains in the seal
gasket.
Damaged seal gasket
The lid is not well placed
Place the seal gasket.
Clean the seal gasket.
Replace the seal gasket.
Cover the lid according
to the directions.
4
Steam
leaking
around
floating
valve
Food remains in the seal
gasket of floating valve.
The seal gasket of the
floating valve is worn out.
Clean the seal gasket of
the floating valve.
Replace the seal gasket
of the floating valve.
5
The floating
valve
cannot rise.
Too little food and water.
Leakage around the lid or
pressure displaying valve.
Add food and water
according to the
directions.
Send it to a designated
repair center
For any other problems that are not described above, please
contact Customer Service at 1-855-233-9199.

15
WARRANTY
This product is warrantied against defects in materials
and workmanship for one year from the date of
purchase, when used in accordance with the
instructions provided. This warranty does not cover
damages or wear resulting from accident, misuse,
abuse, commercial use, or unauthorized adjustment
and/or repair.
Ming’s Mark Inc. dba GoWISE USA® shall not be liable
for loss of use or any other incidental, consequential or
indirect costs, expenses or damages. There are no
express warranties except as listed above. This warranty
gives you specific legal rights, and you may have other
rights which vary from state to state.
Should this product require service (or replacement
at our option) while under warranty, CALL 1-855-
233-9199 for RETURN INSTRUCTIONS. Be sure to
keep your receipt showing the date of purchase.
GoWISE USA®
3550 W Clarendon Ave Suite #7
Phoenix, AZ 85019
www.gowiseusa.com
1-855-233-9199
Table of contents
Other GoWISE USA Electric Pressure Cooker manuals

GoWISE USA
GoWISE USA GW22610 User manual

GoWISE USA
GoWISE USA GW22620 User manual

GoWISE USA
GoWISE USA GW22620 User manual

GoWISE USA
GoWISE USA GW22601 User manual

GoWISE USA
GoWISE USA GW22601 User manual

GoWISE USA
GoWISE USA GW22700 User manual

GoWISE USA
GoWISE USA GW22700 User manual

GoWISE USA
GoWISE USA OVATE GW22709 User manual

GoWISE USA
GoWISE USA GW22620 User manual

GoWISE USA
GoWISE USA GW22708 User manual