manuals.online logo
Brands
  1. Home
  2. •
  3. Brands
  4. •
  5. Graco
  6. •
  7. Control Unit
  8. •
  9. Graco Cleanshot 244162 User manual

Graco Cleanshot 244162 User manual

309515B
EN
Instructions
Cleanshot™Shut-Off
Valve Repair Kit
Part No. 244162
3600 psi (24.8 MPa, 248 bar) Maximum Working Pressure
Important Safety Instructions
Read all warnings and instructions provided
in manual 309642.
Repair
2309515B
Repair
Pressure Relief Procedure
Follow the Pressure Relief Procedure whenever
you see this symbol.
1. Engage trigger safety.
2. Shut off pump or sprayer, disconnect power source,
and open all air bleed valves.
3. Rotate spray valve knob counter-clockwise to
FLUSH position.
4. Disengage trigger safety.
5. Hold metal part of gun firmly to side of a grounded
metal pail. Trigger gun into paint pail to relieve pres-
sure.
6. Engage trigger safety.
7. Open pump drain valve to relieve fluid pressure in
pump, hose, and pole gun. Triggering in-line valve
to relieve pressure may not be sufficient. Have a
container ready to catch drainage.
If you suspect the spray tip or hose is completely
clogged or that pressure has not been fully relieved after
following steps above, VERY SLOWLY loosen hose end
coupling to relieve pressure gradually. Then loosen it
completely. Clear tip or hose obstruction.
Changing the Needle
NOTE: The components included in the Cleanshot
Valve Repair Kit are packaged as two separate mod-
ules, individual pieces cannot be ordered separately.
Disassembly (upper module)
1. Without the spray tip installed, start sprayer.
2. Turn knob on Cleanshot Shut-Off Valve coun-
ter-clockwise to FLUSH position (see page 3).
3. Flush and prime spray system.
4. Follow Pressure Relief Procedure.
5. Install spray tip.
6. Turn knob on Cleanshot Shut-Off Valve to SPRAY
(page 3).
7. Rotate Cleanshot Shut-Off Valve to any desired
position within 180°. Do not use any tools.
8. Refer to your separate gun instruction manual for
operating and tip cleaning instructions.
Flush and Spray
1. Follow Pressure Relief Procedure.
2. Removed tip guard (not shown).
3. Using a wrench, loosen seat (31a).
4. Remove seat (31a).
5. Unscrew module and removed from valve body.
Reassembly (upper module)
1. Insert seat (31a) module into valve body.
2. Tighten seat (31a) to 26-32 ft-lbs (35-43 N•m).
Disassembly (lower module)
1. Using a wrench, loosen nut (31k).
2. Removed nut (31k).
3. Removed lower module from valve body.
Reassembly (lower module)
1. Insert new lower module into valve body.
2. Tighten nut (31k) to 26-32 ft-lbs (35-43 N•m).
To reduce risk of serious injury, including fluid
injection, follow this procedure when checking or
servicing any part of spray system, when
installing, cleaning or changing spray tips, and
whenever you stop spraying.
Parts
309515B 3
Parts
31a
32b
Upper
Module
Valve Body
245687 (not
included in kit)
31m
31k
31j
31h
31c
31d
31e
31f
31g
Module
Lower
Ref
No. Part No. Description Qty
31 244162 KIT, Cleanshot™repair,
includes parts 31a-31h, 31j,
31k, 31m
1
31a SEAT, valve 1
31b GASKET 1
31c RETAINER, ball 1
31d DAMPENER, spring 1
31e SPRING, compression 1
31f GUIDE, spring 1
31g SEAL, u-cup 1
31h PACKING, o-ring 1
31j RETAINER, u-cup 1
31k CAP, nd, u-cup 1
31m KNOB, valve 1
All written and visual data contained in this document reflects the latest product information available at the time of publication.
Graco reserves the right to make changes at any time without notice.
For patent information, see www.graco.com/patents
Original instructions. This manual contains English. MM 309515
Graco Headquarters: Minneapolis
International Offices: Belgium, China, Japan, Korea
GRACO INC. AND SUBSIDIARIES • P.O. BOX 1441 • MINNEAPOLIS MN 55440-1441 • USA
Copyright 2001, Graco Inc. All Graco manufacturing locations are registered to ISO 9001.
www.graco.com
Revision B, December 2013
Graco Standard Warranty
Graco warrants all equipment referenced in this document which is manufactured by Graco and bearing its name to be free from defects in
material and workmanship on the date of sale to the original purchaser for use. With the exception of any special, extended, or limited warranty
published by Graco, Graco will, for a period of twelve months from the date of sale, repair or replace any part of the equipment determined by
Graco to be defective. This warranty applies only when the equipment is installed, operated and maintained in accordance with Graco’s written
recommendations.
This warranty does not cover, and Graco shall not be liable for general wear and tear, or any malfunction, damage or wear caused by faulty
installation, misapplication, abrasion, corrosion, inadequate or improper maintenance, negligence, accident, tampering, or substitution of
non-Graco component parts. Nor shall Graco be liable for malfunction, damage or wear caused by the incompatibility of Graco equipment with
structures, accessories, equipment or materials not supplied by Graco, or the improper design, manufacture, installation, operation or
maintenance of structures, accessories, equipment or materials not supplied by Graco.
This warranty is conditioned upon the prepaid return of the equipment claimed to be defective to an authorized Graco distributor for verification of
the claimed defect. If the claimed defect is verified, Graco will repair or replace free of charge any defective parts. The equipment will be returned
to the original purchaser transportation prepaid. If inspection of the equipment does not disclose any defect in material or workmanship, repairs
will be made at a reasonable charge, which charges may include the costs of parts, labor, and transportation.
THIS WARRANTY IS EXCLUSIVE, AND IS IN LIEU OF ANY OTHER WARRANTIES, EXPRESS OR IMPLIED, INCLUDING BUT NOT
LIMITED TO WARRANTY OF MERCHANTABILITY OR WARRANTY OF FITNESS FOR A PARTICULAR PURPOSE.
Graco’s sole obligation and buyer’s sole remedy for any breach of warranty shall be as set forth above. The buyer agrees that no other remedy
(including, but not limited to, incidental or consequential damages for lost profits, lost sales, injury to person or property, or any other incidental or
consequential loss) shall be available. Any action for breach of warranty must be brought within two (2) years of the date of sale.
GRACO MAKES NO WARRANTY, AND DISCLAIMS ALL IMPLIED WARRANTIES OF MERCHANTABILITY AND FITNESS FOR A
PARTICULAR PURPOSE, IN CONNECTION WITH ACCESSORIES, EQUIPMENT, MATERIALS OR COMPONENTS SOLD BUT NOT
MANUFACTURED BY GRACO. These items sold, but not manufactured by Graco (such as electric motors, switches, hose, etc.), are subject to
the warranty, if any, of their manufacturer. Graco will provide purchaser with reasonable assistance in making any claim for breach of these
warranties.
In no event will Graco be liable for indirect, incidental, special or consequential damages resulting from Graco supplying equipment hereunder, or
the furnishing, performance, or use of any products or other goods sold hereto, whether due to a breach of contract, breach of warranty, the
negligence of Graco, or otherwise.
FOR GRACO CANADA CUSTOMERS
The Parties acknowledge that they have required that the present document, as well as all documents, notices and legal proceedings entered into,
given or instituted pursuant hereto or relating directly or indirectly hereto, be drawn up in English. Les parties reconnaissent avoir convenu que la
rédaction du présente document sera en Anglais, ainsi que tous documents, avis et procédures judiciaires exécutés, donnés ou intentés, à la suite
de ou en rapport, directement ou indirectement, avec les procédures concernées.
Graco Information
For the latest information about Graco products, visit www.graco.com.
For patent information, see www.graco.com/patents.
TO PLACE AN ORDER, contact your Graco distributor or call 1-800-690-2894 to identify the nearest distributor.

Other Graco Control Unit manuals

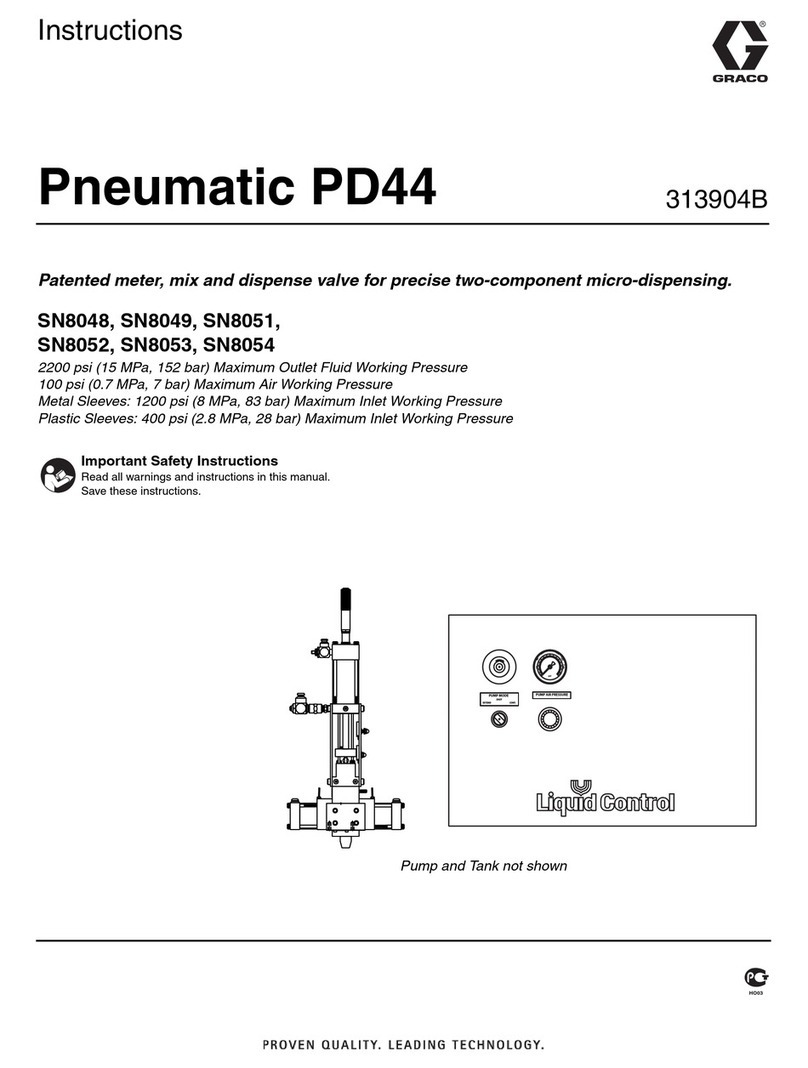
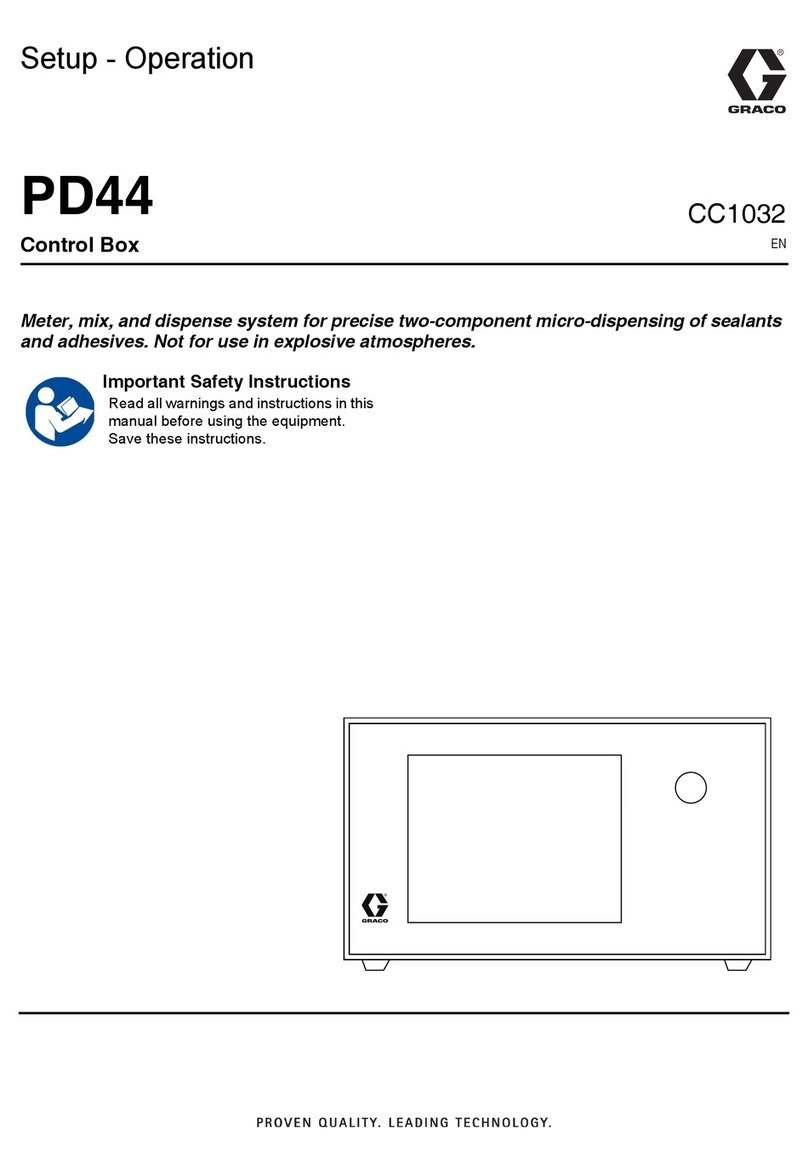
Graco PD44 Guide

Graco

Graco PD44 Guide

Graco 208390 User manual

Graco

Graco 208390 User manual

Graco SERIES F Operation manual

Graco

Graco SERIES F Operation manual

Graco 24P976 User manual

Graco

Graco 24P976 User manual

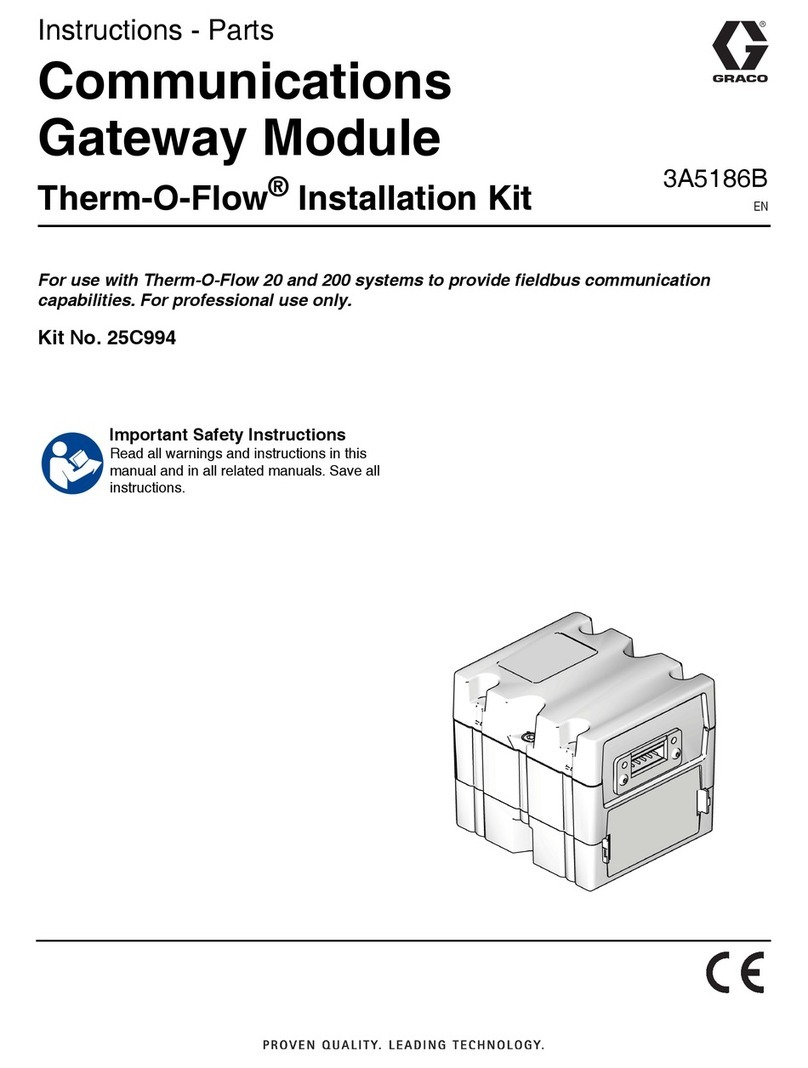
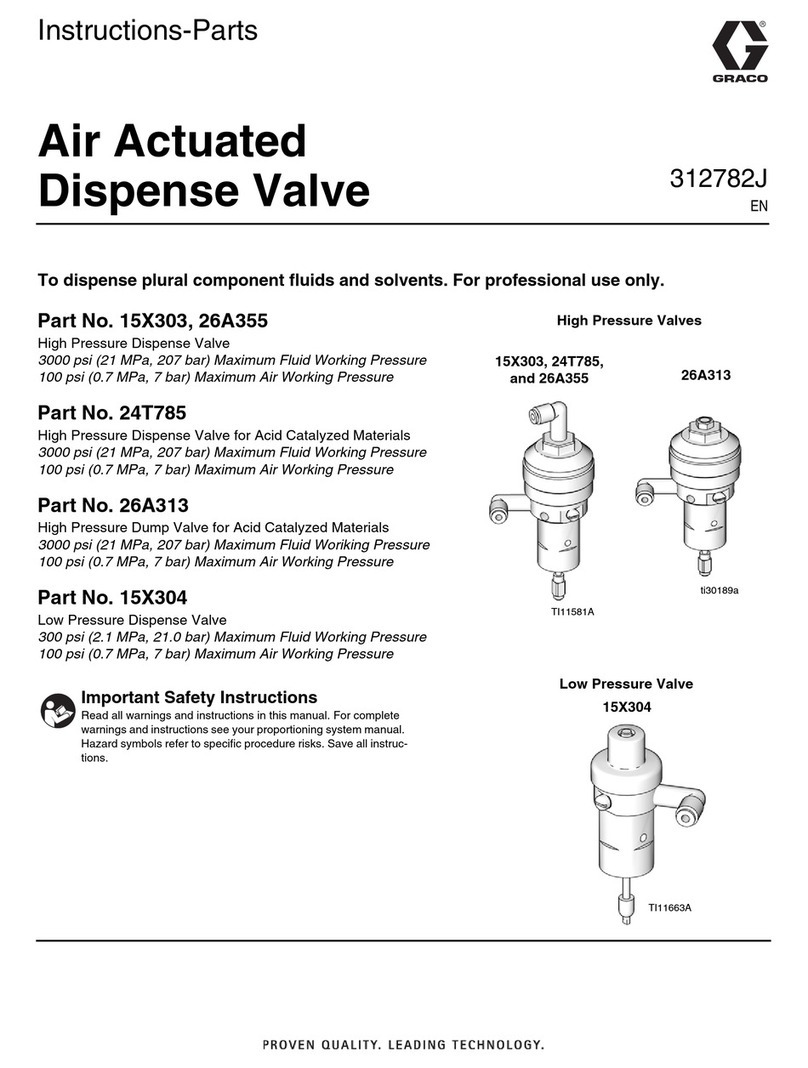
Graco 15X303 Technical reference manual

Graco

Graco 15X303 Technical reference manual

Graco Dispensit-710 User manual

Graco

Graco Dispensit-710 User manual

Graco 25D614 User manual

Graco

Graco 25D614 User manual

Graco EM5 Series Operation manual

Graco

Graco EM5 Series Operation manual

Graco SaniForce 25D009 Parts list manual

Graco

Graco SaniForce 25D009 Parts list manual

Graco 242063 Datasheet

Graco

Graco 242063 Datasheet

Graco Advanjet HV-2000b Manual instruction

Graco

Graco Advanjet HV-2000b Manual instruction

Graco Dispensit 710 User manual

Graco

Graco Dispensit 710 User manual

Graco 24U175 Parts list manual

Graco

Graco 24U175 Parts list manual

Graco PD44 Manual instruction

Graco

Graco PD44 Manual instruction

Graco E 208997 Operation manual

Graco

Graco E 208997 Operation manual

Graco SDM8 Series User manual

Graco

Graco SDM8 Series User manual

Graco ProMix PD2K Parts list manual

Graco

Graco ProMix PD2K Parts list manual

Graco 205612 User manual

Graco

Graco 205612 User manual

Graco Series A User manual

Graco

Graco Series A User manual

Graco 26D274 User manual

Graco

Graco 26D274 User manual

Graco LDP5 User manual

Graco

Graco LDP5 User manual

Graco 239850 Operation manual

Graco

Graco 239850 Operation manual

Graco 24L096 User manual

Graco

Graco 24L096 User manual

Graco 482 Series Operation manual

Graco

Graco 482 Series Operation manual

Popular Control Unit manuals by other brands

Mircom TX3-MDM installation instructions

Mircom

Mircom TX3-MDM installation instructions

GEA VARIVENT K operating instructions

GEA

GEA VARIVENT K operating instructions

Samson 3349 Mounting and operating instructions

Samson

Samson 3349 Mounting and operating instructions

ElMod ThinkTank Blaster 2 detailed instructions for assembly and operation

ElMod

ElMod ThinkTank Blaster 2 detailed instructions for assembly and operation

Viessmann vitotronic 200-h Installation and service instructions

Viessmann

Viessmann vitotronic 200-h Installation and service instructions

StepperOnline CL86T user manual

StepperOnline

StepperOnline CL86T user manual

NeuLog USB-200 Guide

NeuLog

NeuLog USB-200 Guide

Watts LF919-QT-FS INSTRUCTION, INSTALLATION, MAINTENANCE AND REPAIR MANUAL

Watts

Watts LF919-QT-FS INSTRUCTION, INSTALLATION, MAINTENANCE AND REPAIR MANUAL

Digitrax DS74 manual

Digitrax

Digitrax DS74 manual

Aventics AV03 Operating instructions and safety instructions

Aventics

Aventics AV03 Operating instructions and safety instructions

Honeywell IDENT KEY 3 operating manual

Honeywell

Honeywell IDENT KEY 3 operating manual

IPSES CAN-IO user manual

IPSES

IPSES CAN-IO user manual

NI sbRIO-9697 Getting started

NI

NI sbRIO-9697 Getting started

Bosch B426 installation guide

Bosch

Bosch B426 installation guide

THORLABS ECL1525M-PM Operation manual

THORLABS

THORLABS ECL1525M-PM Operation manual

iQtronic IQsocket IQSW-IP10 user guide

iQtronic

iQtronic IQsocket IQSW-IP10 user guide

ECKELMANN Virtus 5 Series operating instructions

ECKELMANN

ECKELMANN Virtus 5 Series operating instructions

Vanderbilt SPCN310 Installation instruction

Vanderbilt

Vanderbilt SPCN310 Installation instruction

manuals.online logo
manuals.online logoBrands
  • About & Mission
  • Contact us
  • Privacy Policy
  • Terms and Conditions

Copyright 2025 Manuals.Online. All Rights Reserved.