2
Before starting the Setup
Make the following preparations before starting Setup.
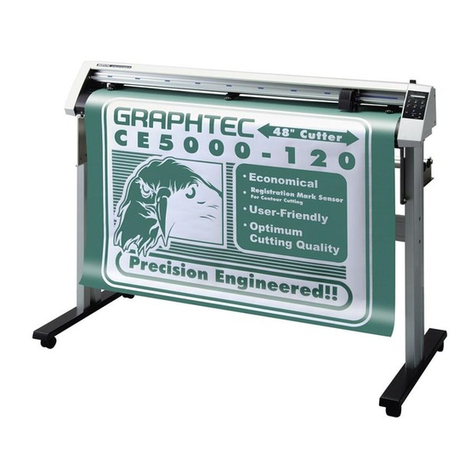
•Check that all of the items included in the package. (Please see P.1-2 in the CE6000-120AP User's Manual (PDF).)
For the Parts Names, please see P.1-3 in the CE6000-120AP User's Manual (PDF).
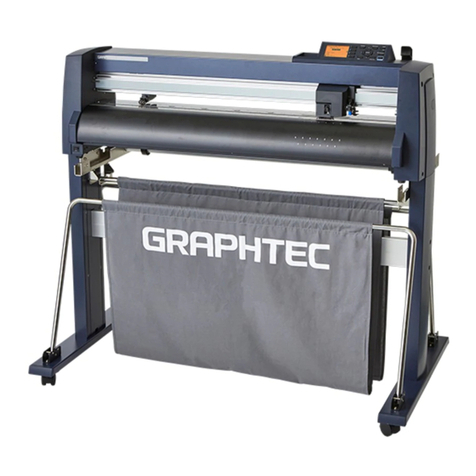
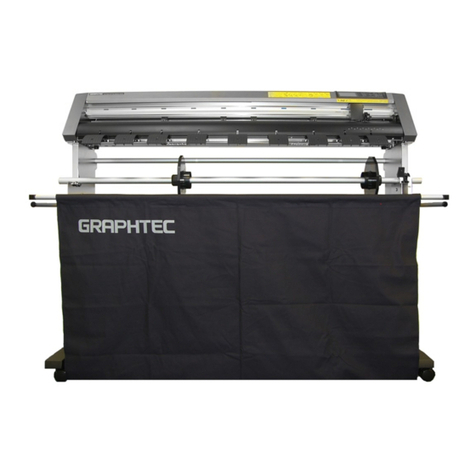
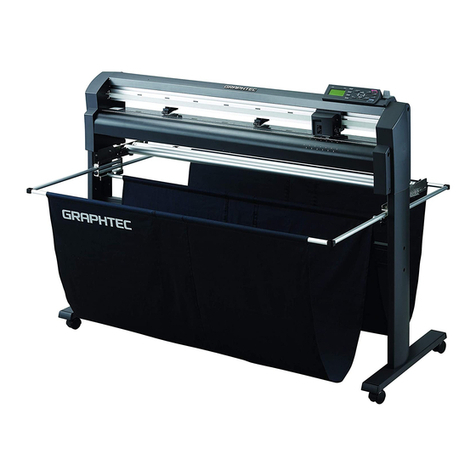
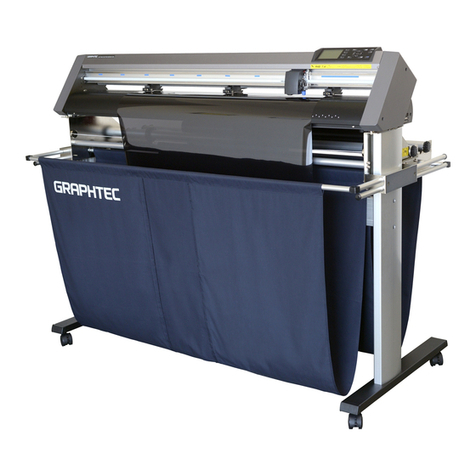
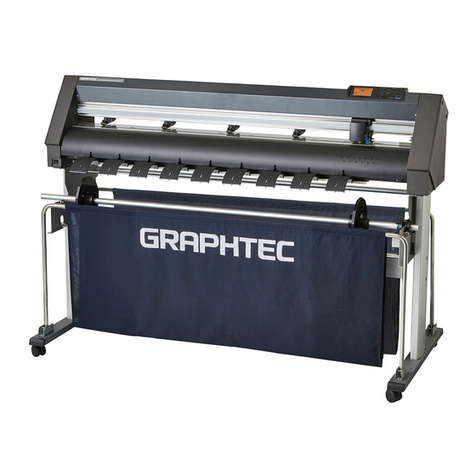
•Assemble the CE6000-120AP, and set up it. For the assembling procedures, see either Manual attached to the Stand or
CE6000-120AP User's Manual (PDF). P.1-5
•When there are virus detection program or system resident program, terminate them beforehand.
•Upon installation, be sure to log on Windows using an account with administrator privileges on your computer.
Flow of setup
Setting up the Plotter main unit
1. Attaching a Tool The cutter blade can replaced depending on the material or thickness of the
media. P.03
2. Loading Media (Paper)
Fix the media to the Plotter. P.05
3. Aligning the Push Rollers Adjust the position of the push roller. P.09
4. About the Initial Setup screen Select "Display Language" and "Length Unit". P.10
5. Set the media type into the Plotter Set the media type to the Cutting Plotter, depending on the set media. P.11
6 Tool adjustment and test cutting
Adjust the protruded cutter edge length and the cutting force depending on the material
and thickness of the media. Make test cutting for the set media to adjust the best condition.
P.11
P.16
Launching the Start menu For each software of CE6000-120AP install them using the Installer housed in
the attached CD-ROM. P.14
Installing the Software
A. Install CE6000-120AP Software
Installing the CE6000-120AP Driver
(Graphtec Plotter Driver)
The CE6000-120AP Driver controls the Plotter and makes plotting according
to the data created by the PC. P.15
• Connecting the USB cable
Turn on the power source of Plotter in the middle of installing, and connect the USB cable.
• Connect the RS-232C Connect the RS-232C cable after installing is nished. P.15
B. Install the User's Manual Installs the CE6000-120AP User's Manual. P.17
The procedures vary depending on the Interface.
