Grundig MPaxx 941 User manual

DIGITAL MUSIC PLAYER
MPaxx 941
EN

ENGLISH
2
3 MPAXX 941
3 Supplied accessories
3 Special features
3 Safety
3 Environmental note
4 OVERVIEW
4 Controls
5 CONNECTION AND
PREPARATION
5 Power supply
5 Connecting to a computer
6 Disconnecting from the computer
6 Connecting earphones
7 GENERAL FUNCTIONS
7 Switching on and off
7 Adjusting the volume
7 Switch off the volume restriction
7 Activating and deactivating the key lock
7 Resetting the player
8 MUSIC PLAYBACK
8 Starting music playback
8 Playback functions
8 Selecting tracks
8 Fast forward and reverse search
8 Selecting sound settings
8 Repeat Function
8 Shuffle Function
9 OPERATING WITH A COMPUTER
9 System requirements
9 MP3/WMA data transfers
10 INFORMATION
10 Technical data
CONTENTS --------------------------------------------------------------------------------------------------------------------------------------------------------------------------------------------

3
ENGLISH
Environmental note
This product has been made from high-
quality parts and materials which can
be re-used and recycled.
Therefore, do not dispose of the prod-
uct along with normal household waste
at the end of its service life. Take it to
a collection point for the recycling of electrical and
electronic equipment. The symbol on the product, in
the operating manual or on the packaging indicates
that recycling is possible.
Please find out about collection points operated by
your local authority.
Help protect the environment by recycling used prod-
ucts.
MPAXX 941 ----------------------------------------------------------------------------------------------------------------------------------------------------------------------------------------
Supplied accessories
1 Stereo earphones
2 USB cable
3 Brief instructions
Note:
7
The accessory components supplied can
change.
Special features
Combined MP3/WMA player and USB removable
medium.
Safety
7
This device is designed to play music files and
serves as a removable storage medium. Any other
use is expressly prohibited.
7
Do not drop the device.
7
Do not place the device near magnetic objects.
7
Make sure that the equipment is protected from
moisture (dripping or splashing water), sunlight
and heat.
7
Do not expose the batteries to extreme heat,
caused for example by direct sunlight, heaters or
fire.
7
Keep the player out of the reach of babies and
small children. There is a risk that they may swal-
low it.
7
Never open the device casing. No warranty
claims are accepted for damage caused by im-
proper handling.
7 Excessive volume levels when using
headphones or earphones can damage
your hearing.
Note:
7
Do not use the player if you are a motorist,
cyclist or pedestrian etc. in traffic. This impairs
road safety.

ENGLISH
4
6
V
In playback mode: press briefly to se-
lect the next track;
press and hold down to start the for-
ward search.
7 LED indicator: flashes up during charg-
ing or playback;
lights up constantly when the battery is
fully charged;
lights up constantly when playback is
paused.
8
(
USB socket for connecting the player to
the computer or standard USB charger
using a USB cable.
9 RESET Resets the player.
10 Clip for fastening the player to your
belt.
OVERVIEW -------------------------------------------------------------------------------------------------------------------------------------------------------------------------------------------
Controls
1 0 Connecting socket for the stereo ear-
phones.
2 + In playback mode: press briefly to in-
crease the volume incrementally;
press and hold down to switch between
various sound effects.
3
Λ
In playback mode: press briefly to se-
lect the previous track;
press and hold down to start the re-
verse search.
4 Press and hold down to switch the
player on and off.
In playback mode: switches to pause;
resumes playback.
5 – In playback mode: press briefly to re-
duce the volume incrementally;
press and hold down to activate or de-
activate the key lock.
10
9
8
7
6
5
4
3
2
1

5
ENGLISH
Connecting to a computer
1 Switch on the computer.
2 Switch off the player.
3 Connect the USB socket on the player to the USB
socket on the computer using the USB cable.
– A display appears on the computer screen as
soon as the connection is made.
Note:
7
If the player is connected to the computer, you
can select » « to switch to playback mode.
The player icon then goes out on the computer
screen. If you want to transfer data again, you
must connect the player to the computer again.
CONNECTION AND PREPARATION -----------------------------------------------------------
Power supply
The player operates with the integrated lithium-poly-
mer battery 1 x 3.7 V, 150 mA.
Charging the battery
Charge the battery for the player on a computer.
You can also charge the battery by connecting it to a
USB-compatible hi-fi system using a USB cable.
Note:
7
When charging with a standard USB adapter,
the player is still ready for operation. Press
» « to switch to playback mode.
1 Connect the USB socket on the player to the USB
socket on the computer or hi-fi system using the
USB cable or plug the charger lead into the USB
socket of the player.
2 Switch on the computer or hi-fi or connect the
charger to the power supply.
– The LED on the player flashes during the charg-
ing procedure. The charging time is approxi-
mately four hours. When the battery is fully
charged, the LED lights up constantly.
Note:
7
The playing time is more than 15 hours when
the player is fully charged.
Warning:
7
There is a risk of explosion if the battery is not
replaced properly. Only use the same type of
battery or an equivalent.

ENGLISH
6
Connecting earphones
1 Plug the earphones into the »0« socket on the
player.
Note:
7
Prolonged listening at loud volumes with the
earphones can damage your hearing.
CONNECTION AND PREPARATION -----------------------------------------------------------
Disconnecting from the computer
If there is no data transfer in progress, you can dis-
connect the player from the computer.
You must first remove the player from the Windows
desktop by following the Windows instructions for
“Removing hardware”.
Note:
7
Do not disconnect the player from the computer
while data transfer is in progress. This can dam-
age the data irreparably.
1 Double click the icon for removing hardware.
– The “Remove hardware” window appears.
2 To continue, follow the instructions on the screen.
Note:
The circuits of the player and the computer can
be seriously damaged if you do not follow the
instructions for Windows ME/2000/XP/Vista/
Windows 7 / Windows 8.

7
ENGLISH
Activating and deactivating the
key lock
When the key lock is activated, all the buttons on the
player are disabled.
1 To activate the key lock, press and hold down
»–«.
2 To deactivate the key lock, press and hold down
»–« again.
Resetting the player
In the event of a malfunction during operation or if
the player no longer responds to key commands, you
can reset the player.
1 To reset the device, use a pointed object such as
a paper clip to press »RESET«.
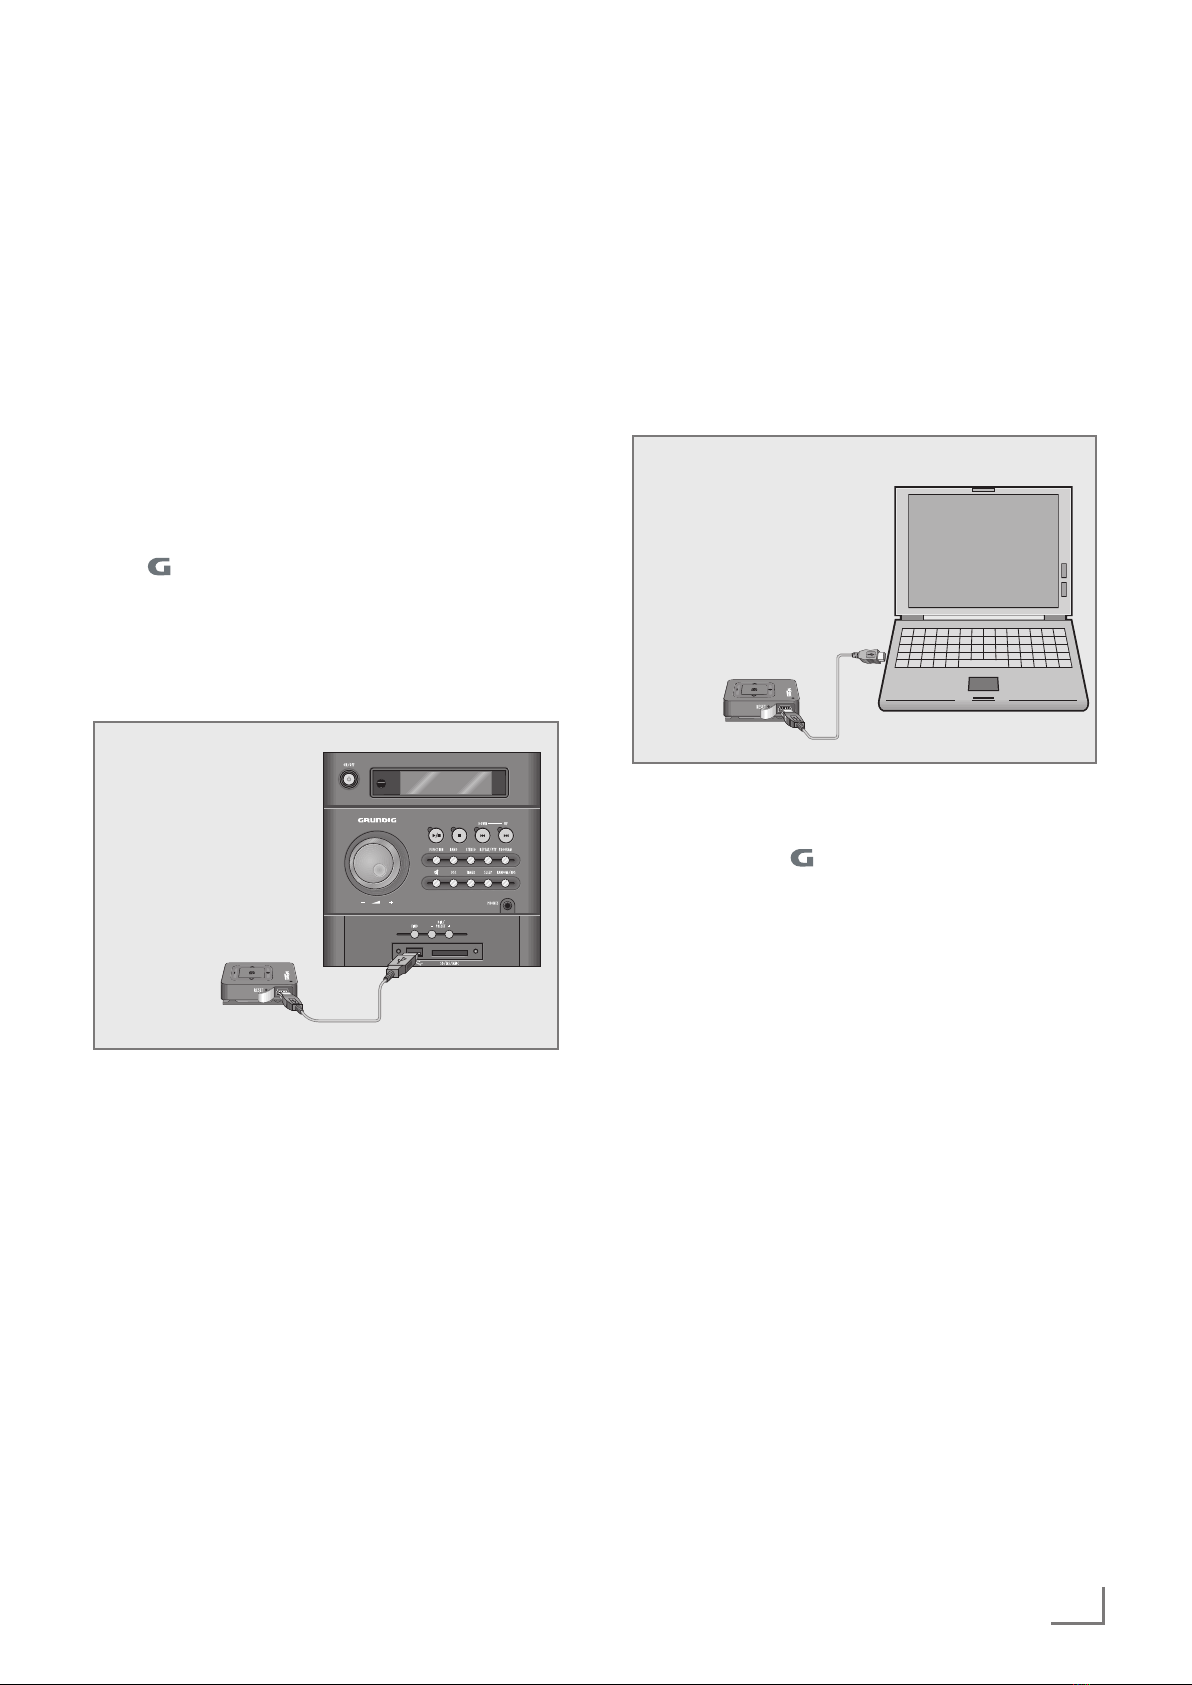
Note:
7
When resetting, the player should not be con-
nected to the computer or the USB charging
device.
GENERAL FUNCTIONS -------------------------------------------------------------------------------------------------------------------------------
Switching on and off
1 To switch on the player, press and hold down » «.
– The LED switches on and starts flashing.
– Playback then starts automatically (playback
always starts with the first track in the root direc-
tory – if there is one).
– The LED flashes during playback.
2 To switch off the player, press » « and hold it for
2 seconds.
– The LED goes out.
Notes:
7
When you switch the player on again, play-
back starts at the same point as when it was
switched off.
7
The player automatically switches off when the
battery is low.
Adjusting the volume
1 To adjust the volume, press »+« or »–« as many
times as necessary during playback.
Switch off the volume restriction
For your own protection, an “acoustic war-
ning signal” informs you if the headphones
are operating with a high volume as this
can cause hearing damage.
1 If the volume is increased above the normal vo-
lume value with »+«, an “acoustic warning signal”
informs you of this.
2 You can then set the volume to the maximum value
using»+«.

ENGLISH
8
Selecting sound settings
You can choose between the preset sound settings
Jazz, Rock, Classic, Pop and Bass.
1 To switch between the sound effects, press and hold
»+«.
Repeat Function
While music playing is paused.
1 Press the »+« button.
2 Press the » « button to resume playing.
– The player will repeat all songs.
Shuffle Function
While music playing is paused.
1 Press the »–« button.
2 Press the » « button to resume playing.
MUSIC PLAYBACK -----------------------------------------------------------------------------------------------------------------------------------------------------
Starting music playback
When you switch on the player, playback automati-
cally starts with the first track in the root directory, if
there is one.
– The LED flashes during playback.
– All the music files are played in succession.
Playback functions
1 To pause playback, briefly press » «.
– The LED lights up constantly.
2 To resume playback, briefly press » « again.
– The LED flashes.
3 To end playback, switch of the player by pressing
» « (and holding it down for 2 seconds).
– The LED goes out.
Selecting tracks
1 To select the previous or next track, briefly press
»
Λ
« or »
V
«.
Fast forward and reverse
search
1 To search for a passage in a track, press and hold
»
Λ
« or »
V
« during playback.
– The fast forward or reverse search begins. Re-
lease »
Λ
« or »
V
« at the position you want.

9
ENGLISH
MP3/WMA data transfers
1 Select the MP3/WMA files on your computer for
copying.
2 Highlight the files.
3 Right-click and select »Copy«.
4 Open a removable disk drive (e.g. H:) on your
computer.
5 Right-click the mouse to transfer the files onto the
removable disk drive (e.g. H:).
Note:
7
WMA files protected by DRM (Digital Rights
Management) cannot be played.
OPERATING WITH A COMPUTER ------------------------------------------------------------------------
System requirements
When connected to a computer, the player appears
as a removable disk drive. This corresponds to the
player’s flash memory. Your computer should meet
the following requirements:
– Windows 2000 / ME / XP / Vista / Windows 7 /
Windows 8, Mac OS 10 or higher, Linux Kernel
2.6.
– Microsoft DirectX 9.0 or higher
– Microsoft Media Player 9.0 or higher
– CD-ROM drive 4x or higher
– Pentium MMX 200 or higher
– Minimum 120 MB free hard disk memory
– USB interface

ENGLISH
10
INFORMATION --------------------------------------------------------------------------------------------------------------------------------------------------------------------
Technical data
This product fulfils the European direc-
tives 2004/108/EC, 2006/95/EC
and 2011/65/EU.
The type plate is located on the back of the device.
Power supply
Rechargeable battery: 1 x 3.7 V,
lithium polymer
Output
2 x 5 mW/32 Ohm (earphones)
Noise voltage ratio
≥ 85 dB
Internal memory
4 GB
MP3/WMA
Formats: MP3, WMA (playback)
MPEG bit rates: 8-320 kbps
WMA: 32-384 kbps
File system: FAT/FAT 32
USB
USB PC: 2.0 High Speed
Frequency response
20 Hz ... 20 kHz
Dimensions and weight
L x W x H: 43.0 x 34.2 x 9.0 mm
(14 mm with clip)
Weight approx. 0.025 kg
Technical and design modifications are reserved.

Grundig Intermedia GmbH
Beuthener Strasse 41
90471 Nürnberg
www.grundig.com
72011 412 1500 13/33
Table of contents
Other Grundig MP3 Player manuals

Grundig
Grundig GDR8700 User manual

Grundig
Grundig VP 6200/30GB User manual

Grundig
Grundig MPaxx MP 420/256MB Technical manual

Grundig
Grundig 30GB User manual

Grundig
Grundig MPaxx 928 Hydrox User manual

Grundig
Grundig MPaxx 920 User manual

Grundig
Grundig MPaxx SP 9100 PLL User manual

Grundig
Grundig MPAXXMP-100 User manual

Grundig
Grundig MP 420 User manual

Grundig
Grundig MPaxx M_P 100 User manual