manuals.online logo
Brands
  1. Home
  2. •
  3. Brands
  4. •
  5. Gutta
  6. •
  7. Outdoor Furnishing
  8. •
  9. Gutta BS Timber-Line 160 User manual

Gutta BS Timber-Line 160 User manual

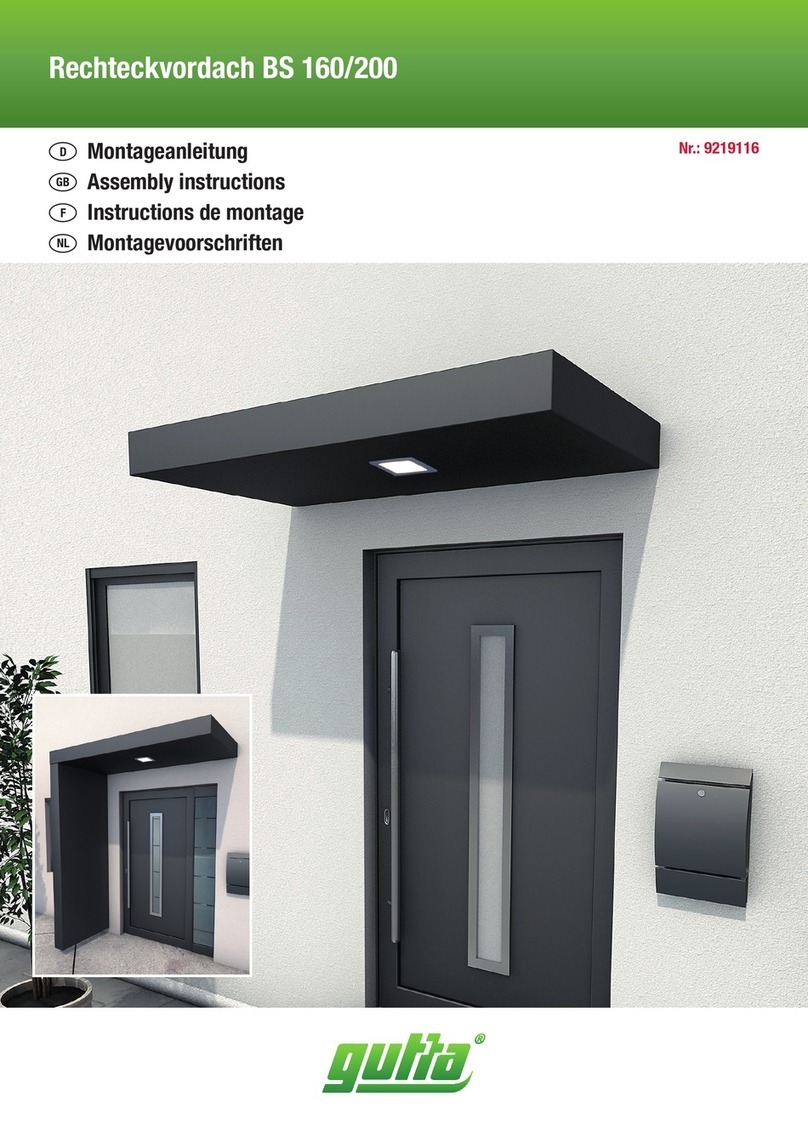
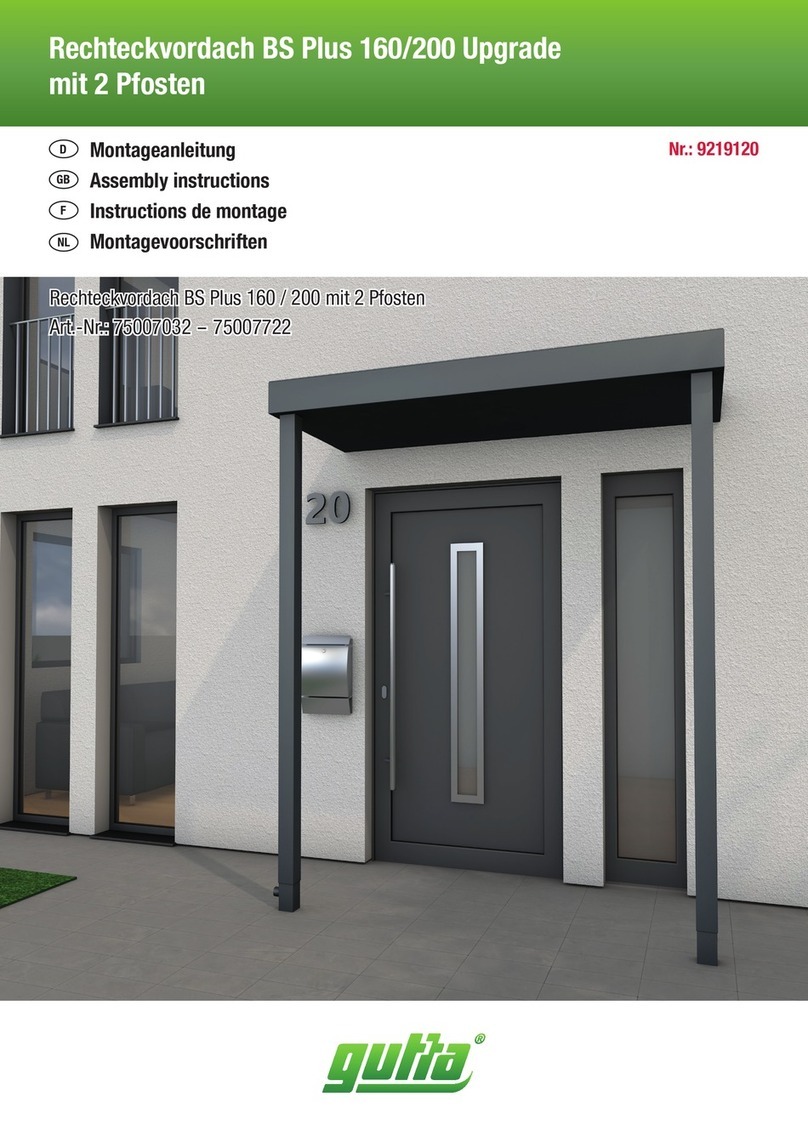
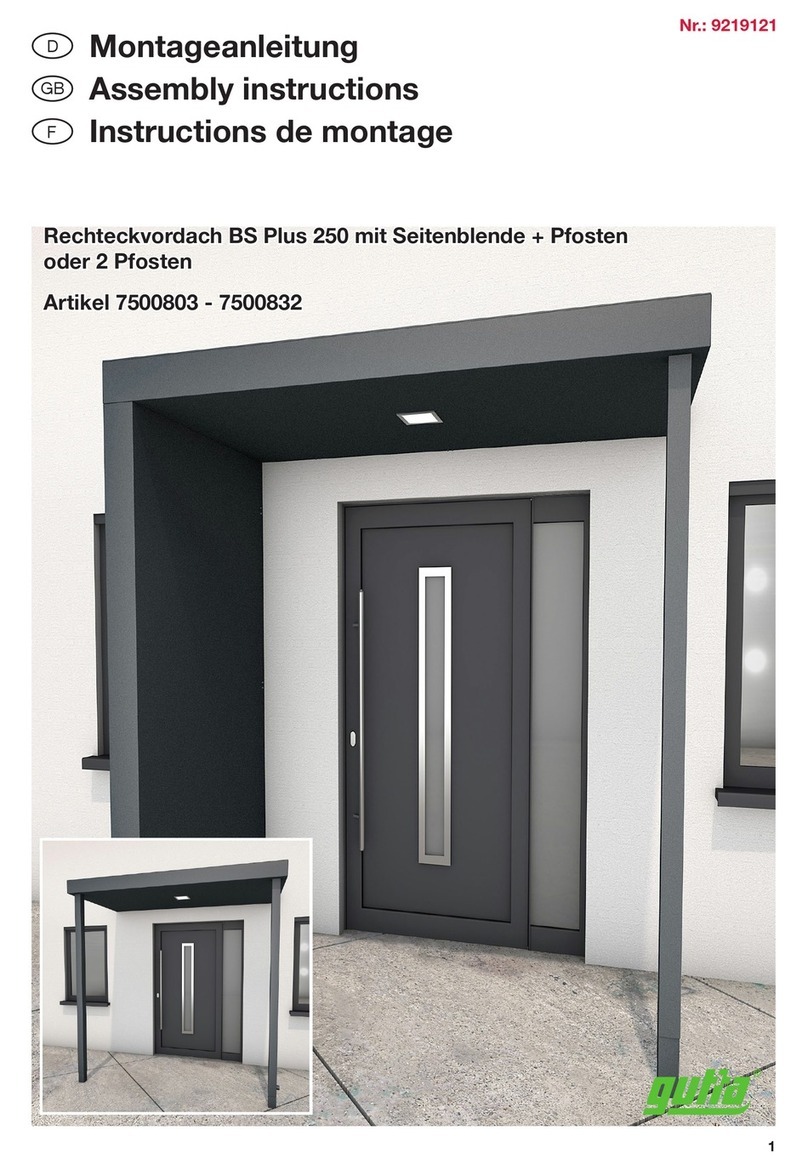
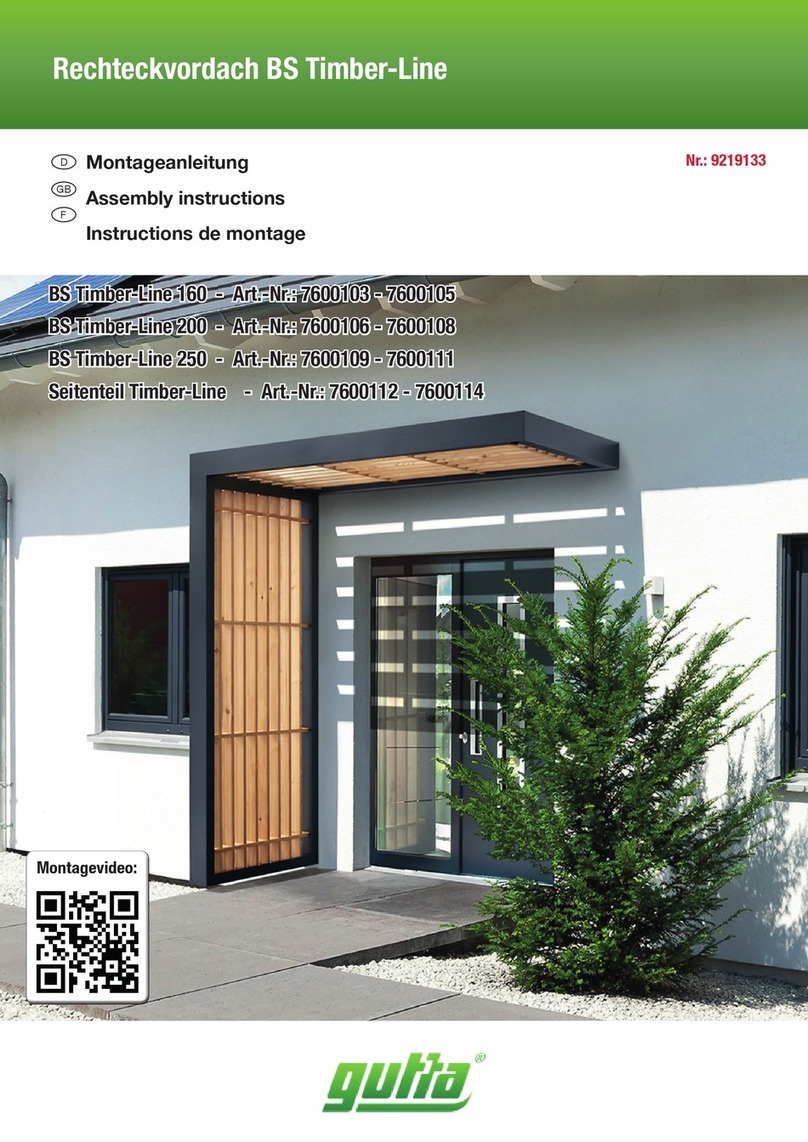
Montageanleitung
Assembly instructions
Instructions de montage
Nr.: 9219133
Rechteckvordach BS Timber-LineRechteckvordach BS Timber-Line
BS Timber-Line 160 -BS Timber-Line 160 - Art.-Nr.: 7600103Art.-Nr.: 7600103
BS TimberBS Timber-Line-Line 200 - Art.-Nr.: 7600106200 - Art.-Nr.: 7600106
BS TimberBS Timber-Line-Line 250 - Art.-N250 - Art.-Nr.: 7600109r.: 7600109
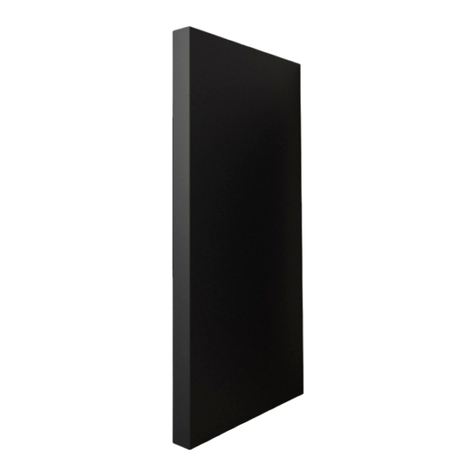
Seitenteil TimberSeitenteil Timber-Line-Line - Art.-Nr.: 7600112- Art.-Nr.: 7600112
D
GB
F
2
TX 25
Ø 12,0 mm
Recommandations
importantes !
• Avant le montage, veuillez lire attentivement les
instructions de montage et vérifier que le produit
ne présente pas de défauts ni de dommages dus au
transport, car aucune responsabilité ne sera assu-
mée pour les pièces déjà montées.
• Vérifiez avant le montage, si le type, la dimension
et la couleur sont corrects.
• Les fabrications sur mesure ne seront pas échan-
gées.
• L`auvent doit être seulement utilisé pour la fonc-
tion prescrite, sans quoi, toutes prestations de ga-
ranties seront annulées !
•
Nettoyez l
`
auvent environ tous les trois mois. Uti-
lisez seulement des produits d
`
entretien recomman-
dés dans le commerce (pas de produit à récurer ni
de solvant). Si nécessaire, les pièces peintes peuvent
être également entretenues avec un lustrant auto.
• Nettoyez les gouttières régulièrement (l`accu-
mulation d`eau pourrait endommager l`auvent).
• Adaptez le matériel à adapter selon la nature du
mur afin de garantir une fixation sûre.
• Nettoyez l‘auvent si une épaisse couche de neige
et de glace le recouvre.
• ATTENTION DANGER ! Ne montez pas sur l`auvent.
• Recommandation : le montage doit être effectué
par 2 personnes. En outre, vous devez réaliser les
joints avec un mastic silicone en vente dans le
commerce.
• L`installation électrique doit être effectuée ou en-
levée par un électricien qualifié.
• Une fois la période de garantie légale arrivée à
son terme, cette garantie ne s’applique plus sur les
pièces d’usure.
•
Pour cet auvent, nous fournissons d‘autres acces-
soires séparément. Veuillez vous informer auprès de
votre dépositaire.
• Sous réserve de modifications de la construction.
Wichtige Hinweise!
• Vor der Montage bitte Montageanleitung genau-
estens durchlesen und Produkt auf evtl. Transport-
schäden bzw. Fehler überprüfen, da für Schäden an
bereits montierten Produkten keine Haftung über-
nommen werden kann.
• Prüfen Sie vor dem Einbau, ob Typ, Maß und Farbe
übereinstimmen.
• Maßanfertigungen sind vom Umtausch ausge-
schlossen.
• Das Vordach darf nur für den vorgeschriebenen
Zweck verwendet werden, anderenfalls erlischt der
Produkthaftungsanspruch!
• Reinigen Sie das Vordach bitte in Abständen von
ca. 3 Monaten. Verwenden Sie nur vom Handel emp-
fohlene Pflegemittel (keine Scheuer- oder Lösungs-
mittel). Die lackierten Teile können auch bei Bedarf
mit Autopolitur behandelt werden.
• Die Wasserabläufe sind regelmäßig zu reinigen
(ansonsten Beschädigungsgefahr durch Stauwas-
ser).
• Die Befestigungsmittel sind der jeweiligen Be-
schaffenheit der Wand anzupassen. Eine ausrei-
chende Befestigung ist zu gewährleisten.
• Bei erhöhter Schnee- und Eislast ist das Vordach
abzuräumen.
• Achtung Unfallgefahr! Vordach ist nicht begehbar.
•
Empfehlung: Die Montage sollte von zwei Personen
durchgeführt werden. Zusätzlich müssen Sie mit ei-
nem handelsüblichen Silikon abdichten.
• Die Elektroinstallation muss vom Elektro-Fach-
mann ausgeführt oder abgenommen werden.
• Auf Verschleißteile besteht nach Ablauf der ge-
setzlichen Garantiezeit kein Garantieanspruch.
• Zu diesem Vordach liefern wir auch separates
Zubehör. Bitte informieren Sie sich bei Ihrem Fach-
händler.
• Änderung der Konstruktion vorbehalten.
Text aktualisiert 31/2021
Important
Reccommendations!
• Prior to assembly please study the assembly in-
structions in detail and check the consignment for
possible faulty parts or damage during transpor-
tation. No liability will be assumed for damage to
products already assembled.
• Please check that type, dimensions and colour
are correct before assembly.
• Custom-made products cannot be exchanged.
• The canopy may only be used for the intended
purpose, failing which no claims for product liabili-
ty can be accepted!
•
Clean the canopy every 3 months and only use a re-
commended cleaning product (no scrubbing agents
or solvents). If necessary, the lacquered parts can
also be treated with with car polish.
• The water drains should be cleaned regularly (in
order to avoid damage caused by accumulated wa-
ter).
• In each case, the canopy fastenings must be sui-
table for the construction of the wall in question.
Secure attachment must be ensured.
•
Accumulated snow and ice should be removed from
the canopy.
• Caution - Danger of accident! The canopy is not
load bearing; do not climb or place your weight on
the canopy.
• Recommendation: Assembly should be carried
out by two persons. You must also seal the canopy
using standard commercial silicone.
• The electrical installation must be carried out or
removed by a qualified electrician.
• No guarantee claims can be accepted for parts
subject to wear and tear after the statutory guaran-
tee period has expired.
• We can also supply separate accessories for this
canopy. Please ask your local dealer for details.
• The design is subject change.
GB
D F
3
Nr.Nr.
No.No.
No.No.
Bezeichnung
Description
Désignation
Stück
Pieces
Piéces
Timber
160
Timber
200
Timber
250
1. Dübel Ø 12 mm
Plugs Ø 12 mm | Goujons Ø 12 mm 6 x 8 x 8 x
2. U-Scheibe
Washers | Laveuse 6 x 8 x 8 x
3. Schraube 10 x 80 mm
Screw 10 x 80 mm| Visser 10 x 80 mm 6 x 8 x 8 x
4. Metallschraube 5,5 x 25 mm
Metal srew 5,5 x 25 mm| Métallique visser 5,5 x 25 mm 14 x 14x 16 x
5.
Acrylglasscheibe 4mm klar
Acrylic glass pane 4mm clear |
Vitre acrylique transparente de 4 mm
1 x 1 x 1 x
6. Z-Profile lang
Z-Profile long | Profilé en Z long 2 x 2 x 2 x
7. Z-Profile kurz
Z-Profile short | Profilé en Z court 2 x 2 x 2 x
8. Außenrahmen
Outer frame | Cadre extérieur 1 x 1 x 1 x
9.
Innenrahmen mit Holz verschraubt
Inner frame screwed with wood |
Cadre intérieur vissé au bois
1 x 1 x 1 x
10. Wasserspeier
Water spout | Bec de l‘eau 1 x 1 x 1 x
11.
Alublech zur Montage des Wasserspeiers
Aluminum sheet for mounting the waterspout |
Tôle d‘aluminium pour le montage du bec d‘eau
1 x 1 x 1 x
12. Schraube M5 x 50 mm
Screw M5 x 50 mm | Visser M5 x 50 mm 1 x 1 x 1 x
13. Blindstopfen
Dummy plug | Bouchon factice 1 x 1 x 1 x
14. Kompriband
Compri tape | Bande Compri 1 x 1 x 1 x
15: Mutter M5
Nut M5 | Ecrou M5 1 x 1 x 1 x
Stückliste | Parts list | liste de pièces
4
Anbaumaße BS Timber-Line 160 | 200 | 250
Screw size BS Timber-Line 160 | 200 | 250
Taille de vis BS Timber-Line 160 | 200 | 250
Mindesthöhe Unterkante Vordach = 2240 mm. Siehe auch Montage
Seitenteil auf Seite 11.
Minimum height lower edge canopy = 2240 mm. See also Side panel assembly
on page 11.
Hauteur minimale du bord inférieur de l‘auvent = 2240 mm. Voir également
l‘assemblage du panneau latéral à la page 11.
77,5 mm60 mm
107,5 mm
60 mm
29 mm
AB
77,5 mm 60 mm
107,5 mm
60 mm
125 mm
29 mm
60 mm
C
A
1600 mm
2000 mm
2500 mm
1385 mm
892,5 mm
1142,5 mm
A
A
B
B
B
C
C
5
Montage BS Timber-Line 160 | 200 | 250
Instructions BS Timber-Line 160 | 200 | 250
Heben Sie den Innenrahmen inkl. Holzleisten aus dem Außenrahmen und gehen Sie dabei wie folgt vor:
1. Z-Profile entfernen | 2. Acryplatte herausnehmen | 3. Innenrahmen herausheben - siehe Bild.
Lift the inner frame incl. wooden strips out of the outer frame, proceeding as follows:
1. remove Z-profiles | 2. take out acrylic plate | 3. lift out inner frame - see picture.
Soulevez le cadre intérieur, y compris les bandes de bois, pour le sortir du cadre extérieur et procédez comme suit :
1. retirer les profilés en Z | 2. retirer la plaque acrylique | 3. retirer le cadre intérieur - voir photo.
Außenrahmen
Outer frame
Cadre extérieur
Innenrahmen
Inner frame
Cadre intérieur

This manual suits for next models

7

Other Gutta Outdoor Furnishing manuals

Gutta BS 160 User manual

Gutta

Gutta BS 160 User manual

Gutta 4295003 User manual

Gutta

Gutta 4295003 User manual

Gutta 7500015 User manual

Gutta

Gutta 7500015 User manual

Gutta 4295021 User manual

Gutta

Gutta 4295021 User manual

Gutta Timber 160 User manual

Gutta

Gutta Timber 160 User manual

Gutta 4295301 User manual

Gutta

Gutta 4295301 User manual

Gutta BS 160 User manual

Gutta

Gutta BS 160 User manual

Gutta 7500703 User manual

Gutta

Gutta 7500703 User manual

Gutta 7500803 User manual

Gutta

Gutta 7500803 User manual

Gutta BS Plus 160 User manual

Gutta

Gutta BS Plus 160 User manual

Gutta 7500015 User manual

Gutta

Gutta 7500015 User manual

Gutta Premium Carport 4296203 User manual

Gutta

Gutta Premium Carport 4296203 User manual

Gutta 4295003 User manual

Gutta

Gutta 4295003 User manual

Gutta BS Plus 160 User manual

Gutta

Gutta BS Plus 160 User manual

Gutta BS Plus 160 User manual

Gutta

Gutta BS Plus 160 User manual

Gutta BS 160 User manual

Gutta

Gutta BS 160 User manual

Popular Outdoor Furnishing manuals by other brands

felton industries FELEPG5T6 Assembly instruction

felton industries

felton industries FELEPG5T6 Assembly instruction

Dreamo OTF-503S quick start guide

Dreamo

Dreamo OTF-503S quick start guide

Garden Furniture Direct Borrowdale Assembly instructions

Garden Furniture Direct

Garden Furniture Direct Borrowdale Assembly instructions

Rowlinson Clarendon Assembly instructions

Rowlinson

Rowlinson Clarendon Assembly instructions

Garden Treasures 8201268 Assembly instructions

Garden Treasures

Garden Treasures 8201268 Assembly instructions

Safavieh Outdoor Marson PAT7062 quick start guide

Safavieh Outdoor

Safavieh Outdoor Marson PAT7062 quick start guide

SSC-LUXon 990070716 Assembly & operating instructions

SSC-LUXon

SSC-LUXon 990070716 Assembly & operating instructions

supremo LEISURE 2-Seat Stool 110*40cm Assembly instruction

supremo LEISURE

supremo LEISURE 2-Seat Stool 110*40cm Assembly instruction

Hatteras Hammocks DCA1-K-HH instructions

Hatteras Hammocks

Hatteras Hammocks DCA1-K-HH instructions

Lemeks Palmako PA120-5959 Assembly, installation and maintenance manual

Lemeks

Lemeks Palmako PA120-5959 Assembly, installation and maintenance manual

OLT 24 Assembly manual

OLT

OLT 24 Assembly manual

forest-style HACIENDA 2354 Building instructions

forest-style

forest-style HACIENDA 2354 Building instructions

Courtyard Creations RUS0188-WM Assembly instructions

Courtyard Creations

Courtyard Creations RUS0188-WM Assembly instructions

kingsley-bate MC-55 Assembly instructions

kingsley-bate

kingsley-bate MC-55 Assembly instructions

Weltevree Carrier product manual

Weltevree

Weltevree Carrier product manual

Grange Fencing Elite Arch Assembly instructions

Grange Fencing

Grange Fencing Elite Arch Assembly instructions

Grosfillex AUVENT YR14 Assembly instructions

Grosfillex

Grosfillex AUVENT YR14 Assembly instructions

X-METAL EAGLE 33511 Assembly instructions

X-METAL

X-METAL EAGLE 33511 Assembly instructions

manuals.online logo
manuals.online logoBrands
  • About & Mission
  • Contact us
  • Privacy Policy
  • Terms and Conditions

Copyright 2025 Manuals.Online. All Rights Reserved.