manuals.online logo
Brands
  1. Home
  2. •
  3. Brands
  4. •
  5. HARTING
  6. •
  7. Crimping Tools
  8. •
  9. HARTING 09 99 000 0620 User manual

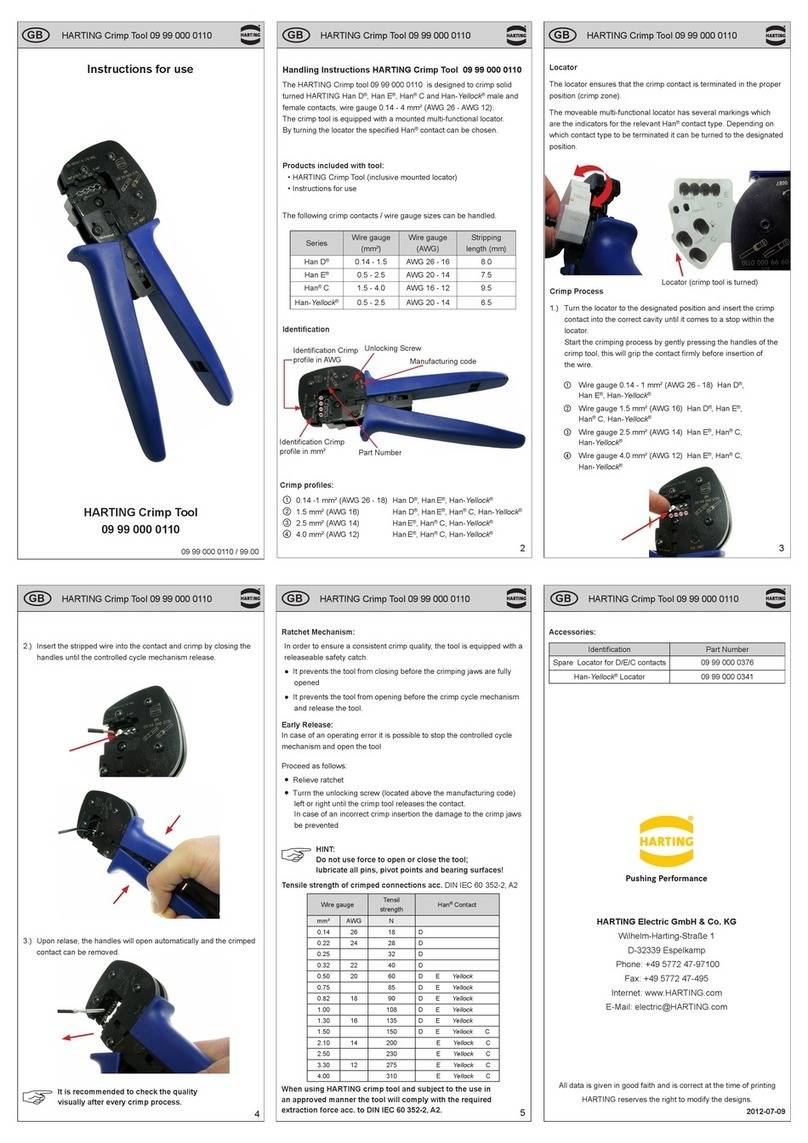
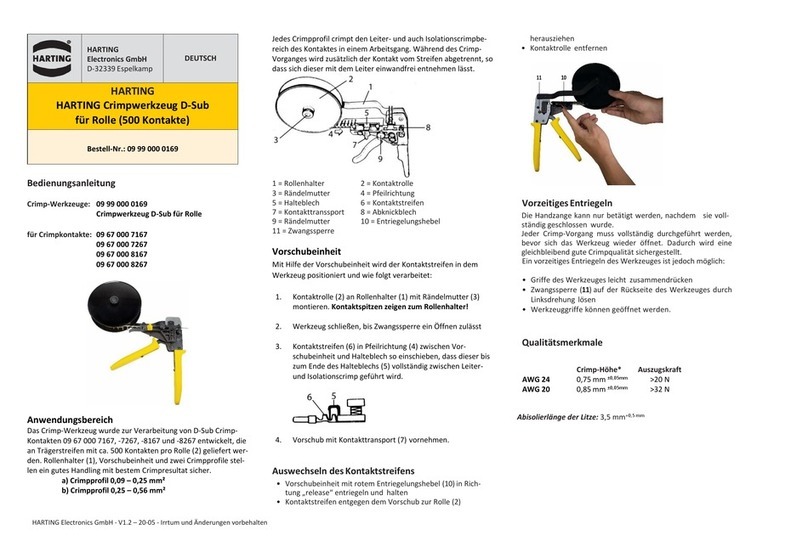
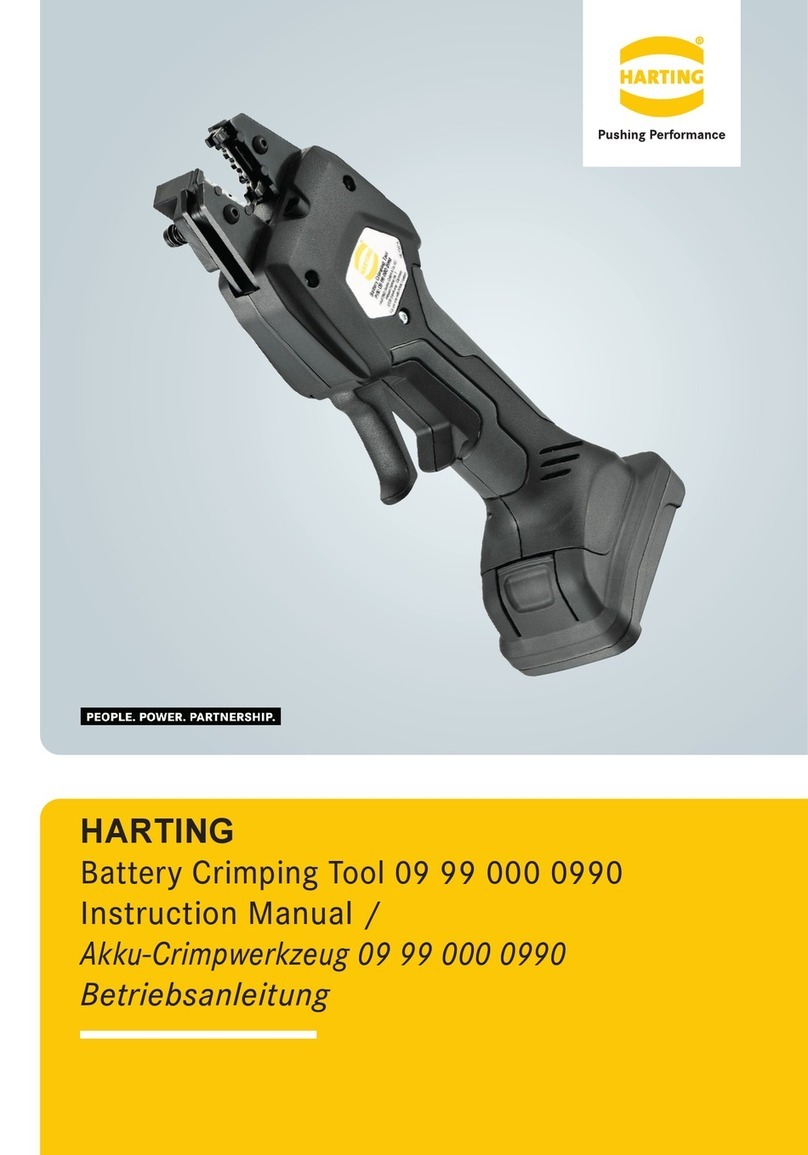
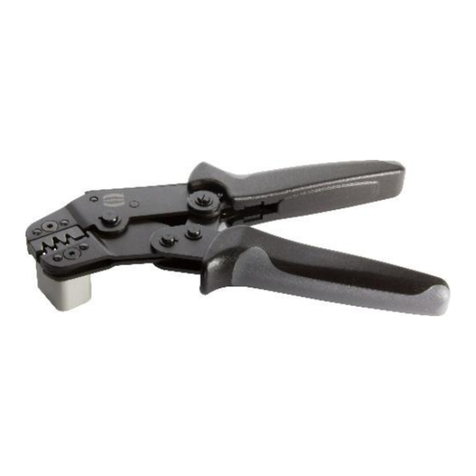
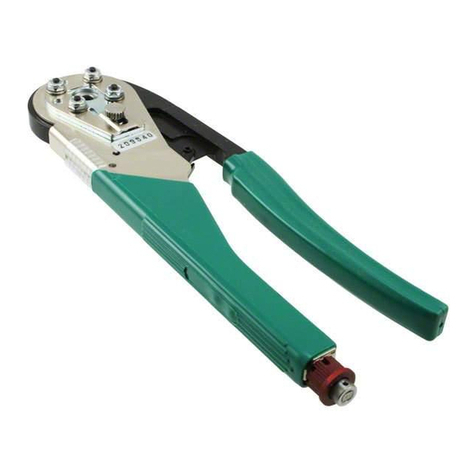
HARTING 09 99 000 0620 User manual

HARTING Electronics GmbH & Co. KG
D – 32339 Espelkamp
[email protected]
www.HARTING.com
09 99 000 0620
Anleitung für HARTING Crimpwerkzeug für Einzelkontakte
Manual for HARTING Crimp tool for individual contacts
Art.
-
Nr.
Part no.
09 99 000 0620 DE/EN Version 1.3 09990000620_EN_Dt_0806.doc
Verriegelung
Um eine gleich bleibende Crimpqualität bei allen
Kontakten zu gewährleisten, ist die Zange mit einer
Sperre versehen.
•
Sie lässt ein Schließen der Zange nicht zu,
bevor die Crimpbacken nicht ganz geöffnet sind.
•
Sie verhindert ein vorzeitiges Öffnen der Zange
bei eingeleitetem Crimpvorgang.
Vorzeitige Entriegelung
Die Crimpzange kann entriegelt werden, indem
man die Zange leicht zusammendrückt und dann
die Schraube wie angegeben in Pfeilrichtung dreht.
Danach kann die Crimpzange vollständig geöffnet
werden.
Crimpen
• Den Positionierer aufklappen.
• Den Einzelkontakt in den Positionierer
1
einführen- dabei die richtige Kammer nutzen!
• Den Positionierer zurückklappen
• Die Zange nun schließen bis der Kontakt
sicher gehalten wird –
2
• Den Draht in den Kontakt einführen.
• Die Crimpung durchführen, bis die Zange
entriegelt wird.
• Den gecrimpten Kontakt entnehmen.
Wartung und Pflege
• Bei Bedarf ist die Crimpzange von Staub und Oil zu säubern.
• Die Crimpzange vor Staub und Feuchtigkeit geschützt aufbewahren!
Nur HARTING Crimpkontakte können damit verarbeitet werden!
Das Werkzeug vor Staub und Feuchtigkeit schützen
!
The basic tool
09 99 000 0620
can be used with the fol-
lowing crimping insert sets
Crimping insert set-no. For individual
contacts
Wire gauge:
[mm²]
Isolation-Ø
[mm]
09 99 000 0621 0902 000 . . . . BC 0.09 – 0.50 0.7-1.5
09 99 000 0621 0906 000 . . . 4 FC 1
0.09 – 0.25 0.7-1.5
09 99 000 0622 0906 000 . . . 1 FC 2
0.14 – 0.56 0.8-2.0
09 99 000 0623 0906 000 . . . 2 FC 3
0.50 – 1.50 1.6-2.8
Marking of the FC-contacts is stamped on their rear site.
Locators are supplied with the crimping sets.
To order them separately use the following part-no.
09 99 000 0630 locator BC
09 99 000 0631 locator FC
Set up Crimping inserts
•
Screw-off the fixing screw (1) – pliers closed
•
Close tool until it releases (open now the tool)
•
Remove inserts (first upper part)
•
Install new inserts – marking (2) has to have same colour
– first insert lower part
•
Fix the screws again with: ISKA M4x18 (upper)
ISKA M4x9 (lower)
•
Plug the locator from the top in a 90°position as shown in
the picture
Safety ratchet
•
The hand crimp tool can only be used after it has been
opened completely. Each crimp process has to be done
1
2
HARTING Electronics GmbH & Co. KG
D – 32339 Espelkamp
[email protected]
www.HARTING.com
09 99 000 0620
Anleitung für HARTING Crimpwerkzeug für Einzelkontakte
Manual for HARTING Crimp tool for individual contacts
Art.
-
Nr.
Part no.
09 99 000 0620 DE/EN Version 1.3 09990000620_EN_Dt_0806.doc
fully, before the tool can be opened again. This guaranties a good quality crimp
each time.
Do not open or close the tool by force!
Early crimp unclamp
It is possible to open the tool during crimping if
necessary:
• Slightly hold together the grips of the tool
• Open the safety barrier on the rear side of the
tool by turning left or right
• Open the grips of the tool to release the partially
crimped contact.
Crimp process
• Fold up locator
• Assemble the contact into the locator
1
–
select the right chamber!
• Fold back the locator
• Close the tool until the contact will be hold–
2
• Put the wire into the crimp opening
• Crimp the contact until the tool can be released
• Take out the crimped contact.
Maintenance
Remove any existing material and dirt and clean the
crimp zone regularly. Check the crimp zone of the
tool for correct closing, clean all moving parts.
These should move smoothly in operation and lubricate them. (Use: machine oil
SAE 20).
Use with HARTING crimp contacts only!
Protect tool against high humidity and dust!
Das Basiswerkzeug
09 99 000 0620
wird mit folgenden Crimp-
einsätzen betrieben.
Crimpeinsatz Nr. für Einzelkontakte Leiterquerschnitte:
[mm²]
Isolations-Ø
[mm]
09 99 000 0621 0902 000 . . . . BC 0.09 – 0.50 0.7-1.5
09 99 000 0621 0906 000 . . . 4 FC 1
0.09 – 0.25 0.7-1.5
09 99 000 0622 0906 000 . . . 1 FC 2
0.14 – 0.56 0.8-2.0
09 99 000 0623 0906 000 . . . 2 FC 3
0.50 – 1.50 1.6-2.8
Die FC-Kontakte sind auf der Rückseite entsprechend markiert.
Der Positionierer ist Bestandteil der Crimpeinsätze.
Zur Nachbestellung können folgende Artikelnummern genutzt werden.
09 99 000 0630 Positionierer BC
09 99 000 0631 Positionierer FC
Montage der Crimpeinsätze
•
Bei geschlossener Zange werden die Befestigungs-
schrauben (1) entfernt.
•
Nun die Zange komplett schließen oder entriegeln und
dann öffnen.
•
Die Einsätze entfernen (den oberen zuerst).
•
Jetzt die neuen Einsätze montieren. Dabei müssen die
Markierungen (2) die selbe Farbe haben (den unteren
Einsatz zuerst montieren).
•
Die Einsätze mit den Befestigungsschrauben sichern:
SKA M4x18 (oben)
ISKA M4x9 (unten)
•
Positionierer von oben her so aufstecken, dass im ge-
schlossenen Zustand die Kontaktaufnahmen in Richtung
des Werkzeuges zeigen.
1
11
1
2
22
2

Other HARTING Crimping Tools manuals

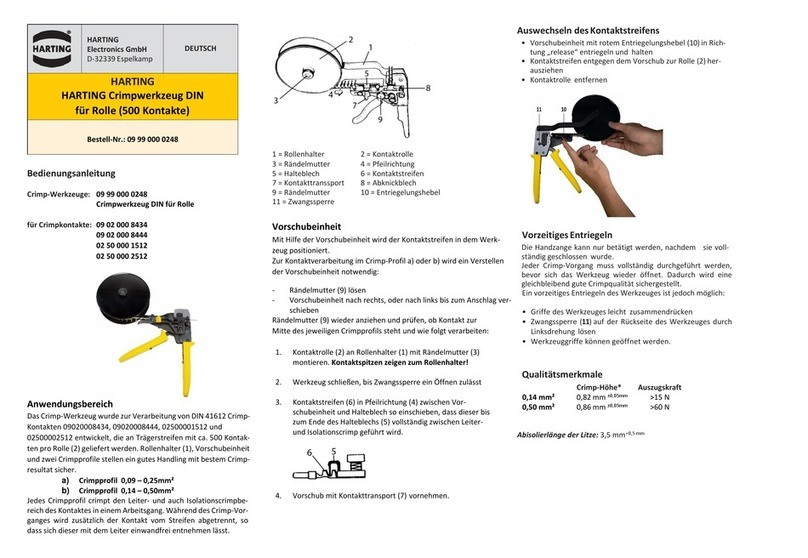
HARTING 09 99 000 0501 User manual

HARTING

HARTING 09 99 000 0501 User manual
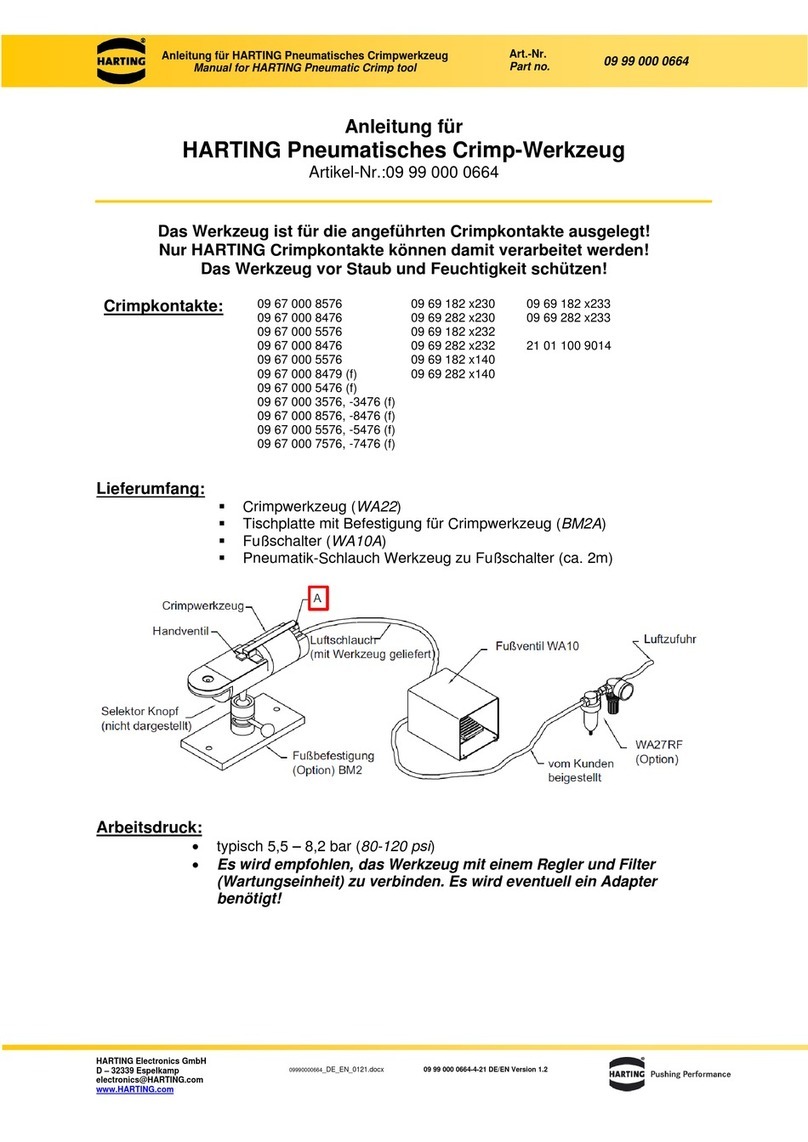
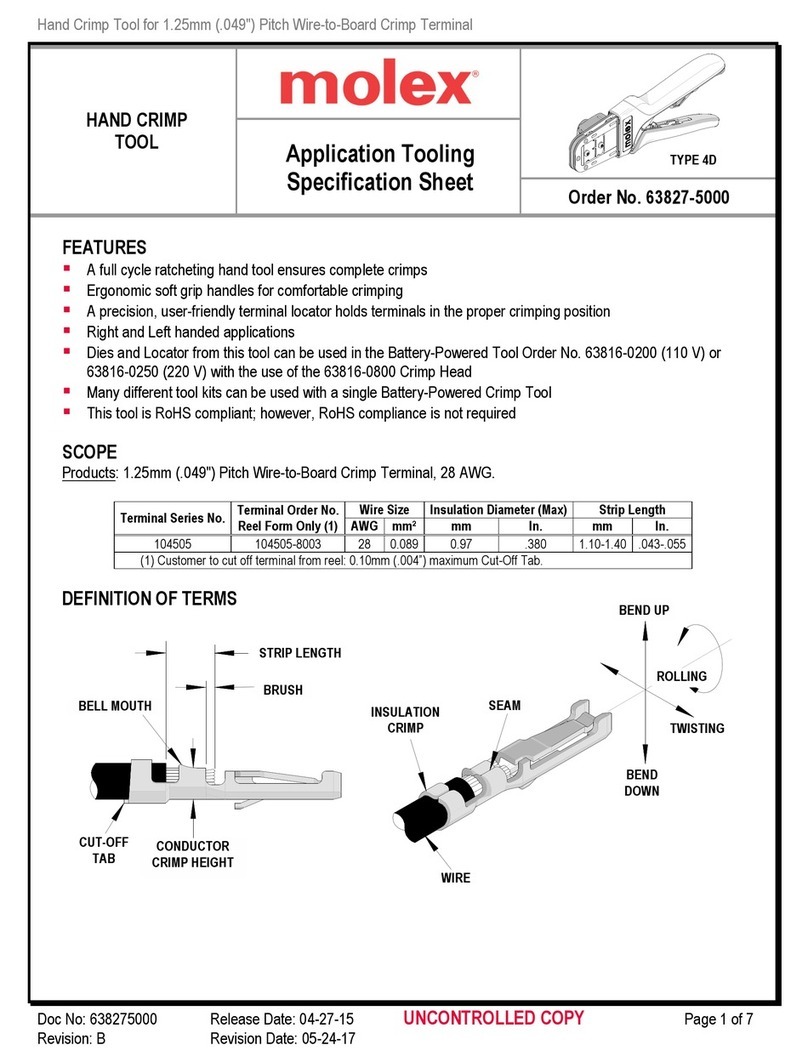
HARTING 09 99 000 0647 User manual

HARTING

HARTING 09 99 000 0647 User manual

HARTING 09 99 000 0501 User manual

HARTING

HARTING 09 99 000 0501 User manual

HARTING 09 99 000 0196 User manual

HARTING

HARTING 09 99 000 0196 User manual

HARTING 09 69 82 5140 Series User manual

HARTING

HARTING 09 69 82 5140 Series User manual

HARTING T1 User manual

HARTING

HARTING T1 User manual

HARTING ix Industrial 09 45 800 0181 User manual

HARTING

HARTING ix Industrial 09 45 800 0181 User manual

HARTING 09 99 000 0001 Instruction manual

HARTING

HARTING 09 99 000 0001 Instruction manual

HARTING 09 99 000 0248 User manual

HARTING

HARTING 09 99 000 0248 User manual

HARTING M17 User manual

HARTING

HARTING M17 User manual

HARTING 09 99 000 0664 User manual

HARTING

HARTING 09 99 000 0664 User manual

HARTING 09 99 000 0110 User manual

HARTING

HARTING 09 99 000 0110 User manual

HARTING 09 99 000 0656 User manual

HARTING

HARTING 09 99 000 0656 User manual

HARTING 09 99 000 0990 User manual

HARTING

HARTING 09 99 000 0990 User manual

HARTING 09 99 000 0169 User manual

HARTING

HARTING 09 99 000 0169 User manual

HARTING 09 45 800 2800 User manual

HARTING

HARTING 09 45 800 2800 User manual

HARTING 09990000695 User manual

HARTING

HARTING 09990000695 User manual

HARTING 09 99 000 0119 User manual

HARTING

HARTING 09 99 000 0119 User manual
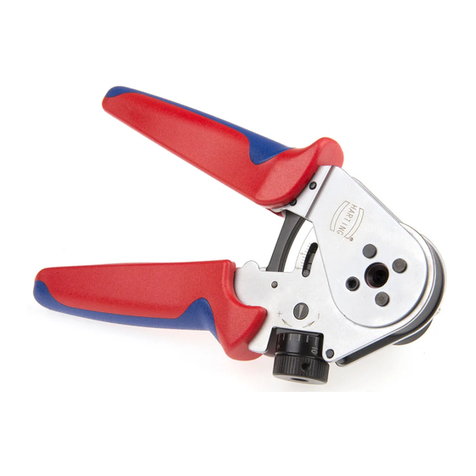
HARTING 20 99 000 1035 User manual

HARTING

HARTING 20 99 000 1035 User manual
Popular Crimping Tools manuals by other brands

Tyco Electronics 69156-1 instruction sheet

Tyco Electronics

Tyco Electronics 69156-1 instruction sheet

Milwaukee M18 FORCE LOGIC 2878-20 Operator's manual

Milwaukee

Milwaukee M18 FORCE LOGIC 2878-20 Operator's manual

Greenlee GATOR EK1550LX Operation manual

Greenlee

Greenlee GATOR EK1550LX Operation manual

molex 63823-7570 Specification sheet

molex

molex 63823-7570 Specification sheet

molex 207128 Series Specification sheet

molex

molex 207128 Series Specification sheet

Granit G20 operating instructions

Granit

Granit G20 operating instructions

molex CR60622B Operating Instruction and Specifications Sheet

molex

molex CR60622B Operating Instruction and Specifications Sheet

Textron Klauke K 15 instruction manual

Textron

Textron Klauke K 15 instruction manual

Staubli PV-CZM Series operating instructions

Staubli

Staubli PV-CZM Series operating instructions

Emerson Klauke ESM 50CFB quick start guide

Emerson

Emerson Klauke ESM 50CFB quick start guide

molex 207129 Series Specification sheet

molex

molex 207129 Series Specification sheet

DDK DK-3 instruction manual

DDK

DDK DK-3 instruction manual

Emerson Klauke EK 60/22CFB manual

Emerson

Emerson Klauke EK 60/22CFB manual

Emerson Klauke EK 120IDCFM Assembly instructions

Emerson

Emerson Klauke EK 120IDCFM Assembly instructions

Panduit CTFP-100 operating instructions

Panduit

Panduit CTFP-100 operating instructions

Panduit CT-2002CH manual

Panduit

Panduit CT-2002CH manual

BEX MultiBEX mx3 instruction manual

BEX

BEX MultiBEX mx3 instruction manual

TE Connectivity 528008-4 operating instructions

TE Connectivity

TE Connectivity 528008-4 operating instructions

manuals.online logo
manuals.online logoBrands
  • About & Mission
  • Contact us
  • Privacy Policy
  • Terms and Conditions

Copyright 2025 Manuals.Online. All Rights Reserved.