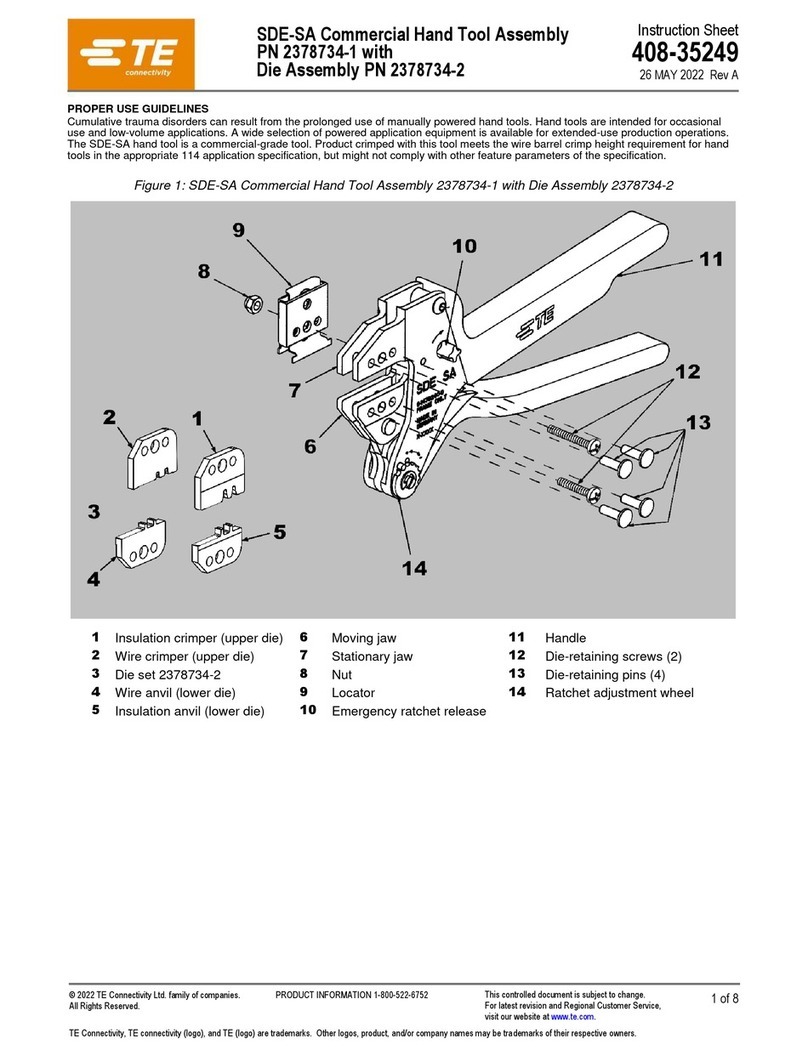
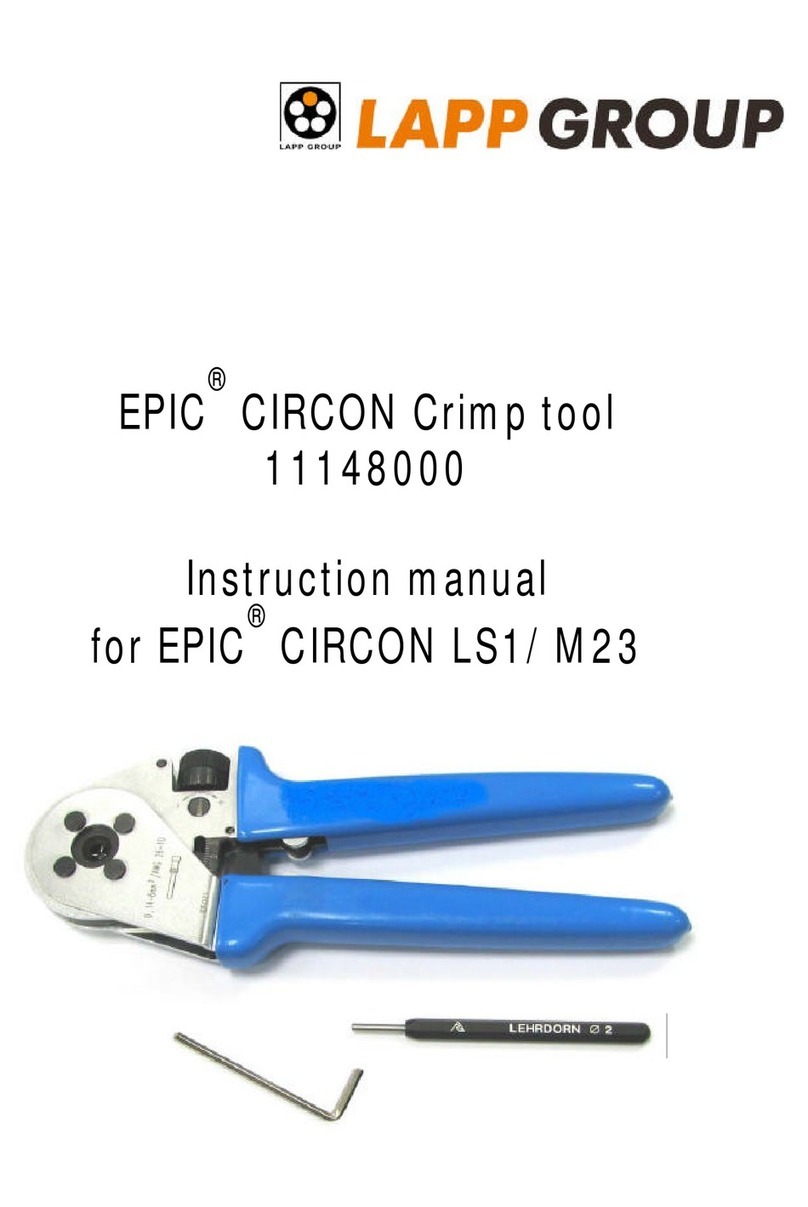
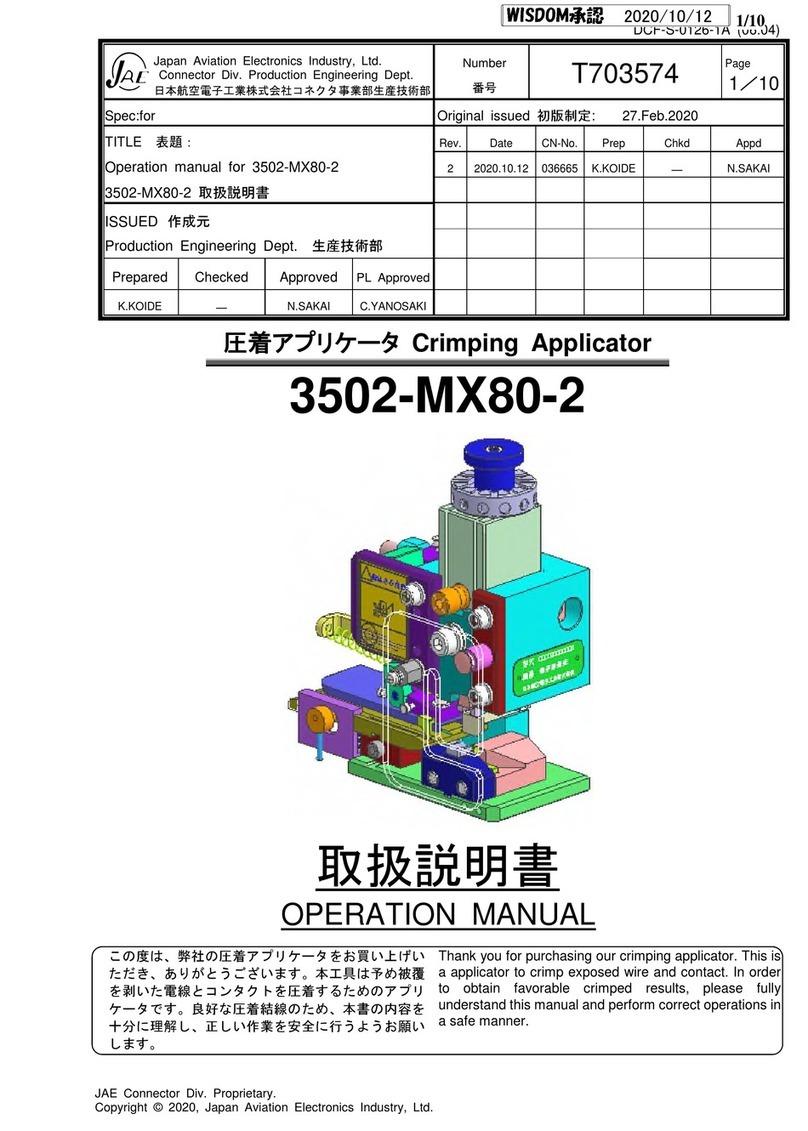
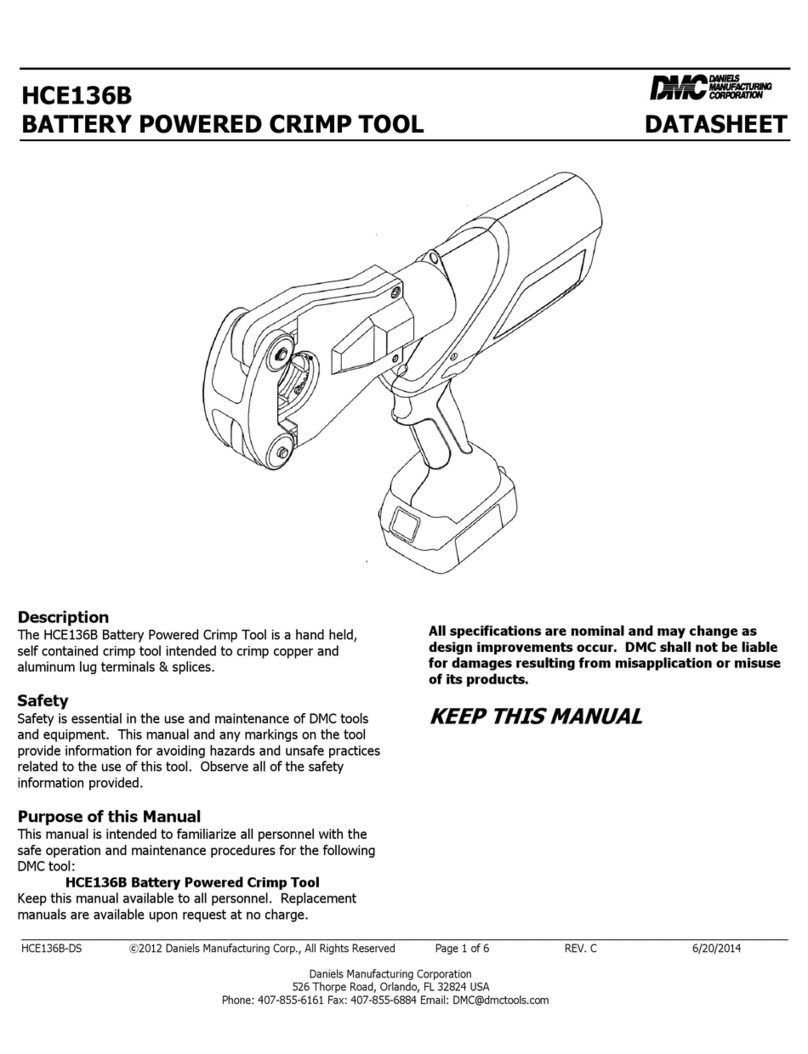
HARTING ix Industrial 09 45 800 0181 User manual
Other HARTING Crimping Tools manuals

HARTING
HARTING T1 User manual

HARTING
HARTING 09 99 000 0196 User manual
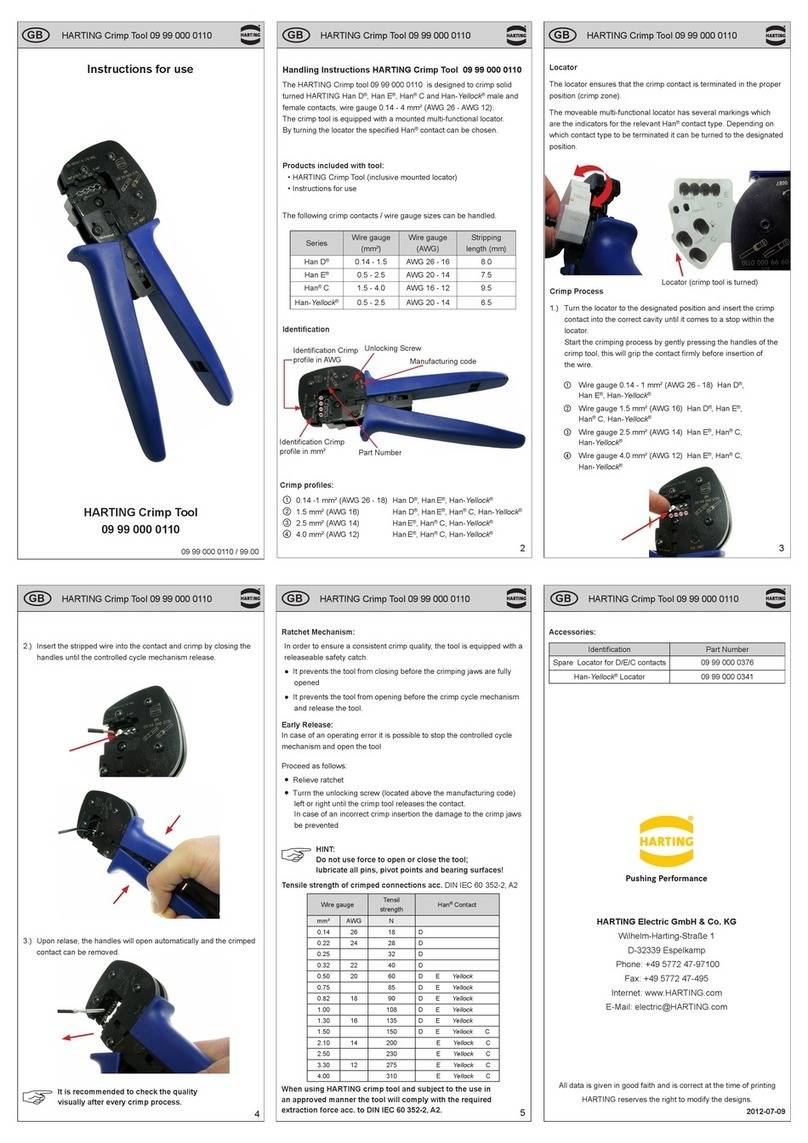
HARTING
HARTING 09 99 000 0110 User manual

HARTING
HARTING 09990000695 User manual

HARTING
HARTING 09 99 000 0990 User manual
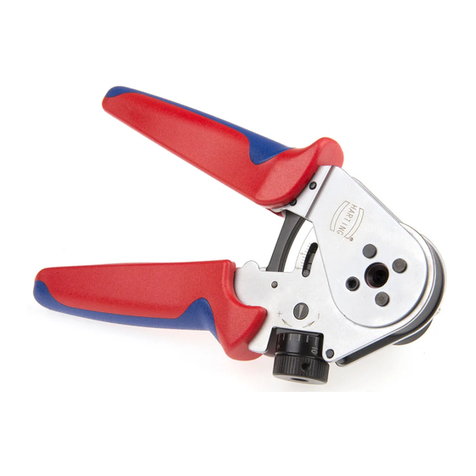
HARTING
HARTING 20 99 000 1035 User manual
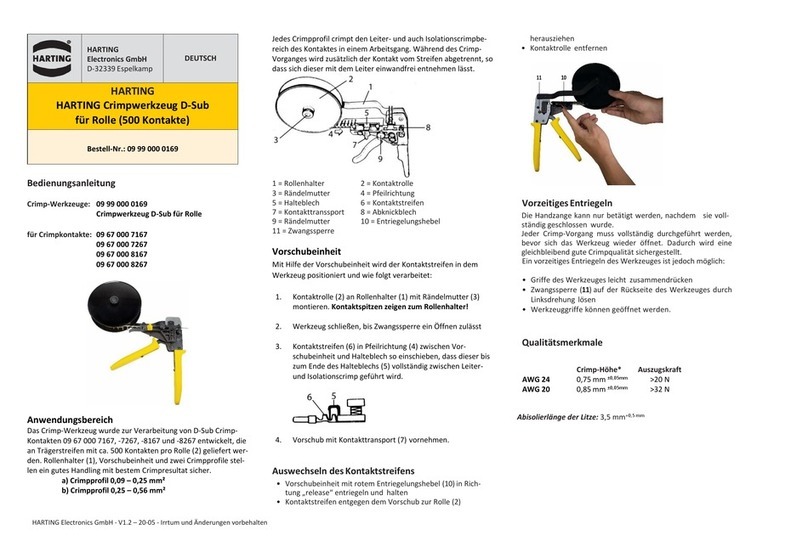
HARTING
HARTING 09 99 000 0169 User manual
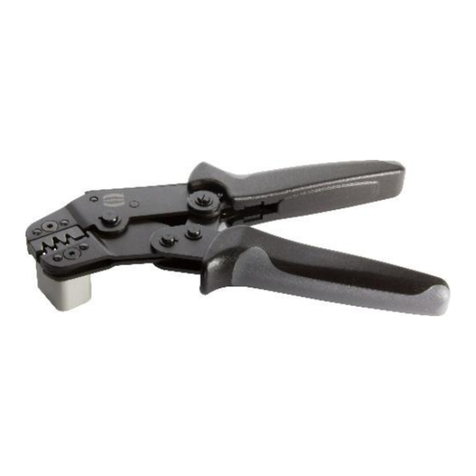
HARTING
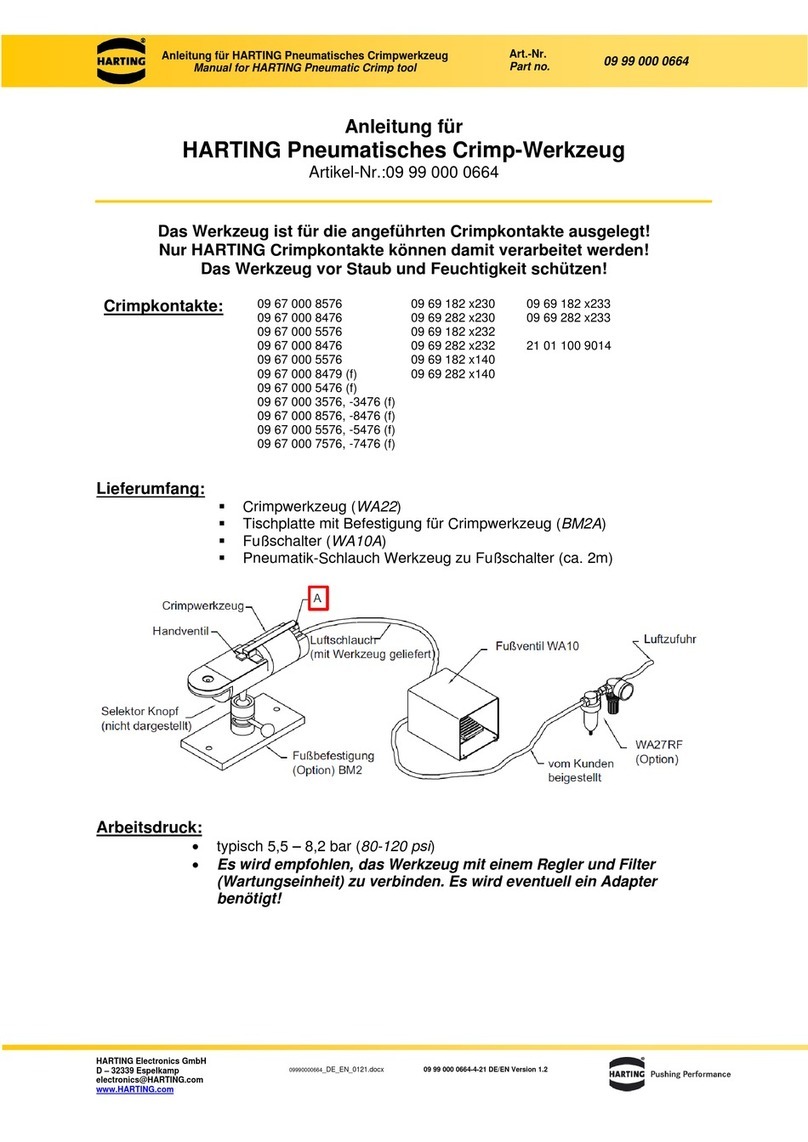
HARTING 09 99 000 0656 User manual
HARTING
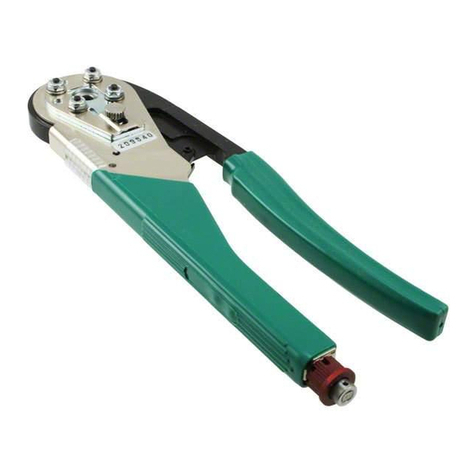
HARTING 09 99 000 0664 User manual
HARTING
HARTING 09 99 000 0001 Instruction manual

HARTING
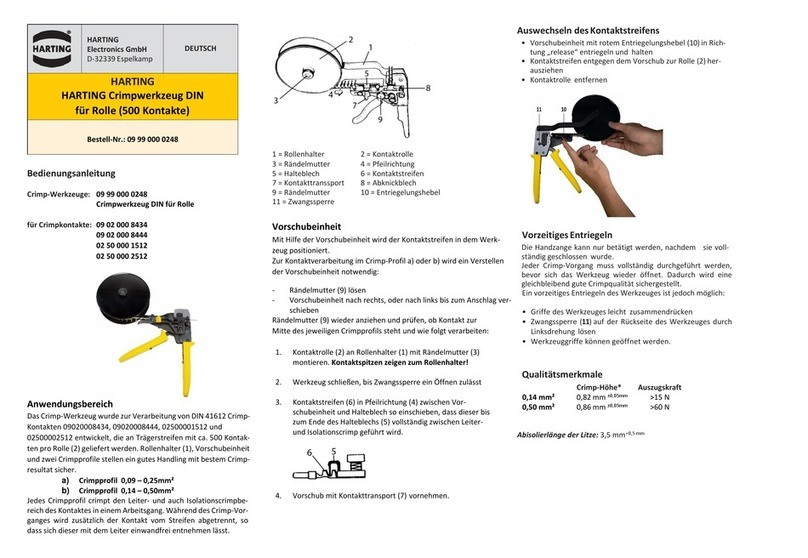
HARTING 09 99 000 0501 User manual
HARTING
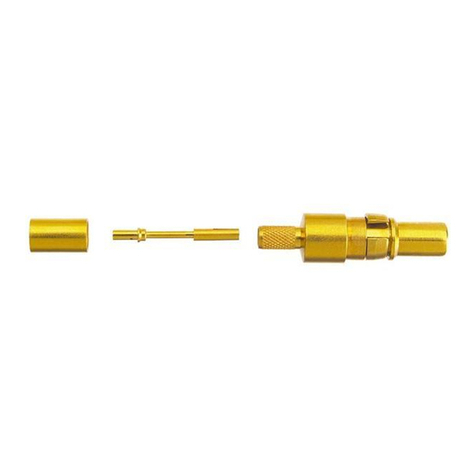
HARTING 09 99 000 0248 User manual
HARTING
HARTING 09 69 82 5140 Series User manual

HARTING
HARTING 09 45 800 2800 User manual

HARTING
HARTING 09 99 000 0119 User manual

HARTING
HARTING 09 99 000 0501 User manual

HARTING
HARTING M17 User manual
HARTING
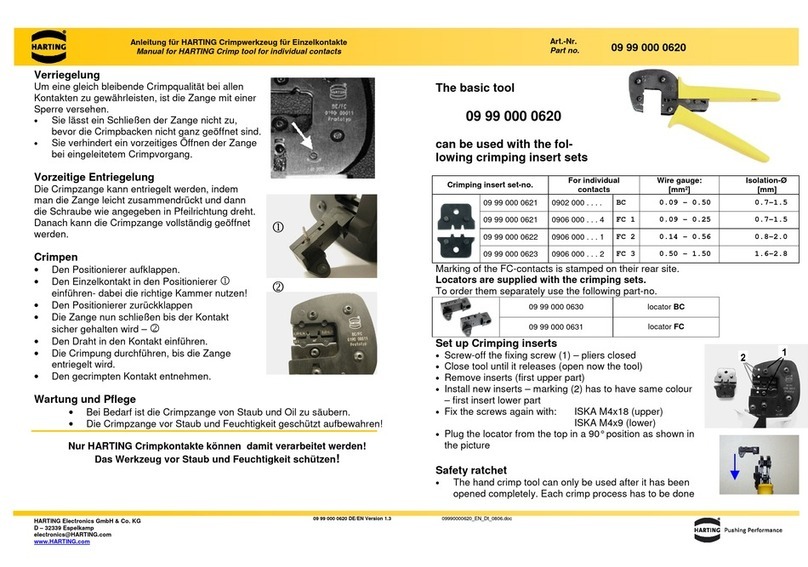
HARTING 09 99 000 0620 User manual

HARTING
HARTING 09 99 000 0647 User manual
Popular Crimping Tools manuals by other brands
Bollhoff
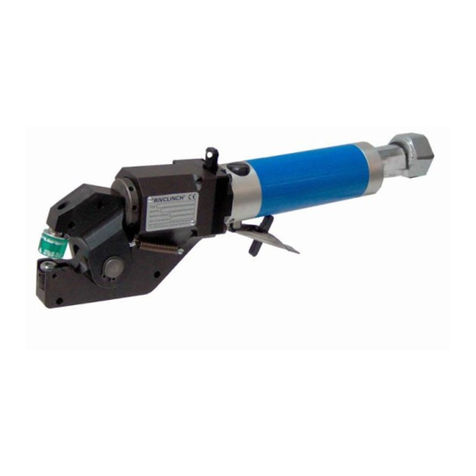
Bollhoff RIVCLINCH 0201 FS user manual
molex
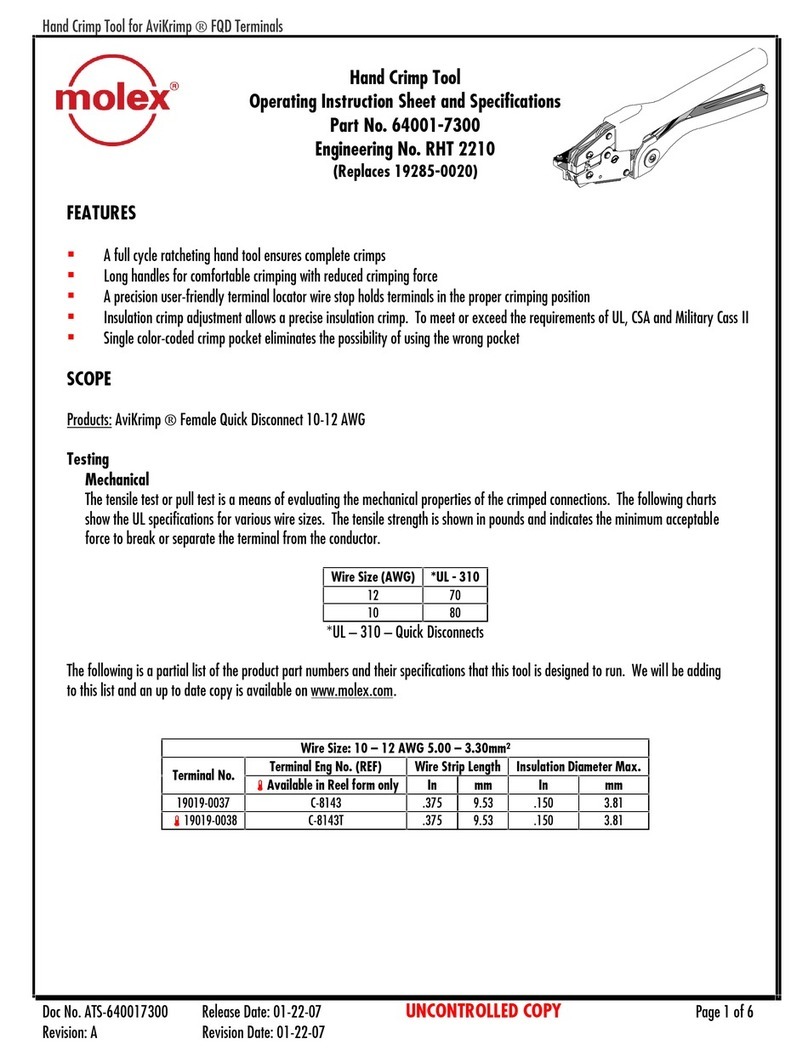
molex 207129 Series Operating Instruction Sheet And Specifications
molex
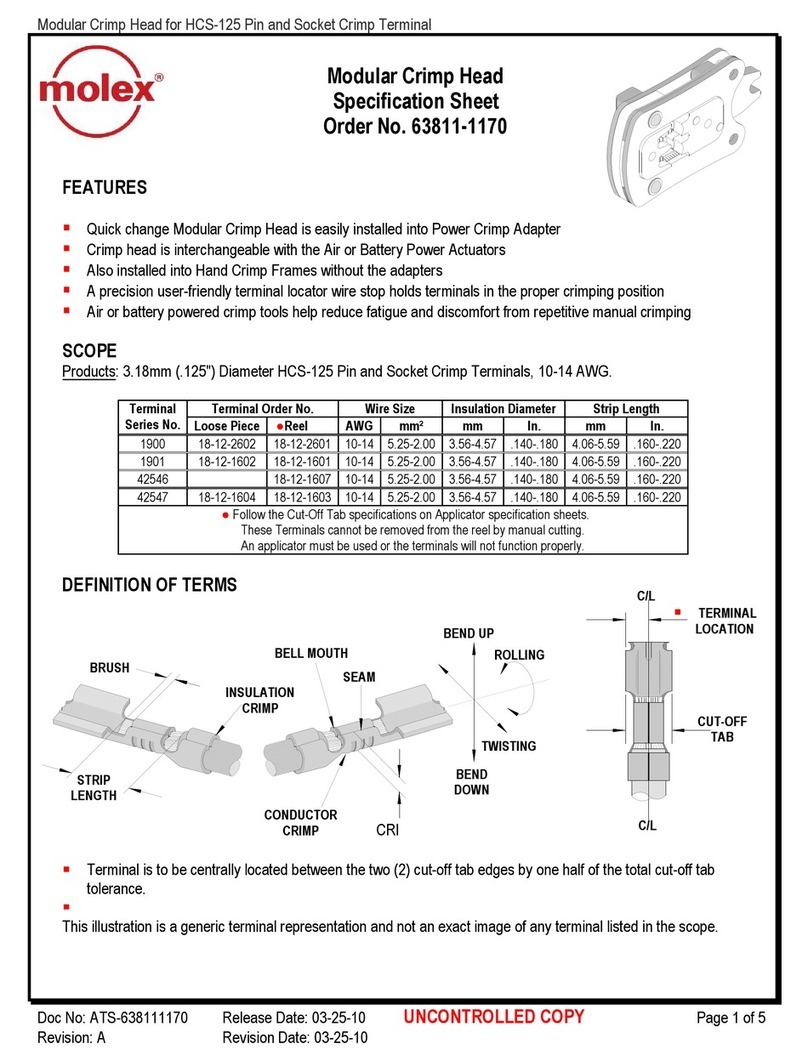
molex HCS-125 Series Specification sheet

Emerson
Emerson Klauke EK 135FTCFM manual
Tyco Electronics
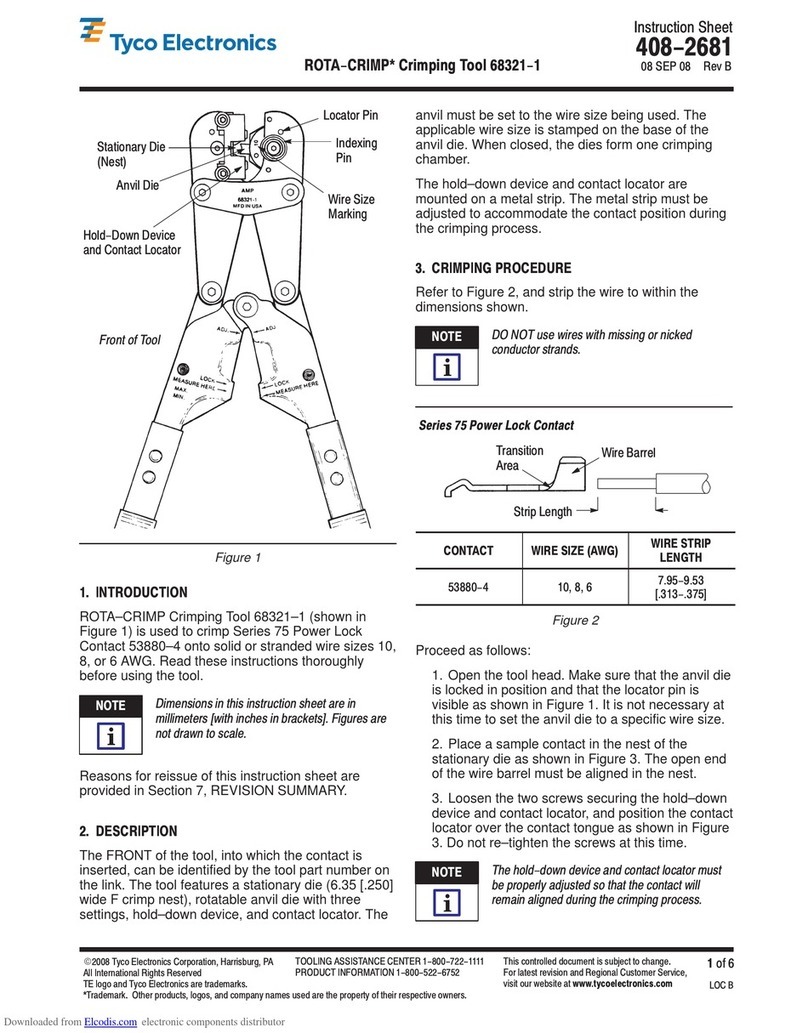
Tyco Electronics ROTA-CRIMP 68321-1 instruction sheet
molex
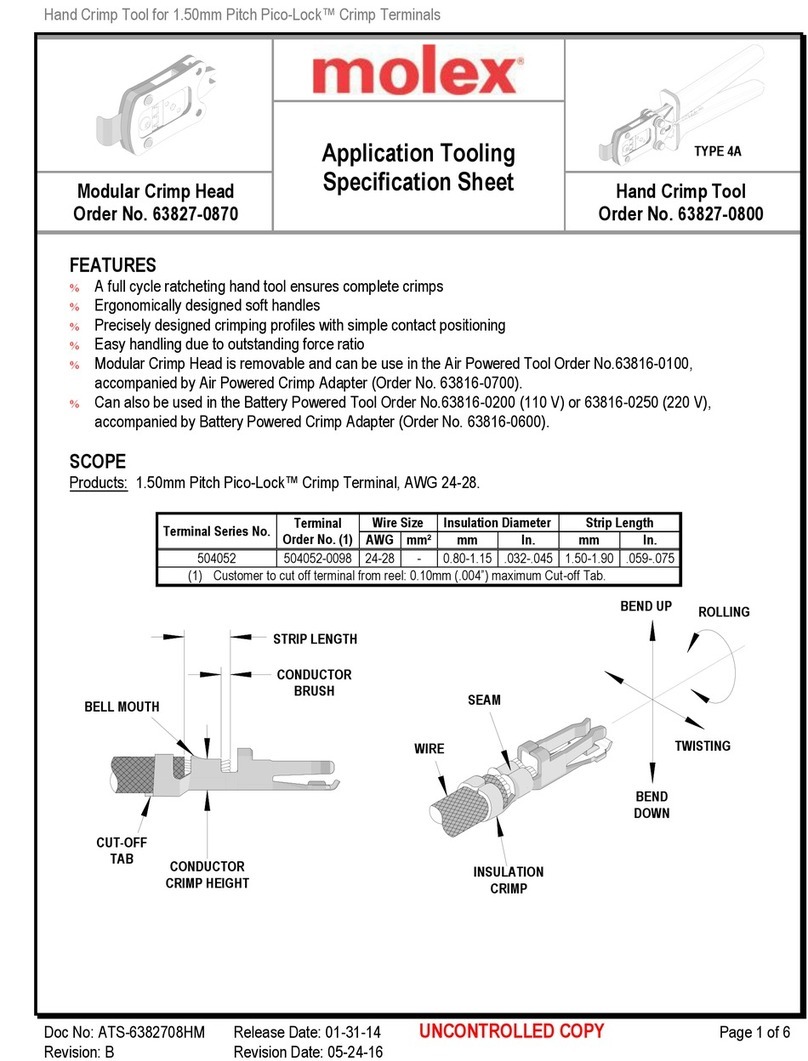
molex 207128 Series Specification sheet
Conec
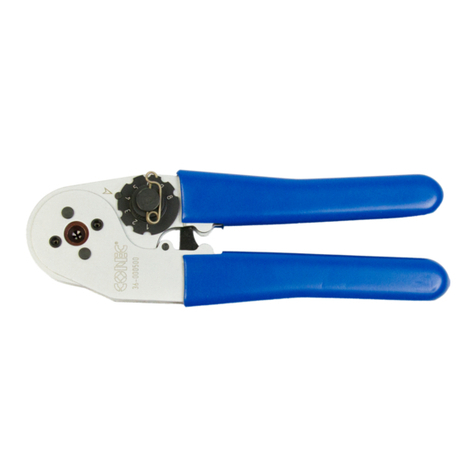
Conec 36-000530 operating instructions
molex
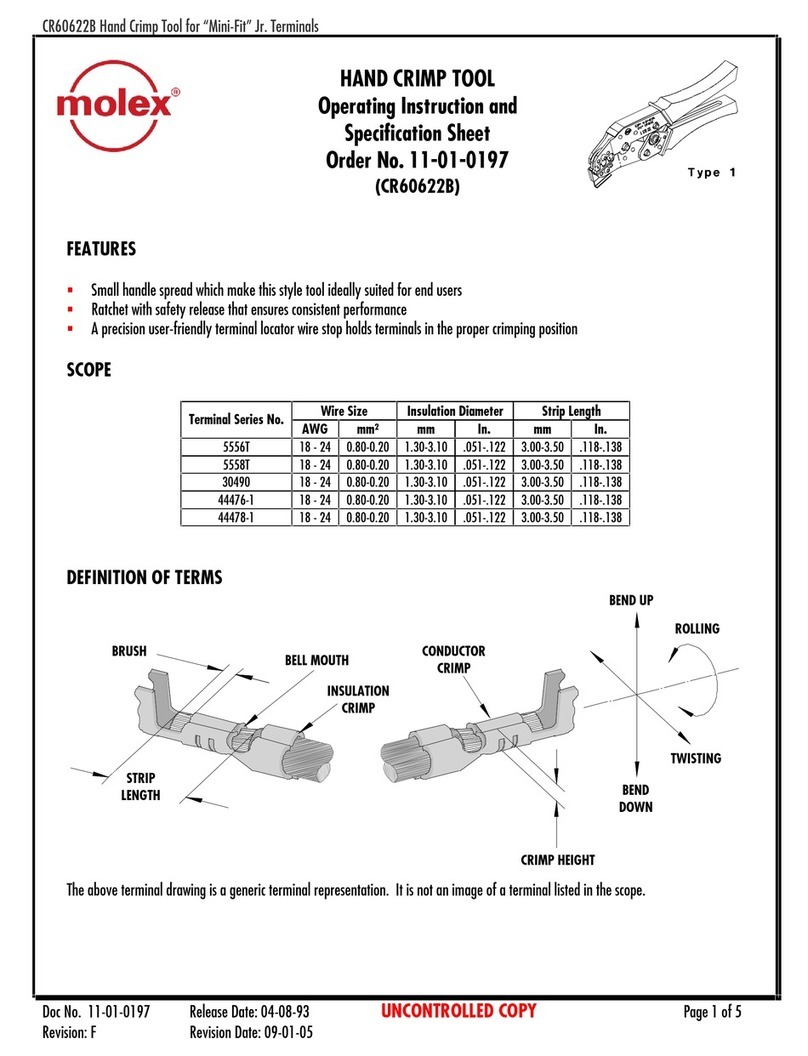
molex CR60622B Operating Instruction and Specifications Sheet

Cable Bullet
Cable Bullet YYQ-300 instructions

Emerson
Emerson Klauke UAP332CFB manual
Tyco Electronics
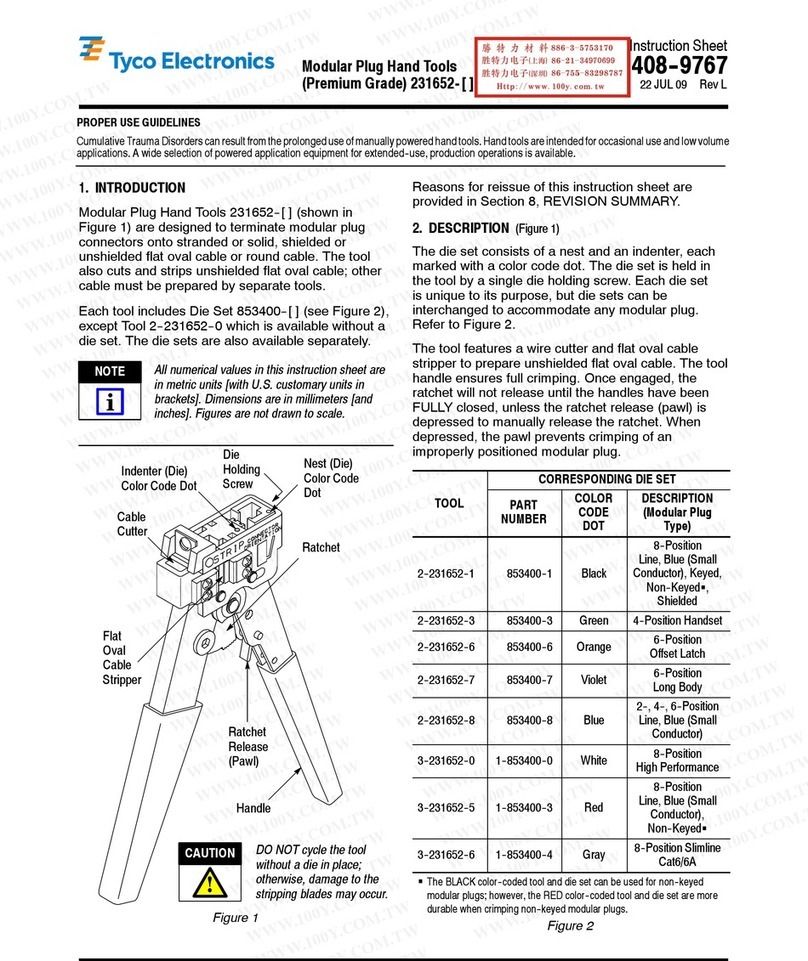
Tyco Electronics 2-231652-1 instruction sheet

Tyco Electronics
Tyco Electronics PRO-CRIMPER III instruction sheet


