manuals.online logo
Brands
  1. Home
  2. •
  3. Brands
  4. •
  5. Hayman Reese
  6. •
  7. Automobile Accessories
  8. •
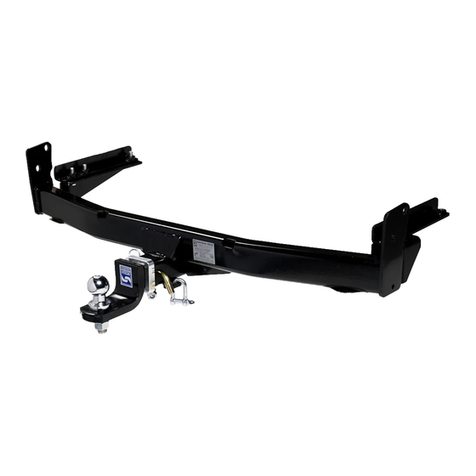
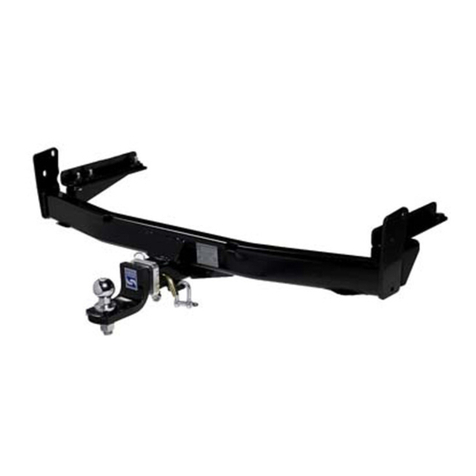
  9. Hayman Reese 03010R User manual

Hayman Reese 03010R User manual

HAYMAN REESE
HAYMAN REESEHAYMAN REESE
HAYMAN REESE
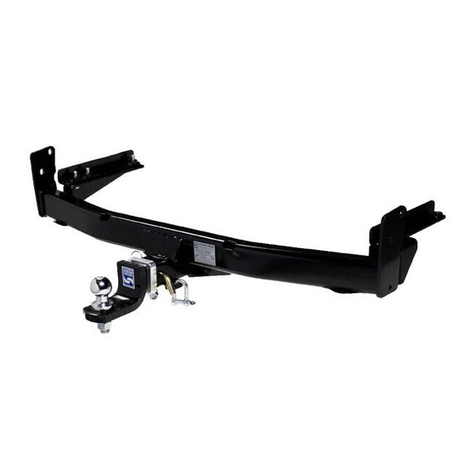
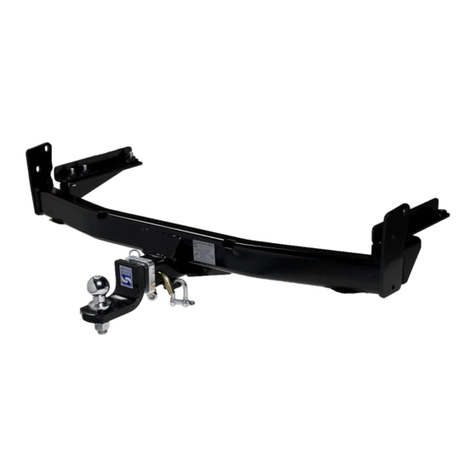
PART No: 03010R
WINNEBAGO MOTOR HOME 02/2007 - ON
INSTALLATION INSTRUCTIONS
INSTALLATION INSTRUCTIONSINSTALLATION INSTRUCTIONS
INSTALLATION INSTRUCTIONS
PLEASE ENSURE THAT ALL INSTRUCTIONS ARE UNDERSTOOD PRIOR TO FITMENT
PLACE THESE INSTRUCTIONS IN THE VEHICLE S GLOVEBOX AFTER INSTALLATION IS COMPLETED
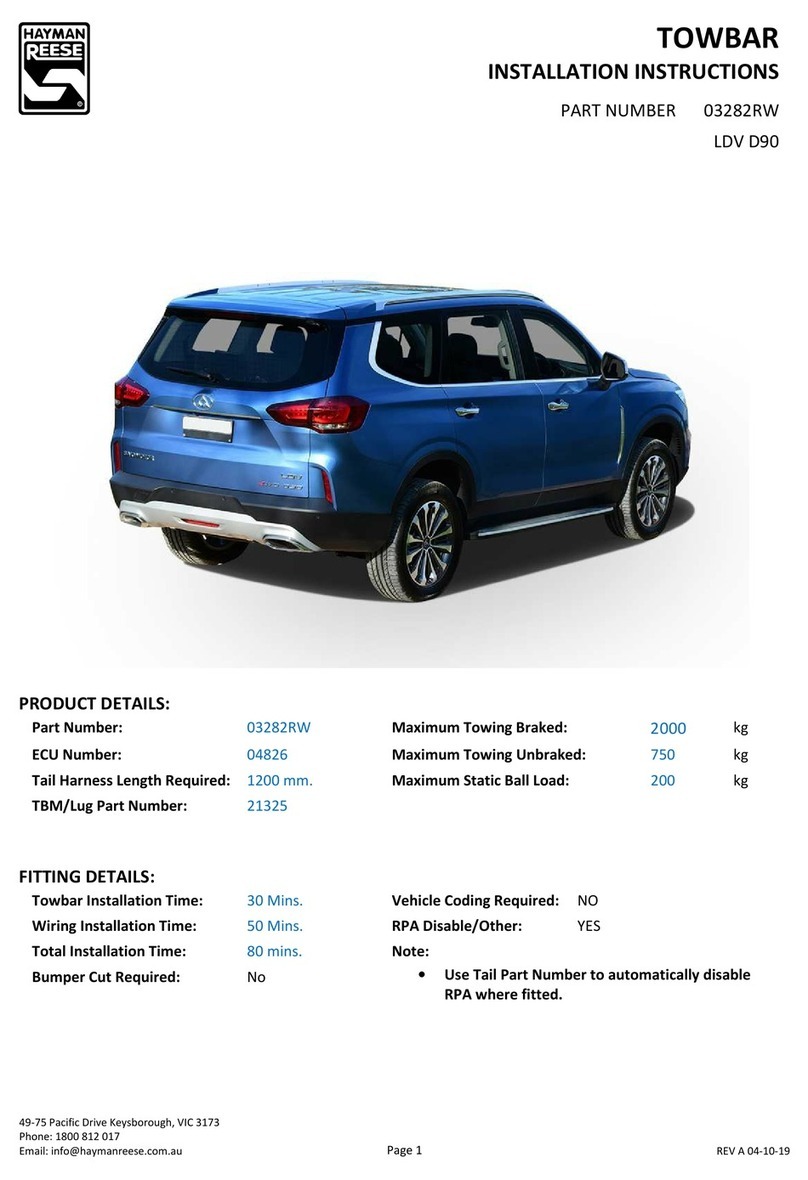
Towbar Installation Instructions Towbar capacity
WINNEBAGO MOTOR HOME 02/2007 - ON
Part Number 03010R Max Towing Braked 2250 kg
Max Towing Unbraked 750 kg
Max Static Ball Load
225
k
g
Installation Time: Approx
60
Mins
Hayman Reese (Cequent)
PO Box 4050, Dandenong South VIC 3164
Phone 1800 812 017 Email info@haymanreese.com.au
HAYMAN REESE
HAYMAN REESEHAYMAN REESE
HAYMAN REESE
PART No: 03010R
WINNEBAGO MOTOR HOME 02/2007 - ON
INSTALLATION INSTRUCTIONS
INSTALLATION INSTRUCTIONSINSTALLATION INSTRUCTIONS
INSTALLATION INSTRUCTIONS
PLEASE ENSURE THAT ALL INSTRUCTIONS ARE UNDERSTOOD PRIOR TO FITMENT
PLACE THESE INSTRUCTIONS IN THE VEHICLES S GLOVEBOX AFTER INSTALLATION IS COMPLETED
Rev: A Page 2 Issue Date: 26-06-2013
FOR TOWING PURPOSES ONLY
For towing capacity details please refer to vehicle
owner’s manual or to the manufacturer. Overloading can
void your warranties.
Warning:
1. Do not, drill, cut, weld or otherwise modify the towbar.
2. If you are using electric welding on a motor vehicle, always check that the vehicle is not equipped with
electronic engine or instrument management equipment. Failure to do so could destroy any onboard
computers. If in doubt, check with the vehicle's manufacturer.
General:
1. Ensure all hardware items have been included refer to assembly diagram.
2. It is recommended that the instructions are read through and completely understood before making any
attempt to fit this product.
3. Be wary of any changes to vehicle designs or other accessories that may conflict with the installation of
this product.
4. Before drilling ensure that the area is clear of fuel, electrical & other components.
5. All holes drilled into the body panels shall have all burrs & swarf removed then coated with a suitable
rust preventative paint.
6. The high tensile fasteners supplied with this product were used to achieve the specified rating. If
replacement is required ensure that fasteners of the same rating & quality are used. Contact an
authorised Hayman Reese dealer if further information is required.
7. Ensure that all hardware is fastened to torque list below check fasteners on regular basis.
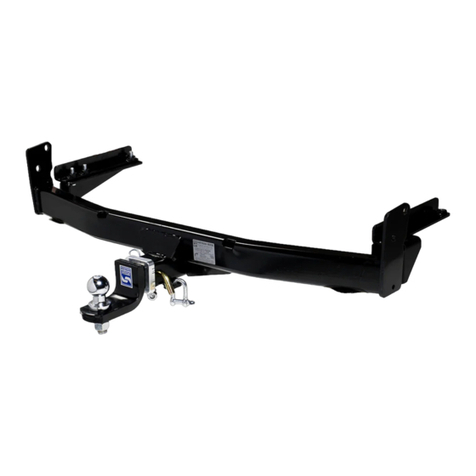
8. Towbar load rating sticker provided with this product shall be conspicuously located on inside rear end
of the driver's door. (See diagram below).
9. Hayman Reese recommends that you check your tow ball to ensure that it complies with the Australian
standards AS 4177.2.
10. PLEASE NOTE: It is advised to remove your lug or tbm when not actually towing so as to produce a
clear view of the vehicles registration plate if obscured, and to also provide maximum available
departure angle.
11. Pull Pin must be fit in down position.
Tow bar Maintenance and Care.
Hayman Reese recommends that bolt torque’s, as listed below, are routinely and regularly inspected and
checked for correct tension. Replace any worn or defective parts.
We recommended to remove Tow Ball Mounts (TBM’s, tongues or lugs) when not being used for any
considerable length of time.
So as to avoid injury, when not towing it is suggested that the tongue, Pull Pin and R-clip are removed then
stored in a safe, clean and dry place, away from excessive moisture.
Hitch Pull Pins and spring “R” clips are regularly checked for proper installation. Replace any worn or defective
parts.
RECOMMENDED ASSEMBLY TORQUE
LISTING
Diameter Grade 8.8 Bolt
M6 9.5 Nm
M8 21.7 Nm
M10 43.4 Nm
M12 77.3 Nm
M14 146 Nm
M16 189.8 Nm
Place load rating sticker
inside driver’s door here
HAYMAN REESE
HAYMAN REESEHAYMAN REESE
HAYMAN REESE
PART No: 03010R
WINNEBAGO MOTOR HOME 02/2007 - ON
INSTALLATION INSTRUCTIONS
INSTALLATION INSTRUCTIONSINSTALLATION INSTRUCTIONS
INSTALLATION INSTRUCTIONS
PLEASE ENSURE THAT ALL INSTRUCTIONS ARE UNDERSTOOD PRIOR TO FITMENT
PLACE THESE INSTRUCTIONS IN THE VEHICLES S GLOVEBOX AFTER INSTALLATION IS COMPLETED
Rev: A Page 3 Issue Date: 26-06-2013
QTY. DESCRIPTION ITEM NO.
1 WELDED ASSEMBLY 1
1 TBM 2
6 SUPPORT BRACE 3
12 SPRING WASHER 12x4x2.5 4
12 SET SCREW M12-1.25 x 45mm 5
12 M12x1.25 HEX NUT PC8 6
12 WASHER FLAT ½” x1 1/8 “x1/8” 7
6 LOOSE PLATE 50x10x50 8
1 SET SCREW HEX HD M10x30x1.5P 9
1 M10x1.5 HEX NUT 10
1 PULL PIN 11
1 R CLIP 12
1 HITCH BOX COLLAR COVER 13
1 ACRYLIC COMPLIANCE PLATE 14
1 H.R STICKER 15
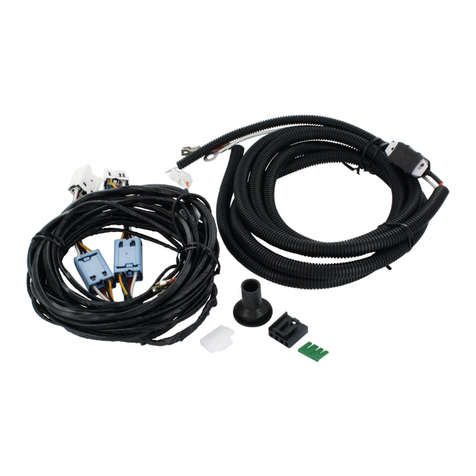
WIRING LOOM
LR LABEL
FI
TTING INSTRUCTION
WARRANTY CARD
D SHACKLES
ADDITIONAL ITEMS
1
5 8 3 7 4 6
5 4 7 3 6
9 10
2
14
12
13 11
15
HAYMAN REESE
HAYMAN REESEHAYMAN REESE
HAYMAN REESE
PART No: 03010R
WINNEBAGO MOTOR HOME 02/2007 - ON
INSTALLATION INSTRUCTIONS
INSTALLATION INSTRUCTIONSINSTALLATION INSTRUCTIONS
INSTALLATION INSTRUCTIONS
PLEASE ENSURE THAT ALL INSTRUCTIONS ARE UNDERSTOOD PRIOR TO FITMENT
PLACE THESE INSTRUCTIONS IN THE VEHICLES S GLOVEBOX AFTER INSTALLATION IS COMPLETED
Rev: A Page 4 Issue Date: 26-06-2013
1. On the underside of the
Chassis Rail extensions,
measure out lengths as
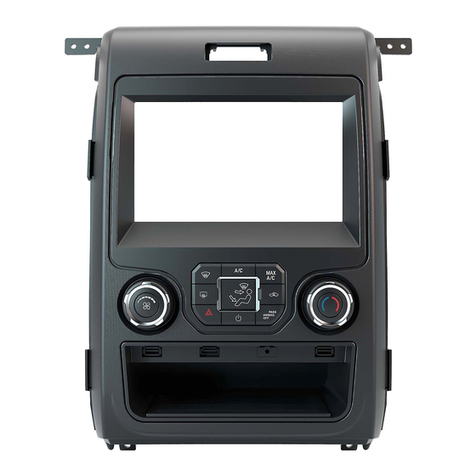
shown in the figure.
Repeat for Drivers’ side
2. Following the above figure, centre punch the points, then drill up through the bottom face of the Chassis
extension with a small pilot drill.
Open up newly drilled holes to 13mm and repeat for the opposite side of the vehicle.
Ensure that the holes drilled are free of burrs & swarf and coated with a suitable rust preventative paint.
3. Fit loose Square Plates
with M12x45 Bolts
provided, then from
underneath the Chassis
Rail, fit the loose support
Brackets.
Using the Support Brackets
as a guide, centre punch,
drill a pilot hole, and then
open up a 13mm hole.
Repeat for each Support
Bracket.
4. Offer Towbar to vehicle sub frame extensions so that the Bolts hanging down align with the holes in the
Side Arms of the Towbar.
Loosely fasten the Horizontal M12 Bolts with Flat Washers, Spring Washers & Nuts provided.
Fasten vertical Mounts similarly, and then fasten bolts to recommended torque specified on Page 2.
Measure from the rear
edge of the chassis
extension in 20mm
Measure
110mm between
points in two places
as shown
Inside edge of
chassis extensions
Measure in 25mm from
the inside edge of the
chassis extension in
all three points
20mm
25mm
110
mm
110mm

Other Hayman Reese Automobile Accessories manuals

Hayman Reese R2651 User manual

Hayman Reese

Hayman Reese R2651 User manual

Hayman Reese 03388RW User manual

Hayman Reese

Hayman Reese 03388RW User manual

Hayman Reese 01967 User manual

Hayman Reese

Hayman Reese 01967 User manual

Hayman Reese 03280RW User manual

Hayman Reese

Hayman Reese 03280RW User manual

Hayman Reese 03282RW User manual

Hayman Reese

Hayman Reese 03282RW User manual

Hayman Reese 03274RW User manual

Hayman Reese

Hayman Reese 03274RW User manual

Hayman Reese 03314W User manual

Hayman Reese

Hayman Reese 03314W User manual

Hayman Reese 03294XW User manual

Hayman Reese

Hayman Reese 03294XW User manual

Hayman Reese 41319R User manual

Hayman Reese

Hayman Reese 41319R User manual

Hayman Reese 03276RW User manual

Hayman Reese

Hayman Reese 03276RW User manual

Hayman Reese 03285R User manual

Hayman Reese

Hayman Reese 03285R User manual

Hayman Reese 03260R User manual

Hayman Reese

Hayman Reese 03260R User manual

Hayman Reese 03229RW User manual

Hayman Reese

Hayman Reese 03229RW User manual

Hayman Reese 02986RW User manual

Hayman Reese

Hayman Reese 02986RW User manual

Hayman Reese 02876R User manual

Hayman Reese

Hayman Reese 02876R User manual

Hayman Reese 03243W User manual

Hayman Reese

Hayman Reese 03243W User manual

Hayman Reese 03281RW User manual

Hayman Reese

Hayman Reese 03281RW User manual

Hayman Reese 03291RW User manual

Hayman Reese

Hayman Reese 03291RW User manual

Hayman Reese 02933RW User manual

Hayman Reese

Hayman Reese 02933RW User manual

Hayman Reese 02967RW User manual

Hayman Reese

Hayman Reese 02967RW User manual

Hayman Reese 03367RW User manual

Hayman Reese

Hayman Reese 03367RW User manual

Hayman Reese 03219RW User manual

Hayman Reese

Hayman Reese 03219RW User manual

Hayman Reese XBAR 03230RW User manual

Hayman Reese

Hayman Reese XBAR 03230RW User manual

Hayman Reese 03408RW User manual

Hayman Reese

Hayman Reese 03408RW User manual

Popular Automobile Accessories manuals by other brands

DV8 OFFROAD SPEC Series installation manual

DV8 OFFROAD

DV8 OFFROAD SPEC Series installation manual

Warn 98026 installation instructions

Warn

Warn 98026 installation instructions

DPM FMBC06 manual

DPM

DPM FMBC06 manual

THIEMAN trailgates M installation instructions

THIEMAN

THIEMAN trailgates M installation instructions

Yakima LOCKN'LOAD manual

Yakima

Yakima LOCKN'LOAD manual

TEXA TMD NANO 24 installation manual

TEXA

TEXA TMD NANO 24 installation manual

Philips 12814ECO Specification sheet

Philips

Philips 12814ECO Specification sheet

Bosch Flasher-PRO user manual

Bosch

Bosch Flasher-PRO user manual

Volvo SKI HOLDER user guide

Volvo

Volvo SKI HOLDER user guide

Westin 45-93880 installation instructions

Westin

Westin 45-93880 installation instructions

Erich Jaeger 735226 installation instructions

Erich Jaeger

Erich Jaeger 735226 installation instructions

Marlon Xplore SXS Assembly/mounting instructions

Marlon

Marlon Xplore SXS Assembly/mounting instructions

ARB AIRLOCKER RD163 installation guide

ARB

ARB AIRLOCKER RD163 installation guide

pewag erzberg Mounting instruction

pewag

pewag erzberg Mounting instruction

Mazda CT-L1005 Training manual

Mazda

Mazda CT-L1005 Training manual

Lexus 89661-50690 Technical Service Information Bulletin

Lexus

Lexus 89661-50690 Technical Service Information Bulletin

Brink 6012 Fitting instructions

Brink

Brink 6012 Fitting instructions

Yakima RoadShower 4G quick start guide

Yakima

Yakima RoadShower 4G quick start guide

manuals.online logo
manuals.online logoBrands
  • About & Mission
  • Contact us
  • Privacy Policy
  • Terms and Conditions

Copyright 2025 Manuals.Online. All Rights Reserved.