manuals.online logo
Brands
  1. Home
  2. •
  3. Brands
  4. •
  5. Helvex
  6. •
  7. Plumbing Product
  8. •
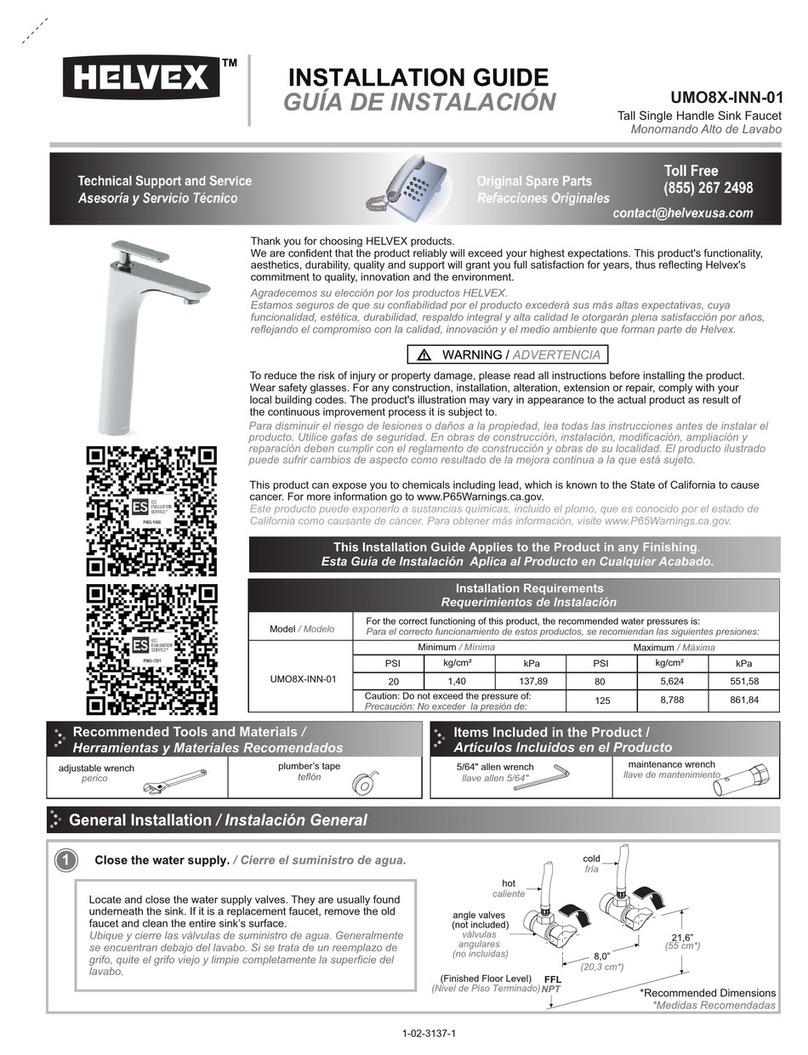
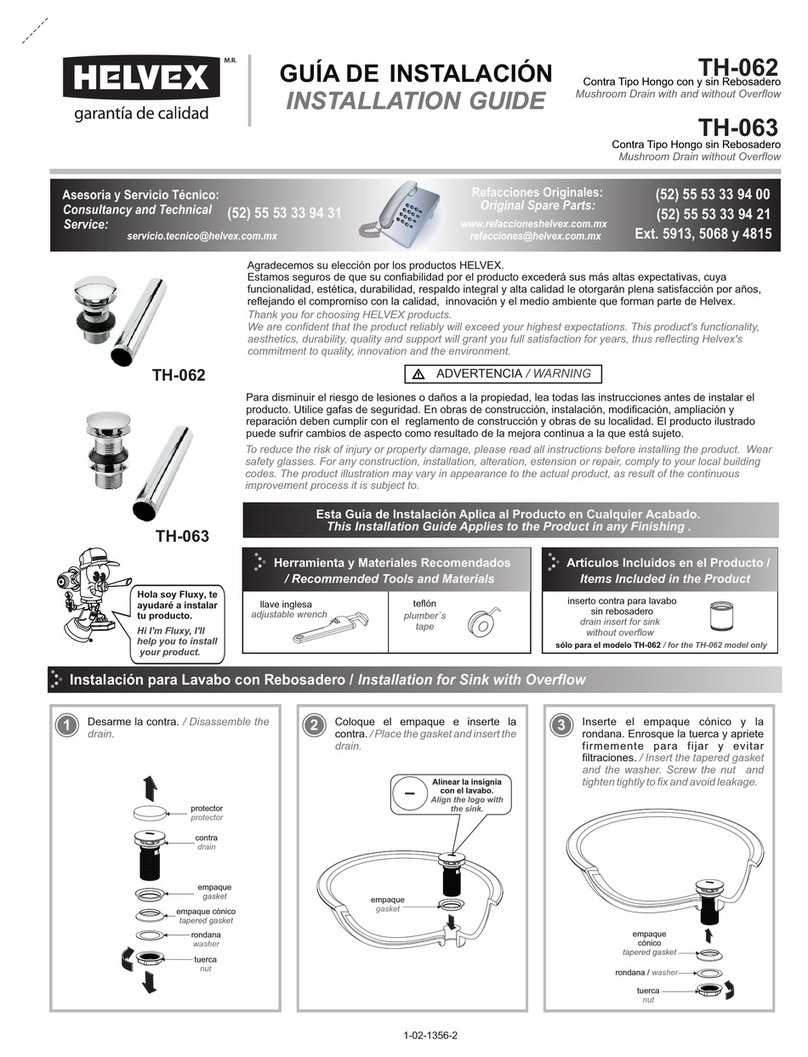
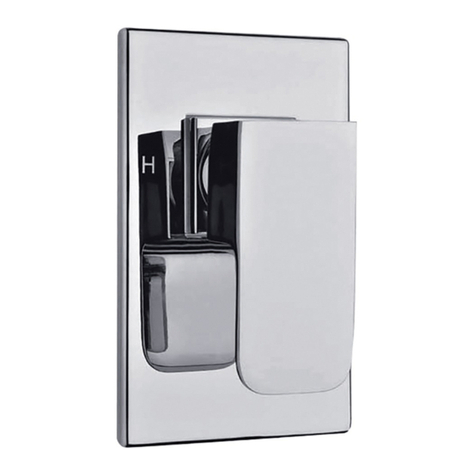
  9. Helvex Vertika E-701-S User manual

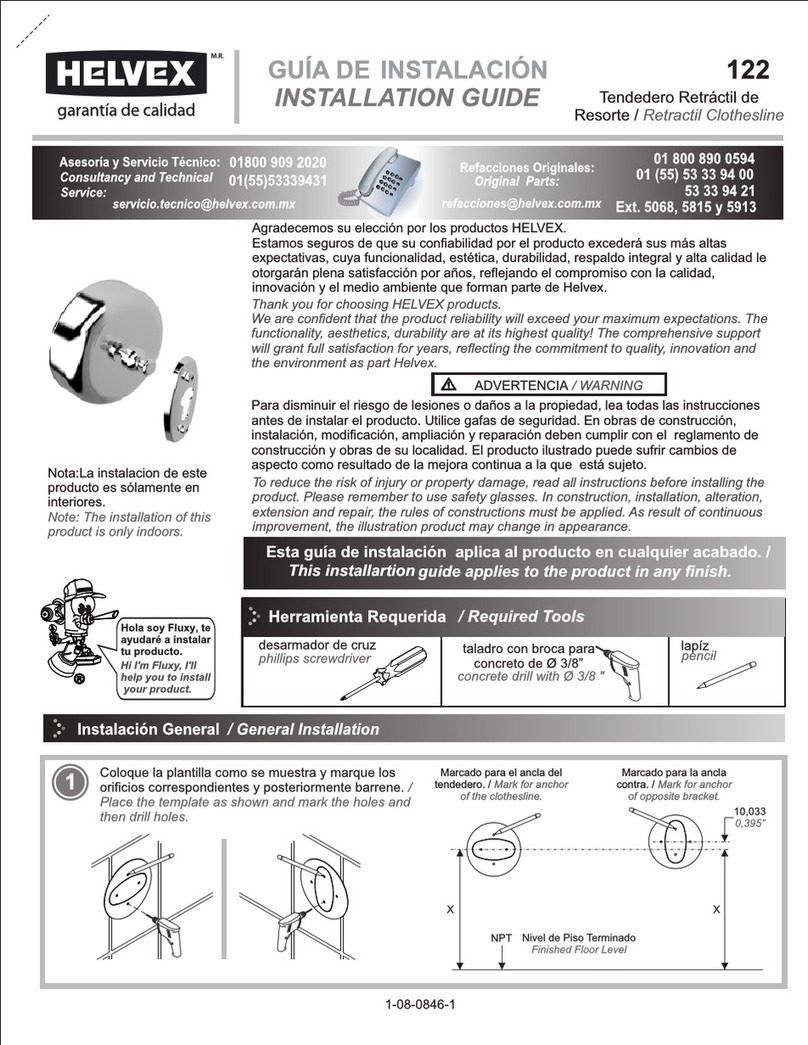
Helvex Vertika E-701-S User manual

Herramienta Requerida
perico
/ Required Tools
adjustable wrench
Hola soy Fluxy, te
ayudaré a instalar
tu producto.
INSTALLATION GUIDE
GUÍA DE INSTALACIÓN
Hi I'm Fluxy, I'll
help you to install
your product.
1-05-1860-2
Herramienta Incluida / Included Tools
Para disminuir el riesgo de lesiones o daños a la propiedad, lea todas las instrucciones antes de instalar el
producto. Utilice gafas de seguridad. En obras de construcción, instalación, modificación, ampliación y
reparación deben cumplir con el reglamento de construcción y obras de su localidad. El producto ilustrado
puede sufrir cambios de aspecto como resultado de la mejora continua a la que está sujeto.
Agradecemos su elección por los productos HELVEX.
Estamos seguros de que su confiabilidad por el producto excederá sus más altas expectativas, cuya
funcionalidad, estética, durabilidad, respaldo integral y alta calidad le otorgarán plena satisfacción por años,
reflejando el compromiso con la calidad, innovación y el medio ambiente que forman parte de Helvex.
To reduce the risk of injury or property damage, read all instructions before installing the product. Please
remember to use safety glasses. In construction, installation, alteration, extension and repair, the rules of
constructions must be applied. As result of continuous improvement, the illustration product may change in
appearance.
ADVERTENCIA / WARNING
Esta guía de instalación aplica al producto en cualquier acabado. / This installation
Thank you for choosing HELVEX products.
We are confident that the product reliability will exceed your maximum expectations. The functionality,
aesthetics, durability, quality and support will grant you full satisfaction for years, it is Helvex commitment to
the quality, innovation and the environment.
[email protected]
Original Spare Parts:
Consultancy and Technical
01(55)53339431
01800 909 2020 01 (55) 53 33 94 00
Refacciones Originales:
Asesoría y Servicio Técnico:
Ext. 5068, 4815 y 5913
Service:
53 33 94 21
01 800 890 0594
[email protected]
Cada metro de altura de
su producto a la base
del tinaco equivalen a
(0,1 kg/cm²) [1,42 PSI].
Every meter of height of
your product to the base
of the tube is equivalent
to (0,1 kg/cm²) [1,42
PSI].
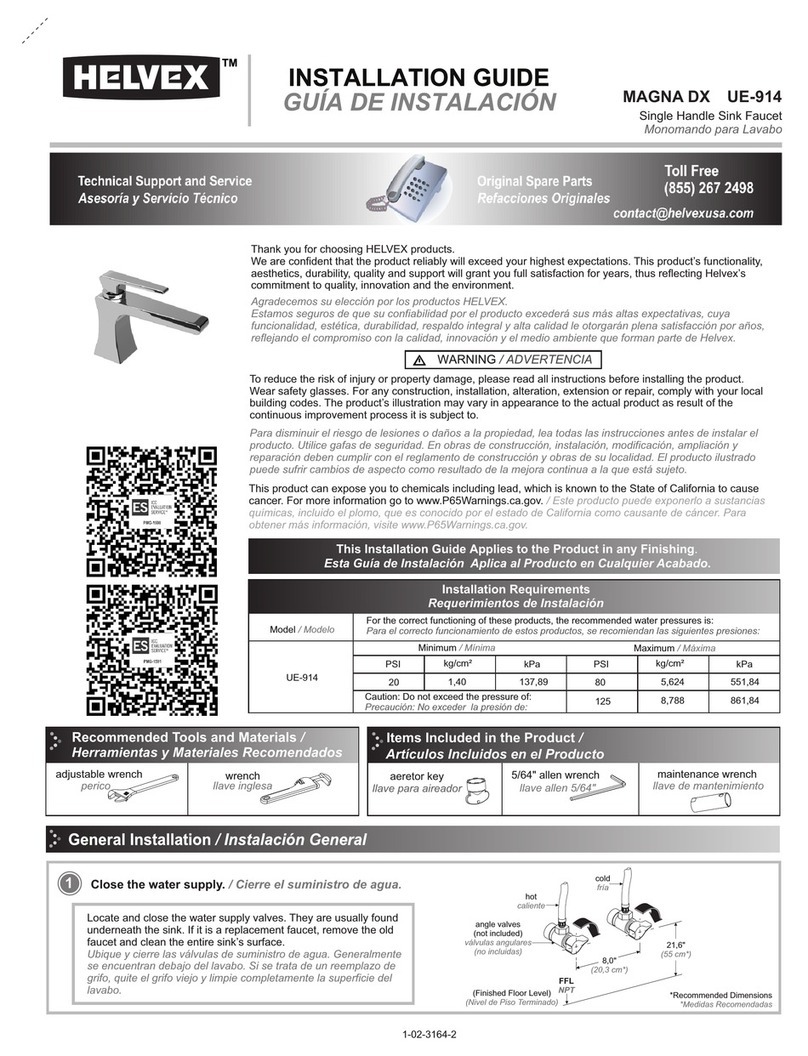
Requerimientos de Instalación
Installation Requirements
E-701, E-701-S
Requerimientos de Instalación
Installation Requirements
Modelo / Model Mínima / Minimum Máxima / Maximum
kg/cm² PSI kPa kg/cm² PSI kPa
Para el correcto funcionamiento de éstos productos, se
recomiendan las siguientes presiones:
For the correct operation of these products, the following
pressures are recommended:
E-703, E-703-S 1,0 14,2 98,0 6,0 85,3 588,3
guide applies to the product in any finish.
Premier®
Vértika®
Piura®
Monomandos para regadera o tina con
desviador. / Single control faucet for
shower or tub with diverter.
E-701
Cromo /
Chrome
E-703
PIU-201
PIU-201
llave allen 5/64"
allen wrench 5/64"
E-701-S
E-703-S
Satín / Satin
E-701
PIU-201
destornillador teflón
screw teflon
llave
wrench
E-703
2
/ Dimensions for Installation
Dimensiones para la Instalación
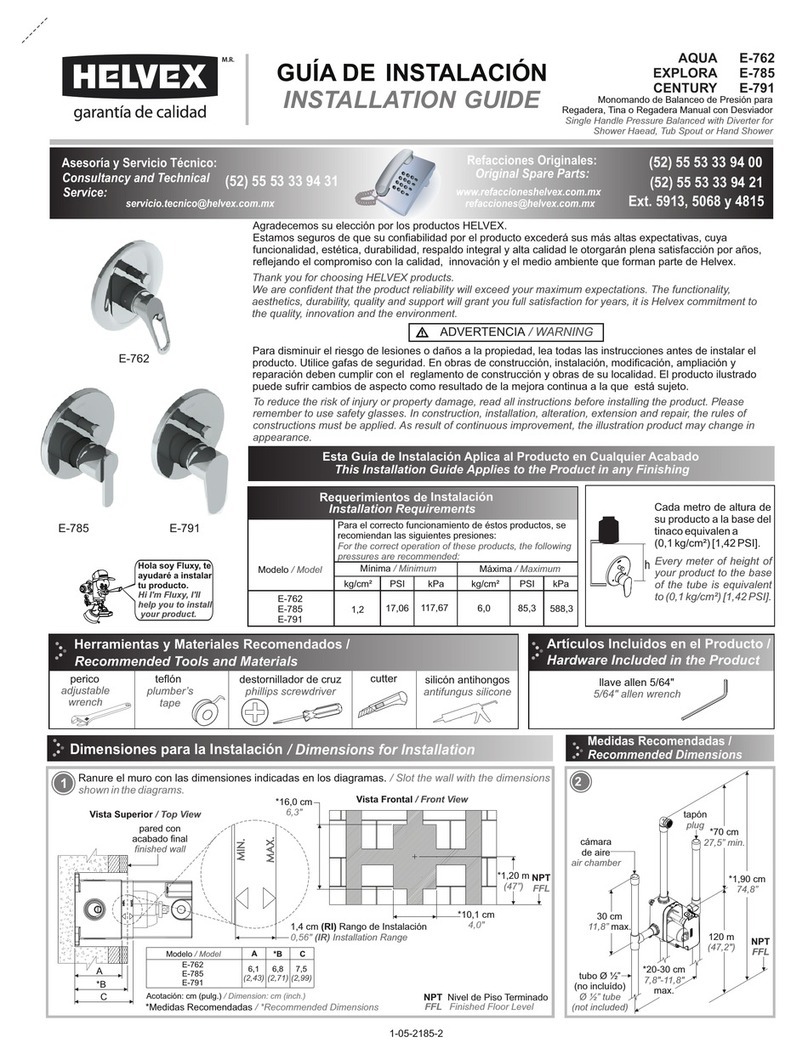
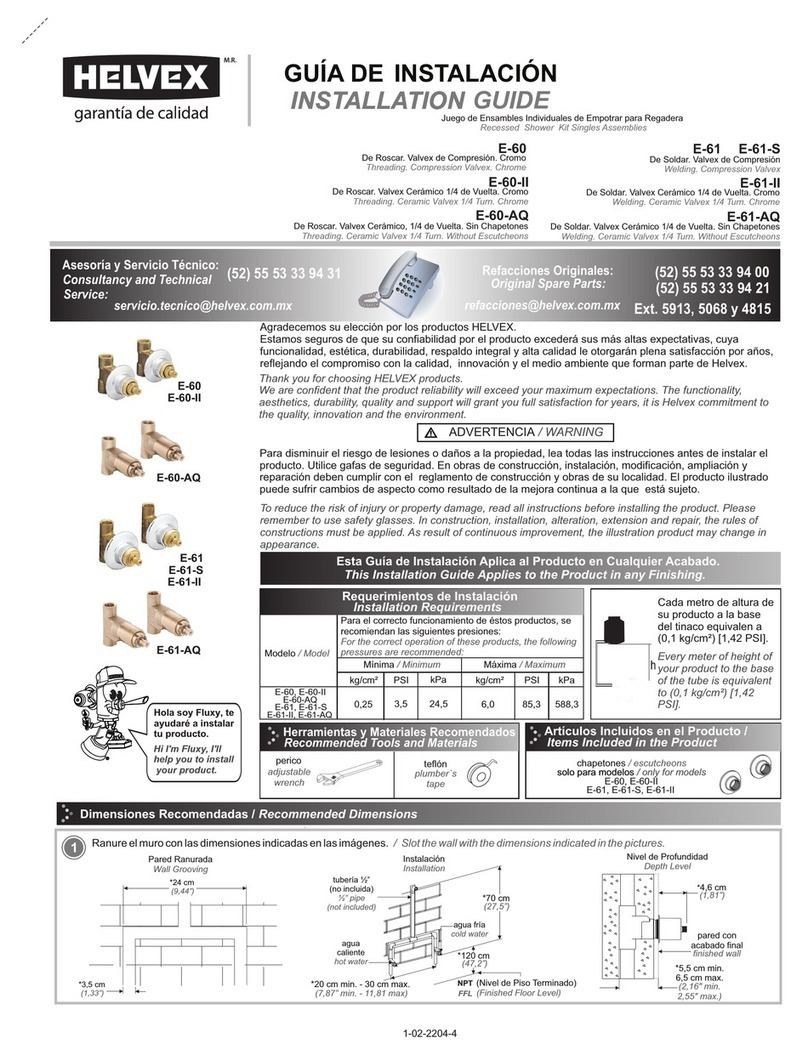
1Ranure el muro con las dimensiones indicadas en los diagramas. / Slot wall with the dimensions shown in the diagrams.
pared con
acabado final indicador del nivel
de profundidad
Vista Superior / Top View
depth level indicator
wall finish
Vista Frontal / Front View
Verifique el rango de profundidad
indicada en la etiqueta del casquillo.
/ Check the depth range indicated on
the label of the socket.
* Medidas Recomendadas / Recommended measures
E
7,0
E-703, E-703-S
PIU-201
*B C D
8,6 9,2 9,8 15,0
Instalación General /
General Installation
Medidas Recomendadas /
Recommended Measures
2
* Medidas Recomendadas
Recommended measures
3Desensamble el cuerpo del monomando. / Disassemble the body
of the mixer.
A1,10 m
(43”)
a
1,20 m
(47”)
Acotación: cm / Dimension: cm
45
Coloque teflón en las
uniones roscadas.
/ Place teflon screw
connections.
agua caliente
hot water
agua fria
cool water
7
VISTA POSTERIOR
REAR VIEW
Verifique que su instalación este a nivel en
el plano horizontal y vertical.
Posteriormente purgue. / Verify that your
installation is level in the horizontal and
vertical plane. Subsequently purged.
E
D
A min.
*B
C max.
E-701, E-701-S
conector rosca
interior ½-14
NPT (no incluído)
tubo ½”
(no incluído)
tapón
plug
cámara
de aire
*190cm
(74,8”)
*60 cm
(23,6”) min.
30 cm
(11,8”)max.
*30 cm
max.
internal thread
connector ½-14
NPT (not included)
tube ½”
(not included)
air chamber
NPT
tornillo
screw
porta cartucho con cartucho
cartridge with holder cartridge
desviador
diverter
inserto plástico
plastic insert
cuerpo
body
Verifique que el inserto plástico esté colocado cuando arme
el desviador nuevamente. / Verify that the plastic insert is
positioned when assembling the diverter again.
½-14 NPT
½-14 NPT ¾-14 NPT
salida a regadera
sprinkler output
salida a tina
tub output
Ensamble la tubería al cuerpo del
monomando. / Assemble the pipe to the
tap body.
Inserte la instalación armada dentro
del ranurado de su pared. / Insert the
installation within the slotted armed its
wall.
Nivele el cuerpo del monomando en el
plano horizontal y vertical. / Level the body
of the mixer in the horizontal and vertical
plane.
nivel
level
casquillo
(guía de instalación)
socket
(installation guide)
*Antes de cerrar las ranuras, realice pruebas de
funcionamiento y fuga. / *Before closing the slots,
perform operation and leak tests.
6Purgue su línea de alimentación y arme
nuevamente el cuerpo del monomando. /
Purge the supply line and assemble the
body of the tap again.
tornillo
screw
tornillo de
ajuste
adjusting screw
porta cartucho
con cartucho
cartridge holder
cartridge
* E s i m p o r t a n t e
enroscar el tornillo de
a j u s t e d e l p o r t a
cartucho a tope sin
apretar. / *It is important
to tighten the set screw
to stop the cartridge
holder loosely.
8 9 Desenrosque el tornillo y retire el
casquillo, verifique que el vástago del
cartucho se desplace de forma vertical.
/ Unscrew the screw and remove the
shell, check that the cartridge stem
moves vertically.
Es necesario que antes de colocar el
acabado final, se verifique que el
casquillo quede a nivel del acabado
final . / Use the depth level indicator
label to be sure that the finish wall is in
the range.
etiqueta indicadora
nivel de profundidad
indicator label
deep level
casquillo
(guía de instalación)
cap (installation
guide)
pared con
acabado final
wall finish
cap (installation guide)
casquillo
(guía de instalación)
3
10 11
Para los modelos:
For models:
PIU-201
Inserte el chapetón con empaques y deslícelo hasta topar con pared. / Insert escutcheon
with gasket and slide until it meets wall.
E-701, E-701-S
Para los modelos:
For models:
E-703, E-703-S
Para los modelos:
For models:
o’ring
Desenrosque el opresor y retire el
botón, recorra el o’ring hacia la punta
del vástago , sin retirarlo. / Unscrew and
remove the setscrew button, scroll the
o'ring towards the tip stem without
removing.
vástago
stem
o’ring
chapetón
escutcheon
o’ring
vástago
stem
o’ring
vástago
stem
o’ring
12 Inserte el chapetón con empaque, la rondana y la palanca en el
vástago del cartucho y enrosque el opresor. Posteriormente
enrosque el botón y fijelo con el opresor. I Insert the escutcheon
with gasket, the washer and the lever into the cartridge stem and
screw in the crush. Then screw the button and fix it with the
setscrew.
Enrosque el soporte chapetón con la llave especial (incluída). /
Screw the escutcheon with special key holder (included).
soporte
chapetón
llave para soporte
Evite rayar el acabado del chapetón.
Avoid scratching the finish of the escutcheon.
escutcheon
support
support wrench
13
chapetón con empaque y rondana antifricción
escutcheon with gasket friction washer
palanca
lever
opresor
set screw
opresor
setscrew
botón
button
14
Ajuste de Instalación / Installation Adjustment
Si el acabado final de pared, quedó fuera del rango máximo del marcado en el protector plástico, proceda, con lo siguiente: / If the finish wall, stood
outside the maximum range of the marking on the plastic protector, proceed with the following:
1. Retire el porta cartucho
armado. Posteriormente gire el
tornillo de ajuste en sentido anti-
horario, para recorrer hacia afuera
(solo se tiene 10 mm de rango de
ajuste). / 1. Remove the armed
cartridge holder. Then turn the
adjusting screw anti-clockwise to
move outward (only 10 mm of
adjustment range is available).
2. Verifique que tenga 6mm entre
el acabado final y su cuerpo guía,
de spu é s p r oc e da c on l os
siguientes pasos; 12,13 y 14. / 2.
Verify that it has 6mm between the
final finish and its guide body, then
proceed with the following steps;
12,13 and 14.
6,0 mm
(0,23”)
acabado
final
finish wall
tornillo de
ajuste
adjusting
screw
12
soporte chapetón
llave especial
escutcheon support
special key
chapetón con
empaque
escutcheon with
gasket
15
Mantenimiento del Cartucho
/ Maintenance Cartridge
16
Desenrosque el opresor, retire la palanca, y el chapetón con
empaque, posteriormente desenrosque el opresor y desatornille el
botón. / Unscrew the clamp, remove the lever, and the escutcheon with
packing, then unscrew the clamp and unscrew the button.
opresor
setscrew
opresor
setscrew
botón
button
chapetón con empaque
escutcheon with gasket
palanca
lever
Desenrosque el soporte chapetón con la llave especial (incluida),
y retire el chapetón con empaque. / Unscrew the escutcheon with
special key holder (included), and remove the escutcheon with
gasket.
opresor
setscrew
vástago
stem
4
Recomendaciones de Limpieza / Cleaning Recommendations
In Guadalajara:
Contact:
Enter our free
training courses.
In Monterrey:
En la Ciudad de México:
In Mexico City:
En Monterrey:
En Guadalajara:
01 55 53 33 94 00
Ext. 5804, 5805 y 5806 (0133) 36 19 01 13
Comunícate:
Participa en nuestros
cursos gratuitos
de capacitación.
(0181) 83 33 57 67
(0181) 83 33 61 78
HELVEX, S. A. DE C. V. Calzada Coltongo # 293, Col. Industrial Vallejo, Del. Azcapotzalco, C. P. 02300, Ciudad de México.
Es muy importante seguir las siguientes instrucciones para conservar los
acabados de los productos HELVEX, con brillo y en perfecto estado:
1. Utilice únicamente agua y un paño limpio.
2. No utilice fibras, polvos, abrasivos, ni productos químicos.
3. No utilice objetos punzo-cortantes para limpiar los acabados.
4. Se recomienda realizar la limpieza de su producto diariamente.
Visite nuestras páginas www.helvex.com.mx para México y www.helvex.com
para el mercado Internacional
It is very important to follow the instructions below to preserve HELVEX products
finishes, shiny and in perfect condition:
1. Use only water and a clean cloth.
2. Do not use fibers, powders, abrasives, or chemicals.
3. Do not use sharp objects to clean the finish.
4. It is recommended to clean your product daily.
Visit our pages www.helvex.com.mx for Mexico and www.helvex.com
for the International market.
Posibles Causas y Soluciones / Troubleshooting
El opresor no esta apretado. / The setscrew is not tight.
Probelma / Problem Causas / Causes Solucións / Solutions
Abra la válvula principal de agua. /
Open the main water valve.
Existe poco flujo de agua.
/ There is some water flow.
Hay fuga en el cuerpo
armado y el cartucho.
/ There is leakage in the body
assembly and the cartridge.
Apriete firmemente la tuerca (Pag. 3, paso 12).
/ Thigten the nut (page 3, step 12).
El maneral esta flojo.
/ The handle is loose.
Apriete firmemente (Pagina 3, paso 13).
/ Tighten firmly (page 3, step 13).
La presión de operación no es la adecuada.
/ The operating pressure is not adequate.
Posiblemente el cartucho no asienta bien en el fondo del
cuerpo. / Possibly the cartridge does not sit well in the bottom
of the body.
No sale agua fria.
/ no cold water comes out.
No hay agua fria en la linea.
/ No cold water in the line.
Revise que exista agua fría en la linea.
/ Check that there is cold water in the line.
No sale agua.
/ No water flow.
17
Basura obstruyendo entradas del cartucho. /
Garbage obstructing cartridge entrances.
Retire el cartucho y límpielo. (Pag. 3, paso 15 y 16).
/ Remove the cartridge and clean it. (page 3, step 15 and 16).
Abra el cartucho levantando la palanca (Pag. 4, Operación). /
Open the cartridge by lifting the lever (page 4, Operation).
El cartucho se encuentra cerrado. /
The cartridge is closed.
Verifique la presión en los requerimientos de instalación (Pag. 1). /
Verify the pressure in the installation requirements (Page 1).
La válvula principal de agua se encuentra cerrada. /
The main water valve is closed.
18
Desenrosque la tuerca del portacartucho, retire el cartucho y
reemplácelo. Posteriormente vuelva a ensamblar. / Unscrew the
cartridge holder nut, remove the cartridge and replace. Then
reassemble.
tuerca porta cartucho
nut cartridge holder
Abra la línea de alimentación principal. Para abrir o cerrar el flujo
de agua, levante la palanca, para regular la temperatura gire la
palanca del monomando. / Open the main power line. To open or
close the flow of water, lift the lever to turn the temperature control
lever taps.
abrir
open
+ caliente
+ fría
+ cold
+ hot
Operación / Operation
19 Cuando el desviador esta adentro se acciona la regadera, para que el agua salga en la salida de tina jale el desviador. / When the diverter is
in the shower is operated so that the water runs out of the tub pull the derailleur.
El desviador también puede
utilizarse para regadera
manual. / The diverter also be
used for hand shower.
cartucho
cartridge
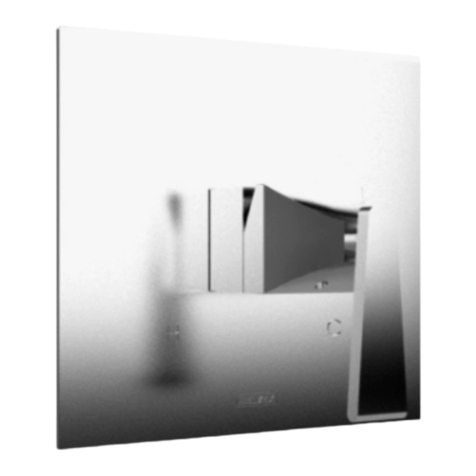
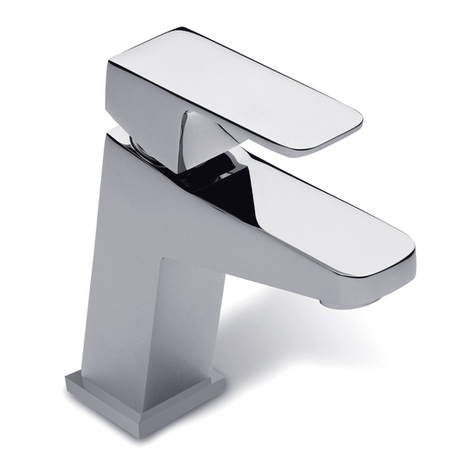
This manual suits for next models

4

Other Helvex Plumbing Product manuals

Helvex STALA TV-106 User manual

Helvex

Helvex STALA TV-106 User manual

Helvex Nuva TV-203 User manual

Helvex

Helvex Nuva TV-203 User manual

Helvex ES-003 User manual

Helvex

Helvex ES-003 User manual

Helvex Bennu M-1007 User manual

Helvex

Helvex Bennu M-1007 User manual

Helvex Magna DX TV-048-S User manual

Helvex

Helvex Magna DX TV-048-S User manual

Helvex Tritón VCG-2 User manual

Helvex

Helvex Tritón VCG-2 User manual

Helvex Alfa TV297 User manual

Helvex

Helvex Alfa TV297 User manual

Helvex IG-40 User manual

Helvex

Helvex IG-40 User manual

Helvex Piura PIU-101 User manual

Helvex

Helvex Piura PIU-101 User manual

Helvex UMO8X-INN-01 User manual

Helvex

Helvex UMO8X-INN-01 User manual

Helvex Argos TV-296 User manual

Helvex

Helvex Argos TV-296 User manual

Helvex KUBICA UTR-036 User manual

Helvex

Helvex KUBICA UTR-036 User manual

Helvex Access UACC-105 User manual

Helvex

Helvex Access UACC-105 User manual

Helvex SQUADRA E-710 User manual

Helvex

Helvex SQUADRA E-710 User manual

Helvex SPACIO HSTRWDSP User manual

Helvex

Helvex SPACIO HSTRWDSP User manual

Helvex FC-185-19 User manual

Helvex

Helvex FC-185-19 User manual

Helvex Vertika E-3007 User manual

Helvex

Helvex Vertika E-3007 User manual

Helvex Land EP-939 User manual

Helvex

Helvex Land EP-939 User manual

Helvex E-937 User manual

Helvex

Helvex E-937 User manual

Helvex TH-062 User manual

Helvex

Helvex TH-062 User manual

Helvex 22V User manual

Helvex

Helvex 22V User manual

Helvex ELITE UE-300-DX User manual

Helvex

Helvex ELITE UE-300-DX User manual

Helvex TH-063 User manual

Helvex

Helvex TH-063 User manual

Helvex C-69-S User manual

Helvex

Helvex C-69-S User manual

Popular Plumbing Product manuals by other brands

Moen 4871E Series manual

Moen

Moen 4871E Series manual

Sanela SLUN 03 Mounting instructions

Sanela

Sanela SLUN 03 Mounting instructions

Kohler Rapport K-1496-H2 Specification sheet

Kohler

Kohler Rapport K-1496-H2 Specification sheet

Blanco BlancoMagnum 501-118-10 Specification sheet

Blanco

Blanco BlancoMagnum 501-118-10 Specification sheet

Elkay Lustertone LWR2522L Specifications

Elkay

Elkay Lustertone LWR2522L Specifications

Toto WASHLET TCF804C2G Installation instruction

Toto

Toto WASHLET TCF804C2G Installation instruction

KWC DECO 10.031.023 Specifications

KWC

KWC DECO 10.031.023 Specifications

Omnires SYSSL12GR Installation and Maintenance

Omnires

Omnires SYSSL12GR Installation and Maintenance

Sterling Plumbing 62060103 Specifications

Sterling Plumbing

Sterling Plumbing 62060103 Specifications

Dundalk LeisureCraft Western Red Cedar Indoor Cabin Sauna Assembly instructions

Dundalk LeisureCraft

Dundalk LeisureCraft Western Red Cedar Indoor Cabin Sauna Assembly instructions

IKEA HOVSKAR AA-218074-5 Assembly instructions

IKEA

IKEA HOVSKAR AA-218074-5 Assembly instructions

Kohler K-1188BR operating instructions

Kohler

Kohler K-1188BR operating instructions

Toto TS100G Installation and owner's manual

Toto

Toto TS100G Installation and owner's manual

METHVEN WAIPORI installation guide

METHVEN

METHVEN WAIPORI installation guide

Gessi 39683 manual

Gessi

Gessi 39683 manual

Hans Grohe AXOR Citterio Select 39862 Series Instructions for use/assembly instructions

Hans Grohe

Hans Grohe AXOR Citterio Select 39862 Series Instructions for use/assembly instructions

Kohler K-T6808 installation guide

Kohler

Kohler K-T6808 installation guide

Luxart EMBELLISH EB511TO Installation

Luxart

Luxart EMBELLISH EB511TO Installation

manuals.online logo
manuals.online logoBrands
  • About & Mission
  • Contact us
  • Privacy Policy
  • Terms and Conditions

Copyright 2025 Manuals.Online. All Rights Reserved.