manuals.online logo
Brands
  1. Home
  2. •
  3. Brands
  4. •
  5. Henderson
  6. •
  7. Door Opening System
  8. •
  9. Henderson SIROCCO User manual

Henderson SIROCCO User manual

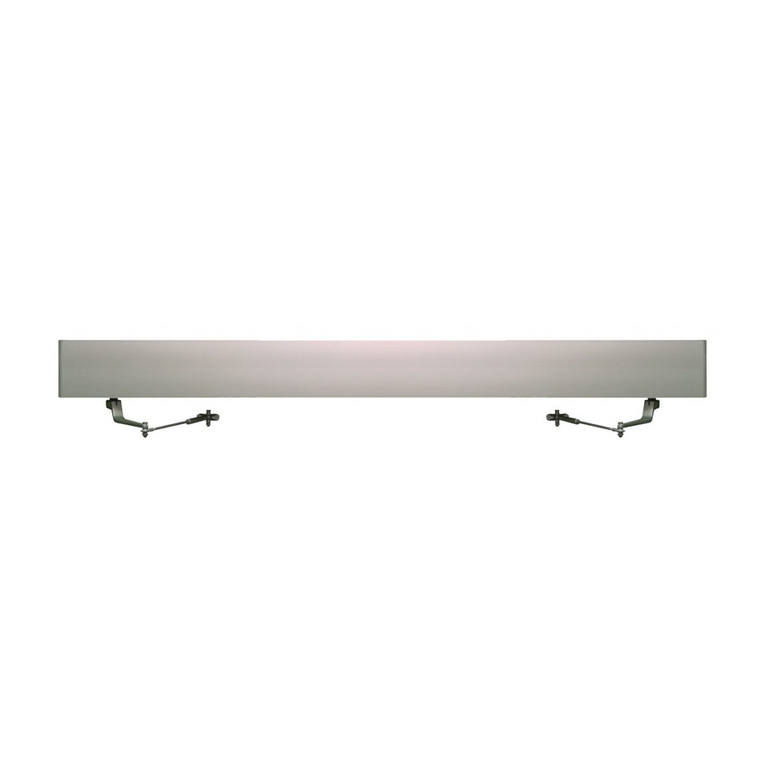
SIROCCO Self Closing System
Fitting Instructions
for sliding doors up to 80kg.
SLIDING & FOLDING DOOR HARDWARE
November 2008
Self closing system for a single door between 800 to 1200mm wide. For metal or timber doors with a thickness between 30mm and
46mm. Complete with a hydraulically controlled soft close feature, and a brake to reduce opening speed to prevent damage to the door
and system. Consistent hydraulic closing operational range between temperature ranges of -10°C to 40°C.
(Read instructions thoroughly before commencing installation).
Parts List
Tools Required
General Elevation of
Completed Installation
The elevation view is showing right hand
opening of the door. Left hand opening is
simply a mirror image. Right hand closing is
shown in all images.
Spirit level, Posi-drive screwdriver, Flat head screwdriver, Metal cutting saw, Drill
with metal and masonry drill bits and a Tape measure
9. Installation of the Opening Brake
Slide the door to the fully open position, insert
the Opening Brake Rack into the groove on the
track as shown in diagram 9a. Then align the
front edge of the leading hanger with the
aligning mark on the brake rack as shown on
diagram 9b. Screw the rack to the wall through
the four holes in the rack with suitable fixings.
Remove all debris from the track as this will
damage the track and the rollers.
Diagram 9a. Diagram 9b.
11. Adjusting the Closing Power and Speed
Adjust the closing power by firstly removing the
fixing screw. Adjust the Power Spring Unit as
shown in the diagram 11a. When complete re-
tighten the fixing screw back into its original
position as shown in diagram 11a.
Diagrams shown are for right handed sliding
doors, for left handed sliding doors the
procedures are the opposite.
To adjust the door closing speed as shown in
diagram 11b. Perform this calibration about
250mm from the fully closed position with a flat
head screwdriver, and then ensure that the door
closes with an appropriate and safe speed from
the fully opened position. Do not turn the
speed adjustment valve more than two full
revolutions.
Diagram 11a.
Diagram 11b.
Part Qty
1 Aluminium track 2200mm 1
2 Leading hanger 1
3 Trailing hanger 1
4 Hydraulic Control Unit 1
5 Closing brake rack 1
6 Opening brake rack 1
7 Power spring mounting bracket 1
8 Height adjustment plates 7
9 Power spring unit 1
10 M5 X 16 pan head screw 10
11 M8 x 35 hexagon bolt 4
12 M5 x 12 pan head screw 2
13 Anti rise bolt 2
14 Spring washer
(Countersunk 10mm dia)
2
15 M5 X 12 pan head screw 2
16 M4 X 6 pan head screw 2
17 Guide roller 1
Opening door stop 1
Door stop roller 1
M6 X 20 Hexagon bolt 1
M5 X 12 pan head screw 2
19 Closing door stop 1
Wooden door plate 2
Ø5 X 30 screws
(Countersunk flat head)
8
Delayed timer body
(optional)
1
Time adjusting plate
(optional)
1
22 Guide channel
(optional) 1
18
20
21
To make pulling power stronger To make pulling power weaker
10. Installation of the Hydraulic Control unit
With the door in the closed position fix the
Hydraulic Control Unit to the leading hanger as
shown in diagram 10a with the M5 x 12 screws
provided. Pull the control wire from the Power
Spring Unit and hook the wire loop on to the
leading hanger body as shown in diagram 10b.
Diagram 10a. Diagram 10b.
8. Hanging the Door
With the track and the hangers firmly fixed in
position, hang the door on to the track whilst
locating the floor guide into the guide channel in
the bottom of the door. Carefully check the
door can slide smoothly and that there are no
clearance problems.
Install the hanger anti-rise bolts to both of the
hangers as shown in diagram 8. Diagram 8.
1. Cutting the Track
3. Trailing Edge Door Stop
The track must be cut 180mm shorter
than twice the door width. After cutting
the track check the location of the last pre-
drilled screw hole if it is more than 100mm
from the track cut edge then drill a new
hole 5.5mm diameter 50mm from the cut
edge as shown in diagram 1.
Slide the Leading Edge Door Stop into the
groove in the track to the desired position.
Mark on the underside of the track the
position of the ‘V’ mark on the stop body
and move the stop clear of the mark. Drill
a 6.5 dia hole as shown in diagram 2a.
Reposition the stop and secure in position
by tightening the M4 x 12 screw located
on the top of the stop and fitting the M6 x
20 bolt through the bottom of the track
into the stop body as shown in diagram 2b.
If using the optional DelayedTimer then do
not fit the stop, refer to the instructions for
the Delayed Timer.
Slide the Trailing Edge Door Stop into the
groove in the track to the desired position.
Mark on the underside of the track the
position of the ‘V’ mark on the stop body
and move the stop clear of the mark. Drill
a 6.5 dia hole as shown in diagram 3a.
Reposition the stop and secure in position
by tightening the M4 x 12 screw located
on the top of the stop and fitting the M6 x
20 bolt through the bottom of the track
into the stop body as shown in diagram 3b.
4. Fitting the Track to the Wall
Mark out and drill the Reference Hole 200mm from the leading edge of the door when it is in the closed position, and at a height
from the FFL as detailed in diagram 4a. Refer to dimension B in relation to door material type. Mark out and drill all of the extra wall
fixing holes at intervals of 300mm as also shown in diagram 4a. Fix the track to the wall as shown in diagram 4b.
5. Installation of the Power Spring Unit
Place the mounting bracket so it is
touching the edge of the track. Adjust
the height of the bracket to align the
marker point with the track as shown
in diagram 5a. Fix the bracket to the
wall with M5 x 12 screws or other
appropriate fixing for the wall type.
There must be no gap between the
bracket and the track when fixed to
the wall as shown in diagram 5b.
Fix the Power Spring Unit to the
mounting bracket with the M4 x 6 pan
head screws supplied as shown in
diagram 5c. Refer to diagram 5d to
check Power Spring Unit fixed
position.
Diagram 1.
Diagram 2a. Diagram 2b.
Diagram 3a. Diagram 3b.
Diagram 4a. Diagram 4b.
Diagram 5a. Diagram 5c.
Diagram 5b. Diagram 5d.
6. Fitting the Hangers to the Door
For fixing the hangers to metal doors first fix the leading hanger with the M8 x 35 bolts provided with the 7 height adjustment plates as shown
in diagram 6a.Then fix the trailing hanger also shown in diagram 6a. For fixing the hangers to timber doors first drill the four 9mm dia holes into
the top of the door as shown in diagram 6b. Fix the steel door plates with the Ø5mm x 30 wood screws making sure the 9mm holes drilled in
the top of the door are aligned with the clearance holes in the plates. Fix the hangers to the plates as previously described and shown in diagram
6a including the 7 height adjustment plates. Ensure the hangers are fixed squarely and in line with the door as shown in diagram 6c.
Diagram 6a. Diagram 6b.
Diagram 6c.
For Steel Doors 72
For Timber Doors 78
Dimension B B
2. Leading Edge Door Stop
7. Fitting the Guide System
Fit the Guide Roller to the floor with suitable fixings in the position shown in diagram 7a. If required install the optional guide channel into the
bottom of the door as shown in diagram 7b. Fix the channel into position with the screws provided.
Diagram 7a. Diagram 7b.
Cut at the door
trailing edge end
of the track
Ø6.5 drilled hole
‘V’ mark
on stop body M6 x 20 Hexagon bolt
Ø6.5 drilled hole
13mm
M6 x 20 Hexagon bolt
13mm
‘V’ mark
on stop body
Opening
Door Stop
Closing
Door Stop

Other Henderson Door Opening System manuals

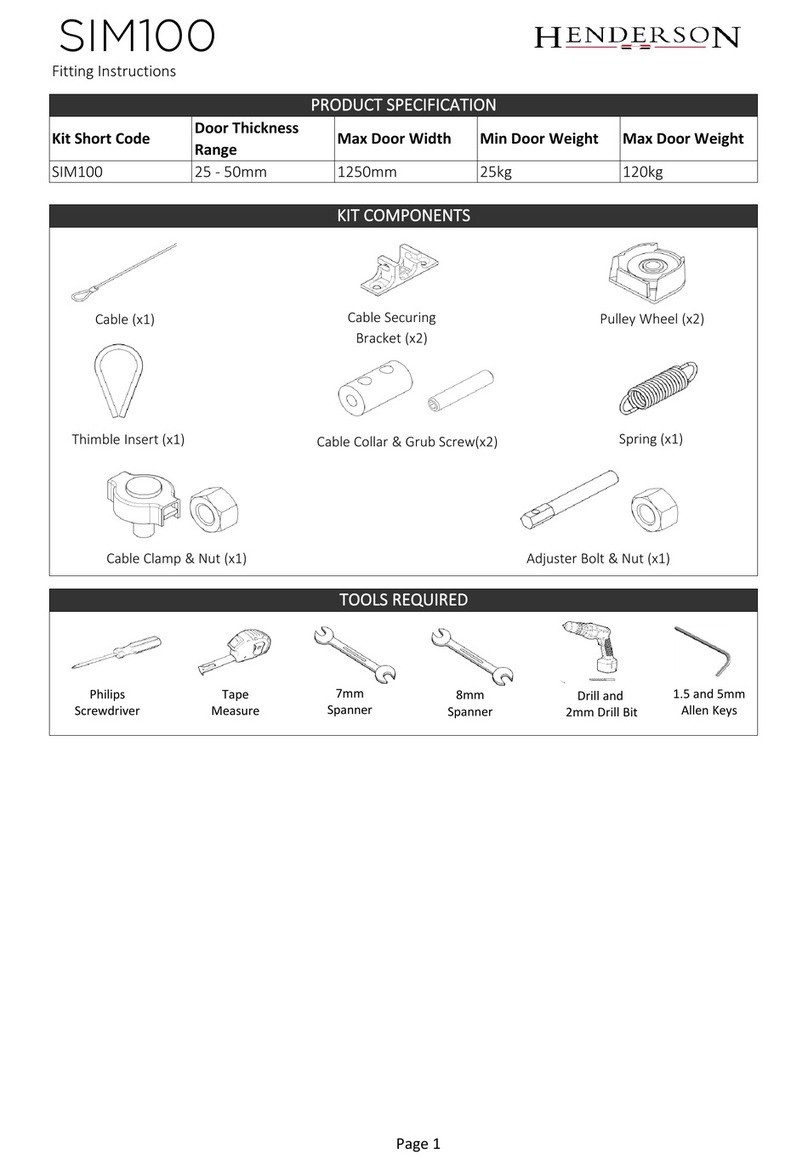
Henderson SIM100 User manual

Henderson

Henderson SIM100 User manual

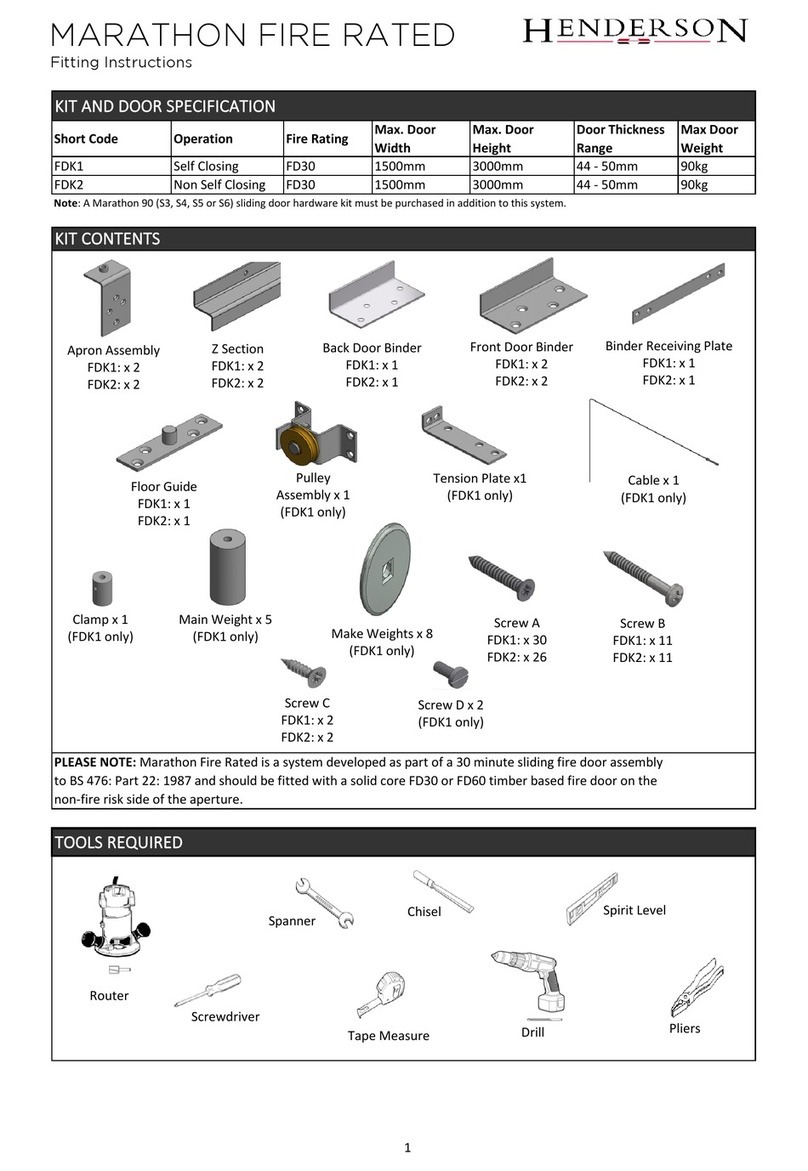
Henderson MARATHON FDK1 User manual

Henderson

Henderson MARATHON FDK1 User manual

Henderson HUSKY 100 User manual

Henderson

Henderson HUSKY 100 User manual

Henderson SIM100 User manual

Henderson

Henderson SIM100 User manual

Henderson Evolve Glass SIM Kit User manual

Henderson

Henderson Evolve Glass SIM Kit User manual

Henderson EVOLVE POCKET DOOR PRO Series User manual

Henderson

Henderson EVOLVE POCKET DOOR PRO Series User manual

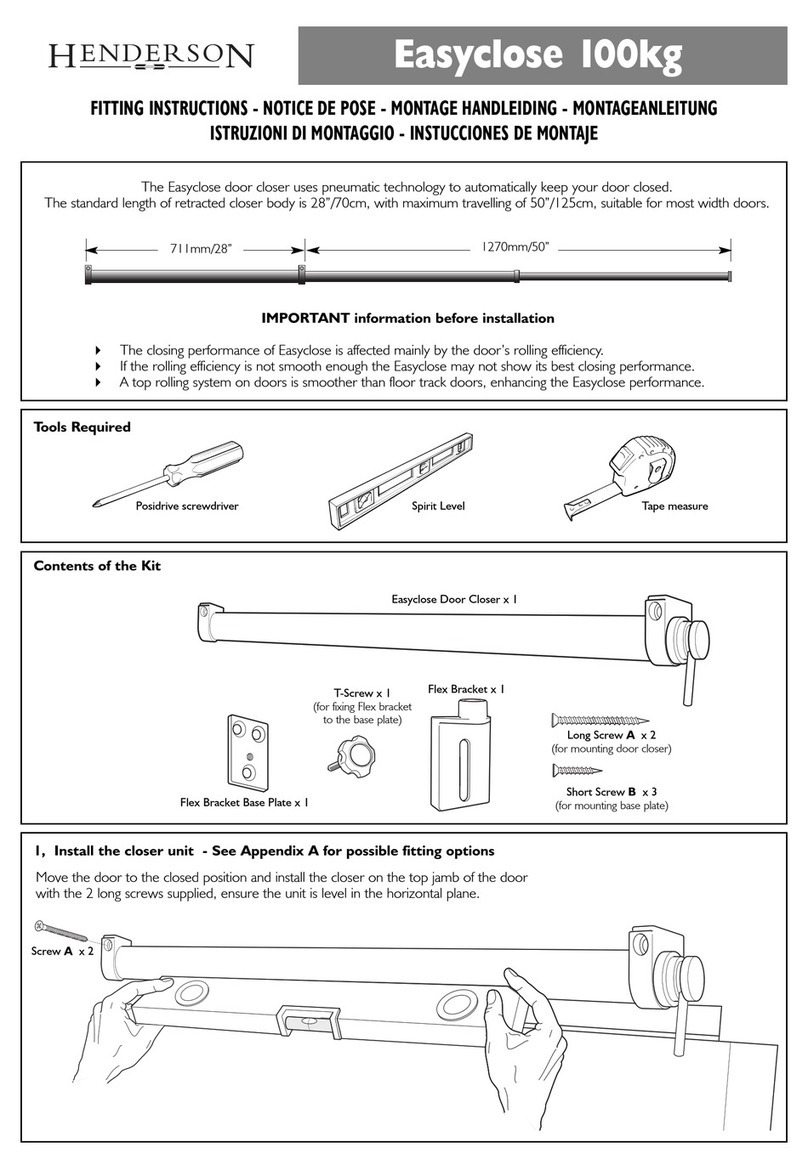
Henderson Easyclose User manual

Henderson

Henderson Easyclose User manual

Henderson Bifold User manual

Henderson

Henderson Bifold User manual

Henderson ZENITH User manual

Henderson

Henderson ZENITH User manual

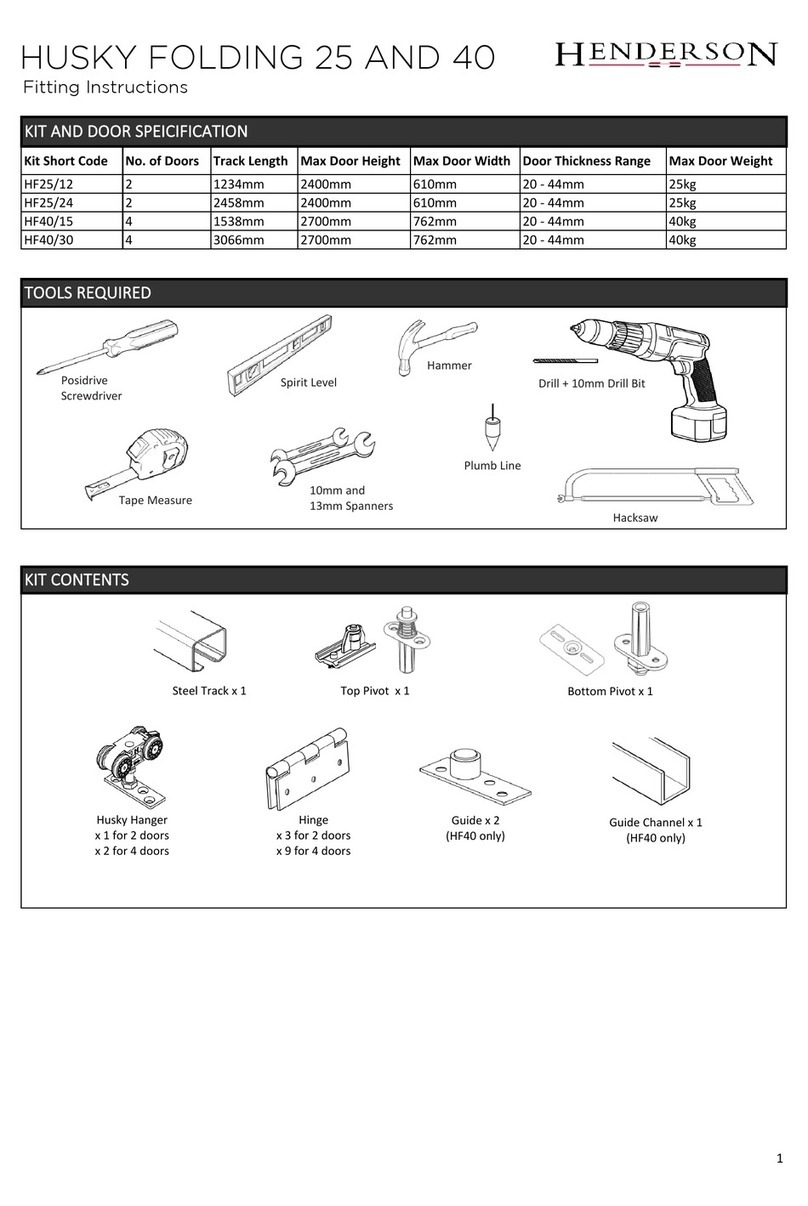
Henderson HUSKY Folding 25 Series User manual

Henderson

Henderson HUSKY Folding 25 Series User manual

Henderson HUSKY 50 User manual

Henderson

Henderson HUSKY 50 User manual

Popular Door Opening System manuals by other brands

DH2 Solutions CDVI Digiway Plus Information

DH2 Solutions

DH2 Solutions CDVI Digiway Plus Information

Krownlab RORIK installation instructions

Krownlab

Krownlab RORIK installation instructions

CAME C-BX installation manual

CAME

CAME C-BX installation manual

Automatic Technology DOMINATOR EasyRoller 14 instruction manual

Automatic Technology

Automatic Technology DOMINATOR EasyRoller 14 instruction manual

Easi-Exit DCF2003 installation instructions

Easi-Exit

Easi-Exit DCF2003 installation instructions

Woodhaven 4512S quick start guide

Woodhaven

Woodhaven 4512S quick start guide

Nabco ICU 2400 owner's manual

Nabco

Nabco ICU 2400 owner's manual

Assa Abloy Corbin Russwin ED5400 (A) Series installation instructions

Assa Abloy

Assa Abloy Corbin Russwin ED5400 (A) Series installation instructions

BFT SPC quick start guide

BFT

BFT SPC quick start guide

Lock Control DH-66 Series Installation and operation manual

Lock Control

Lock Control DH-66 Series Installation and operation manual

OL.MI REI CM installation instructions

OL.MI

OL.MI REI CM installation instructions

Record 5100 Series owner's manual

Record

Record 5100 Series owner's manual

BASI PR 800 installation instructions

BASI

BASI PR 800 installation instructions

Salto inRoomNode installation guide

Salto

Salto inRoomNode installation guide

Rixson ASSA ABLOY 50 installation instructions

Rixson

Rixson ASSA ABLOY 50 installation instructions

Assa Abloy DC3210 installation instructions

Assa Abloy

Assa Abloy DC3210 installation instructions

Yale Power Track Series installation instructions

Yale

Yale Power Track Series installation instructions

GEZE TS 5000 Recommended Settings

GEZE

GEZE TS 5000 Recommended Settings

manuals.online logo
manuals.online logoBrands
  • About & Mission
  • Contact us
  • Privacy Policy
  • Terms and Conditions

Copyright 2025 Manuals.Online. All Rights Reserved.