manuals.online logo
Brands
  1. Home
  2. •
  3. Brands
  4. •
  5. Herd
  6. •
  7. Automobile Accessories
  8. •
  9. Herd IN24A2 User manual

Herd IN24A2 User manual

1
Installation guide
1-888-543-4373
www.HERD.com
1-888-543-4373
Part No: IN24-IG
Rev: A
Date:28-Nov-16
Important
Herd Bumpers are vehicle "Make & Model" specific. Use of a bumper on a vehicle other than the model it was
designed for will constitute improper use of the product and may void warranty.
Unless otherwise specified, Grade 8 or Class 10.9 hardware is to be used. For the purposes of these
instructions, OE hardware means the truck's original factory hardware.
For further detail of warranty coverage and warranty repair information visit www.HERD.com.
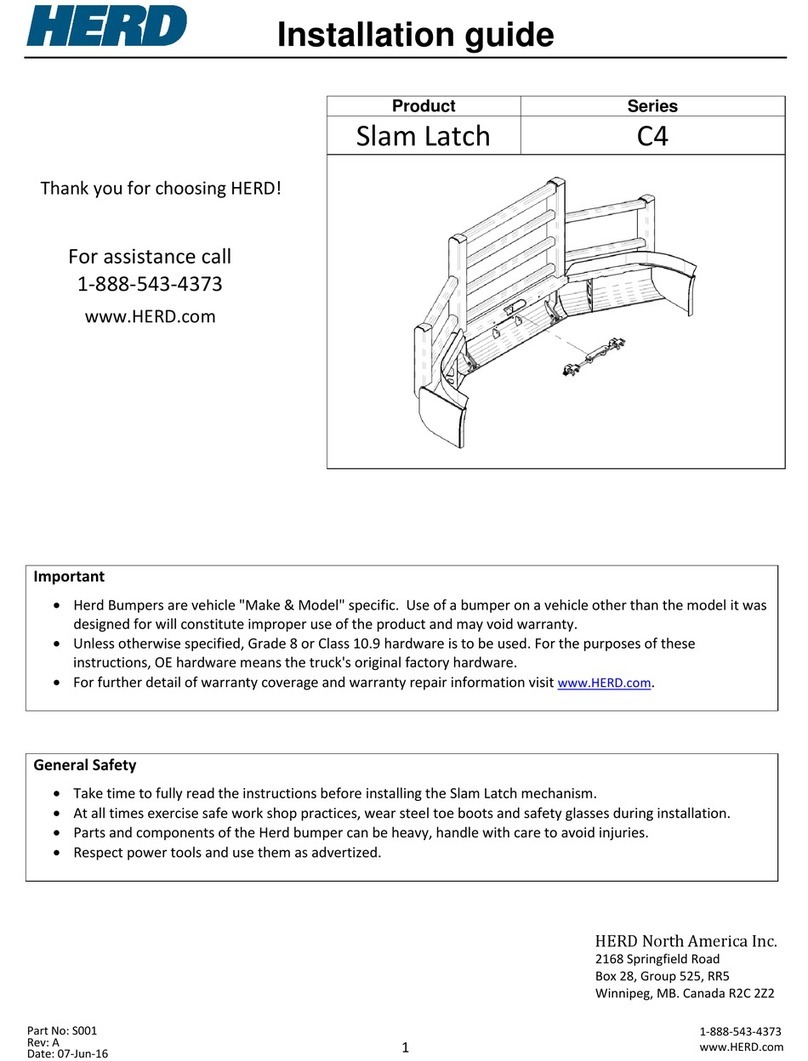
SKU #
Truck Model
IN24A2, IN25A2, IN24A4,
IN25A4, IN24D2, IN25D2,
IN24D4, IN25D4,
IN24DFLT2, IN25DFLT2,
IN24RT, IN25RT, IN24TX4,
IN24BTX4, IN24SRT
International
HX520 SFA,
HX615/620 SBA
General Safety
Take time to fully read the instructions before installing the Herd bumper.
At all times exercise safe work shop practices, wear steel toe boots and safety glasses during installation.
Parts and components of the Herd bumper can be heavy, handle with care to avoid injuries.
Respect power tools and use them as advertised.
For assistance call
1-888-543-4373
www.HERD.com
Thank you for choosing HERD!
HERD North America Inc.
2168 Springfield Road
Box 28, Group 525, RR5
Winnipeg, MB. Canada R2C 2Z2
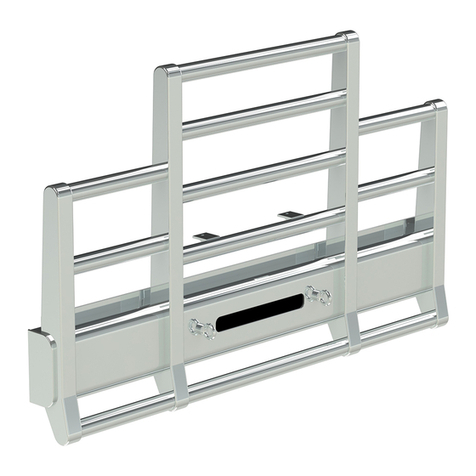
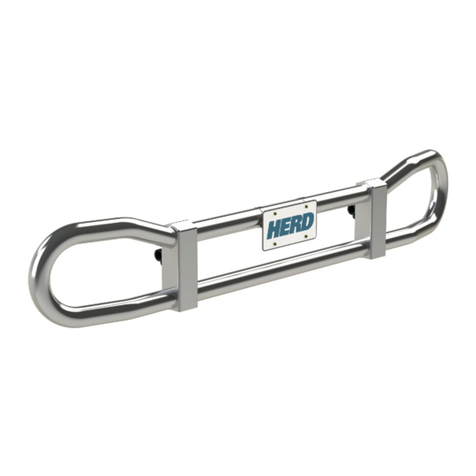
IN24SRT SHOWN
Parts and tools referenced in this instruction
2
1-888-543-4373
www.HERD.com
1-888-543-4373
Part No: IN24-IG
Rev: A
Date:28-Nov-16
Parts and hardware included (IN24 Bumper shown)
Tools Required
Tool
Specification
Socket
¾” or 19 mm
Socket
15/16” or 24 mm
Socket
11/8” or 30 mm
Wrench
¾” or 19 mm
Wrench
15/16” or 24 mm
Wrench
11/8” or 30 mm
Item No
Part No
Description
Qty
1
IN24/IN25 BUMPER
Bumper, IN HX 520/615/620
1
2
BR-IN24/BR-IN25
Bracket, IN HX 520/615/620
1
3
1-BR-PAC-51X9.5
Packer, 51 mm x 51 mm, 3/8” thick
4
4
1MPA036
Center Mount, IN24
1
5
1MPA037
Nut Plate, IN24
2
6
HB0.625-11X3.25GR8
Hex Bolt - 5/8”-11x3.25” Grade 8
4
7
HB0.625-11X2FTGR8
Hex Bolt - 5/8”-11x2”Fully Thr. Grade 8
4
8
HB0.5-13X2GR8
Hex Bolt - 1/2”-13x2” Grade 8
4
9
NLN0.625-11GR8
Hex Nylon Lock nut -5/8”-11 Grade 8
8
10
FW0.5GR8
Flat Washer - ½” Grade 8
4
11
FW0.625GR8
Flat Washer - 5/8” Grade 8
16
12
W-8SH
Shim, 1/16È thick
4
13
1MP060
Shim, 3/8” thick, 5/8” bolt (IN25 only)
4
1
2
3
4
5
13
12
Installation Procedure
3
1-888-543-4373
www.HERD.com
1-888-543-4373
Part No: IN24-IG
Rev: A
Date:28-Nov-16
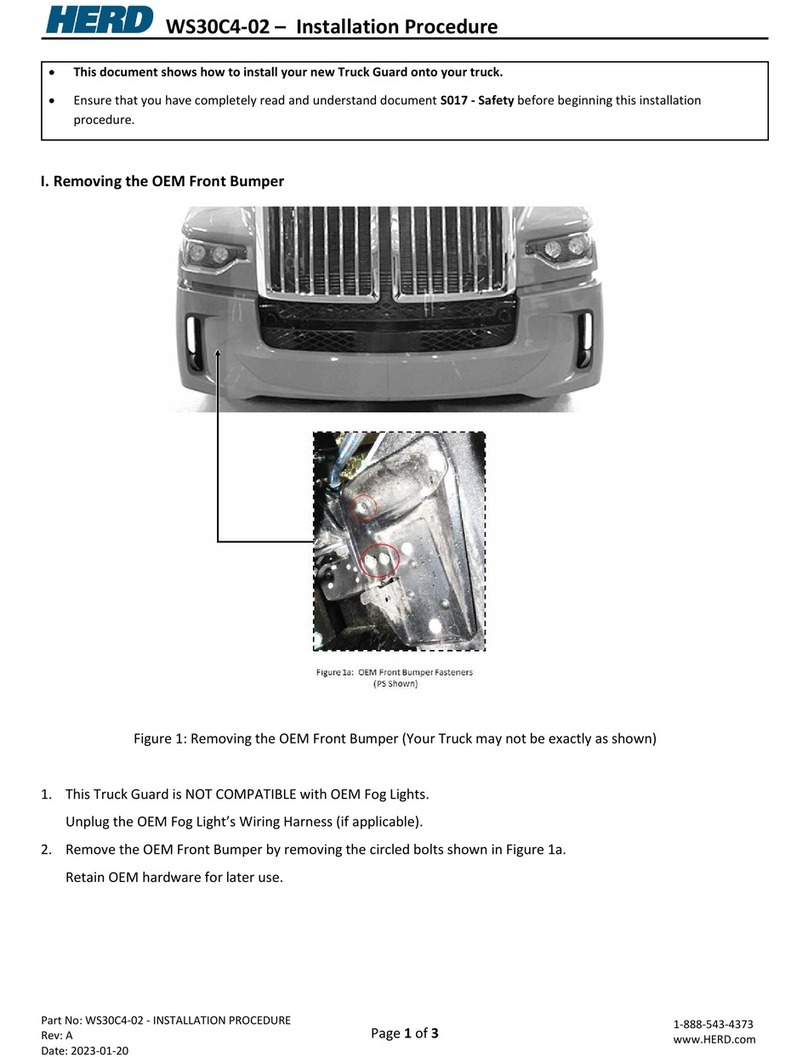
1. Unplug driving lights (if
equipped). Remove front bumper
bolts.
Figure 1
2. Disconnect torsion bar (IN25 set
back axle only). Remove OEM
bumper.
Figure 2
3. Install center mount (Item 4)
onto cross member as shown in
Figure 3.
Figure 3 –Center mount installation.
4
Cross member
Remove these bolts
Remove these bolts
Remove this bolt
11
9
7
11
Installation Procedure
4
Part No: IN24-IG
Rev: A
Date: 28-Nov-16
1-888-543-4373
www.HERD.com
1-888-543-4373
4. Open bumper. Using crane, lift
the bumper (Item 1) and bracket
(Item 2) and attach to Herd
Center Mount (Figure 4a) and
tow receiver casting (Figure 4b).
Use supplied shims (Item 12 or
13) to close gap between the
Center Mount (Item 4) and
bracket (Item 2) if required.
Note:
If installer does not have a crane
available, bumper can be
disassembled from the bracket to
simplify installation as shown in
step 5, otherwise proceed to step
6.
Figure 4a –Herd bracket attached to center mount.
Figure 4b –Herd bracket attached to tow receiver casting.
5
4
10
8
3
11
9
11
2
Tow receiver
casting
6
2
Installation Procedure
5
Part No: IN24-IG
Rev: A
Date: 28-Nov-16
1-888-543-4373
www.HERD.com
1-888-543-4373
5. To disassemble bracket from the
bumper remove both hinge bolts.
Note:
If bumper is equipped with lift
assist the springs must be
removed. Refer to instructions
S004 (Defender bumpers) or S005
(Aero/Texas bumpers) for proper
lift assist disassembly procedure.
Figure 5 - Bumper disassembly (Aero bumper shown).
6. If equipped with OEM fog lights,
remove driving lights from
factory bumper and retain OEM
hardware. Reinstall onto Herd
bumper using the preinstalled
driving light brackets on both
driver and passenger side.
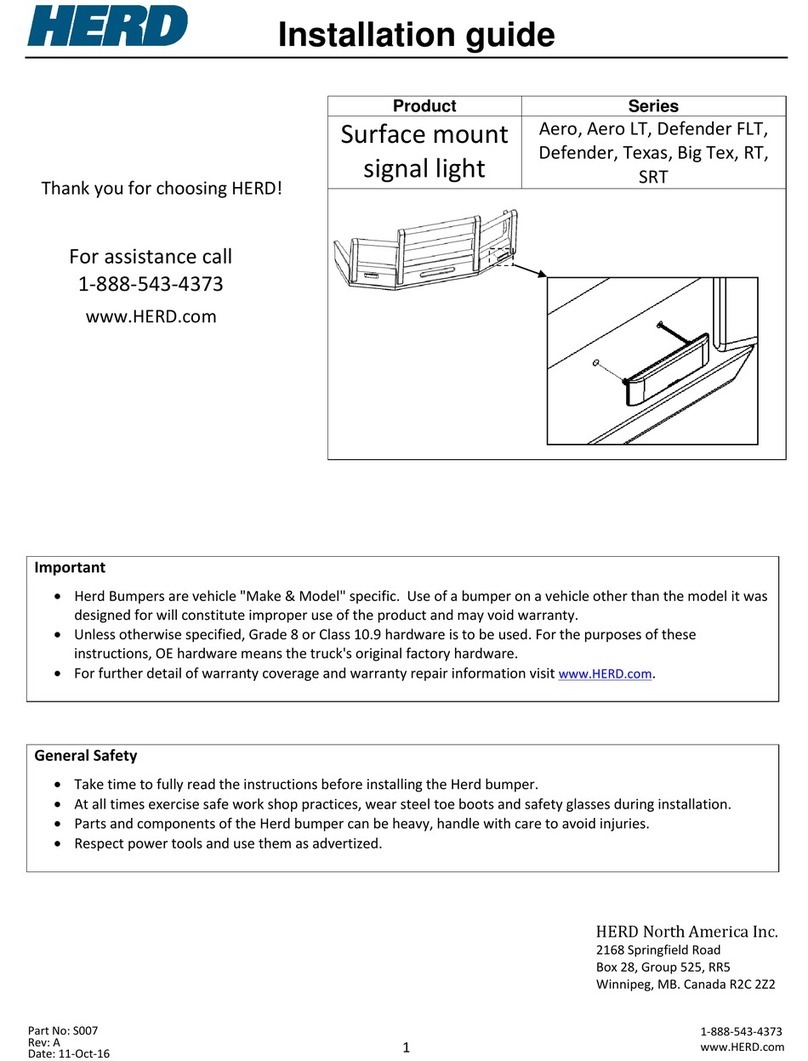
Figure 5 –OEM Fog Light installation.
7. Close the bumper and check the
fitment. Bumper position can
be adjusted side to side and up
/ down as required. Once
fitment confirmed tighten all
bolts.
Figure 6 –Bolt torque specs (Driver side shown).
Important
Check mounting points after the first 5000 km and every 3-6 month.
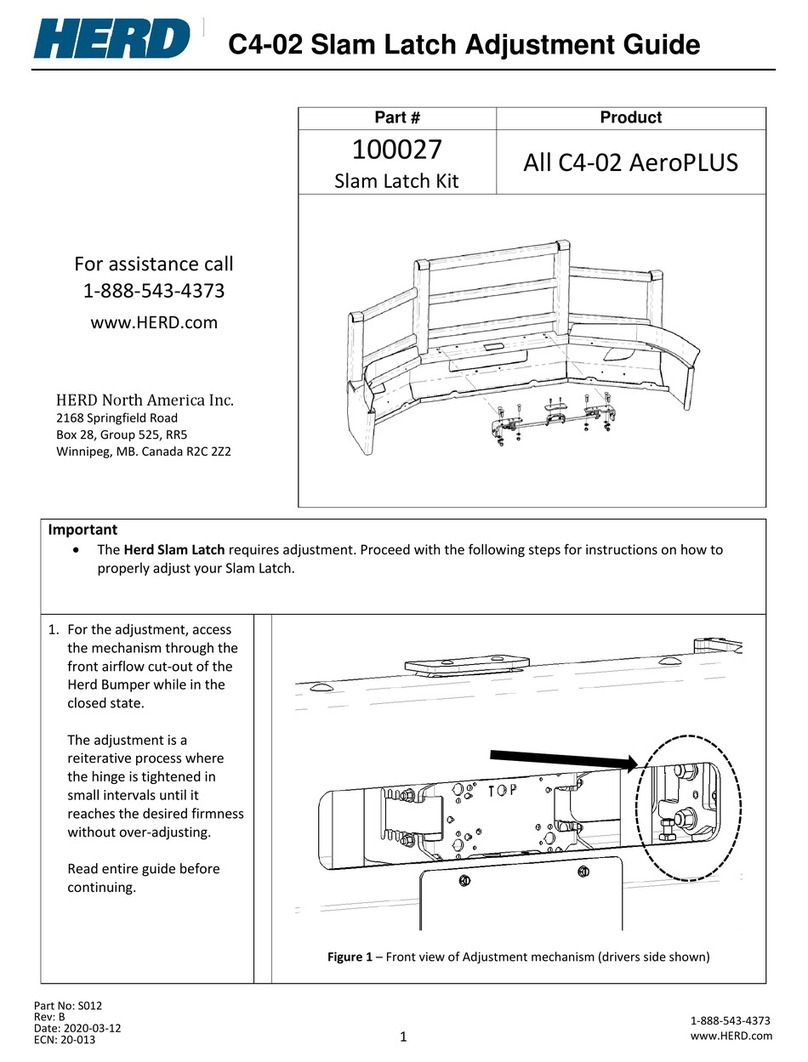
If bumper is equipped with Herd Slam Latch, periodic adjustment is required. Refer to Slam Latch Installation
adjustment instructions to properly adjust your Slam Latch.
110 ft-lb
6 Bolts
Hinge bolts
OEM Hardware
Fog Light
210 ft-lb
4 Bolts
210 ft-lb
4 Bolts
110 ft-lb
4 bolts

This manual suits for next models

14

Other Herd Automobile Accessories manuals
Herd KW01 User manual

Herd

Herd KW01 User manual

Herd KW22C4-02 User manual

Herd

Herd KW22C4-02 User manual

Herd IN27BG User manual

Herd

Herd IN27BG User manual

Herd MK15C4-02 User manual

Herd

Herd MK15C4-02 User manual

Herd SLAM LATCH Guide

Herd

Herd SLAM LATCH Guide

Herd WS30C4-02 Operating and maintenance manual

Herd

Herd WS30C4-02 Operating and maintenance manual

Herd Aero User manual

Herd

Herd Aero User manual

Herd PB11C4-02 User manual

Herd

Herd PB11C4-02 User manual

Herd 404006 User manual

Herd

Herd 404006 User manual

Herd Aero Series User manual

Herd

Herd Aero Series User manual

Herd FL33BG User manual

Herd

Herd FL33BG User manual

Herd AeroPLUS C4-02 Guide

Herd

Herd AeroPLUS C4-02 Guide

Herd Aero User manual

Herd

Herd Aero User manual

Herd Aero User manual

Herd

Herd Aero User manual

Herd Defender Series User manual

Herd

Herd Defender Series User manual

Herd C4 Series User manual

Herd

Herd C4 Series User manual
Popular Automobile Accessories manuals by other brands

Westfalia 316257600001 Assembly instructions

Westfalia

Westfalia 316257600001 Assembly instructions

Car-Interface CI-C2-MK-AUX manual

Car-Interface

Car-Interface CI-C2-MK-AUX manual

WALMEC 40061 AL quick start guide

WALMEC

WALMEC 40061 AL quick start guide

Funkwerk AUDIO 2010 operating manual

Funkwerk

Funkwerk AUDIO 2010 operating manual

Rightline Gear Trunk Storage Bag Setup guide

Rightline Gear

Rightline Gear Trunk Storage Bag Setup guide

Lippert Stargazer Nano Long Skylight installation manual

Lippert

Lippert Stargazer Nano Long Skylight installation manual

Go Rhino 3096MB Assembly instructions

Go Rhino

Go Rhino 3096MB Assembly instructions

ABB Terra HP user manual

ABB

ABB Terra HP user manual

James Baroud Space user guide

James Baroud

James Baroud Space user guide

WABCO iABS 2S/1M Standard Maintenance manual

WABCO

WABCO iABS 2S/1M Standard Maintenance manual

Hiniker 7802 Operator's manual

Hiniker

Hiniker 7802 Operator's manual

Axxess AXDSPL-VW1 installation instructions

Axxess

Axxess AXDSPL-VW1 installation instructions

Prorack WHISPBAR S53 Fitting Instructions for Basic Carrier

Prorack

Prorack WHISPBAR S53 Fitting Instructions for Basic Carrier

GEV KIT 8 Assembly instructions

GEV

GEV KIT 8 Assembly instructions

Alu-Line EuroCarry Caravan easy instructions

Alu-Line

Alu-Line EuroCarry Caravan easy instructions

Brodit 727196 quick start guide

Brodit

Brodit 727196 quick start guide

Metra Electronics LEXUS 99-8151 installation instructions

Metra Electronics

Metra Electronics LEXUS 99-8151 installation instructions

RITE-HITE DOK-LOK VBR-600 installation manual

RITE-HITE

RITE-HITE DOK-LOK VBR-600 installation manual

manuals.online logo
manuals.online logoBrands
  • About & Mission
  • Contact us
  • Privacy Policy
  • Terms and Conditions

Copyright 2025 Manuals.Online. All Rights Reserved.