manuals.online logo
Brands
  1. Home
  2. •
  3. Brands
  4. •
  5. Herd
  6. •
  7. Automobile Accessories
  8. •
  9. Herd SLAM LATCH Guide

Herd SLAM LATCH Guide

ADJUSTMENT
INSTRUCTIONS
CUSTOMER
SERVICE
If you require any additional
assistance, please call HERD’s
Customer Service Team
REPLACEMENT
PARTS
For all your replacement part
needs, please contact your
local dealer
1-888-543-4373
[email protected]
2168 SPRINGFIELD ROAD,
WINNIPEG, MB R2C 2Z2
TROUBLESHOOTING TIPS
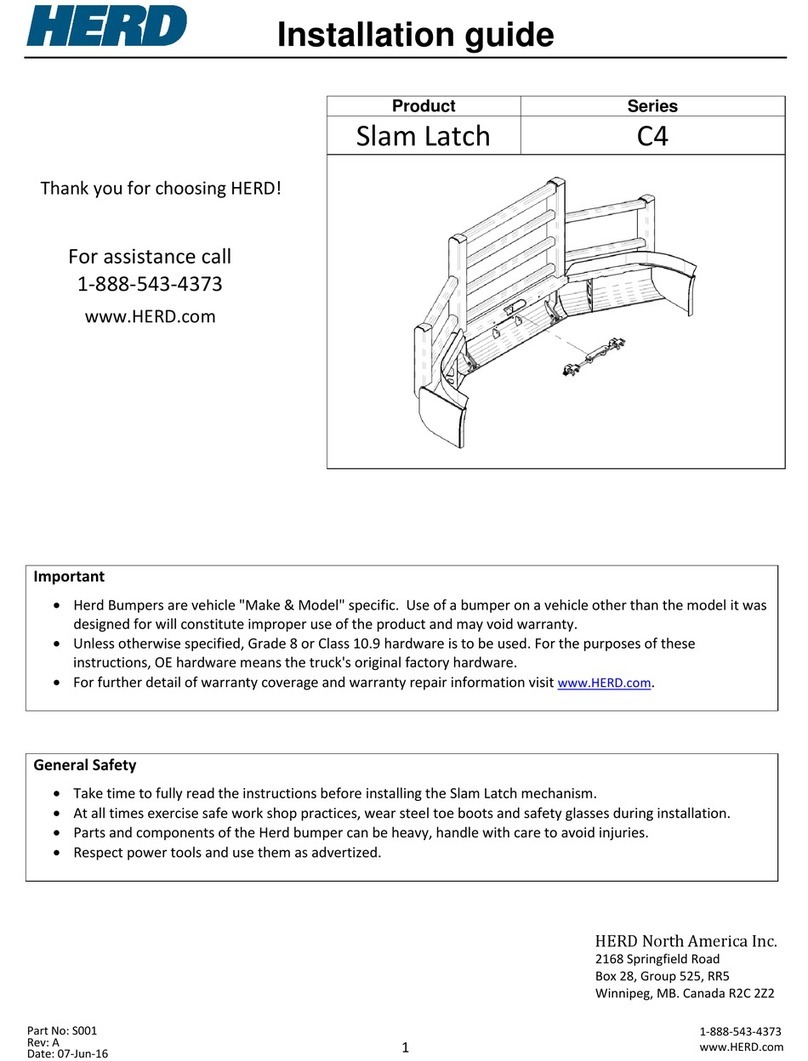
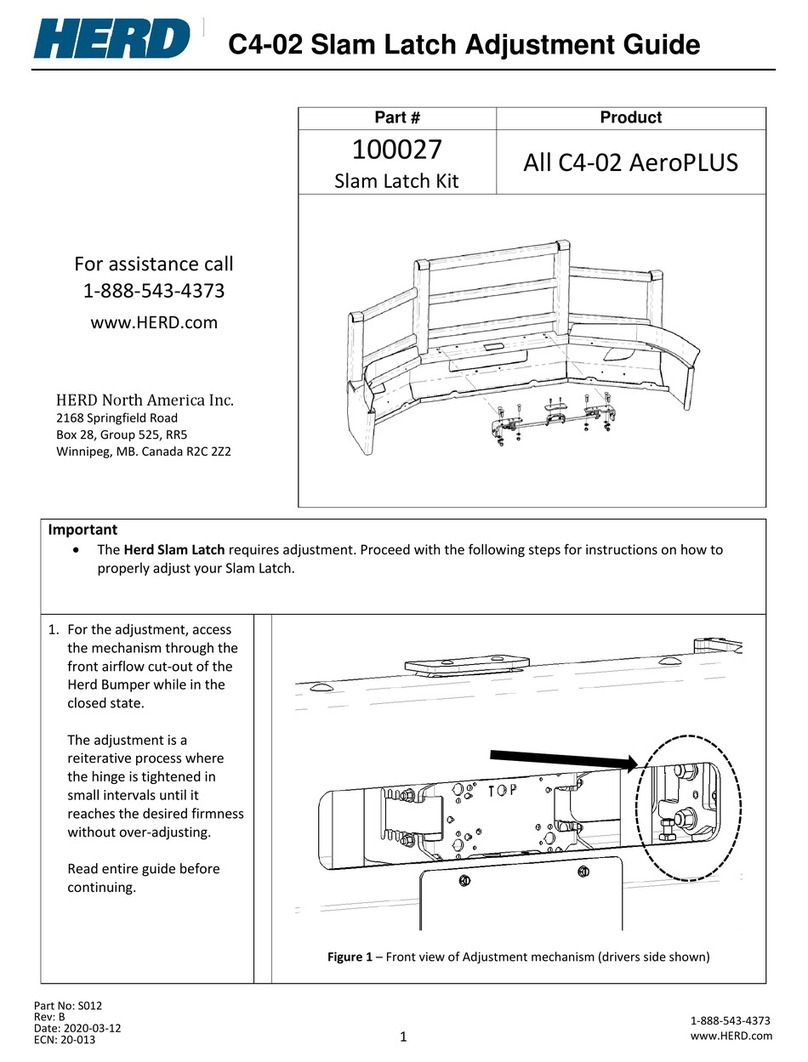
This bumper is equipped with Herd’s Slam Latch
which will require periodic adjustment to ensure
optimum performance. The simple, 4-step
adjustment process is outlined below.
In severe duty/o-road
applications, the slam latch
system is designed to be
maintained at a minimal cost.
The following gives some
guidelines and things to look for
to keep your Slam Latch working
at peak performance and
reliability to oer many years
of trouble free service.
SLAM LATCH
ADJUSTMENT INSTRUCTIONS
Please contact your local
dealer for replacement parts
Image shows the back of a Herd bumper in the lowered position.
PROBLEM
There is no more
adjustment on Slam Latch
tension bolts.
SOLUTION
Replace the inexpensive
hinge bolts.
Reset the Slam Latch
adjustment bolts.
PROBLEM
The aluminum bumper is
binding on the tow-box
when opening or closing.
SOLUTION
Replace the inexpensive
hinge bolts.
Reset the Slam Latch
adjustment bolts.
PROBLEM
The Slam Latch Handle is
tight or seems locked.
SOLUTION
WARNING: Prying on the
handle will break handle
or linkage.
Turn Slam Latch
adjustment bolts
clockwise until tension
on the handle
is released and it
becomes operable.
Open bumper and
replace the hinge bolts.
Reset the Slam Latch
adjustment bolts
PROBLEM
The aluminum bumper is
rubbing and wearing against
the tow-box.
SOLUTION
Replace the inexpensive
hinge bolts.
Reset the Slam Latch
adjustment bolts.
NOTE: Do not adjust the
Slam Latch handle in the
“closed” position. Doing so
will over-tighten the handle
causing it to lock.
1
1
1
1
2
2
2
2
3
4 BOLTS
EACH SIDE
located inside
the bumper
channel
STEP 1
Open the bumper and loosen
the 4 bolts shown in the image
on the right. These 4 bolts are
located on the inside of the
bumper channel — 4 on each
side — and should be loosened
just until the washers spin freely.
STEP 2
Close the bumper to make the
next adjustment.
STEP 3
Standing in front of the bumper
tighten the 2 adjustment bolts
until rattling stops and the Slam
Latch Handle feels secure.
These two (2) bolts are located
on the back of the top fold of
the aluminum bumper channel.
(One is on the driver’s side and
one is on passenger’s side.)
STEP 4
Open the bumper and tighten
the 8 bolts (4 on each side). If
handle feels secure and latches
properly, the adjustment is
complete. If the Slam Latch
handle is too tight, loosen the
adjustment bolts and start
again at STEP 1.
STEP 3
STEP 1
STEP 1 - CLOSE UP
Other Herd Automobile Accessories manuals

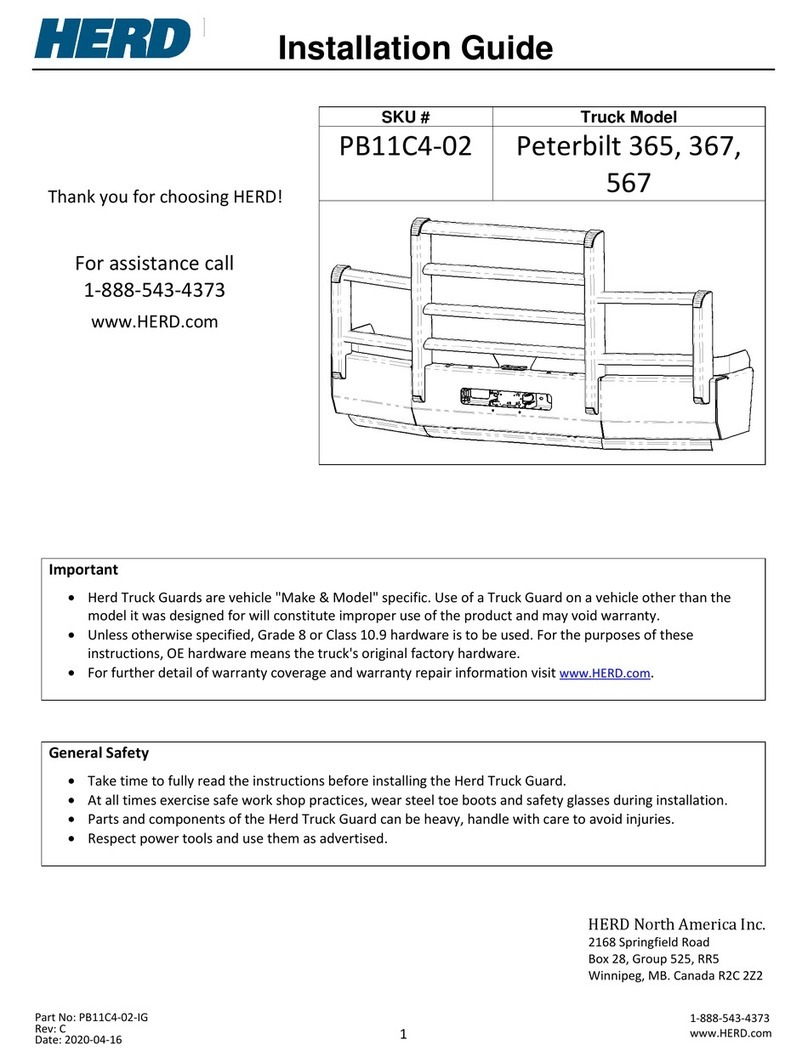
Herd PB11C4-02 User manual

Herd

Herd PB11C4-02 User manual

Herd Defender Series User manual

Herd

Herd Defender Series User manual

Herd Aero Series User manual

Herd

Herd Aero Series User manual

Herd KW22C4-02 User manual

Herd

Herd KW22C4-02 User manual

Herd IN27BG User manual

Herd

Herd IN27BG User manual

Herd FL33BG User manual

Herd

Herd FL33BG User manual

Herd 404006 User manual

Herd

Herd 404006 User manual

Herd Aero User manual

Herd

Herd Aero User manual

Herd MK15C4-02 User manual

Herd

Herd MK15C4-02 User manual

Herd Aero User manual

Herd

Herd Aero User manual

Herd IN24A2 User manual

Herd

Herd IN24A2 User manual

Herd C4 Series User manual

Herd

Herd C4 Series User manual

Herd WS30C4-02 Operating and maintenance manual

Herd

Herd WS30C4-02 Operating and maintenance manual

Herd Aero User manual

Herd

Herd Aero User manual

Herd AeroPLUS C4-02 Guide

Herd

Herd AeroPLUS C4-02 Guide

Herd KW01 User manual

Herd

Herd KW01 User manual

Popular Automobile Accessories manuals by other brands

Hayman Reese 03408RW installation instructions

Hayman Reese

Hayman Reese 03408RW installation instructions

Jotto Desk 425-5284 quick start guide

Jotto Desk

Jotto Desk 425-5284 quick start guide

Saris SENTINEL user manual

Saris

Saris SENTINEL user manual

Pace Edwards SWITCHBLADE SW 2069 installation instructions

Pace Edwards

Pace Edwards SWITCHBLADE SW 2069 installation instructions

Juna JRDAB-01 installation manual

Juna

Juna JRDAB-01 installation manual

Sforza DSC-030EX user manual

Sforza

Sforza DSC-030EX user manual

ZROADZ Z415571-KIT installation guide

ZROADZ

ZROADZ Z415571-KIT installation guide

Brodit ProClip 854689 installation instructions

Brodit

Brodit ProClip 854689 installation instructions

BMW 84 64 0 021 187 Parts and Accessories Installation Instructions

BMW

BMW 84 64 0 021 187 Parts and Accessories Installation Instructions

Master Hak 1204031 manual

Master Hak

Master Hak 1204031 manual

Brodit ProClip 854388 manual

Brodit

Brodit ProClip 854388 manual

Velleman CAMSET28 user manual

Velleman

Velleman CAMSET28 user manual

DRAGONFIRE 04-0045 installation instructions

DRAGONFIRE

DRAGONFIRE 04-0045 installation instructions

Whispbar K584W Fitting instructions

Whispbar

Whispbar K584W Fitting instructions

RazorBack Offroad RBO5160 product manual

RazorBack Offroad

RazorBack Offroad RBO5160 product manual

TEINHOF B-071 FITTING AND OPERATION MANUAL

TEINHOF

TEINHOF B-071 FITTING AND OPERATION MANUAL

CoverCraft WeatherShield HP Use and care instructions

CoverCraft

CoverCraft WeatherShield HP Use and care instructions

Rear view safety RVS-770617N Product manual instaliation instructions

Rear view safety

Rear view safety RVS-770617N Product manual instaliation instructions

manuals.online logo
manuals.online logoBrands
  • About & Mission
  • Contact us
  • Privacy Policy
  • Terms and Conditions

Copyright 2025 Manuals.Online. All Rights Reserved.