manuals.online logo
Brands
  1. Home
  2. •
  3. Brands
  4. •
  5. Herd
  6. •
  7. Automobile Accessories
  8. •
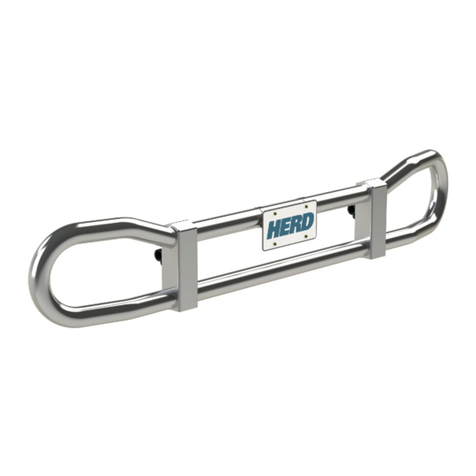
  9. Herd PB11C4-02 User manual

Herd PB11C4-02 User manual

1
Installation Guide
1-888-543-4373
www.HERD.com
1-888-543-4373
Part No: PB11C4-02-IG
Rev: C
Date: 2020-04-16
Important
•Herd Truck Guards are vehicle "Make & Model" specific. Use of a Truck Guard on a vehicle other than the
model it was designed for will constitute improper use of the product and may void warranty.
•Unless otherwise specified, Grade 8 or Class 10.9 hardware is to be used. For the purposes of these
instructions, OE hardware means the truck's original factory hardware.
•For further detail of warranty coverage and warranty repair information visit www.HERD.com.
SKU #
Truck Model
PB11C4-02
Peterbilt 365, 367,
567
General Safety
•Take time to fully read the instructions before installing the Herd Truck Guard.
•At all times exercise safe work shop practices, wear steel toe boots and safety glasses during installation.
•Parts and components of the Herd Truck Guard can be heavy, handle with care to avoid injuries.
•Respect power tools and use them as advertised.
For assistance call
1-888-543-4373
www.HERD.com
Thank you for choosing HERD!
HERD North America Inc.
2168 Springfield Road
Box 28, Group 525, RR5
Winnipeg, MB. Canada R2C 2Z2
Parts and Tools Referenced in this Installation Guide
2
1-888-543-4373
www.HERD.com
1-888-543-4373
Part No: PB11C4-02-IG
Rev: C
Date: 2020-04-16
Parts and Hardware Included
Item No
Part No
Description
Qty
1
2P6004
WLDMT-TRUCK GUARD PB11C4-02
1
2
100062
ASSY-UNIVERSAL BRACKET
1
3
1P6023
KIT –MOUNTING PB11C4-02
1
4
100027
C4-02 SLAM LATCH ASSEMBLY
1
5
100021
ASSY-LIFT ASSIST
1
6
100054
ASSY-HINGE
1
7
100058
KIT-CHANNEL STRUT
4
8
400014
KIT-RUMBER 20 MM
2
9
400040
KIT-AIR DEFLECTOR PB11
1
10
100046
KIT-CAS BRACKET
1
11
500167
NUT-NYLOCK 1/2-13 NC GR8 YZP
10
12
500263
WASHER-FLAT 1/2X1-1/2OD 1/4THICK
10
13
500206
WASHER-FLAT 1/2 SAE GR8 YZP
10
14
500169
NUT-NYLOCK 1/4-20 NC GR8 YZP
12
15
500208
WASHER-FLAT 1/4 SAE GR8 YZP
24
16
500095
BOLT-HEX 1/4-20X1 NC GR5 WZP
12
17
500173
NUT-NYLOCK 3/4-16 NF GR8 YZP
2
18
500211
WASHER-FLAT 3/4 SAE GR8 YZP
2
19
500085
BOLT-HEX 1/2-13X1-3/4 NC GR8 YZP
10
20
100049
WLDMT-TOW PIN
1
2
3
5
4
6
7
1
8
9
10
20
Installation Procedure
3
Part No: PB11C4-02-IG
Rev: C
Date: 2020-04-16
1-888-543-4373
www.HERD.com
1-888-543-4373
1. With the hood of the truck
closed, remove the bolts shown
on each side of the bumper.
OEM bumper can be removed.
Factory bumper uninstall (Passenger side shown)
Figure 1 –OEM Bumper Uninstall
Installation Procedure
4
Part No: PB11C4-02-IG
Rev: C
Date: 2020-04-16
1-888-543-4373
www.HERD.com
1-888-543-4373
2. Install HERD mounting brackets
onto truck frame. Do not tighten
bolts until installation is
complete.
Figure 2 –OEM Bumper Mount Removed from the truck
3. Install tow receiver mounts
(From Item 3) into truck tow
receivers. Remove the OEM
bolts indicated by arrows.
Figure 3 –Tow Receiver Mounts Installation
4. Install clevis pins (From Item 3)
through OEM tow receiver holes
and HERD tow receiver mounts.
Install hair pins into the clevis
pins from the PB11 Mounting Kit
(Item 3).
Figure 4 –Tow Receiver Clevis & Hair Pins Installation
3
3
3
Installation Procedure
5
Part No: PB11C4-02-IG
Rev: C
Date: 2020-04-16
1-888-543-4373
www.HERD.com
1-888-543-4373
5. Install driver side mounting
brackets (Item 3). Use ¾” flat
washers (Item 17) and nylon
locking nuts (Item 16) to attach
the mounting brackets to the
tow receiver mounts, torque to
150 lb-ft. Use the OEM washers
and bolts saved from Step 2 on
the bottom of the mounts,
torque to 110 lb-ft. Use
M16x2x50 and flat washer 5/8 to
mount the top side of the
mounting bracket to the truck
(Items 18 and 19). Try mount the
sub-mount level with respect to
the truck’s frame.
6. Repeat for the passenger side
Figure 5 –Side Mounting Bracket Installation
Driver side
3
3
17
16
4
OEM Hardware
18 -
19
Installation Procedure
6
Part No: PB11C4-02-IG
Rev: C
Date: 2020-04-16
1-888-543-4373
www.HERD.com
1-888-543-4373
7. Open truck guard by pulling on
the handle. Using lift, raise the
Truck Guard (Item 1) and
universal bracket (Item 2) and
attach to side mounting brackets
(Items 3). Do not tighten the
nuts.
Note:
If installer does not have a lift
available, truck guard can be
disassembled from the universal
bracket to simplify installation as
shown in step 7, otherwise
proceed to step 8.
Figure 6 –Universal Bracket Installation
8. a) Ensure truck guard is closed.
From underneath the truck
guard, remove the 3/8’’
hardware securing the lift assist
spring and slide off spring form
the lift assist (item 5)
Figure 7a –Bracket and Lift Assist Disassembly
2
3
3
1
5
Lift Assist Spring
Lift Assist Spring
3/8”Hardware
Installation Procedure
7
Part No: PB11C4-02-IG
Rev: C
Date: 2020-04-16
1-888-543-4373
www.HERD.com
1-888-543-4373
b) Once the springs are removed,
carefully open the truck guard
using the slam latch. Remove the
1/2” hardware securing the truck
guard to the universal bracket.
Remove truck guard and set aside
on cardboard. Now the bracket is
isolated for mounting without a
lift.
Figure 7b –Bracket and Truck guard Disassembly (Driver Side Shown)
9. Attach universal bracket
(Item 2) to mounting brackets
(Items 3). Level the bar to the
truck and then tighten the
fasteners (110 lb-ft). Use all the
available slots for mounting.
Note that the schematic view
of the bracket may differ from
what can be seen in Figure 8.
Figure 8 –Universal Bracket Side Mounting Location (Driver Side Shown)
2
3
12, 19
11, 13
1/2”Hardware
Installation Procedure
8
Part No: PB11C4-02-IG
Rev: C
Date: 2020-04-16
1-888-543-4373
www.HERD.com
1-888-543-4373
10. If truck guard was
disconnected from the
universal bracket in step 7,
reverse the procedure to
mount truck guard back onto
the bracket.
a) First ensure the truck
guard hinges are open.
b) Attach using previously
removed 1/2” bolts until the
hinge just slightly touches the
bracket.
c) Close the truck guard and
ensure the latch engages.
d) Open the truck guard and
tighten the bolts until they
are snug.
e) Close the truck guard again
to ensure the latches engage
properly.
f) Fully tighten the ½”
hardware to 110 ft⋅lb.
Latches may need to be
adjusted, refer to Slam Latch
Adjustment guide (S012).
g) Close the truck guard and
slide springs onto the lift
assist shaft, ensuring that
spring arms are inserted into
slots of truck guard. Reinsert
3/8” hardware securing the
lift assist springs.
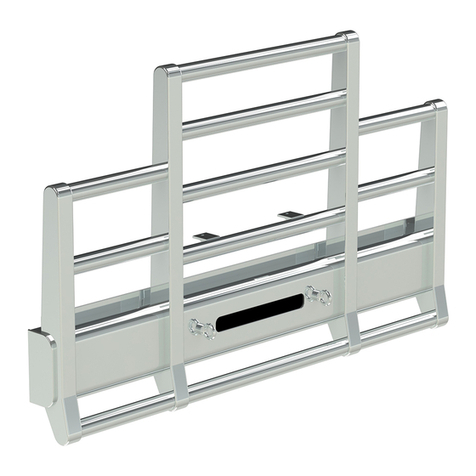
Figure 9.1 –Bracket and Lift Assist Reassembly
Figure 9.2 –Bracket and Lift Assist Reassembly
Installation Procedure
9
Part No: PB11C4-02-IG
Rev: C
Date: 2020-04-16
1-888-543-4373
www.HERD.com
1-888-543-4373
11. Close the truck guard and
check fitment. Truck guard
position can be adjusted side
to side and up or down as
required. Once fitment is
confirmed, tighten all
mounting bolts to 110 lb-ft
(10 bolts total).
Figure 10 –Side Bracket Bolt Torque Specs (Driver Side Shown)
12. Install the air deflector
(Item 9) to the truck guard
(Item 1) as shown using the
supplied hardware
(Items 14, 15, 16).
Figure 11 –Air Deflector Installation
13. Install radar sensor, if truck is
equipped with one. Refer to
the HERD radar sensor
installation guide (S009) to
re-install your sensor.
Figure 12 –CAS Unit Installation
Important
•Check mounting points after the first 5000 km and every 3-6 months.
110 ft-lb
16
4
23, 24
2
1
9
Installation Procedure
10
Part No: PB11C4-02-IG
Rev: C
Date: 2020-04-16
1-888-543-4373
www.HERD.com
1-888-543-4373
•This truck guard is equipped with Herd Slam Latch which requires periodic adjustment. Refer to Slam Latch
Installation adjustment instructions (S001) to properly adjust your Slam Latch.

Other Herd Automobile Accessories manuals

Herd MK15C4-02 User manual

Herd

Herd MK15C4-02 User manual

Herd IN27BG User manual

Herd

Herd IN27BG User manual

Herd IN24A2 User manual

Herd

Herd IN24A2 User manual

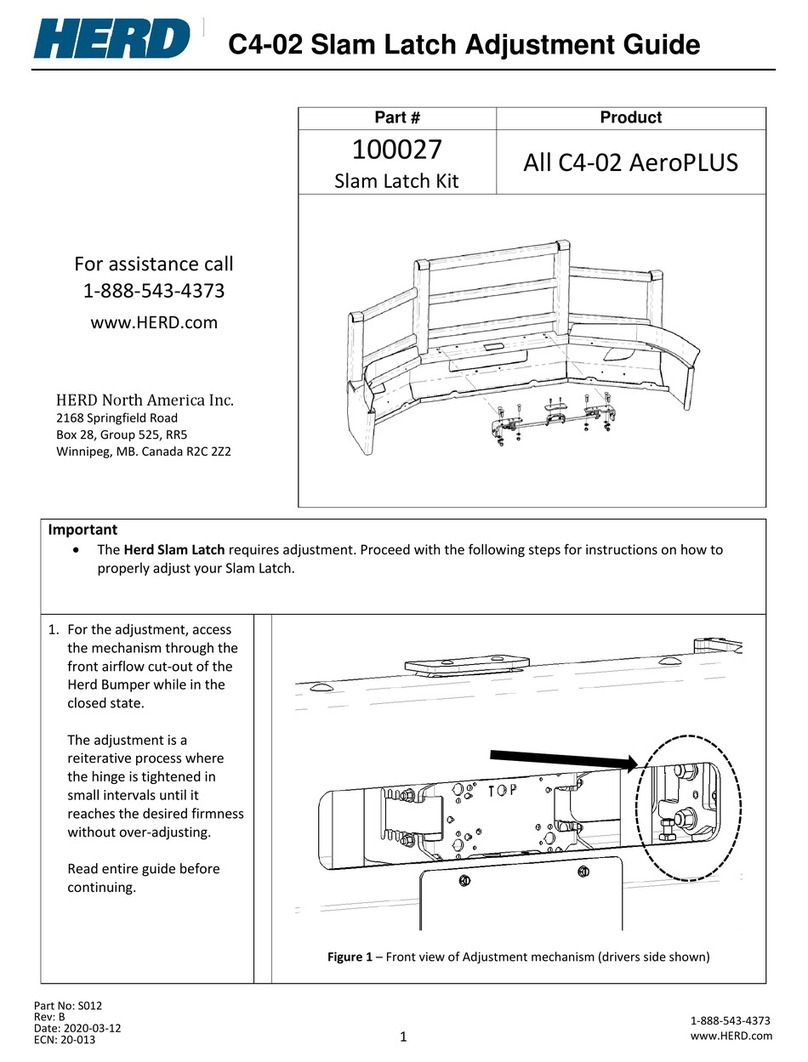
Herd AeroPLUS C4-02 Guide

Herd

Herd AeroPLUS C4-02 Guide

Herd KW01 User manual

Herd

Herd KW01 User manual

Herd SLAM LATCH Guide

Herd

Herd SLAM LATCH Guide

Herd Aero User manual

Herd

Herd Aero User manual

Herd C4 Series User manual

Herd

Herd C4 Series User manual

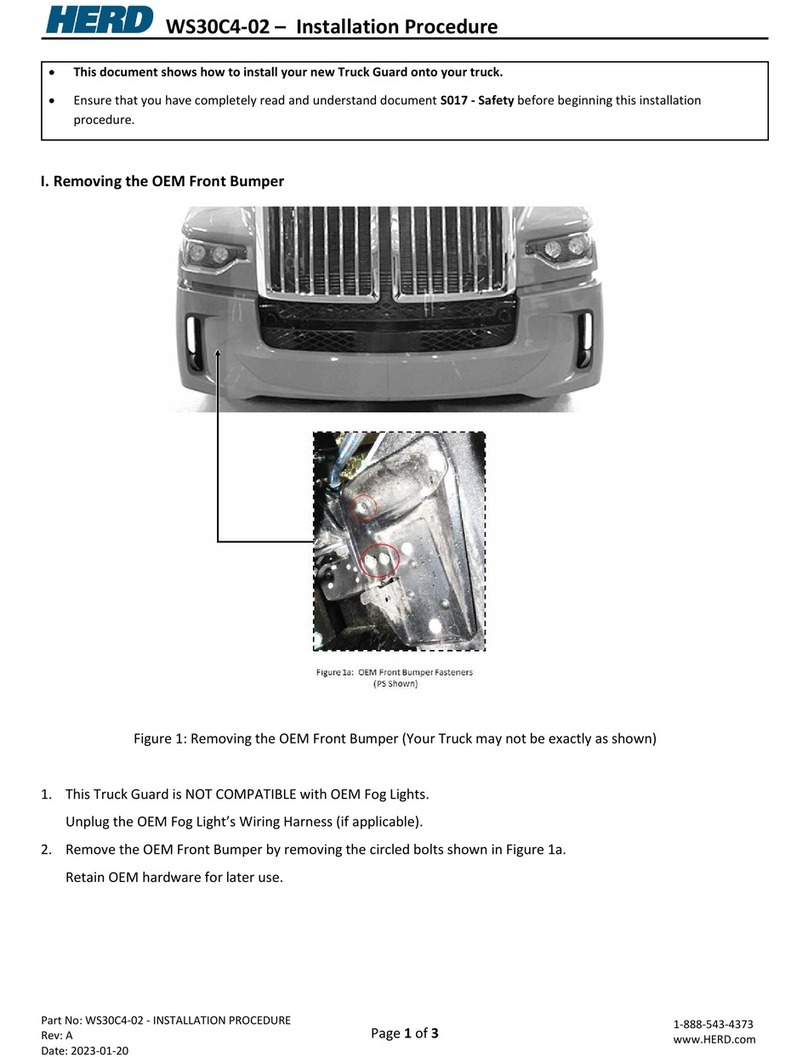
Herd WS30C4-02 Operating and maintenance manual

Herd

Herd WS30C4-02 Operating and maintenance manual

Herd Aero User manual

Herd

Herd Aero User manual

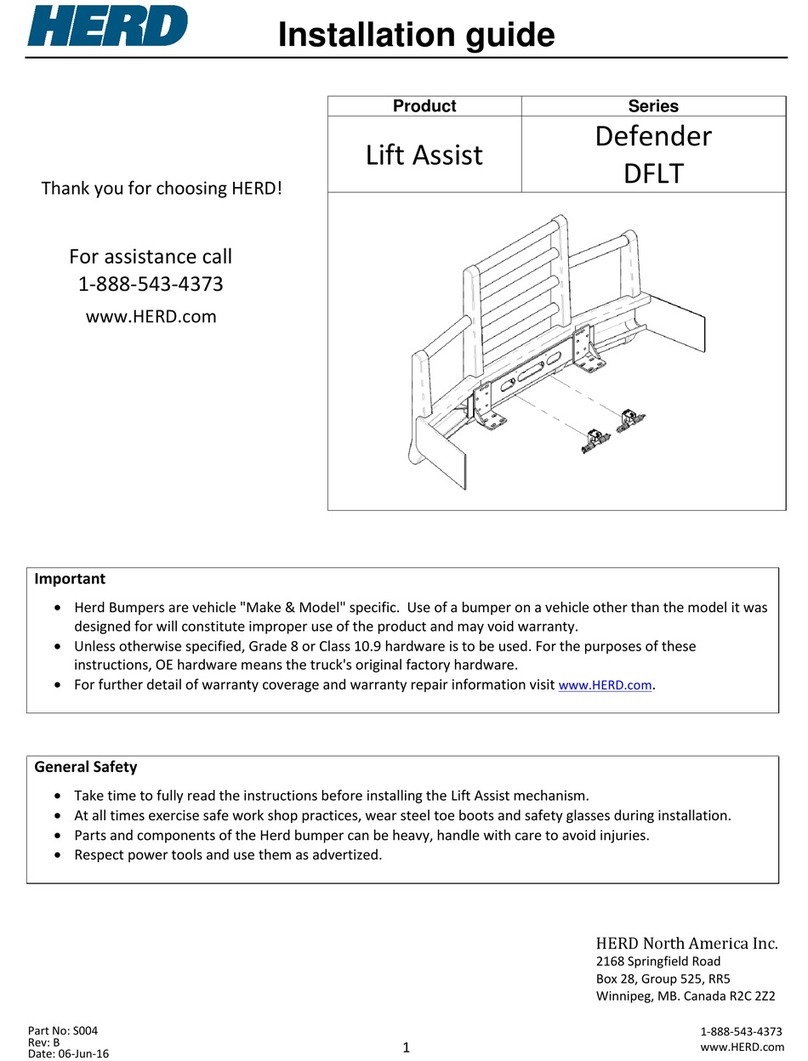
Herd Defender Series User manual

Herd

Herd Defender Series User manual

Herd 404006 User manual

Herd

Herd 404006 User manual

Herd KW22C4-02 User manual

Herd

Herd KW22C4-02 User manual

Herd FL33BG User manual

Herd

Herd FL33BG User manual

Herd Aero Series User manual

Herd

Herd Aero Series User manual

Herd Aero User manual

Herd

Herd Aero User manual

Popular Automobile Accessories manuals by other brands

Metra Electronics 95-7427B installation instructions

Metra Electronics

Metra Electronics 95-7427B installation instructions

Fishbone Offroad FB22004 installation instructions

Fishbone Offroad

Fishbone Offroad FB22004 installation instructions

Tessera4x4 SOT-ROLL Series installation manual

Tessera4x4

Tessera4x4 SOT-ROLL Series installation manual

Brakel & Zwaan USB 5V manual

Brakel & Zwaan

Brakel & Zwaan USB 5V manual

SIERRA OFFROAD 10-40-YJS Installation guidelines

SIERRA OFFROAD

SIERRA OFFROAD 10-40-YJS Installation guidelines

DFI EC700-BT installation guide

DFI

DFI EC700-BT installation guide

CharGenius QL-M210 user manual

CharGenius

CharGenius QL-M210 user manual

F.lli Menabo NAOS Fitting instructions

F.lli Menabo

F.lli Menabo NAOS Fitting instructions

ADAPT SOLUTIONS XL-SEAT XLS-COLX04R installation manual

ADAPT SOLUTIONS

ADAPT SOLUTIONS XL-SEAT XLS-COLX04R installation manual

Car Shades HON-CIVI-3-A installation manual

Car Shades

Car Shades HON-CIVI-3-A installation manual

Viessmann 8400 Operation manual

Viessmann

Viessmann 8400 Operation manual

Circontrol Wallbox eNext T installation manual

Circontrol

Circontrol Wallbox eNext T installation manual

AMP Research BedStep AMP 75311-01A manual

AMP Research

AMP Research BedStep AMP 75311-01A manual

Calix RE 480 Assembly instructions

Calix

Calix RE 480 Assembly instructions

BURY CL 1010 Installation and operation instruction manual

BURY

BURY CL 1010 Installation and operation instruction manual

S&B Filters 75-5053 installation instructions

S&B Filters

S&B Filters 75-5053 installation instructions

VIPOW ZAR0179 owner's manual

VIPOW

VIPOW ZAR0179 owner's manual

Sony CDX-HS70MW - Marine Stereo datasheet

Sony

Sony CDX-HS70MW - Marine Stereo datasheet

manuals.online logo
manuals.online logoBrands
  • About & Mission
  • Contact us
  • Privacy Policy
  • Terms and Conditions

Copyright 2025 Manuals.Online. All Rights Reserved.