manuals.online logo
Brands
  1. Home
  2. •
  3. Brands
  4. •
  5. Herman Miller
  6. •
  7. Indoor Furnishing
  8. •
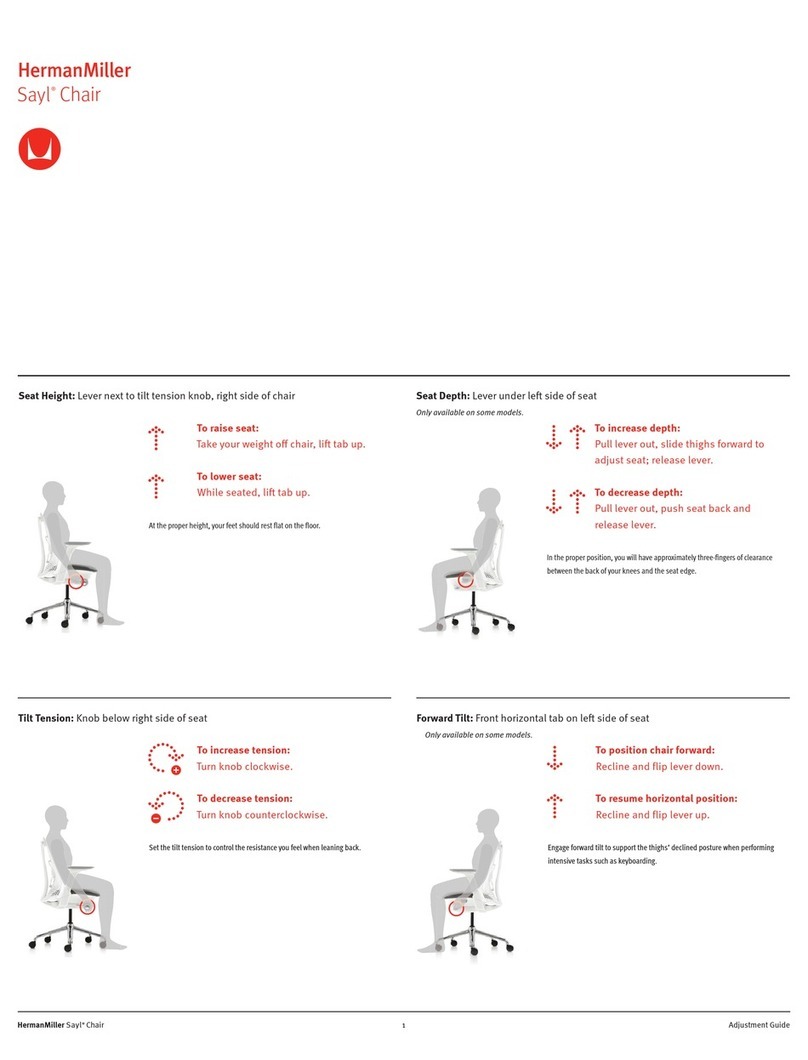
  9. Herman Miller Sayl Installation instructions

Herman Miller Sayl Installation instructions

Z
© 2012 Herman Miller, Inc. Zeeland, Michigan. Printed in the U.S.A.
® Y, Z, SAYL are among the registered trademarks of Herman Miller, Inc.
TM Sense, Setu, and Tu are among the trademarks of Herman Miller, Inc.
Illustrations and specifications are based on the latest product information available at the time of publication.
The right is reserved to make changes in design and specifications at any time, without notice, and also to discontinue products. 1
Part no. 1b9rth rev B.
Table of Content
1. Work Chair Disassembly....................................................................................2
2. Side Chair Disassembly ...................................................................................17
3. Work Stool Footring Disassembly ...................................................................22
YSayl® Disassembly for Recycling
Z
© 2012 Herman Miller, Inc. Zeeland, Michigan. Printed in the U.S.A.
® Y, Z, SAYL are among the registered trademarks of Herman Miller, Inc.
TM Sense, Setu, and Tu are among the trademarks of Herman Miller, Inc.
Illustrations and specifications are based on the latest product information available at the time of publication.
The right is reserved to make changes in design and specifications at any time, without notice, and also to discontinue products. 2
Part no. 1b9rth rev B.
YSayl® Disassembly for Recycling
Work Chair Disassembly
Tools Required:
Power driver Safety Glasses
T-40 Torx Driver
Flat Screw Driver Hammer Rubber Mallet
Nose Plier
Steps:
Where possible, plastic components are marked with ASTM recycling codes. Use
these codes to identify material type for recycling. Non marked components should
be treated as mixed plastic. Ferrous metals can be identied using a small magnet
for recycling. Non-ferrous metals should be separated and recycled separately.
Materials Identication and Segregation:
Work Chair Disassembly
1. Hold base and pull hard
to remove caster from base. 2. Remove all casters.
Z
© 2012 Herman Miller, Inc. Zeeland, Michigan. Printed in the U.S.A.
® Y, Z, SAYL are among the registered trademarks of Herman Miller, Inc.
TM Sense, Setu, and Tu are among the trademarks of Herman Miller, Inc.
Illustrations and specifications are based on the latest product information available at the time of publication.
The right is reserved to make changes in design and specifications at any time, without notice, and also to discontinue products. 3
Part no. 1b9rth rev B.
5. Place one hand on can of
cylinder and hit with
hammer.
4. Disengage the base from
cylinder.
3. Hold base legs rmly and
strike the bottom of cylinder
with a rubber mallet until
base comes loose.
6. Remove cylinder.
Z
© 2012 Herman Miller, Inc. Zeeland, Michigan. Printed in the U.S.A.
® Y, Z, SAYL are among the registered trademarks of Herman Miller, Inc.
TM Sense, Setu, and Tu are among the trademarks of Herman Miller, Inc.
Illustrations and specifications are based on the latest product information available at the time of publication.
The right is reserved to make changes in design and specifications at any time, without notice, and also to discontinue products. 4
Part no. 1b9rth rev B.
7. Pull arm to the highest
position. 8. Using nose plier
depress the retention clip.
9. Pull off the retention clip. 10. Depress the lock inward
and pull the arm up to
remove.
Z
© 2012 Herman Miller, Inc. Zeeland, Michigan. Printed in the U.S.A.
® Y, Z, SAYL are among the registered trademarks of Herman Miller, Inc.
TM Sense, Setu, and Tu are among the trademarks of Herman Miller, Inc.
Illustrations and specifications are based on the latest product information available at the time of publication.
The right is reserved to make changes in design and specifications at any time, without notice, and also to discontinue products. 5
Part no. 1b9rth rev B.
11. Repeat 7 to 10 steps to
remove other side arm. Note: If removing a no arm
plug, depress the lock inward
as in step 10 and remove arm
plug.
12. Using T-20 torx driver
remove arm pad screws (4
screws for adjustable pad,
1 screw for xed pad.
13. Slide pad forward and off.
Z
© 2012 Herman Miller, Inc. Zeeland, Michigan. Printed in the U.S.A.
® Y, Z, SAYL are among the registered trademarks of Herman Miller, Inc.
TM Sense, Setu, and Tu are among the trademarks of Herman Miller, Inc.
Illustrations and specifications are based on the latest product information available at the time of publication.
The right is reserved to make changes in design and specifications at any time, without notice, and also to discontinue products. 6
Part no. 1b9rth rev B.
14. Lay chair on back. Using
at head screw driver pry
away (both sides until seat
lock bar comes out).
15. Remove lock bar.
16. Release the seat lock
move seat to the backward
position.
17. Lift upward to remove.
Z
© 2012 Herman Miller, Inc. Zeeland, Michigan. Printed in the U.S.A.
® Y, Z, SAYL are among the registered trademarks of Herman Miller, Inc.
TM Sense, Setu, and Tu are among the trademarks of Herman Miller, Inc.
Illustrations and specifications are based on the latest product information available at the time of publication.
The right is reserved to make changes in design and specifications at any time, without notice, and also to discontinue products. 7
Part no. 1b9rth rev B.
18. Remove all 4 T-20 torx
screws. 19. Remove seat skirt. Seat
skirt is also held on by 4
clips. Carefully pull the seat
skirt loose from these clips.
With screw driver pry out
and remove any clips that
remain lodged in the seat
frame.
20. Slide latch to outside of
seat frame until tabs are
disengaged.
21. Unsnap the latch from
seat frame and remove
spring.
Z
© 2012 Herman Miller, Inc. Zeeland, Michigan. Printed in the U.S.A.
® Y, Z, SAYL are among the registered trademarks of Herman Miller, Inc.
TM Sense, Setu, and Tu are among the trademarks of Herman Miller, Inc.
Illustrations and specifications are based on the latest product information available at the time of publication.
The right is reserved to make changes in design and specifications at any time, without notice, and also to discontinue products. 8
Part no. 1b9rth rev B.
22. Remove the upholstery
from seat. 23. Remove the seat foam
from the seat bottom.
24. Using a power driver
with T-40 torx remove top
bolt.
25. Remove the bolt from tilt
assembly.
Z
© 2012 Herman Miller, Inc. Zeeland, Michigan. Printed in the U.S.A.
® Y, Z, SAYL are among the registered trademarks of Herman Miller, Inc.
TM Sense, Setu, and Tu are among the trademarks of Herman Miller, Inc.
Illustrations and specifications are based on the latest product information available at the time of publication.
The right is reserved to make changes in design and specifications at any time, without notice, and also to discontinue products. 9
Part no. 1b9rth rev B.
26. Remove the plate from
the tilt assembly. 27. Using T-40 torx remove
2 screws from tilt assembly.
28. Remove bottom screw. 29. Slide off the back assembly.
Z
© 2012 Herman Miller, Inc. Zeeland, Michigan. Printed in the U.S.A.
® Y, Z, SAYL are among the registered trademarks of Herman Miller, Inc.
TM Sense, Setu, and Tu are among the trademarks of Herman Miller, Inc.
Illustrations and specifications are based on the latest product information available at the time of publication.
The right is reserved to make changes in design and specifications at any time, without notice, and also to discontinue products. 10
Part no. 1b9rth rev B.
30. Remove top screws from
each side using a T-25 torx
from the frame.
31. Turn it over and remove
back attachment screws
using a T-20 torx.
32. Remove back attachment
screws using a T-40 torx. 33. Remove pelvis.
Z
© 2012 Herman Miller, Inc. Zeeland, Michigan. Printed in the U.S.A.
® Y, Z, SAYL are among the registered trademarks of Herman Miller, Inc.
TM Sense, Setu, and Tu are among the trademarks of Herman Miller, Inc.
Illustrations and specifications are based on the latest product information available at the time of publication.
The right is reserved to make changes in design and specifications at any time, without notice, and also to discontinue products. 11
Part no. 1b9rth rev B.
36. Pull spine off the back.
35. Insert a screw driver and
rotate to expand the clip.
34. Using hand slightly pull
back the spine from the
back and remove the spine
bracket plate from bottom of
the back.
37. Use a T-20 torx wrench
remove 1 screw from each
pivot joint.
Z
© 2012 Herman Miller, Inc. Zeeland, Michigan. Printed in the U.S.A.
® Y, Z, SAYL are among the registered trademarks of Herman Miller, Inc.
TM Sense, Setu, and Tu are among the trademarks of Herman Miller, Inc.
Illustrations and specifications are based on the latest product information available at the time of publication.
The right is reserved to make changes in design and specifications at any time, without notice, and also to discontinue products. 12
Part no. 1b9rth rev B.
38. Using T-25 torx remove
1 screw from each sleeve. 39. Pull sleeve off the back.
40. Slide out the plastic nut
plate from slot towards bottom
of the back.
41. Using thumb & fore
nger squeeze handle snaps
together.
Z
© 2012 Herman Miller, Inc. Zeeland, Michigan. Printed in the U.S.A.
® Y, Z, SAYL are among the registered trademarks of Herman Miller, Inc.
TM Sense, Setu, and Tu are among the trademarks of Herman Miller, Inc.
Illustrations and specifications are based on the latest product information available at the time of publication.
The right is reserved to make changes in design and specifications at any time, without notice, and also to discontinue products. 13
Part no. 1b9rth rev B.
42. Remove lumbar handle. 43. Pull the upholstery from
back.
44. Pull the foam and remove
from back. 45. Remove scrim material
from foam.
Z
© 2012 Herman Miller, Inc. Zeeland, Michigan. Printed in the U.S.A.
® Y, Z, SAYL are among the registered trademarks of Herman Miller, Inc.
TM Sense, Setu, and Tu are among the trademarks of Herman Miller, Inc.
Illustrations and specifications are based on the latest product information available at the time of publication.
The right is reserved to make changes in design and specifications at any time, without notice, and also to discontinue products. 14
Part no. 1b9rth rev B.
46. Using a nose plier remove
hook on the bottom of the
lumbar assembly.
47. After disassembling
one side, pull the bow back
so that it does not engage
again.
48. Remove lumbar from
back insert. 49. Remove suspension
material.
Z
© 2012 Herman Miller, Inc. Zeeland, Michigan. Printed in the U.S.A.
® Y, Z, SAYL are among the registered trademarks of Herman Miller, Inc.
TM Sense, Setu, and Tu are among the trademarks of Herman Miller, Inc.
Illustrations and specifications are based on the latest product information available at the time of publication.
The right is reserved to make changes in design and specifications at any time, without notice, and also to discontinue products. 15
Part no. 1b9rth rev B.
50. Pry the tab towards front
of the tilt. 51. Pull out the handle
assembly from tilt.
52. Slide off the lever form
the assembly. 53. Pry the other side tab
towards front of the tilt and
pull out the lever.
Z
© 2012 Herman Miller, Inc. Zeeland, Michigan. Printed in the U.S.A.
® Y, Z, SAYL are among the registered trademarks of Herman Miller, Inc.
TM Sense, Setu, and Tu are among the trademarks of Herman Miller, Inc.
Illustrations and specifications are based on the latest product information available at the time of publication.
The right is reserved to make changes in design and specifications at any time, without notice, and also to discontinue products. 16
Part no. 1b9rth rev B.
54. Slide off the other side
lever from the assembly. 55. Pull off the tilt cover from
tilt assembly.
Z
© 2012 Herman Miller, Inc. Zeeland, Michigan. Printed in the U.S.A.
® Y, Z, SAYL are among the registered trademarks of Herman Miller, Inc.
TM Sense, Setu, and Tu are among the trademarks of Herman Miller, Inc.
Illustrations and specifications are based on the latest product information available at the time of publication.
The right is reserved to make changes in design and specifications at any time, without notice, and also to discontinue products. 17
Part no. 1b9rth rev B.
3. Using a power driver
with a T-20 torx bit remove
screws in seat pan.
1. Using philip head screw
driver remove screw from
front underside of seat pan.
2. Pull up on rear of cushion
to disengage snap and slide
seat cushion forward.
4. Slide seat pan rearward
until all tabs are disengaged.
Side Chair Disassembly
YSayl® Disassembly for Recycling
Side Chair Disassembly
Z
© 2012 Herman Miller, Inc. Zeeland, Michigan. Printed in the U.S.A.
® Y, Z, SAYL are among the registered trademarks of Herman Miller, Inc.
TM Sense, Setu, and Tu are among the trademarks of Herman Miller, Inc.
Illustrations and specifications are based on the latest product information available at the time of publication.
The right is reserved to make changes in design and specifications at any time, without notice, and also to discontinue products. 18
Part no. 1b9rth rev B.
7. Pull off arms from both
sides.
6. Using a rubber mallet tap
on bottom of arm until arm
comes out.
8. Pull or tap upward to
remove back.
5. Using a power driver with
a T-15 torx bit remove arm
screws from back side.
Z
© 2012 Herman Miller, Inc. Zeeland, Michigan. Printed in the U.S.A.
® Y, Z, SAYL are among the registered trademarks of Herman Miller, Inc.
TM Sense, Setu, and Tu are among the trademarks of Herman Miller, Inc.
Illustrations and specifications are based on the latest product information available at the time of publication.
The right is reserved to make changes in design and specifications at any time, without notice, and also to discontinue products. 19
Part no. 1b9rth rev B.
10. Place a rigid spacer
between wheels on the body
of caster and tap on it with
a rubber mallet until caster
wheel assembly comes off.
Repeat the step on other
legs to remove the remaining
3 casters.
11. Clamp on to a caster
receptacle using a vice grip
and tap vice grip using a
rubber mallet until
receptacle comes out.
12. Carefully slide ngers
between front fabric cover
and frame, pull rmly. Pull
corners rst and then center.
9. Clamp on to a glide using
a vice grip and tap vice grip
using a rubber mallet until
glide comes out. Repeat the
step on other legs to remove
the remaining 3 glides.
Z
© 2012 Herman Miller, Inc. Zeeland, Michigan. Printed in the U.S.A.
® Y, Z, SAYL are among the registered trademarks of Herman Miller, Inc.
TM Sense, Setu, and Tu are among the trademarks of Herman Miller, Inc.
Illustrations and specifications are based on the latest product information available at the time of publication.
The right is reserved to make changes in design and specifications at any time, without notice, and also to discontinue products. 20
Part no. 1b9rth rev B.
14. Remove fabric plastic back
panel.
15. Pull the suspension
material from back and
remove.
13. Remove the fabric from
foam.
16. Using a phillip head
screw driver remove all
screws from retainer.

Other Herman Miller Indoor Furnishing manuals

Herman Miller Sayl User manual

Herman Miller

Herman Miller Sayl User manual

Herman Miller Cosm Installation instructions

Herman Miller

Herman Miller Cosm Installation instructions

Herman Miller Nook Table User manual

Herman Miller

Herman Miller Nook Table User manual

Herman Miller Verus Task Chair Installation instructions

Herman Miller

Herman Miller Verus Task Chair Installation instructions

Herman Miller Cosm Guide

Herman Miller

Herman Miller Cosm Guide

Herman Miller Setu Maintenance manual

Herman Miller

Herman Miller Setu Maintenance manual

Herman Miller Nevi User manual

Herman Miller

Herman Miller Nevi User manual

Herman Miller Ergon 3 User manual

Herman Miller

Herman Miller Ergon 3 User manual

Herman Miller Sayl User manual

Herman Miller

Herman Miller Sayl User manual

Herman Miller Intent Installation instructions

Herman Miller

Herman Miller Intent Installation instructions

Herman Miller Renew Link User manual

Herman Miller

Herman Miller Renew Link User manual

Herman Miller Canvas Vista Credenza Installation instructions

Herman Miller

Herman Miller Canvas Vista Credenza Installation instructions

Herman Miller Setu User manual

Herman Miller

Herman Miller Setu User manual

Herman Miller Vista Installation instructions

Herman Miller

Herman Miller Vista Installation instructions

Herman Miller SAYL CHAIR Guide

Herman Miller

Herman Miller SAYL CHAIR Guide

Herman Miller Sayl User manual

Herman Miller

Herman Miller Sayl User manual

Herman Miller Embody User manual

Herman Miller

Herman Miller Embody User manual
Herman Miller Mora Installation instructions
Herman Miller

Herman Miller Mora Installation instructions

Herman Miller Eames Coffee Table User manual
Herman Miller

Herman Miller Eames Coffee Table User manual

Herman Miller Canvas Office Landscape User manual

Herman Miller

Herman Miller Canvas Office Landscape User manual

Herman Miller Ergon 3 chair User manual

Herman Miller

Herman Miller Ergon 3 chair User manual

Herman Miller Canvas Office Landscape FT292.MLN User manual

Herman Miller

Herman Miller Canvas Office Landscape FT292.MLN User manual

Herman Miller Celle Installation instructions

Herman Miller

Herman Miller Celle Installation instructions

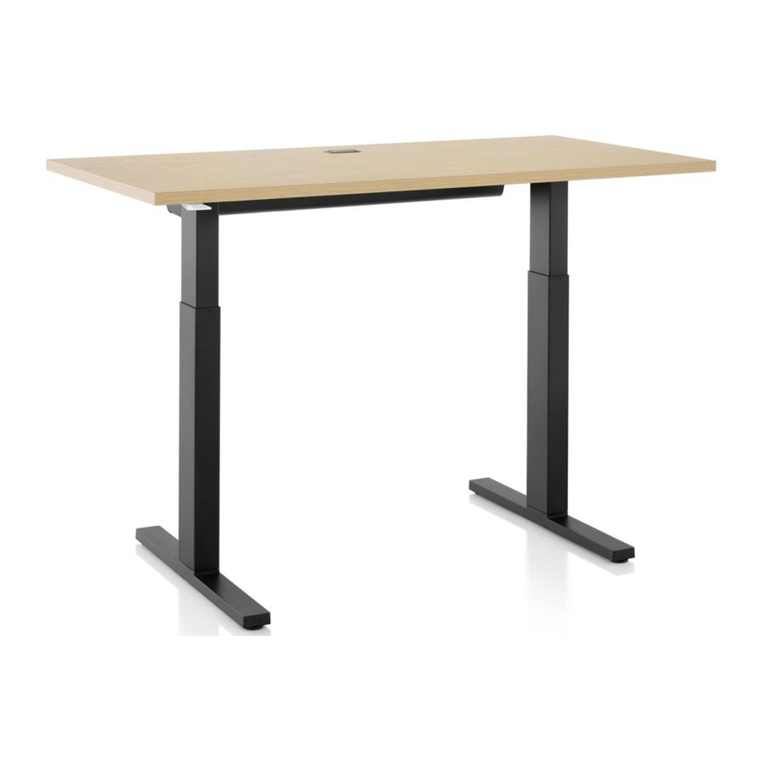
Herman Miller Motia Sit-to-Stand Table User manual

Herman Miller

Herman Miller Motia Sit-to-Stand Table User manual

Popular Indoor Furnishing manuals by other brands
Simpli Home WyndenHall Brooklyn + Max AXCRED15-FG Assembly instructions

Simpli Home

Simpli Home WyndenHall Brooklyn + Max AXCRED15-FG Assembly instructions

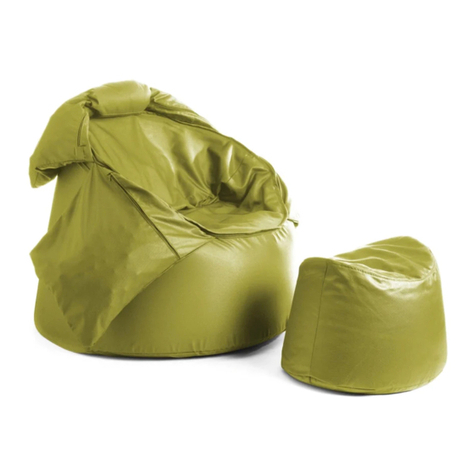
Courtyard Creations TGS32SC Assembly instructions
Courtyard Creations

Courtyard Creations TGS32SC Assembly instructions

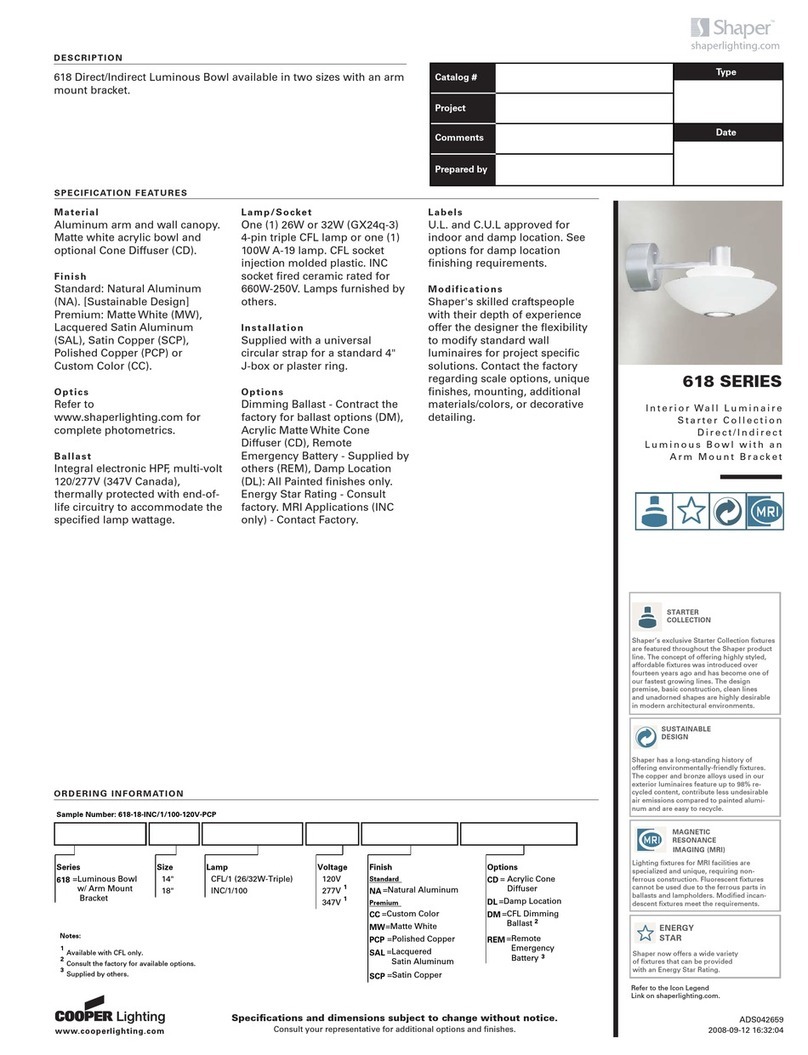
Cooper Lighting 618 Series Specification sheet
Cooper Lighting

Cooper Lighting 618 Series Specification sheet

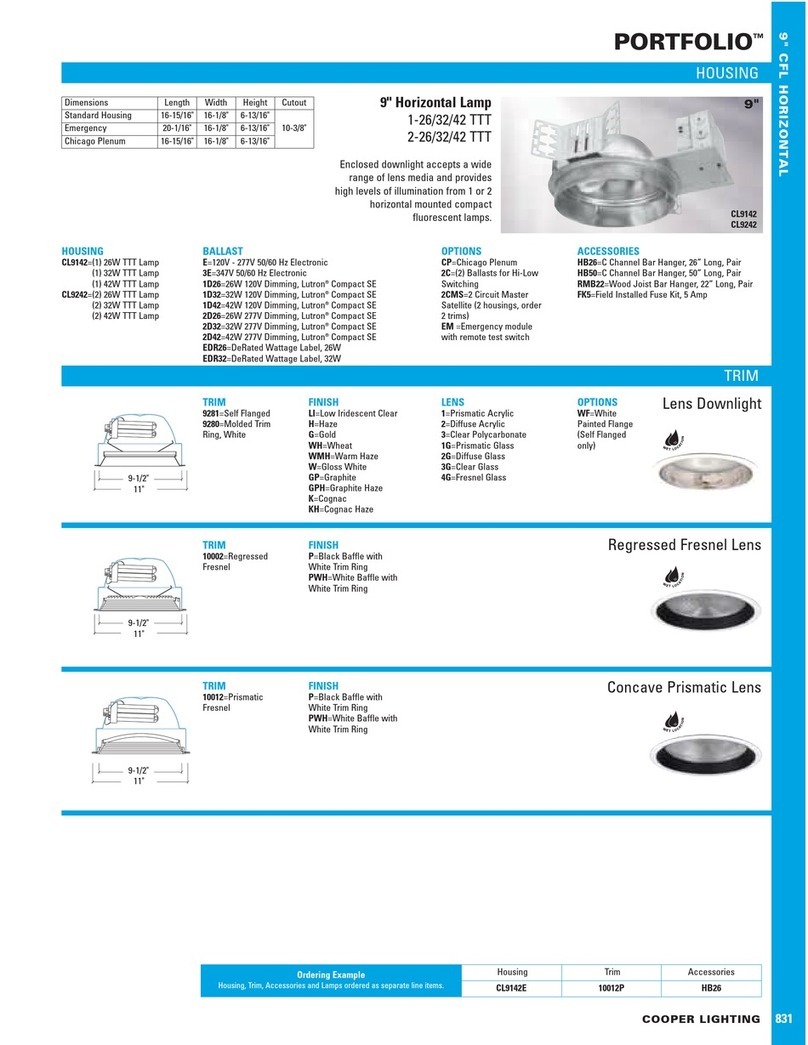
Cooper Lighting Portfolio 831 Specification sheet
Cooper Lighting

Cooper Lighting Portfolio 831 Specification sheet

Protac SenSit Directions for use

Protac

Protac SenSit Directions for use
Costway HV10406 Instruction booklet

Costway

Costway HV10406 Instruction booklet

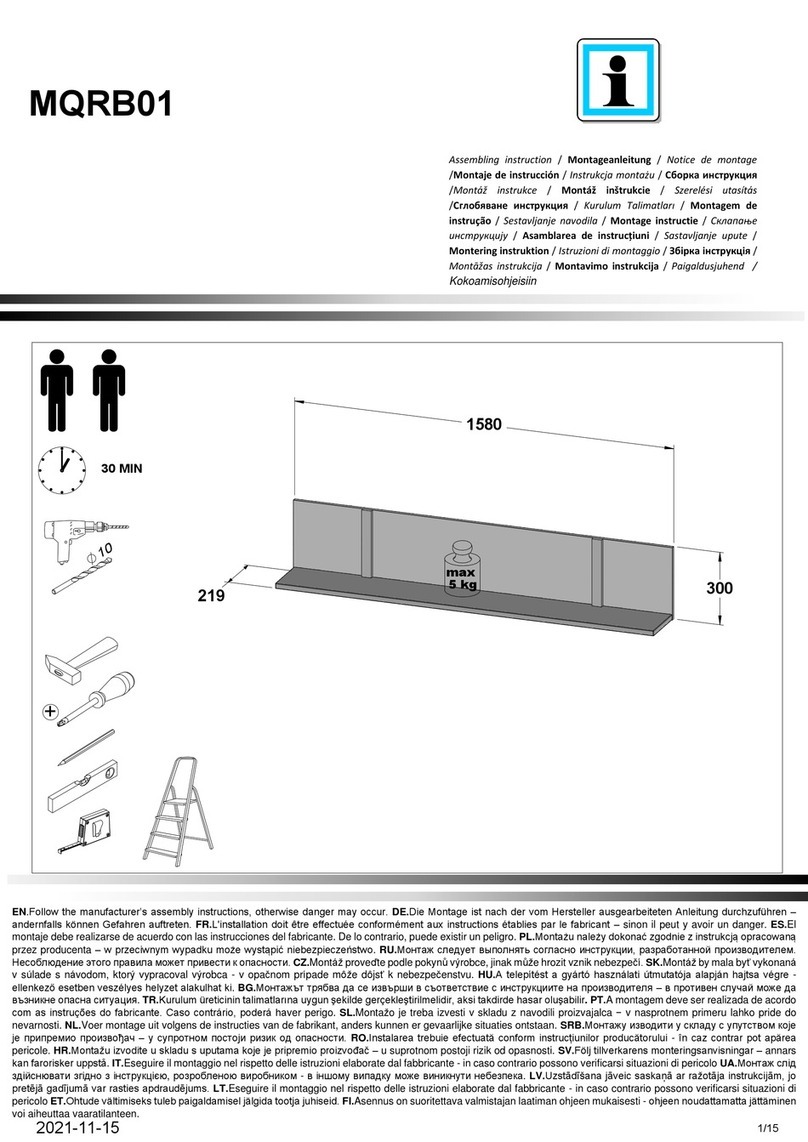
HOM'IN MQRB01 Assembling Instruction

HOM'IN

HOM'IN MQRB01 Assembling Instruction

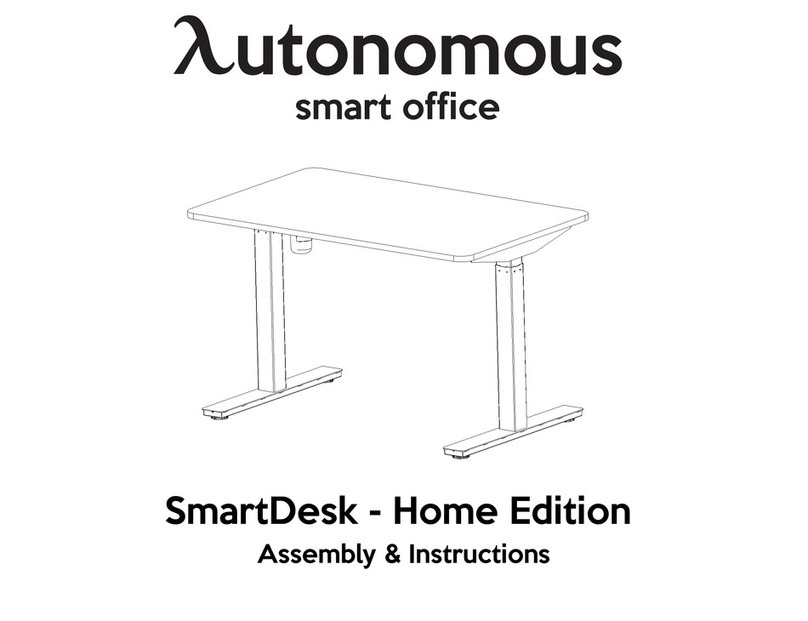
Autonomous SmartDesk Home Edition Assembly instructions

Autonomous

Autonomous SmartDesk Home Edition Assembly instructions

Babyletto Wally 22185 manual

Babyletto

Babyletto Wally 22185 manual

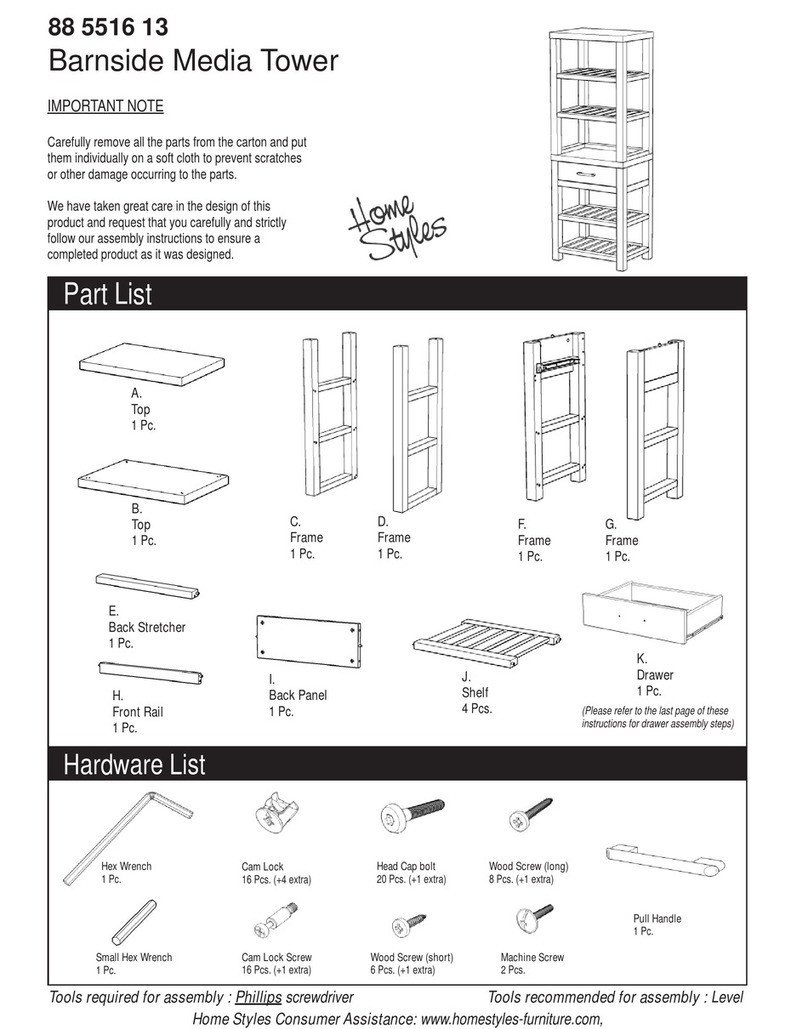
Home Styles Barnside 88 5516 13 manual

Home Styles

Home Styles Barnside 88 5516 13 manual

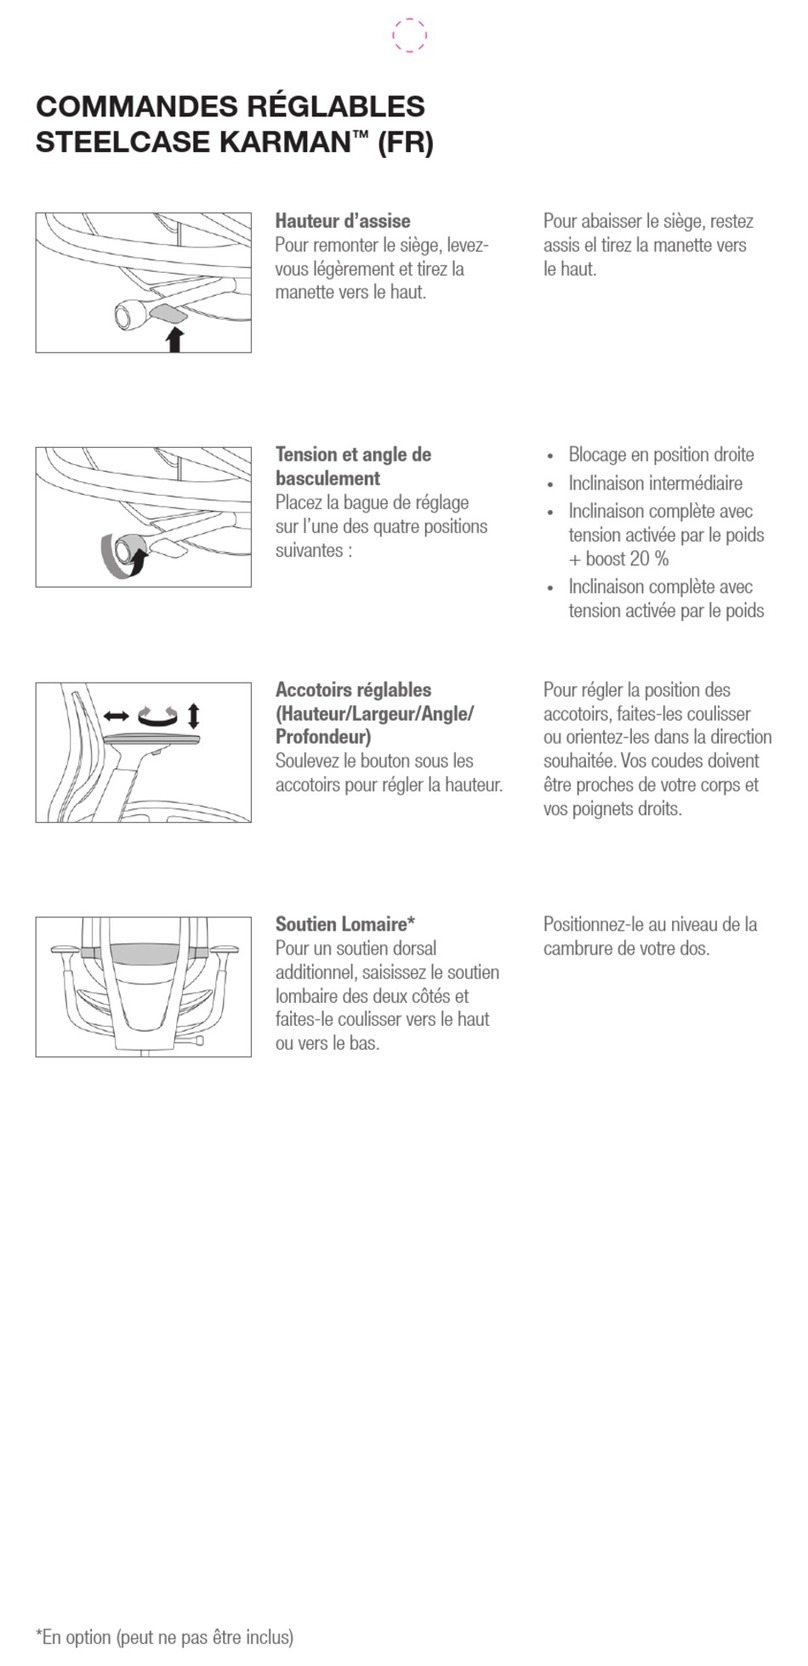
Steelcase Karman instructions

Steelcase

Steelcase Karman instructions

bbf A191581 Assembly guide

bbf

bbf A191581 Assembly guide

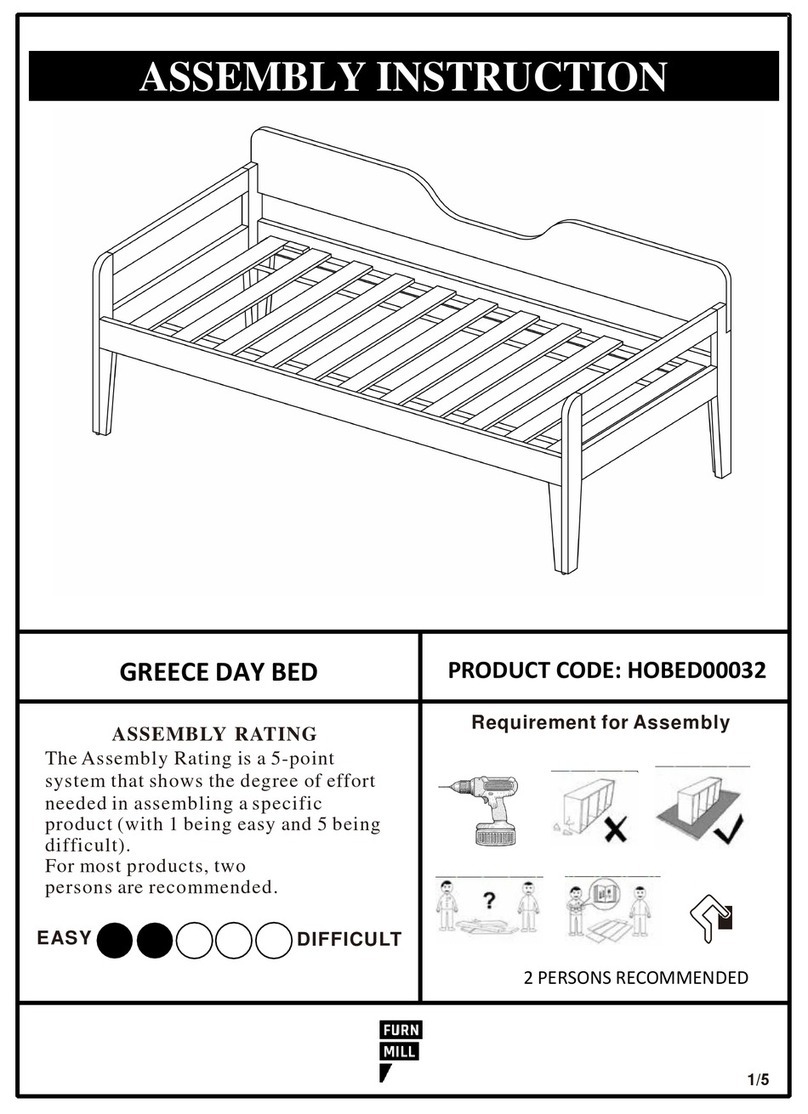
Furn Mill HOBED00032 Assembly instruction

Furn Mill

Furn Mill HOBED00032 Assembly instruction

PATIO TIME DB135 instruction manual

PATIO TIME

PATIO TIME DB135 instruction manual

Habitat Zeno 818333 manual

Habitat

Habitat Zeno 818333 manual

John Lewis Pole bar bay pole manual

John Lewis

John Lewis Pole bar bay pole manual

Furinno 11214 Assembly instruction

Furinno

Furinno 11214 Assembly instruction

modway Raleigh EEI-3575 quick start guide

modway

modway Raleigh EEI-3575 quick start guide

manuals.online logo
manuals.online logoBrands
  • About & Mission
  • Contact us
  • Privacy Policy
  • Terms and Conditions

Copyright 2025 Manuals.Online. All Rights Reserved.