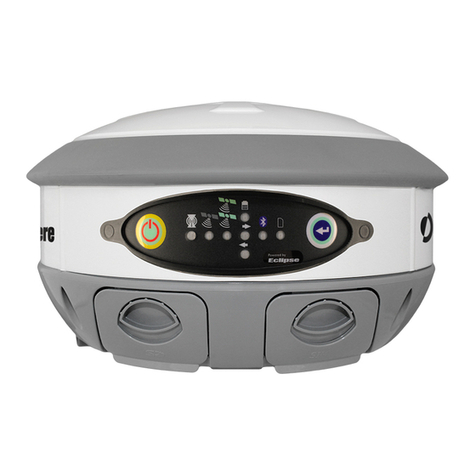
Hi-Target V100 User manual

V100 GNSS RTK System
Getting Started
Hi-Target Co., Ltd
All Rights Reserved
Surveying Instrument
V100 GNSS RTK System Getting Started


Ⅰ
Content
1. Products Introductions
1.1 Hardware structure
1.2 Power supply system
1.3 Button operation
1.4 LED
1.5 Handheld controller iHand20
2. Technical Parameters
3. Work Modes Introdution
3.1 Static mode
3.1.1 Static data collection
3.1.2 Static data storage and download
3.2 Network rover mode
3.2.1 Project setting
3.2.2 Data collection
3.2.3 Stake out
3.2.4 Data export
3.2.5 Auto-backup and quickly recover
3.3 Base mode with external radio
------------------------------------------------------------------------------ 3
-------------------------------------------------------------------------------- 4
---------------------------------------------------------------------------- 5
---------------------------------------------------------------------------------- 9
--------------------------------------------------------------------------------------------------- 10
------------------------------------------------------------------ 12
--------------------------------------------------------------------------- 19
--------------------------------------------------------------------------- 24
---------------------------------------------------------------------------------------- 25
------------------------------------------------------------------------- 25
--------------------------------------------------------- 26
--------------------------------------------------------------------------- 28
---------------------------------------------------------------------------------- 28
---------------------------------------------------------------------------------- 42
-----------------------------------------------------------------------------------------48
-------------------------------------------------------------------------------------- 54
----------------------------------------------------------55
-------------------------------------------------------------- 57
V100 GNSS RTK System Getting Started

Ⅱ
4. Trouble Shooting
4.1 Registration procedure
4.2 Firmware upgrade
4.3 Reset operation
Schedule1 factory default parameters
Schedule2 key accessories information
------------------------------------------------------------------------------------ 59
-------------------------------------------------------------------------- 60
-------------------------------------------------------------------------------- 62
----------------------------------------------------------------------------------- 63
------------------------------------------------------------63
-------------------------------------------------------- 64
V100 GNSS RTK System Getting Started

1
Exclusion
Before using the products, please carefully read the operating instruction, and it will help you better
use the product. Hi-Target Surveying Instrument Co., Ltd will not assume the responsibilities if you
fail to operate the product according to the requirements in operating instruction, or operate the
product wrongly because of failing to understand the operating instruction.
Hi-Target is committed to constantly perfect product functions and performance, improve service
quality and reserve the rights to change the contents in operating instruction without separate notice.
V100 GNSS RTK System Getting Started
1. Products Introductions
1.1 Hardware structure
1.2 Power supply system
1.3 Button operation
1.4 LED
1.5 Handheld controller iHand20
2. Technical Parameters
3. Work Modes Introdution
3.1 Static mode
3.1.1 Static data collection
3.1.2 Static data storage and download
3.2 Network rover mode
3.2.1 Project setting
3.2.2 Data collection
3.2.3 Stake out
3.2.4 Data export
3.2.5 Auto-backup and quickly recover
3.3 Base mode with external radio
Introduction
Welcome to use Hi-Target V100 receiver, this introduction is applicable to Hi-Target V100 products.
The introduction describes how to install, set and use V100 products.
Experience requirement
In order to help you use Hi-Target series products better, Hi-Target suggests you carefully reading
the instruction. If you are unfamiliar with V100 products, please refer to www.hi-target.com.cn
Tips for safe use
Warning: The contents here generally are very important. Such wrong
operation may make the machine damaged, make the data lost, even
breaks down the system and endangers personal safety.
Notice: The contents here generally are special operations, needing
your special attention. Please read the contents carefully.
Preface

2
2
We have checked the consistency between contents in instruction and software & hardware, without
eliminating the possibility of deviation. The pictures in operating instruction are only used for
reference. In case of inconformity with products, the products shall prevail.
Relevant information
You can get this introduction in the following ways:
1.After purchasing Hi-Target V100 receiver, there will be “V100 GNSS RTK System Getting
Started” in the instrument container to guide you how to operate instrument.
2.Log in Hi-Target official website, download the electronic version introduction in “Download
Center” → “Manual” → “Surveying Products”
Technology and service
If you have any technical issues, you can call Hi-Target technology department for help, we will
answer your question in time.
Advice
If you have any advice or suggestion on V100, please call us or Dial the national hotline: +86
400-678-6690. Your feedback information will improve the production quality.
V100 GNSS RTK System Getting Started

3
Products Introductions
■ Hardware structure
■ Power supply system
■ Button operation
■ LED
■ Handheld controller iHand20
C
C
C
C H
H
H
H A
A
A
A P
P
P
P T
T
T
T E
E
E
E R
R
R
R
1
V100 GNSS RTK System Getting Started

1.1. Hardware structure
Figure 1-1-2
Figure 1-1-1
4
Raised point
Guard collar
The product appearance is divided into three parts, upper cover, bottom cover and control
panel.
Upper cover
Bottom cover Control panel
Products Introductions

1.2. Power supply system
Battery, adapter type
Name Type
lithium battery BLP-6300S
Power adapter PSAI10R-050Q
5
Five-pin socket
Mini USB socket
Protective plug
Battery compartment
Connection screw
Figure 1-1-3
Notice:
If it is unnecessary to use five-pin socket, and USB interface, please cover the rubber plug to prevent
dust.
◆ Connection screw: for the instrument fixed to the base or the pole.
◆ Battery compartment: for housing lithium battery.
◆ Five-pin socket: for external data linking and external power supply.
◆ Mini USB socket: for connection to the host and external devices, upgrade firmware and
download the static data, can also charge or supply electricity to the host.
◆ Protective plug: for dustproof and waterproof.
V100 GNSS RTK System Getting Started

Recharge
V100 lithium battery should be charged by PSAI10R-050Q adapter, about 7 hours of charging time.
Lithium battery
Figure 1-2-1
Figure 1-2-2
6
Adapter
Products Introductions

Battery installation and removal
(1) Push up the battery cover button, open battery cover.
(2) Align battery pole with battery compartment pole, push the battery to the end and the mental
button will upspring.
Figure 1-2-3
Battery cover button
7
Warning:
1. Only the battery and charger configured by the manufacturer can be used; the battery must not be
thrown into fire or used in metal short circuit electrode.
2. Stop using when the battery is heating, deformation, liquid leakage, smelling or other abnormal
reactions, please exchange new battery.
3. Stop using when the battery’s working time has been Significantly reduced, the battery is aged,
please exchange new battery.
V100 GNSS RTK System Getting Started

8
Metal button
Battery pole
Figure 1-2-4
Figure 1-2-5
(3) Close the battery cover.
Removal
Push up the battery cover button to open it, then press the metal button and remove battery.
Products Introductions

1.3. Button operation
9
Power supply
Power supply mode
Power supply mode
Power supply
External power supply request
Internal:lithium battery
External:USB, Five-pin socket
USB socket:DC power 4.2-5.5V/1.5A
Five-pin socket:DC power 6-28V/1A
When external power supply, the host will automatically detect the voltage of lithium battery and external
power supply, and choose the higher voltage power. As for external power supply, it shall use the special
power specified by Hi-Target.
Power button
Figure 1-3-1
Most settings and operations of receiver are completed using a button on control panel.
Notice:
1. The service time of lithium battery will decrease along with the decrease in temperature and
charging-discharging times increasing. A new 6300mAh lithium battery can be used for 7 hours of
static data collection or rove work.
2. Please charge the battery within 24 hours after using up, to extend the service life of battery, or
the battery performance will be damaged.
3. If the battery won't be used for long times, please charge once every month to extend the service
life of battery.
V100 GNSS RTK System Getting Started

10
Description of power button operation
Operation name
On
Off
Automatic setting station
Operating mode switching
Status inquiry
Reset motherboard
Description
Shutdown status, long press the button one second to boot,
all lights are on
Boot status, long press the button three seconds, all lights
double fast flash, release the button
Shutdown status, long press the button six seconds, all lights
double fast flash, release the button, the instrument will
automatically set the base station
Double-click the button to switch working mode, double-click
each time to switch between static and RTK mode
Click power button, power LED flashing times displays
power
Boot status, long press the button more than six seconds, all
lights flash at the same time, release the button, it will reset
motherboard
1.4. LED
To indicate different status under different work mode.
Satellite LED
Power LED Network LED
Figure 1-4-1
Products Introductions

LED Function Description
LED
Power LED
(Green)
Power LED
(Yellow)
Power LED
(Red)
Long-term lighting
Long-term lighting
Long-term lighting
Slow flash
Fast flash
Meaning
Full battery
Full battery voltage: internal battery≥3.9V(100%
power)
Normal voltage: 6% <internal battery power ≤99%
Low voltage: internal battery≤5%
Power indication: 1-4 flash per minute under the
direction of electricity
1:0%~25%
2:25%~50%
3:50%~75%
4:75%~100%
Network LED
(Green)
Network LED
(Red)
Satellite LED
(Green)
Three LEDs
Off
Long-term lighting
Slow flash
Fast flash
Long-term lighting
Slow flash
Fast flash
Static mode
RTK mode
Static mode, storage space<10MB
Satellite lock
satellites are lost
Satellite LED, Network LED, Power LED all fast flash
at the same time, when release power button, the
motherboard will be reset.
1. RTK mode: flash as difference data interval
2. Static mode: flash as sampling interval
11
V100 GNSS RTK System Getting Started

12
Front of handheld controller
The front of iHand20 handheld controller includes touch screen, keyboard and microphone
Touch screen
Keyboard
Microphone
Figure 1-5-1
1.5. Handheld controller iHand20
◆ Touch screen: Multipoint capacitive touch screen with touch pen, which supports Chinese and
English input.
◆ Keyboard: Photograph, direction control, switch between Chinese and English, data collection,
volume control, power on, power off and other functions.
◆ Microphone: Internal microphone can be used for field collection of voice message.
Products Introductions

Reverse side of handheld controller
There are camera, battery cover, belt, speaker, etc. on the reverse side of iHand20 handheld
controller.
Camera Speaker
Battery cover
NFC module
Belt
Figure 1-5-2
◆ Camera: Used for field collection of image information.
◆ Battery cover: Internal removable lithium battery.
◆ Belt buckle: Connect the belt to prevent sliding down.
◆ Speaker: Conduct real-time voice broadcast for the instrument operation and status.
13
V100 GNSS RTK System Getting Started

14
Figure 1-5-4
◆ Mini USB: Used for connecting USB data line and iHand20 handheld controller.
◆ Audio port: Used for connecting headphone cable and iHand20 handheld controller.
Warnings: In case of not using audio port or Mini USB, please close the rubber cover so as to
achieving waterproof and dustproof.
Handheld controller accessories
Charger
Side of handheld controller
Figure 1-5-3
Mini USB
Audio port
Products Introductions
Waterproof & dustproof rubber cover

Figure 1-5-5
Figure 1-5-6
Battery (Lithium battery: 3.7V /6300mAh)
Data line
It is used for changing and exchanging data between computer.
Touch pen
To use the touch pen to operate the handheld controller, it is required to start the function of
"handwriting pen", and open the handheld controller’s [system setting] → [auxiliary function] →
check [handwriting pen]
Figure 1-5-7
15
V100 GNSS RTK System Getting Started

16
Figure 1-5-8
Operation of handheld controller
Keyboard
Most settings and operations of Hi-Target iHand20 handheld controller can be completed by the
touch pen, and commonly used operations can be completed by keyboard. Appearance and
functions of keyboard are introduced briefly as follows.
Keyboard include: Back, OK, Power, APP, Fn, Collect, Camera, etc. on button board of iHand20.
Back: Delete or exit the operation of current window.
OK: Confirmation.
Power: Press it for above 3s for power on/ power off. Under the power on status, press power button
for 1s to turn off / turn on the screen backlight.
Back
Collect
OK
Del
Space
Enter
PowerCamera
Fn
APP
Menu
Home
APP: Quick start of Hi-Survey software, press button APP for a long time for the Road popup, then
select "Hi-Survey Road" and click [Ok]. And the software selected this time can be started quickly
only by pressing key APP next time.
Products Introductions
Other manuals for V100
2
Table of contents
Other Hi-Target Receiver manuals
Hi-Target
Hi-Target iRTK5 User manual
Hi-Target
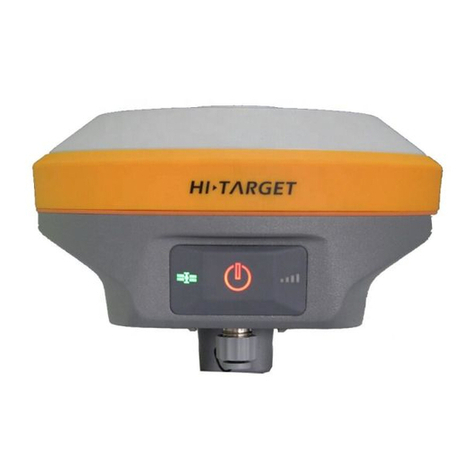
Hi-Target V100 User manual
Hi-Target
Hi-Target V30 User manual
Hi-Target
Hi-Target V60 User manual
Hi-Target
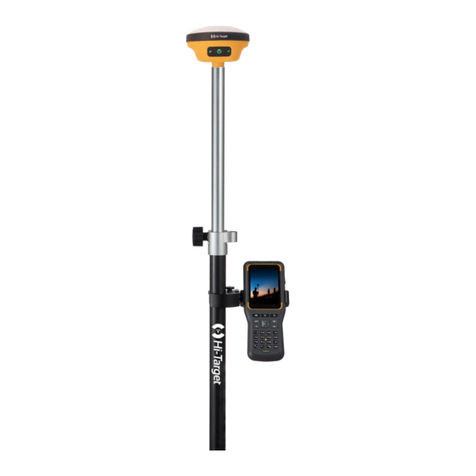
Hi-Target V90 Plus User manual
Hi-Target
Hi-Target V200 User manual

Hi-Target
Hi-Target V90 Plus User manual

Hi-Target
Hi-Target V100 User manual
Hi-Target
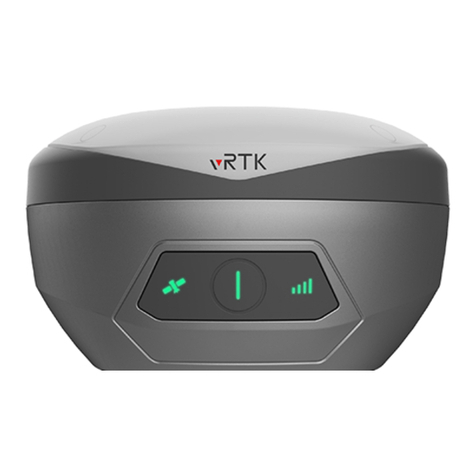
Hi-Target vRTK User manual

Hi-Target
Hi-Target V60 User manual
