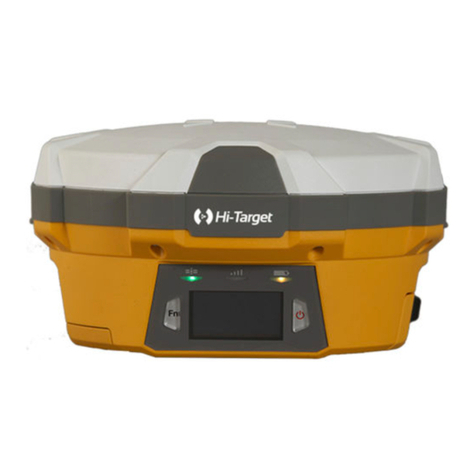
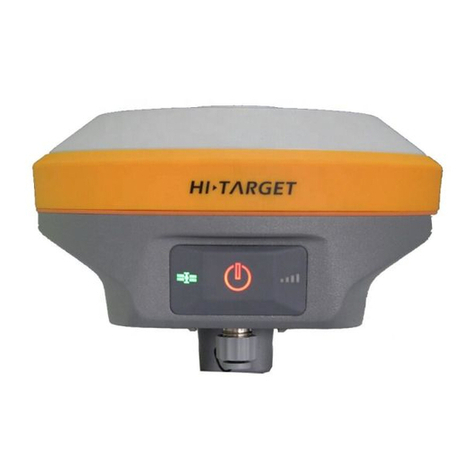
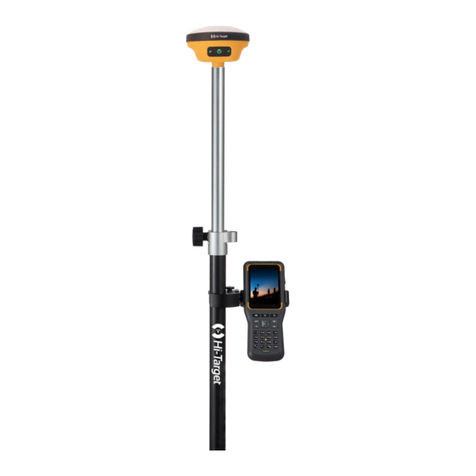
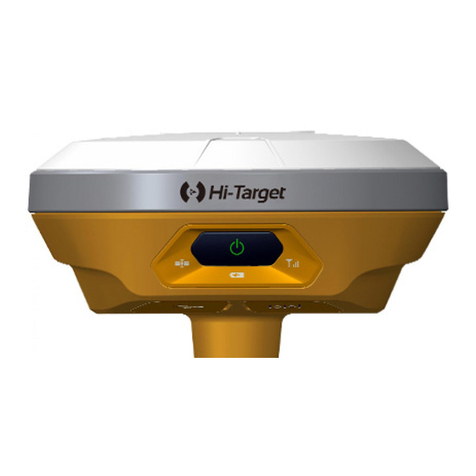
Hi-Target iRTK5 User manual

iRTK5 Smart GNSS RTK System
User Manual

iRTK5 Smart GNSS System User Manual
Revision Date
Revision Level
Description
Mar., 2018
1
iRTK5 GNSS RTK System
User Guide A1
July. 2019
2
iRTK5 GNSS RTK System
User Guide A2

iRTK5 Smart GNSS System User Manual
iRTK5
Smart GNSS RTK System
User Manual

iRTK5 Smart GNSS System User Manual
1
Preface
Introduction
Welcome to the Hi-Target iRTK5 receiver. This introduction describes how to use this product.
Experience Requirement
In order to help you use Hi-Target series products better, Hi-Target suggests you carefully read the
instructions. If you are unfamiliar with the products, please refer to http://www.hi-target.com.cn/.
Tips for Safe Uses
Notice: The contents here are special operations and need your special
attention. Please read them carefully.
Warning: The contents here generally are very important. Wrong operation
may damage the machine, lose data, even break the system and endanger your
safety.
Exclusions
Before using the product, please read these operating instructions carefully, they will help you to use it
better. Hi-Target Surveying Instrument Co., Ltd assumes no responsibility if you fail to operate the
product according to the instructions, or operate wrongly due to misunderstanding the instructions.
Hi-Target is committed to constantly perfecting product functions and performance, improving service
quality and reserves the rights to change these operating instructions without notice.
We have checked the contents of the instructions and the software & hardware, without eliminating the
possibility of deviation. The pictures in the operating instructions are for reference only. In case of non-
conformity with products, the products shall prevail.

iRTK5 Smart GNSS System User Manual
2
Technology and Service
If you have any technical issues, please call Hi-Target technology department for help, we will answer
your question.
Relevant Information
You can obtain this introduction by:
1. After purchasing Hi-Target products, you will find this manual in the instrument container to guide
you on operating the instrument.
2. Log onto the Hi-Target official website, download the electronic version introduction at
Partners → Partner Center.
Advice
information will help us to improve the product and service.

iRTK5 Smart GNSS System User Manual
3
Contents
Preface.....................................................................................................................................................................1
Introduction...........................................................................................................................................................1
Experience Requirement......................................................................................................................................1
Tips for Safe Uses................................................................................................................................................1
Exclusions.............................................................................................................................................................1
Technology and Service.......................................................................................................................................2
Relevant Information.............................................................................................................................................2
Advice...................................................................................................................................................................2
Contents ..................................................................................................................................................................3
Chapter 1 .................................................................................................................................................................6
Overview...............................................................................................................................................................7
1.1 Foreword.........................................................................................................................................................7
1.2 Features..........................................................................................................................................................7
Chapter 2 .................................................................................................................................................................9
Product Introduction..................................................................................................................................................9
2.1 Hardware structure...................................................................................................................................... 10
2.1.1 Upper cover .......................................................................................................................................... 10
2.1.2 Bottom cover......................................................................................................................................... 11
2.1.3 Control panel ........................................................................................................................................ 12
2.2 Button & LED............................................................................................................................................... 12
2.2.1 Button.................................................................................................................................................... 12
2.2.2 LED....................................................................................................................................................... 13
2.3 Touch screen display................................................................................................................................... 13
2.3.1 Status interface..................................................................................................................................... 13
2.3.2 Stand-by interface................................................................................................................................. 15
2.3.3 Settings interface.................................................................................................................................. 16
2.4 Web management system........................................................................................................................... 17
2.4.1 Main menu............................................................................................................................................ 17
2.4.2 Information view.................................................................................................................................... 19
2.4.3 Work mode ........................................................................................................................................... 21
2.4.4 File management.................................................................................................................................. 23
2.4.5 Firmware management......................................................................................................................... 23
2.4.6 System settings .................................................................................................................................... 24
2.5 Static mode.................................................................................................................................................. 27

iRTK5 Smart GNSS System User Manual
4
2.5.1 Static settings ....................................................................................................................................... 27
2.5.2 Static data collection steps................................................................................................................... 28
2.5.3 Static data download ............................................................................................................................ 29
2.6 Dynamic RTK measurement ....................................................................................................................... 30
2.6.1 Set the Base ......................................................................................................................................... 30
2.6.2 Set up the receiver................................................................................................................................ 30
2.6.3 Device connection ................................................................................................................................ 31
2.6.4 Set the Base ......................................................................................................................................... 31
2.6.5 Set the Rover........................................................................................................................................ 32
2.7 Calibration-free tilt survey............................................................................................................................ 32
2.8 PPP service (optional)................................................................................................................................. 33
2.8.1 Register and authorization.................................................................................................................... 33
2.9 aXTR technology(optional).......................................................................................................................... 33
2.10 Firmware upgrade...................................................................................................................................... 34
2.10.1 Upgrade by USB cable....................................................................................................................... 34
2.10.2 Upgrade by OTG and USB flash disk................................................................................................. 34
2.10.3 Upgrade by WEB management system ............................................................................................. 34
2.10.4 Remote online upgrade ...................................................................................................................... 34
Chapter 3 .............................................................................................................................................................. 36
Technical parameters........................................................................................................................................ 36
Chapter 4 ............................................................................................................................................................ 400
Interfaces and Accessories ............................................................................................................................... 40
4.1 SIM card installation .................................................................................................................................... 41
4.2 Data cable.................................................................................................................................................... 41
4.3 Antenna ....................................................................................................................................................... 42
4.4 Benchmark................................................................................................................................................... 42
4.5 Battery & charger......................................................................................................................................... 42
Chapter 5 .............................................................................................................................................................. 44
iHand30 Controller............................................................................................................................................. 44
5.1 Introduction.................................................................................................................................................. 45
5.1.1 Foreword............................................................................................................................................... 45
5.1.2 Features................................................................................................................................................ 45
5.1.3 Caution ................................................................................................................................................. 45
5.2 Appearance ................................................................................................................................................. 46
5.2.1 Front of the controller............................................................................................................................ 46
5.2.2 Reverse side of the controller............................................................................................................... 47
5.2.3 Side of the controller............................................................................................................................. 48

iRTK5 Smart GNSS System User Manual
5
5.3 Controller accessories................................................................................................................................. 49
5.3.1 Charger................................................................................................................................................. 49
5.3.2 Battery .................................................................................................................................................. 49
5.3.3 Data cable............................................................................................................................................. 49
5.3.4 Touch pen............................................................................................................................................. 50
5.4 Operation..................................................................................................................................................... 50
5.4.1 Keyboard .............................................................................................................................................. 50
5.4.2 Battery installation and dis-assembly................................................................................................... 51
5.4.3 Power system ....................................................................................................................................... 54
5.4.4 SIM card setting.................................................................................................................................... 55
5.4.5 Installation of the Micro SD card........................................................................................................... 57
5.4.6 Power on/off.......................................................................................................................................... 58
5.5 Application ................................................................................................................................................... 59
5.5.1 Connecting the controller to computer.................................................................................................. 59
5.5.2 Upgrade method................................................................................................................................... 61

iRTK5 Smart GNSS System User Manual
6
Chapter 1
Overview
This chapter contains:
-Foreword
-Features

iRTK5 Smart GNSS System User Manual
7
1.1 Foreword
iRTK5 is the new high-quality GNSS receiver of Hi-Target, benefiting from the next-generation GNSS
engine, supporting the PPP service, aXTR technology, calibration-free tilt survey. It has full band
support for cellular mobile networks (LTE, WCDMA, EDGE, GPRS, GSM), and supports most of the
radio protocols on an internal UHF transceiver radio.
iRTK5 has an innovative design, a magnesium alloy structure and the Linux 3.2.0 operating system.
The HD OLED color touch screen with better graphics is operational in rain. These make iRTK5 an
industry-leading GNSS RTK surveying solution.
1.2 Features
1. With the next-generation GNSS engine BD990, the new intelligent iRTK5 provides an intelligent and
integrated solution for surveying and mapping.
2. It supports full constellation and multiple channels with Maxwell7 technology and four-star tri-band
solution, providing the position quickly and reliably.
3. It supports the PPP service (optional). There is no need to set up a base station or connect CORS
to achieve accurate real-time centimeter-level positioning of stand-alone.
4. It supports aXTR technology, making measurement more continuous and reducing wait time.
5. It supports the calibration-free tilt survey, with high precision IMU measurement module.
6. With the built-in WEB management system, it supports monitoring in real-time and configuration
principal machine.
7. The HD OLED color touch screen with better graphics is operational in rain.
8. With 16GB internal storage, 4G full Netcom communication and 4G network antenna, it supports
OTG function and OTG function.
9. It has a 360°omnidirectional radio antenna and internal UHF radio built-in multi-protocol radio, and
4W large transmit power. The rover station supports network relay and radio relay;
10. It supports WiFi, Bluetooth and NFC.

iRTK5 Smart GNSS System User Manual
8
11. Built-in gravity acceleration sensor (electronic bubble);
12. With a 6800mAh lithium-ion rechargeable and removable smart battery, it supports a quick charge
and power display with the LED.
13. Stronger with innovative designs and a magnesium alloy structure.
14. Double format storage of static data (*.GNS / RINEX).
15. With the new-generation controller iHand30, it supports 4G, WiFi, OTG, quick charge and so on.
16. HDL multi-protocol radio, compatible with imported brands, supports external radio, network relay
and radio relay;
17. With the new Hi-Survey software with new UI, it supports multiple base maps and so on.

iRTK5 Smart GNSS System User Manual
9
Chapter 2
Product Introduction
This chapter contains:
-Hardware structure
-Button & LED
-Touch display
-Web management system
-Static measurement
-Real Time Kinematic (RTK) surveying
-Tilt survey
-PPP service (optional)
-aXTR technology
-Firmware upgrade

iRTK5 Smart GNSS System User Manual
10
2.1 Hardware structure
The product appearance is divided into three parts, including the upper cover, bottom cover and
control panel.
Figure 2-1-1 Front
2.1.1 Upper cover
Figure 2-1-2 Upper cover
Antenna interface: connect the radio antenna while using the built-in radio mode. When using the built-
in network mode in a poor signal network environment, you can use the antenna interface to connect
the external 4G antenna (the iRTK5 has built-in 4G antenna, but you need to use the external 4G
antenna in a poor signal network environment, and choose the external antenna mode when using Hi-
Survey software or WEB interface).
Antenna interface

iRTK5 Smart GNSS System User Manual
11
2.1.2 Bottom cover
The bottom cover includes a 5-pin socket, a power light & button, a Mini USB socket, a speaker, a
battery compartment, a connection screw, etc.
Figure 2-1-3 Bottom cover
- USB socket: connect the iRTK5 with external devices, to upgrade firmware and download static data.
It can also be used as the USB to serial port, in special working modes (you need to install the driver).
It supports OTG.
- Five-pin socket: for external data linking and external power supply.
- Connection screw: for fixing the instrument to the base or a pole.
- Battery compartment cover: dustproof and waterproof.
5
1
2
3
4
6
1-USB socket 2-Power light & button 3-Five-pin socket
4-Speaker 5-Connection screw 6-Battery compartment cover

iRTK5 Smart GNSS System User Manual
12
Notice:
1. If you don’t use the five-pin socket and USB interface, please cover the rubber plug
to protect from dust and water.
2. When the speaker is flooded, the sound may be silent or hoarse, but it will return to
normal after drying.
2.1.3 Control panel
Figure 2-1-4 Control panel
2.2 Button & LED
2.2.1 Button
Table 2-2-1 Button function description
Function
Description
Power-on
Press the button for 1 second.
Power-off
Press the button for at least 3 seconds.
LCD display switch
Double click the power button to open or close the LCD display.
Forced shutdown
(Execution in case of crash)
Press the power button for at least 12 seconds.
Check the current status
Click the power button to voice broadcast the current working
status.
2
1
3
1-Satellite LED 2-Data LED 3-OLED touch screen

iRTK5 Smart GNSS System User Manual
13
2.2.2 LED
When the screen display is on:
The power LED, data LED and satellite LED will be off.
When the screen display is off:
The power LED, data LED and satellite LED will work according to the current receiver’s status.
Table 2-2-2 LED function description
Item
Status
Description
Power LED
Long-term lighting
Power sufficient
Flash
Battery low
Data LED
Flash
1. RTK mode: flash at the differential data interval.
2. Static mode
Sampling interval >1S: flash at the sampling interval;
Sampling interval ≤1S: flash once per second.
Off
1. RTK mode: no differential data.
2. Static mode: sampling has not started.
Satellite LED
Long-term lighting
Satellite tracked
Flash
Satellite not tracked
2.3 Touch screen display
The receiver has a 1.3-inch 240*240 high-resolution touch screen to support touch operation. Double-
click the power button to turn off the LCD display, and double-click the power button again, or click the
screen, to resume the LCD display.
2.3.1 Status interface
The receiver will display the current working status when it’s powered on. The status interface consists
of icons and text.

iRTK5 Smart GNSS System User Manual
14
Table 2-3-1 Status interface function description
Status
Icons
Text description
Internal UHF base
Displays in a cycle with the current channel,
differential data format and current power.
Internal GSM base
Unconnected to network:
Shows the status of the network.
Connected to network:
Displays in a cycle with the differential data format
and current power.
External radio base
Displays in a cycle with the differential data format
and current power.
Internal UHF rover
Shows the solution status.
Internal GSM rover
Unconnected to network:
Shows the status of the network.
Connected to network:
Shows the solution status.
External radio rover
Shows the solution status.
Data collector internet rover
Shows the solution status.

iRTK5 Smart GNSS System User Manual
15
PPP Service (Optional)
Shows the solution status.
Static mode
Shows the static collection duration.
Tilt survey
Shows tilt survey initialization.
2.3.2 Stand-by interface
The screen will go on stand-by screen if there is no operation for more than 60s, and then turn off after
5 minutes. Double-click the power button or click the screen to resume the LCD display and show the
status.
Table 2-3-2 Stand-by screen
Icons
Description
Shows the external power supply icon and local time, when using the 5-pin (such as on external
device base mode). Only shows the power icon when not tracked.
Shows the power icon and local time when using the lithium battery. Only shows the power icon
when not tracked.

iRTK5 Smart GNSS System User Manual
16
2.3.3 Settings interface
Table 2-3-3 Settings interface
Function
Description
Picture
Settings
interface
Left slide on the state interface to enter the settings interface.
Base settings
Click Base on the settings interface to enter the base settings. Press
OK, it will set the base by using the coordinates measured smoothly
and send the RTCM3.2 as differential data. If you don’t set the
average, it will set the base by using the last coordinate.
Static
Click Static on the settings interface to enter the static settings. If the
static recording has not started, you can set the interval as
1s/5s/10s/30s. If it has started, the screen will display the “Stop?” two
choices “OK” and “Cancel”, and you can click OK to stop and return
to the interval settings interface.
Reset
Click "Reset" in setting interface to reset the motherboard, after click
“OK” there will be the pop-up window displaying "Resetting ";
If success, the LCD display "Reset motherboard successful", and it
will jump to the status interface after 2 seconds;
If failed, the LCD displays "Reset motherboard failed", and it will jump
to the status interface after 2 seconds.
Restore
Click Restore to enter the restore interface. Click Yes to restart the
iRTK5 and do the OTA firmware update.
OTG
Insert the OTG data cable and insert the USB disk to directly copy
the static data in receiver. The LCD screen displays the folders of
last two days, the upper right corner of the folder icon shows the
number of files which are not downloaded under this folder, up to 99,
it will show "..." if more than 99.

iRTK5 Smart GNSS System User Manual
17
2.4 Web management system
iRTK5 has a built-in WEB Management System for real-time controlling and free configuration of the
receiver. The device Wi-Fi name is the S/N, you can connect it with the controller or phone (without a
password), and then input the IP address 192.168.20.1, in the browser, to log into the WEB
management system.
2.4.1 Main menu
After logging into the WEB management system, you can click Start to enter the main menu interface.
The main menu contains the drop-down menu with each option.
Figure 2-4-1 Welcome page Figure 2-4-2 Main menu
Figure 2-4-3 Information Figure 2-4-4 Work mode
Table of contents
Other Hi-Target Receiver manuals

Hi-Target
Hi-Target V100 User manual

Hi-Target
Hi-Target V90 Plus User manual

Hi-Target
Hi-Target V90 Plus User manual

Hi-Target
Hi-Target V30 User manual

Hi-Target
Hi-Target V100 User manual

Hi-Target
Hi-Target V100 User manual

Hi-Target
Hi-Target vRTK User manual

Hi-Target
Hi-Target V60 User manual

Hi-Target
Hi-Target SL300 series User manual

Hi-Target
Hi-Target V200 User manual