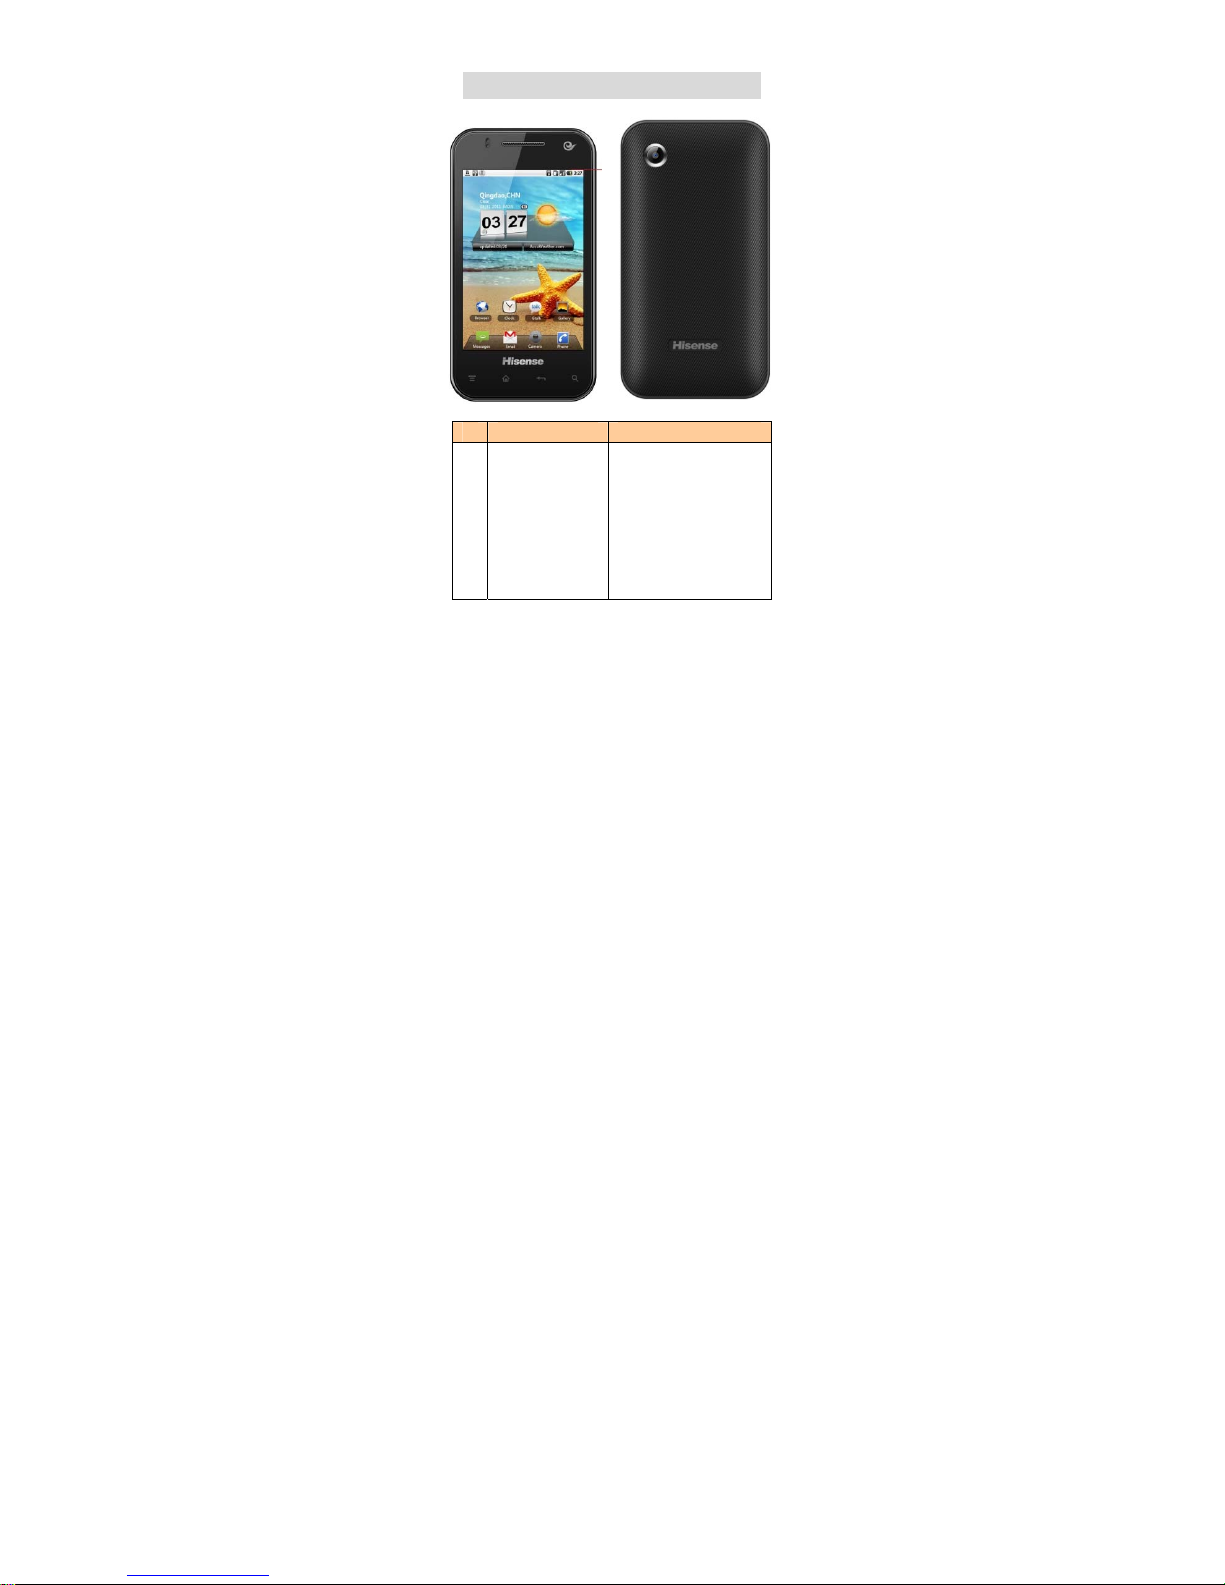
Hisense E860 User manual

I
Hisense EVDO
Smartphone
E860

II
Content
Getting ready for use .......................... 1
Part name and function......................1
Inserting the UIM card.......................2
Inserting SD card..............................3
Installing the battery.........................3
Removing the battery........................4
Charging the battery.........................4
Battery performance..........................5
Turning your phone on and off............7
Desktop manager..............................7
Making a call....................................8
Main Function ................................. 10
Browser.........................................10
Calculator......................................10
Calendar........................................10

III
Camcorder.....................................11
Camera..........................................11
Clock............................................11
Email.............................................12
FM Radio.......................................13
Gallery...........................................13
Gmail............................................13
Latitude.........................................13
Messaging......................................13
Music.............................................14
People...........................................15
Phone............................................15
Search...........................................16
Settings.........................................16
Sound Recorder..............................19
Voice Dialer....................................20
Videos...........................................20
Safety information ............................ 21

1
Getting ready for use
Part name and function
Name Function
1 Power key
When powered on
press to darken or
lighten the screen
or hold to pop up
option menu.
When powered off
hold to turn on the
phone.

2
2 Menu key Press to present a
main menu.
3 Home key Press to return to
home screen.
4 Return key Return to previous
menu.
5 Fast search
key
Enter Google
search
interface.
6 Camera Take pictures.
7 Volume keys
Press to
accommodate the
volume and start
up silence mode
when there is an
incoming call.
8 Headset jack Insert headset.
9 Charge/USB
Port Connect USB line.
Inserting the UIM card
Your phone must work with a card
provided by your service provider. Your
card contains all your subscription
information.
Insert UIM card with the metal contacts
facing down and the cut corner aligned
with that of the slot;

3
Notes:
1. If no card is installed, or there are
errors in the insertion, or your card
is damaged, the string of “No
service” will display on the screen
after your phone is powered on.
2. If your card is PIN-locked your
phone will display “unlock PIN”.
You must enter PIN before the
phone can start working. Please
contact your network service
provider if you need.
3. When inserting card, please keep
it away from possible damage
caused by static, scratch and bend,
and put it where is not available for
children.
Inserting SD card
Insert SD card with the metal contacts
facing down and the cut corner aligned
with that of the slot;
Installing the battery
You must install and charge the battery
to use your phone. Insert the ridge at
the top of the battery into the base of
the phone, make sure to touch the

4
metal contact on the phone, then push
the battery down and snap it into place.
Note:
Your phone is designed to be used only
with original batteries and chargers.
Use of other batteries or chargers may
cause damage to your phone and the
warranty will be void.
Removing the battery
Make sure your phone is powered off to
avoid the important information getting
lost.
Hold battery bottom and remove the
battery from the phone.
Charging the battery
New batteries are shipped partially
charged. Before you can use your
phone, you need to charge the battery.
Some batteries will have best
performance after several full charge/
discharge cycles.
1. Connect data cable and charger,
plug one end into your phone’s
data port.
2. Plug the other end of the charger
into the appropriate electrical

5
outlet (100~240V AC).
3. When your phone indicates that
the battery is fully charged,
remove the charger.
Notes:
1. Before charge, make sure the
battery is installed in the phone.
2. The battery can discharge
gradually even when your phone
is powered off. If the battery is
drained for a long time, the
information stored in the phone
could possibly be lost. So even
you don’t need to use your phone
for a long period, you should
charge the battery some times to
keep it away from drained.
3. You need longer charging period
with the lower voltage.
4. You need longer time as operation
as charging.
5. The nomal charge temperature is
during 0℃-40℃.
Battery performance
1200mAh (standard
battery)
Standby time* 100hours

6
Talk time* 200 minutes
Many conditions can affect
battery’s standby time, such as
local network conditions, phone’s
settings, frequent operations,
using data services, etc.
The battery performance is also
affected by charge state and
temperature.

7
Basic operations
Turning your phone on and
off
Turn on the phone: Press and hold
Power key for more than 3 seconds to
turn on your phone.
Turn off the phone: Press and hold
Power key to pop up option menu,
select “power off”. If it is powered off
you can not receive, make a call or do
other operations.
Desktop manager
Lock the screen
The screen lock prevents unwanted
actions on the touch screen when you
are not using your phone. When the
phone is left idle for a set period, the
screen locks automatically if you
enabled screen lock in settings
Security.
Unlock the screen
You can unlock the screen according to
your settings.
The default way is pulling to right after
your screen is enabled with pressing
power key.

8
Delete icon:
Press and hold a selected icon on
desktop, you will find‘X
Remove’appearing. At this time drag
the icon to ‘X Remove’, then release.
Status bar
A status bar at the top of the screen
displays phone status information and
notifications.
Change wallpaper
Press on the desktop space, then pop
up the following menu: Gallery/Live
wallpapers/ wallpapers.
Notification panel
You can open notifications such as
unread messages or missed calls
directly from the notification panel.
How to open the panel:
Hold the status bars with your finger,
and drag it downwards.
Makingacall
Click to enter dialer interface on idle
screen or main menu screen, input
phone number and click to make a
call, click the End button. If you make a
mistake, you can click to delete the

9
number or hold it to delete all numbers
before the cursor.

10
Main Function
Browser
Connect the web page with the mobile
network.
You can input different website to view
different web page.
Press menu key you can do:
Add a new bookmark or manage
bookmarks.
Refresh
Exit the current window.
Do more things such as: forward, add
bookmark and so on.
Calculator
Perform basic calculations such as
addition, subtraction, multiplication and
division.
Calendar
Click calendar to enter calendar menu.
Click the top left corner to select the
mode to view calendar.
Create agenda
1. Press menu key and click “New
event” button.
2. Before you can add an event, you
must add at least one calendar
account to your device and make

11
a calendar visible.
3. Input name/Location/Time and so
on.
4. Click “Done” button.
The new agenda will appear on the
calendar menu when you entering
again.
Camcorder
Click or to take a video or
photo.
Drag to focuses.
Click to take a video.
Camera
You can take photos conveniently by
using camera.
Click to take photos.
Clock
Click to view the time.
Click “set alarm” to add alarm.
You can see two default alarm clock
when enter.
Enter one of them, turn on the alarm:
1. Turn on the alarm.
2. Set the time.
3. Set the repeat times.
4. Set the ringtone.

12
5. Choose vibrate mode or not.
6. Edit label.
7. Click OK at the bottom of the
screen.
Notes :
1. Press menu key to add more
alarm when enter alarm clock.
2. The alarm clock will still work even
the phone is powered off.
3. Don’t set the phone in silence
mode to guarantee the alarming
effect.
4. Please change the battery in a
minute or else the information
stored in the phone will be lost.
Email
You can configure Email for most
accounts in just a few steps according
the tip on the screen.
The functions of the Email:
1. Receive email and view the text
and attachments via your phone.
2. Reply and forward a received
email.
3. Create a new email.
Apart from this, you also can set the
inbox checking frequency.

13
FM Radio
You should insert headset before using
FM Radio.
Search radio settings and play it:
1. Click menu key, select “Scan”
scan all stations.
2. Select some stations and play it.
Gallery
View pictures and videos stored in
phone or memory card.
Click “Albums” to view the picture with
different tag.
Gmail
View your Gmail account and send or
receive email.
Latitude
Download the map:
You can find place/navigation/find
family& friends/view my place.
Messaging
Send and receive message.
Create message
Click “ ” to creat message.
Input receiver’s phone number and edit
contents.
For phone number:
1. You can click the keyboard to input

14
number directly.
2. You can select number from
messages, contacts or call logs.
3. You can select several numbers to
send.
Notes:
If the message editing is interrupted by
incoming calls, alarm clock, powering
off, the entered texts will be saved
temporarily.
Click “Type message” to edit the
message.
Press Menu key, pop up the
submenu.
Music
Click to enter music player.
1. Artists: view different artists’ songs.
2. Albums: view different albums list.
3. Songs: view all songs list.
4. Playlists: view current playlist and
saved playlist.
Press menu key when playing a song,
you can do :
View the library details.
Party shuffle.
Add the song to playlist.
Set the song as ringtone.
Delete the song.

15
People
Search for a contact
1. Click fast search key or click ;
2. Enter the first few letters of the
contact name, all contacts beginning
with these letters appear.
Add a contact
Click , you can add a new contact to
the phone or card.
Manage contact
Click the item to view the detail
information about the contact.
Hold the menu key to view the submenu:
Edit/ share/ delete/ copy to phone/ send
contact/all calls to voicemail.
Phone
Click enter dial plade, Input the
number, then call out.
Input phone number, click to make
a call, click to delete the number
you do not need or hold it to delete all
numbers before the cursor.
Click enter call log, view the

16
detailed information.
Click to view the contact.
Search
You can input the contact with soft key
or voice.
Click to search the network
resource.
Settings
Wireless & networks
Set call feature settings and select
TTY mode or DTMF Tones from
the combobox.
Click to turn on WIFI or
Bluetooth.Set the WIFI or
Bluetooth.
Turn on Data usage.
Click to turn on Airplane mode.
Set the tethering & portable
hotspot.
Set wifi direct settings and mobile
networks.
Device
1. Sound
Set volume for ringtone/ media
or alarm.
Set silence mode or not.
Set your default incoming call

17
ringtone.
Set your default phone ringtone
or notification ringtone.
Turn on/off Dial pad touch tones/
Touch sound and so on.
2. Display
Adjust the brightness of the
screen.
Choose the wallpaper from
gallery/live wallpapers/
wallpapers.
Turn on Auto-rotate screen.
Adjust the delay before the
screen automatically turns off.
Select the font size.
3. Storage
View SD card and Internal storage.
4. Battery
View the battery usage data.
5. Apps
View the download/on SD card/ rinning.
Personal
1. Accounts &sync
Turn on or off the the function, manage
accounts.
2. Location services
Turn on or off google’s location
service/GPS satallites/Location
Table of contents
Other Hisense Cell Phone manuals

Hisense
Hisense T963 User manual

Hisense
Hisense T203 User manual

Hisense
Hisense U40 User manual

Hisense
Hisense HLTE232E User manual

Hisense
Hisense U1 User manual

Hisense
Hisense L676 User manual

Hisense
Hisense F10 User manual

Hisense
Hisense D90 User manual

Hisense
Hisense U962 2019 User manual

Hisense
Hisense Rock 5 User manual

Hisense
Hisense E50Lite User manual

Hisense
Hisense E20 User manual

Hisense
Hisense HLTE102E User manual

Hisense
Hisense U962 User manual

Hisense
Hisense H50 Lite User manual

Hisense
Hisense F17 User manual

Hisense
Hisense U3 2021 User manual

Hisense
Hisense Infinity F24-CN User manual

Hisense
Hisense C20 User manual

Hisense
Hisense Rocks 6 User manual