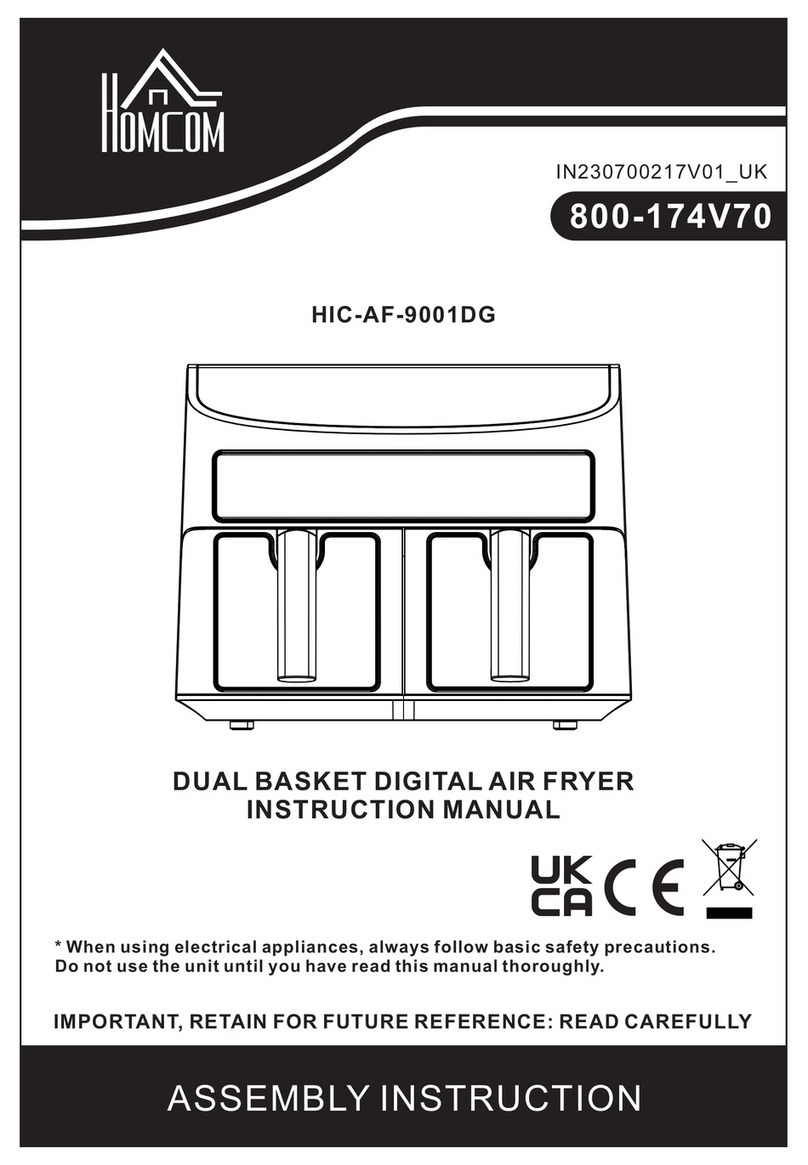
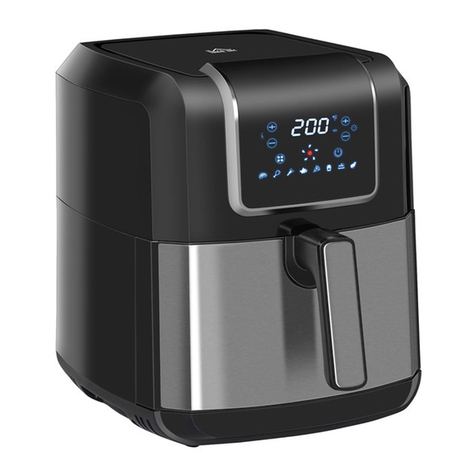
HOMCOM 800-169V70 User manual

1
IN230800063V01_UK
800-169V70
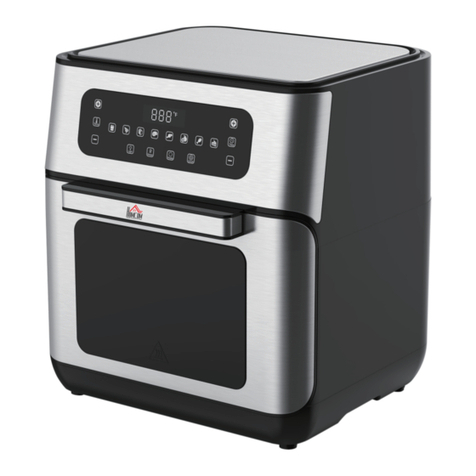
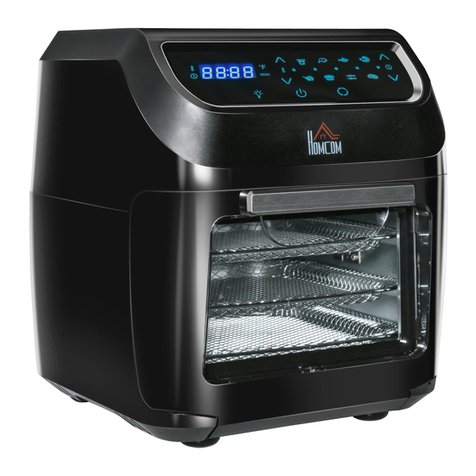
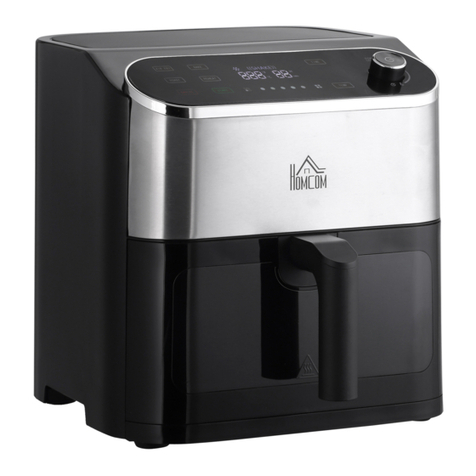
Air fryer oven
220-240V 50/60Hz 1400W
Household use only
INSTRUCTION MANUAL
IMPORTANT, RETAIN FOR FUTURE REFERENCE: READ CAREFULLY

2
IMPORTANT SAFETY INSTRUCTIONS
READ CAREFULLY AND KEEP FOR FUTURE REFERENCE
IMPORTANT SAFEGUARDS
WARNING: To prevent injury and property damage, read this entire manual carefully.
1. Before connecting the appliance, ensure the voltage indicated on the appliance
matches the mains voltage.
2. This appliance is not intended for use by persons (including children younger than
eight years) with reduced physical, sensory or mental capabilities, or lack of
experience and knowledge unless they have supervision.
3. For household use only.
4. To prevent electric shock, do not immerse the appliance, its cord or plug into water or
other liquid. Never plug in or use the appliance with wet hands.
5. If the appliance, its cord or plug is damaged or the appliance malfunctions in any way,
do not use it. Return the appliance to the nearest authorised service centre for
examination, repair or adjustment.
6. Do not touch hot parts of the appliance - use the handle. When air frying, hot steam is
released through the air outlet openings - keep hands and face away to prevent
injuries. Be cautious of hot air and steam when removing items from the appliance.
7. Accessories, which are not recommended by the manufacturer, can cause damage or
injury.
8. Do not disassemble, repair or refit this appliance by yourself. This must be done by
qualified personnel.
9. Before using the product, if the package is damaged, do not use it; return it to the
retailer for disposal.
10. This product is not a mobile electrical appliance. When in use, it must be placed on a
horizontal and stable surface.
11 . Keep this appliance away from curtains, tablecloths, clothing and other flammable
materials. Keep the appliance away from hot gas, electric burners, heated ovens and
other heat sources.
12. Keep the appliance away from walls and other appliances. Ensure there is at least
10cm of space on the back, sides and top of the appliance. Do not place anything on
top of the appliance.
13. Do not use this appliance for anything other than its intended purpose. Do not use
accessory attachments, which are not recommended by the manufacturer. This can
cause product damage or injury to persons.
14. Whilst in use, do not leave this appliance unattended.
15. If using containers that are NOT made from metal or glass, extreme caution must be
taken.
16. Do not place any of the following materials in the oven: paper, cardboard, plastic or
anything similar.
17. To prevent fires and electric shocks, never place oversized foods or metal utensils
inside the appliance.
18. Before first-time use, wipe the appliance with a dry cloth.
20. When in use, the oven rack, baking pan and fry basket may become hot. To prevent
scalding, do not touch these items.
21. Ensure the cord does not hang over the edge of tables or countertops, where it could
be tripped over. To prevent damaging the cord, keep it away from hot surfaces.
22. To avoid hazards, never use this appliance through an external timer switch or a
separate remote control system.
3
23. After use, clean the appliance and store it in a dry and ventilated area, away from
direct sunlight.
24. This symbol means: Caution, hot surface!
PRODUCT STRUCTURE DIAGRAM
A. Housing
B. Time display
C. Temperature display
D. Function menu
E. Door control switch
F. Heating element
G. Door glass
H. Door frame
I. Door frame
J. Oven foot
K. Sealing strip
L. Control interface
M. Adjusting knob
N. Tray handle
O. Bake tray
P. Crumb tray
Q. Bake rack
S. Frying basket

4
CONTROL PANEL
Function selection Start/Pause Power
Temperature Time
Mode knob Inner lamp Air Fry
OPERATION INSTRUCTION
BEFORE USING FOR THE FIRST TIME
1. Remove all packaging stickers and labels from the unit.
2. Clean the fry basket, oven rack, baking pan and crumb tray with hot water, some
washing-up liquid and a non-abrasive sponge.
3. Place the crumb tray at the bottom of the air fryer oven.
CAUTION
● Do not place the appliance against a wall or other appliances. There must be at least
10cm of space on the back, sides and above the appliance to allow proper ventilation.
● Do not place anything on top of the appliance.
● Place the appliance on a stable, horizontal and heat-resistant surface.
● Plug the appliance into an electrical wall outlet.
● Where specific food should go:
- Oven rack: Bread and fish.
- Fry baskets: Chips, chicken, chicken wings and popcorn chicken.
- Baking pan: Beefsteak, beef chop, pork chop, pork steak and shrimp.
1. When you plug in, touch the “ ”, touch the " ", then rotate the knob “ ”, left or
right rotate the knob choose the modes which you want, each mode with its
corresponding time and temperature, when the mode was chosen, then touch “ ”, it
will start work. “ ” is start or pause.
2. “ ” is back to the menu, whatever mode you set, touch “ ”will back to the menu for
resetting.
3. “ ” inner lamp control, touch it the inner lamp will work.
4. " Air Fry" is the separate mode, you can choose it directly, then touch “ ”, the mode
Air Fry will start work.
5. When you rotate the knob to choose the modes, each mode with its default time and
temperature, but you can resetting the time and temperature also, press the knob for
the first time, setting the temperature, left rotate is
reduce temperature, right rotate is add temperature. press the knob for the second time,
setting the time, left rotate is reduce time ,right rotate is add time.
6. Touch “ ” twice to enter the sleep state, unplug to cut off the power supply.
When you use the item for the first time, better preheat around 10 minutes with open
door, when you cook the food with much water and oil, better insert the bake tray on the
oven inside bottom to catch the water and oil, and a little of smoke and vapour is the
normal phenomenon.

5
Menu Temperature adjustment
instructions
Time adjustment
instructions Function description
Toast
Default temperature: 180 °C.
Adjustable temperature:
100-220 °C.
Default time: 30
minutes.
Adjustable time: 0-60
minutes.
Strong wind +
The outside upper tube 2
heating tubes +
Lower heating tubes
Air Fry
Default temperature: 200°C.
Adjustable temperature:
100-220°C.
Default time: 20
minutes.
Adjustable time: 0-60
minutes.
Strong wind +
The upper 4 heating tubes
Defrost
Default temperature: 60°C.
Adjustable temperature: 40-
80°C.
Default time: 10
minutes.
Adjustable time: 0-30
minutes.
Upper one heating tube +
Weak wind work together
Ferment Default temperature: 40 °C.
Default time: 60
minutes, Adjustable
time: 30 minutes -12
hours. Note: Within
2 hours, adjust in
five-minute
increments; more
than 2 hours, use 30-
minute increments.
The lower one heating tube
work
Chicken
Default temperature: 210°C.
Adjustable temperature:
100-220°C.
Default time: 40
minutes.
Adjustable time: 0-60
minutes.
Strong wind +
Upper tube 4 heating tubes
Wings
Default temperature: 210°C.
Adjustable temperature:
100-220°C.
Default time: 20
minutes.
Adjustable time: 0-60
minutes.
Strong wind +
The upper 4 heating tubes
Steak
Default temperature: 200°C.
Adjustable temperature:
150-220°C.
Default time: 10
minutes.
Adjustable time: 0-40
minutes.
Strong wind +
The upper 4 heating tubes
Fish
Default temperature: 210°C.
Adjustable temperature:
140-220°C.
Default time: 25
minutes.
Adjustable
temperature: 0-60
minutes.
Weak wind +
The out side upper tube 2
heating tubes +
Lower heating tubes
FUNCTION MENU
Pizza
Default temperature: 210°C.
Adjustable temperature:
170-220°C.
Default time: 16
minutes.
Adjustable time: 0-60
minutes.
Weak wind +
The out side upper tube 2
heating tubes +
Lower heating tubes

6
Menu Temperature adjustment
instructions
Time adjustment
instructions Function description
Cookies
Default temperature: 180°C.
Adjustable temperature:
140-220°C.
Default time: 18
minutes.
Adjustable time: 0-60
minutes.
Strong wind +
Upper tube 4 heating tubes
Chips
Default temperature: 200°C.
Adjustable temperature:
150-220°C.
Default time: 18
minutes.
Adjustable time: 0-60
minutes.
Strong wind +
The upper 4 heating tubes
Bread
Default temperature: 180°C.
Adjustable temperature:
120-250°C.
Default time: 18
minutes.
Adjustable time: 0-45
minutes.
Weak wind +
The out side upper tube 2
heating tubes +
Lower heating tubes
Cake
Default temperature: 150°C.
Adjustable temperature:
120-220°C.
Default time: 45
minutes.
Adjustable time: 0-60
minutes.
Weak wind +
The out side upper heating
tubes +
Lower heating tubes
Default temperature: 50°C.
Adjustable temperature: 40-
80°C.
Default time: 60
minutes.
Adjustable time: 30
minutes -12 hours.
Note: Within 2
hours, adjust in five-
minute increments;
more than 2 hours,
use 30-minute
increments.
Strong wind +
The out side 2 heating tubes +
Work together
Popcorn
Default temperature: 200°C.
Adjustable temperature:
150-220°C.
Default time: 15
minutes.
Adjustable time: 0-60
minutes.
Strong wind +
Upper tube 4 heating tubes
Vegetab
les
Default temperature: 180°C.
Adjustable temperature:
120-200°C.
Default time: 15
minutes.
Adjustable time: 0-40
minutes.
Weak wind +
The out side upper tube 2
heating tubes +
Lower heating tubes
Keep
Warm
Default temperature: 60°C. Default time: 60
minutes.
Adjustable time; 10-
120 minutes.
Lower heating tubes work

7
CLEANING AND MAINTENANCE
WARNING: Never immerse the appliance, its cord or plug into water or other liquid.
Never plug in o or use the appliance with wet hands.
● Clean the appliance after every use.
● Before cleaning, unplug the appliance and let it cool down completely.
● When cleaning this appliance, never use abrasive utensils or corrosive products.
● Add cleaning agent to a cloth, then wipe down the outside of the appliance.
● To clean the interior, add a mild liquid soap solution to a damp cloth or sponge, then
remove any residue from the inside.
● Clean accessories in the dishwasher or hand wash them, using a nylon scouring pad or
brush and warm, soapy water.
STORAGE
● Unplug the appliance and let it cool down.
● Make sure all parts are clean and dry.
● Store the appliance in a clean and dry place.
TROUBLE SHOOTING
Problem Solution
Ensure the unit is plugged into a
dedicated power outlet.
The appliance
does not work.
Cause
The power cord is not
plugged into a power outlet.
After each use, clean the appliance
and its accessories.
White smoke is
coming out of the
appliance.
Remaining residue from the
last use.
Rotate the temperature knob to
adjust the temperature to the
highest position.
Food is
overcooked or
undercooked.
Temperature knob has not
been adjusted.
Turn the timer knob again.
The indicator will light up.
After working for
some time, the
appliance stops
suddenly.
The maximum for the timer
is 60 minutes. Once the set
time is reached, the
appliance automatically
turns off.
• Ensure food is the same size.
• Cook the same type of food.
• When frying, turn the food over.
Food is not fried
evenly.
• Food differs in size.
• Different types of food are
being cooked at the same
time.
• During the frying process,
the food is not turned
over.
If the bread is hot, shorten the
baking time.
Bread becomes
burnt while
baking.
Baking bread takes
different times depending
on whether it's cold or hot.
It takes longer when the
bread is cold.

8
Problem SolutionCause
• Cooking time: 6-15 minutes.
• Midway through cooking, turn the
steak over.
Grilled steak with
burnt surface
Steak is overcooked.
Correct Disposal of this product
Waste electrical products should not be disposed of with
household waste. Please recycle where facilities exist. Check
with your local authority or retailer for recycling advice.
If you have any questions, please contact our customer care center.
Our contact details are below:
0044-800-240-4004
enquiries@mhstar.co.uk
IMPORTER ADDRESS:
MH STAR UK LTD
Unit 27, Perivale Park,
Horsenden lane South
Perivale, UB6 7RH
MADE IN CHINA

9
Table of contents
Other HOMCOM Fryer manuals

HOMCOM
HOMCOM 800-120V70 User manual

HOMCOM
HOMCOM 800-164V70 User manual

HOMCOM
HOMCOM 800-119V70 Datasheet

HOMCOM
HOMCOM 800-125V80 Datasheet

HOMCOM
HOMCOM 800-125V70 Datasheet

HOMCOM
HOMCOM 800-114V70 User manual

HOMCOM
HOMCOM 800-147V70 User manual

HOMCOM
HOMCOM 800-117 User manual

HOMCOM
HOMCOM 800-124V70 Manual

HOMCOM
HOMCOM 800-092 User manual