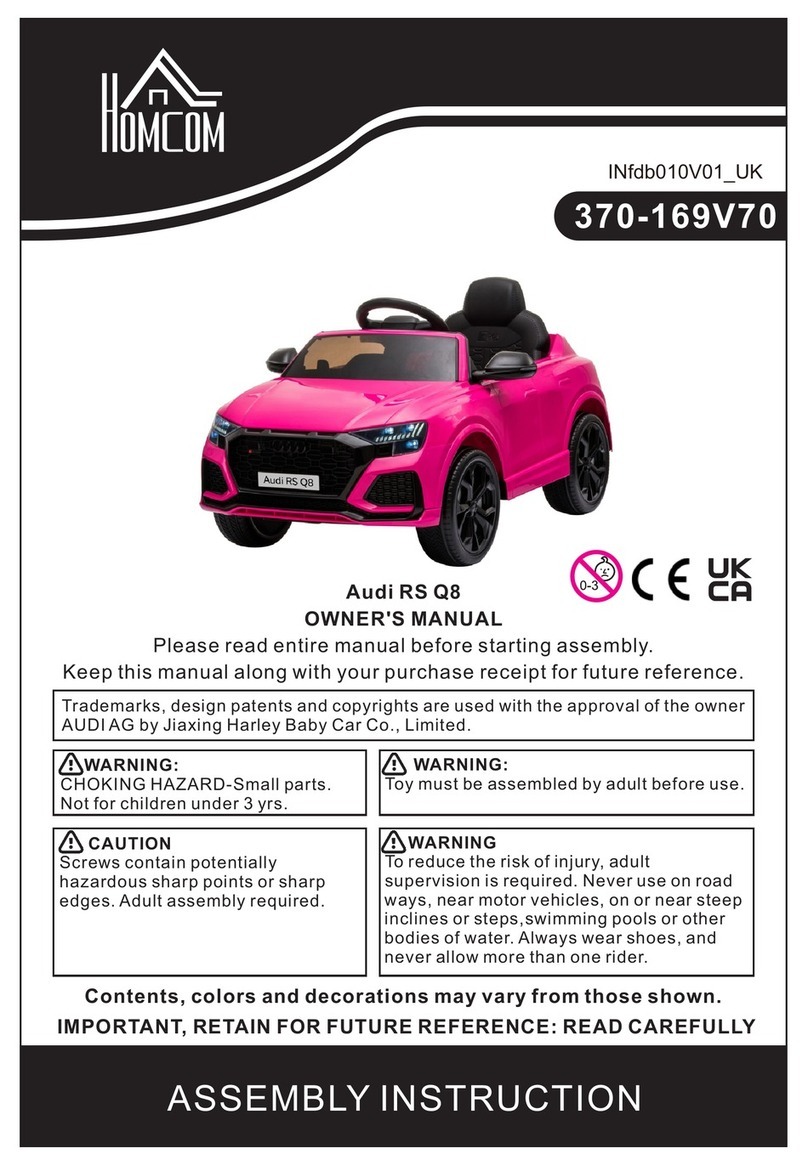
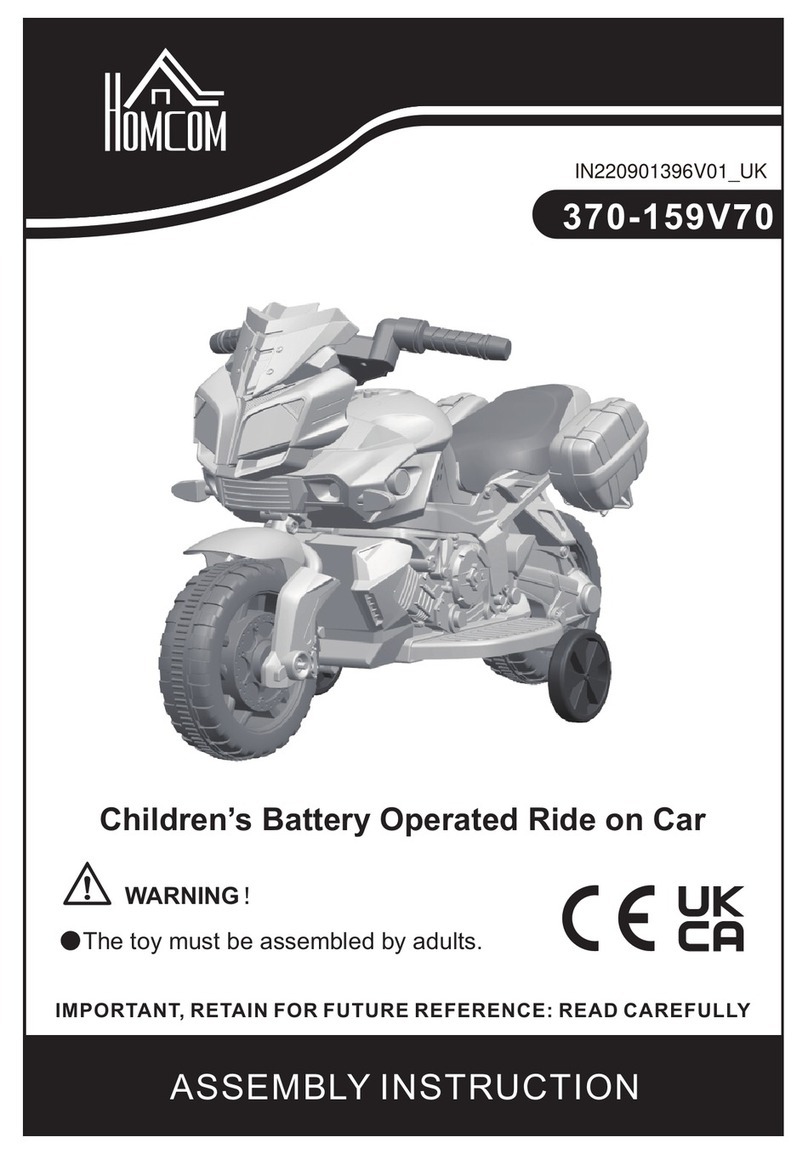
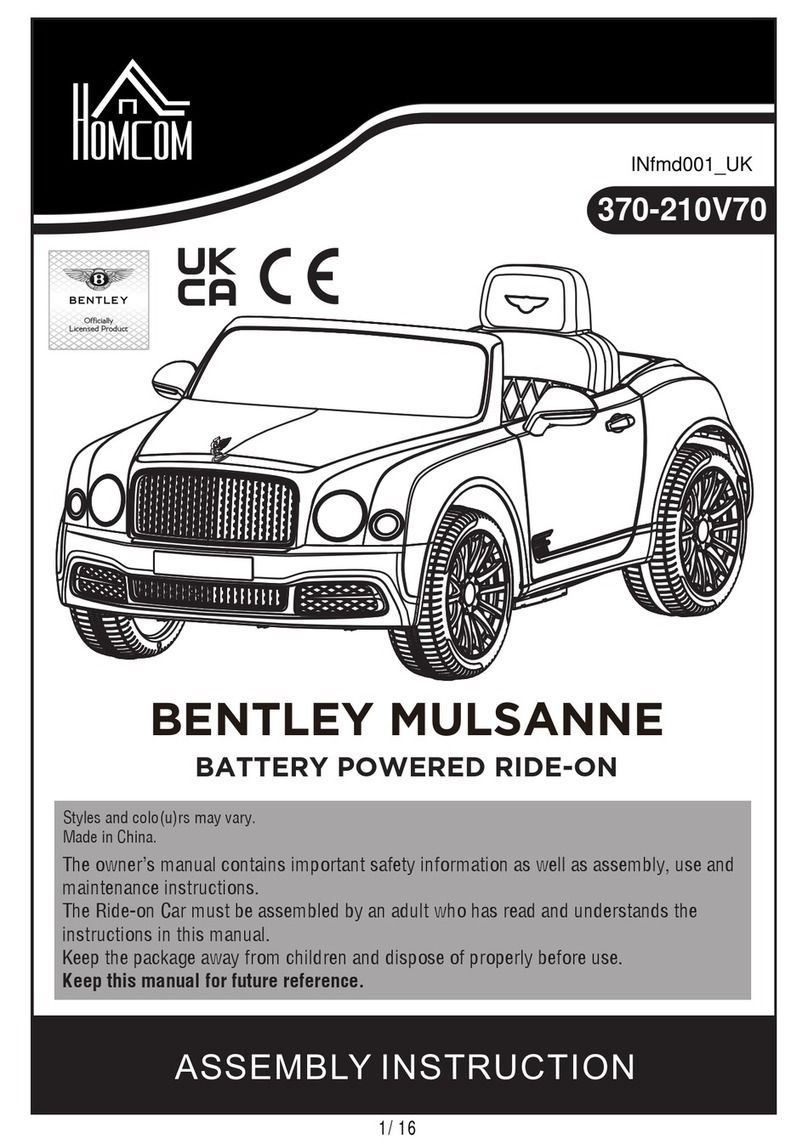
HOMCOM 370-300V90 User manual

1
IMPORTANT, RETAIN FOR FUTURE REFERENCE: READ CAREFULLY
Please read entire manual before starting assembly.
Keep this manual along with your purchase receipt for future reference.
WARNING:
CHOKING HAZARD-Small parts.
Not for children under 18 months.
WARNING:
Toy must be assembled by adult before use.
CAUTION
Screws contain potentially
hazardous sharp points or sharp
edges. Adult assembly required.
WARNING
To reduce the risk of injury, adult
supervision is required. Never use on road
ways, near motor vehicles, on or near steep
inclines or steps,swimming pools or other
bodies of water. Always wear shoes, and
never allow more than one rider.
Contents, colors and decorations may vary from those shown.
EN
IN230700292V01_ES_PT
370-300V90
CHILDREN'S ELECTRIC Engineering Vehicle
OWNER'S MANUAL

2
FOR THE SAFETY OF YOUR CHILD, PLEASE READ ALL WARNINGS AND
ASSEMBLY/USE INSTRUCTIONS. KEEP THIS GUIDE FOR FUTURE REFERENCE.
● ADULT ASSEMBLY REQUIRED. The product contains small parts, which are for
adult assembly only. keep small children away when assembling.
● Always remove protective material and poly bags and dispose before assembly.
● Never leave child unattended. direct adult supervision is required.
● Always keep child in view when child is in vehicle.
● Keep Children within Safe Riding Areas:
- Never use in roadways, near motor vehicles, on lawn space, on or near steep
inclines or steps, swimming pools or any other dangerous area.
● Use the toy only on flat surfaces. Such as inside your house, garden or playground.
● Never use in the dark. A child could encounter unexpected obstacles and have an
accident. Operate the vehicle only in the daytime or a well-lit area.
● Please avoid running on sand or any other rough ground.
● Always wear shoes.
● Always sit on the seat.
● This toy has no brake.
● It is prohibited to change the circuit or add other electric parts
● Inspect wires and connections of the vehicle periodically.
● Do not let any child touch the wheels or be near them when the car is moving.
● This vehicle has adjustable play seat belts. Please instruct children how to tie the
safety belt before using, guarantee the security.
Specifications:
Battery:
Motor:
Suitable ages:
Maximum weight:
Speed :
Power way:
Use of time:
Charger:
Charging type
Charg: 12 hours ; Use: 58 hours8- 0.
Input AC -240V, 50/60Hz, output DC 6V 500 mA 100
WARNING
1.The pictures in this instruction is only for explaining the operation and structure of
the product, when there's any difference with the real product, please confirm with
the real product.
2.In order to improve the quality of the product, we may amend some structure or
appearance of the product without notification. Thank you for your understanding.
6V/4.5AH*1
15W*1
25kg
1.5km/h
18+ months

3
STORAGE BATTERY INFORMATION AND MAINTENANCE
● Please charge to hours before first time use.8 12
● Please use the suitable adapter to charge storage battery, otherwise the ride-on will
be damaged.
● Please charge the car once the speed is slower than normal, otherwise it will
decrease storage battery life.
● Please fully charge the battery before you put your ride-on away, and remember to
recharge the battery every 30 days. This will ensure the normal use of the battery,
otherwise, the battery might not hold a charge without proper maintenance.
● Batteries may leak fluids that can cause chemical burn injury or ruin your product.
● To avoid battery leakage: Do not mix old and new batteries or batteries of different
types: alkaline, standard (carbon-zinc) or rechargeable (nickel-cadmium).
● Insert batteries as indicated inside the battery compartment. Remove batteries
during long periods of non-use.
● Always remove exhausted batteries from the product. Dispose of batteries safely.
Do not dispose of batteries in a fire. The batteries may explode or leak.
● Never short-circuit the battery terminals.
● Non-rechargeable batteries are not to be recharged.
● Use only batteries of the same or equivalent type as recommended.
● Do not charge non-rechargeable batteries.
● Remove rechargeable batteries from the product before charging.
● If removable rechargeable batteries are used, they are only to be charged under
adult supervision
● Every single charging can not go over hours. Both charger and storage batteries 24
will occur mildly warm during charging. Do not use mal-functioned adapter or
storage battery unless they are repaired.
● Charger and storage batteries are not considered as toys.
● Please make periodical inspection for storage battery, especially for adapter wires
and plugs.
● Please turn off the switch when the ride-on is not in use. Please do a full charge after
long periods of inactivity.
● Charge in well ventilated, dry place. Do not open the battery or the charger.
● Tighten the screws with a screwdriver. DO NOT over tighten
Disposal Of Battery:
1.Your sealed lead-acid battery must be recycled or disposed of in an environmentally
sound manner.
2.Do not dispose of your lead-acid battery in a fire. The battery may explode or leak.
3.Do not dispose of a lead-acid battery in your regular, household trash. The
incineration, land filling or mixing of sealed lead-acid batteries with house-hold
trash is prohibited by law.

4
PREVENT FIRE AND ELECTRIC SHOCK:
- Use the only rechargeable battery and charger supplied with your vehicle.
- NEVER substitute the battery or the charger with another brand. Using another battery
or charger may cause a fire or explosion.
- Do not use the battery or charger for any other product. Overheating, fire or explosion
could occur.
- NEVER modify the electric circuit system. Tampering with the electric system may
cause a shock, fire or explosion or may permanently damage the system.
- Do not allow direct contact between battery terminals. Fire or explosion can occur.
- Do not allow any type of liquid on the battery or its components.
- Explosive gasses are created during charging. Do not charge near heat or flammable
materials. Charge the battery in a well- ventilated area ONLY.
- NEVER pick up the battery by the wires or charger. Damage can occur to the battery
and may cause a fire. Pick up the battery by the case ONLY.
- Charge the battery in a dry area ONLY.
● Battery posts, terminals and related accessories contain lead and lead compounds,
chemicals known to the State of California to cause cancer and reproductive harm.
Wash hands after handling.
● Do not open the battery. Battery contains lead acid and other materials that are toxic
and corrosive.
● Do not open the charger. Exposed wiring and circuitry inside case may cause electric
shock.
● ONLY adults may handle or charge the battery. NEVER allow child to handle or charge
the battery. Battery is heavy and contains lead acid (electrolyte).
● Do not drop the battery. Permanent damage to the battery could occur or cause serious
injury.
● Before charging the battery, check for wear or damage to the battery, charger, its supply
cord and the connectors. DO NOT charge the battery if any damage to parts has
occurred.
● Do not allow the battery to drain completely. Recharge the battery after each use or
once a month if not used regularly.
● Do not charge battery upside down.
● Always secure the battery with the bracket. Battery can fall out and injure a child if
vehicle tips over.
● It is parents' responsibility to check main parts of the toy before using, Must regularly
examine for potential hazard, such as the battery, charge, cable or cord, plug, screws
are fastening enclosure of other parts and that in the event of such damage, the toy
must not be until that damage had been properly removed. Make sure the plastic parts
of the vehicle are not cracked or broken.
● Occasionally use a lightweight oil to lubricate moving parts such as wheels.
● Park the vehicle indoors or cover it with a tarp to protect it from wet weather.
● Keep the vehicle away from sources of heat, such as stoves and heaters. Plastic parts
may melt.
● Recharge the battery after each use. Only an adult can handle the battery. Recharge
the battery at least once a month when the vehicle Raider is not being used.
● Do not wash the vehicle with a hose. Do not wash the vehicle with soap and water. Do
not drive the vehicle in rainy or snowy weather. Water will damage the motor, electric
system and battery.
● Clean the vehicle with a soft, dry cloth. To restore shine to plastic parts, use a non-wax
furniture polish. Do not use car wax. Do not use abrasive cleaners.
● Do not drive the vehicle in loose dirt, sand or fine gravel which could damage moving
parts, motors or the electric system.
● When not using, all the electrical source should be turn off. Turn off the power switch
and disconnect the battery connection.


5
Charge the Battery
The first charge will take about 12 hours.
1.Insert the charger connector into the charger port.
2.Plug the charger into a standard 120V or 230V wall outlet.
3.After charging it complete( at least 8-10 hours, but not more than 24 hours, with first
charge taking about 12 hours)unplug the charger from the wall outlet and unplug
the battery connector from the charger port.
• Plug the battery connector into the charger port.
• Plug the charger Into a standard wall outlet. The charger may feel warm during
charging.
• Only use the 6 volt charger to charge your 6 volt battery.
• Note: if power flow to the wall outlet is controlled by a switch , make sure the
switch is "ON”
• Before first-time use, charge the battery for at least 12 hours. Never charge the
battery longer than 24 hours.
• Recharge the battery for at least 8-10 hours after each use of your vehicle.
• Do not charge or store battery upside down. Charging produces explosive gases.
Charge away from flames, sparks and lit cigarettes. Charge in a well ventilated
area.
• Once the battery is charged, disconnect the battery connector from the charger
connector. Unplug the charger from the wall outlet. The battery is now ready to be
installed in your vehicle. Please see the following Battery installation Section for
detailed instructions on installing your vehicle:
Battery Replacement
Take out the seat and insert the wire terminal
to the connector, check other electric wires
to make sure all is connected well.

6
O1
N2
L1
K1
J1
I4
D1
H2
G1
F1
Main body handle braker Road Roller
Pushdozer head Road Roller/Pushdozer arm Excavator head
Excavator arm Screw (4x12mm) Screw (4x12mm)
Steering wheel Nut (M5) Screw (5x25mm)
M2
Anti-tipping support Pedal support Pedal support axel
E1
Note:
Some parts are under the seat, please take out them under seat before assembly.
Assembly tools required:
Screwdriver (not included)

7
WARNING:
1. CHOKING HAZARD—Small parts.
2. Only allowed for adults to install, keep children away.
3. To be used under the direct supervision of an adult.
4. Just only allow one child to use.
5. Please use on a flat and clean surface. Never use near steps, sloped driveways, hills
roadways, alleys, swimming pool areas, road, on grass or wet surfaces or other
bodies of water.
6. Before driving toy car each time, adult should inspect screws of every parts, please
tighten the screw cap if any looseness. secure all fasteners before every ride.
7. Always wear shoes and suitable protective equipment. always wear a local standard
approved helmet while riding, with the chinstrap securely fastened.
8. Do not ride the product at dusk, at night or at times of limited visibility.
9. Always comply with local laws and regulations.
MAINTENANCE & CARE
A. Keep all instructions and parts relating to this product for future reference.
B. Regularly check for damage and that all screws are securely tightened.
C. Check that the seat is securely fastened.
D. Lubricate the chain as often as required.
Assembly Instruction
Pushdozer head assembly
NOTE: Some parts under the seat, please take out them under seat before assembly.
Press the lock on the pushdozer head and insert it to the pushdozer arm as picture
shown.
NOTE: The road roller and pushdozer head share with one arm, if use the pushdozer
head, need to disassembly the road roller.

8
Assembly Instruction
Road roller assembly
Press the lock on the road roller and insert it to the road roller arm as picture shown.
NOTE: The road roller and pushdozer head share with one arm, if use the road roller,
need to disassembly the pushdozer head.
Excavator arm hand bar assembly
Please insert the left and right hand bar to excavator arm as picture shown.

9
Assembly Instruction
Excavator assembly
Screw
(4x12mm)
Assembly the excavator head and fasten with 2 screws for two sides as picture
shown.
Front Anti-tipping support assembly
Insert the anti-tipping support and fasten with 2 screws as picture shown.
Screw
(4x12mm)

10
Assembly Instruction
Rear Anti-tipping support assembly
Screw
(4x12mm)
Insert the anti-tipping support and fasten with 2 screws as picture shown.
Steering wheel assembly
Please plug the connector line, then place the steering wheel into the steering
column. Tighten the screw with nut.
Screw
(5x25mm)
Nut (M5)

11
Assembly Instruction
Right side support assembly
Please plug the pedal connector line as picture shown.
Insert the support axle to the main body as picture shown.
Support axle assembly

12
Assembly Instruction
Left side support assembly
Put the left side support as picture shown. make sure all sides support in the right
place.
Battery connectors assembly
Plug the battery connector line as picture shown.

13
Assembly Instruction
Assembly Pushdozer head/Excavator head/Road roller
NOTE: The road roller, pushdozer head and excavator share with one main body.
One time can only use one of them as you like.
Road Roller
Excavator
Pushdozer
Press the lock on the pushdozer arm and place it to the main body as picture shown.
If use the road roller or excavator, need to disassembly the pushdozer head. Use the
same method to assembly the road roller or excavator.

14
Operating your vehicle
Power switch
Switch button ON and OFF.
Forward
Push the shifter in upward position and press the
accelerator slowly.
Reverse
Push the shifter in downward position and press
the accelerator slowly.
Low speed
Vehicle has been pre-set to operate at low speed
(1.5 km/h) maximum. Once your child has
mastered safe driving skills and under stands
the Safe Driving Rules.
Stop
Vehicle will automatically stop after the
accelerator is released.
Sound effect (Optional)
Please read music player instruction on the
right.
Safety device
AUTO POWER OFF. lf the motor is overloaded
for any reason, including improper usage, an
electrical circuit breaker will automatically cut off
the power, then resume after the parts have
cooled!
Maintenance
Clean with a dry, soft cloth only. Do not wash
with water or corrosive agents.
Store vehicle in a dry area when not in use,
since moisture could cause the metal
components and electrical parts to corrode.
Remember to charge the battery monthly while
the vehicle is not in regular use.
Check and tighten all screws and coverings
regularly.
Check all plastic parts for cracks. Replace as
necessary.
Forward/
Reverse ON/OFF
Button
Pedal
Music player (Optional)
Key description:
*1-Mode switch key. Modes include: story,
music, FM, etc.
*2-Previous song, Long press to adjust
volume lower.
*3-Pause. FM mode, Long press search
station.
*4-Next song, Long press adjust volume
loudly.

15
car does
not move
Circuit breaker tripped
Loose wire or connectors
Dead battery
Undercharged battery
Charger is not working
Damaged switch
Circuit breaker may "trip" and stop the
vehicle if it is overloaded or the driving
conditions too severe. The breaker will
automatically reset after approximately
10 seconds, and the vehicle will operate
normally. To avoid repeated automatic
shut downs, do not overload the vehicle
by exceeding the weight limited of 25kg
(55 lbs).Or by towing anything behind
the vehicle. Do not drive up hills or run
into fixed objects, which can cause the
wheels to stop spinning while power is
still being supplied to the motors.
Check all wires and connectors Make
sure that the motor harness connector is
plugged in tightly to the battery, and that
there are no loose wires around the
motor.
An old or improperly cared battery may
be dead. If you are unsure whether it is
dead or not, you can have it tested at
your Service Canter.
A new battery should have been charged
for at least 12 hours before using the
vehicle for the first time. After that, it
must be recharge the battery for at least
8-10 hours after each use. Never charge
longer than 24 hours. Check all
connectors; make sure the charger is
plugged into the wall. Make sure the
power flow to the outlet is on.
You must have a volt meter in order to
tell whether the charger is working or
not. If you think there maybe a problem
with the charger, take it to the Service
Center where they will test it for you.
When exposed to water or moisture,
switches can become corroded, or can
jam due to loose dirt, sand or gravel.
Contact your Service Center for
diagnosis and repair.
Problem Possible Cause Solution
Troubleshooting

16
Car was
running but
suddenly
stopped
Loose wire or connectors
Circuit breaker tripped
Check all wires and connectors. Make
sure that the motor harness connector
is plugged into the battery tightly, and
that there are no loose wires around
the motor.
Circuit breaker may "trip" and stop the
vehicle if it is overloaded or the driving
conditions too severe. The breaker
will automatically reset after
approximately 10 seconds, and the
vehicle will operate normally. To avoid
repeated automatic shutdowns, do not
overload the vehicle by exceeding the
weight limited of 25kg (55 lbs), or by
towing anything behind the vehicle.
Do not drive up hills or run into fixed
object, which can cause the wheels to
stop spinning while power is still being
supplied to the motors. lf breaker
continually trips, contact your Service
Center.
Short
operating
time (less
than 1 hours
per charge)
Undercharged battery
Overcharged battery
Old battery will not
accept a full charge
A new battery should have been
charged for at least 12hours before
using the vehicle for the first time. After
that, it must be recharge the battery for
at least 8-10 hours after each use.
Never charge longer than 24 hours.
Check all connectors; make sure the
charger is plugged into the wall. Make
sure the power flow to the outlet is on.
Never charge battery longer than 24
hours. lf you think the battery maybe
damage due to overcharging, contact
Service Center for testing.
Even with proper care, a rechargeable
battery does not last forever. Average
battery life is 1 to 3 years depending on
vehicle use and use conditions.
Replace the battery with a new
rechargeable battery. Do not substitute
parts. To get a replacement battery,
please contact Service Center.
Problem Possible Cause Solution

17
Vehicle is
sluggish
Undercharged
battery
Battery needs
charging
Old battery will not
accept a full charge
Vehicle is overloaded
Driving conditions
are too stressful
A new battery should have been charged
for at least 12hours before using the
vehicle for the first time. After that, it must
be recharge the battery for at least 8-10
hours after each use. Never charge longer
than 24 hours. Check all connectors;
make sure the charger is plugged into the
wall. Make sure the power flow to the
outlet is on.
Be sure to charge the battery after each
use.
Even with proper care, a rechargeable
battery does not last forever. Average
battery life is 1 to 3 years depending on
vehicle use and use conditions. Replace
the battery with a new rechargeable
battery. Do not substitute parts. To get a
replacement battery, please contact
Service Center.
Allow no more than 1 rider at a time, follow
the 25kg (55lbs) weight capacity and don't
tow anything behind the vehicle.
Use only on a generally level ground.
Intermittent
vehicle
operation
When the
accelerator is
pressed, the
vehicle won't
run without a
push
Motor gear
box makes a
loud grinding
or clacking
noise
Charger get
warm during
use
Battery makes
gurgling or
sizzling noise
while charging
Loose wire or
connector
Motor or electrical
switch damage
Loose wire or
connector
"Dead Spot on motor
Broken gears
This is normal and
should not be concern
Some noise and
swelling is normal and
should not be a
concern
Check all wires around the motors and all
connectors to make sure they are tight.
Contact your Service Center for diagnosis
and repair.
Check all wires around the motors and all
connectors to make sure they are tight.
Contact your Service Center for diagnosis
and repair.
Contact your Service Center for diagnosis
and repair.
No action required.
No action required. lf the battery does not
make noise while charging. It does not
mean it is not accepting the charging.
Problem Possible Cause Solution

18
Parts diagram
No. Part
8. Road roller
9. Pushdozer head
10. Pushdozer/Road roller arm
11. Main body
12. Battery
13. Seat
14. Steering wheel
15. Hand bar
Quantity
1
1
1
1
1
1
1
2
No. Part
1.Excavator head
2.Excavator arm
3.Front support
4.Anti-tipping support
5.Support axle
6.Right side support
7.Left side support
Quantity
1
1
1
2
1
1
1

19
ES
IN230700292V01_ES_PT
370-300V90
IMPORTANTE, CONSERVAR PARA FUTURAS CONSULTAS:
LEER DETENIDAMENTE
VEHICULO ELÉCTRICO para niños
MANUAL DE INSTRUCCIONES
Lea todo el manual cuidadosamente antes de empezar el montaje.
Guarde este manual junto con su recibo de compra para las referencias futuras.
ADVERTENCIA:
PELIGRO DE ASFIXIA-Hay piezas
pequeñas. No es adecuada para los
niños menores de 18 meses.
ADVERTENCIA:
El juguete debe ser montado por un adulto antes
del uso.
PRECAUCIÓN
Los tornillos pueden tener puntas o
bordes afilados potencialmente
peligrosos. Se requiere que el adulto
realice el montaje.
ADVERTENCIA
Con el fin de reducir el riesgo de lesiones, se
requiere la supervisión de un adulto. Nunca utilice
esta excavadora en caminos, cerca de vehículos
motorizados, en o cerca de pendientes o escalones
empinados, piscinas u otros cuerpos de agua.
Siempre debe usar zapatos y nunca permita que
más de un usuario la utilice al mismo tiempo.
El contenido, los colores y las decoraciones pueden variar de los mostrados.
3 en 1

20
PARA LA SEGURIDAD DE SU HIJO, LEA TODAS LAS ADVERTENCIAS Y LAS
INSTRUCCIONES DE MONTAJE/USO. CONSERVE ESTE MANUAL PARA FUTURAS
CONSULTAS.
● MONTAJE REQUERIDO POR UN ADULTO. El producto contiene piezas pequeñas,
que son solo adecuadas para que las monte un adulto. Mantenga a los niños pequeños
lejos de la zona de montaje.
● Retire siempre el material protector y las bolsas de polietileno y deséchelos antes del
montaje.
● Nunca deje al niño desatendido. Se requiere la supervisión directa de un adulto.
● Mantenga siempre el niño a la vista cuando esté en el vehículo.
●Mantenga a los niños dentro de las áreas de conducción seguras:
- Nunca lo use en carreteras, cerca de vehículos motorizados, en espacios verdes, en
o cerca de pendientes pronunciadas o escalones, piscinas o cualquier otra área
peligrosa.
● Use el juguete solo en superficies planas. Como dentro de su casa, jardín o parque
infantil.
● Nunca lo use en la oscuridad. El niño podría encontrar obstáculos inesperados y tener
un accidente. Use el vehículo durante el día o en un área bien iluminada.
● Evite correr sobre arena o cualquier terreno irregular.
● Siempre use zapatos.
● Siéntese siempre en el asiento.
● Este juguete no tiene freno.
● Está prohibido cambiar el circuito o añadir otras partes eléctricas.
● Inspeccione periódicamente los cables y conexiones del vehículo.
● No permita que ningún niño toque las ruedas ni se acerque a ellas cuando el automóvil
esté en movimiento.
● Este vehículo tiene cinturones de seguridad a juego ajustables. Indique a los niños
cómo atar el cinturón de seguridad antes de usarlo, garantice la seguridad.
ADERTENCIA
1. Las imágenes de estas instrucciones son solo para explicar el funcionamiento y la
estructura del producto.
2. Para mejorar la calidad del producto, podemos modificar alguna estructura o
apariencia del producto sin previo aviso. Gracias por su comprensión.
Especificaciones:
Tipo de carga
Carga: 8-12 hours ; Usar: 0.58 hours
Entrada AC -240V, 50/60Hz, Salida DC 6V 500 mA 100
6V/4.5AH*1
15W*1
25kg
1.5km/h
18+ meses
Batería:
Motor:
Edad recomendada:
Peso máximo:
Velocidad :
Modo de alimentación:
Tiempo de uso:
Cargador:
Table of contents
Languages:
Other HOMCOM Motorized Toy Car manuals

HOMCOM
HOMCOM 370-163 User manual

HOMCOM
HOMCOM 370-066 User manual

HOMCOM
HOMCOM 370-173 User manual

HOMCOM
HOMCOM 370-189V70 User manual

HOMCOM
HOMCOM 370-149V70 User manual

HOMCOM
HOMCOM 370-169V70 User manual

HOMCOM
HOMCOM 370-240V90 User manual

HOMCOM
HOMCOM 370-187V70 User manual

HOMCOM
HOMCOM 370-289V90 User manual

HOMCOM
HOMCOM 370-187V90 User manual

HOMCOM
HOMCOM 370-138 User manual

HOMCOM
HOMCOM 370-253V70 User manual

HOMCOM
HOMCOM 370-204V70 User manual

HOMCOM
HOMCOM BMW i4 Datasheet

HOMCOM
HOMCOM 370-233V70 User manual

HOMCOM
HOMCOM 370-288V70 User manual

HOMCOM
HOMCOM 370-054 User manual

HOMCOM
HOMCOM 370-265V70 User manual

HOMCOM
HOMCOM 370-115V70 User manual

HOMCOM
HOMCOM 370-097 User manual