manuals.online logo
Brands
  1. Home
  2. •
  3. Brands
  4. •
  5. Home Styles
  6. •
  7. Indoor Furnishing
  8. •
  9. Home Styles 6658-80 User manual

Home Styles 6658-80 User manual

Other Home Styles Indoor Furnishing manuals

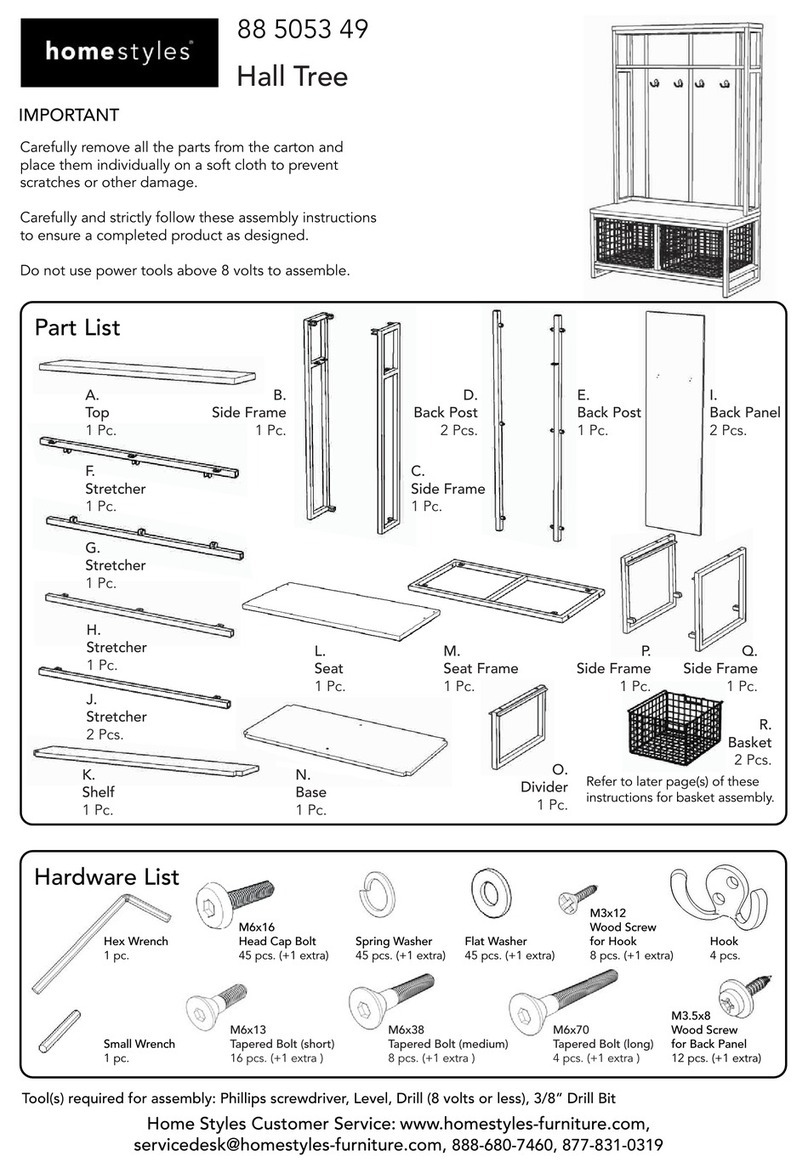
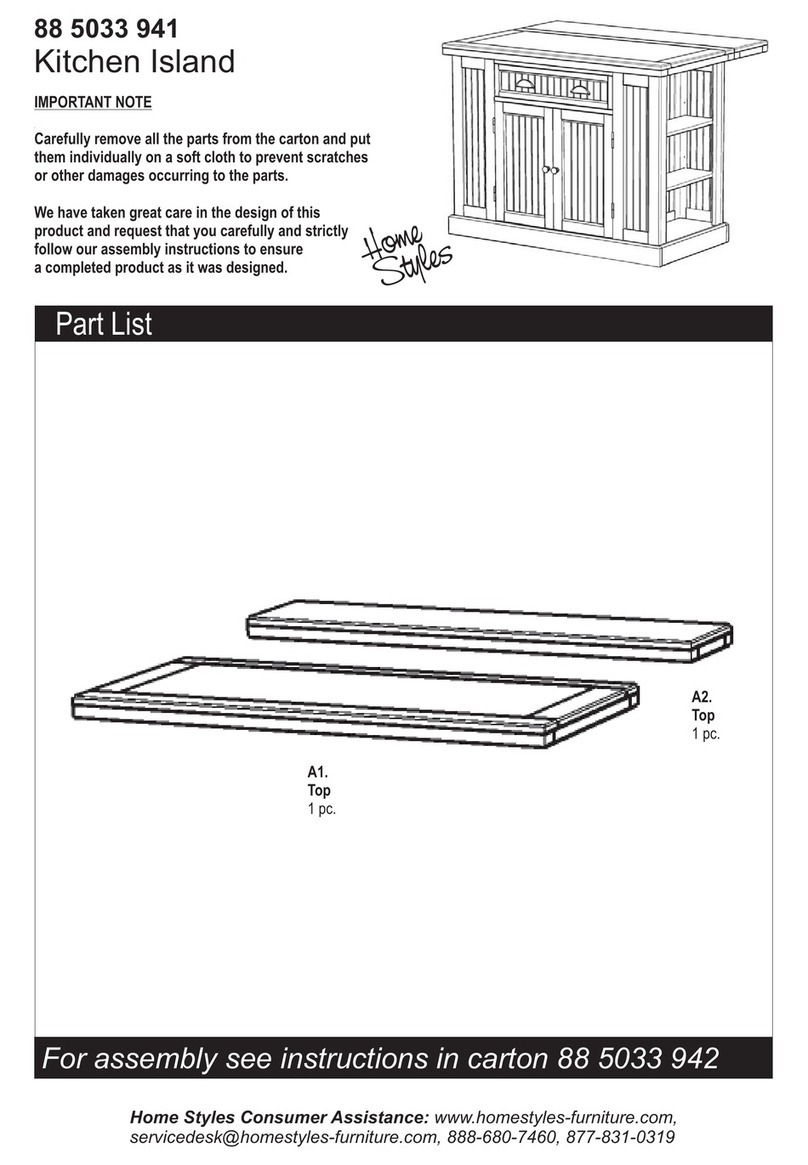
Home Styles 20 05436 0772 User manual

Home Styles

Home Styles 20 05436 0772 User manual

Home Styles 20 05663 0026 User manual

Home Styles

Home Styles 20 05663 0026 User manual

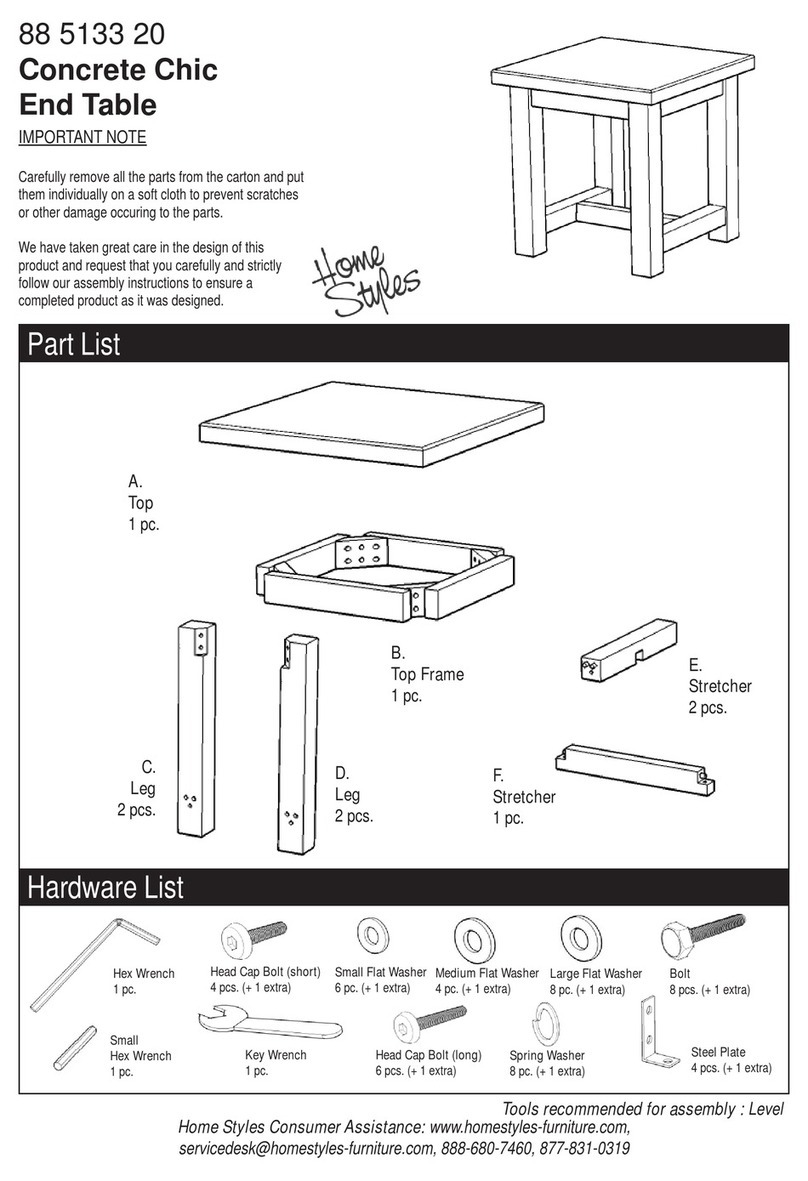
Home Styles Newport Chair 88 5600 81 User manual

Home Styles

Home Styles Newport Chair 88 5600 81 User manual

Home Styles 5180 80 User manual

Home Styles

Home Styles 5180 80 User manual

Home Styles 88 5702 55 User manual

Home Styles

Home Styles 88 5702 55 User manual

Home Styles Kitchen Island 88 5006 9441 User manual

Home Styles

Home Styles Kitchen Island 88 5006 9441 User manual

Home Styles 88 5171 80 User manual

Home Styles

Home Styles 88 5171 80 User manual

Home Styles 5911-601 User manual

Home Styles

Home Styles 5911-601 User manual

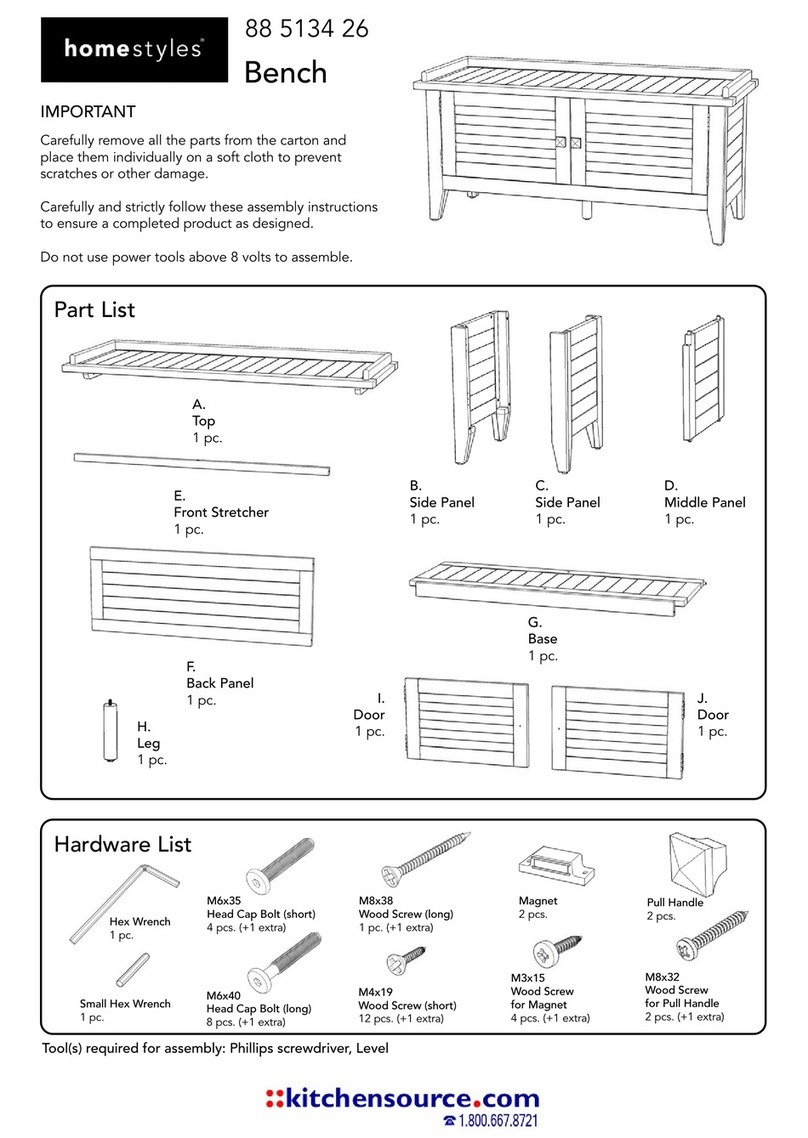
Home Styles 88 5134 30 User manual

Home Styles

Home Styles 88 5134 30 User manual

Home Styles 20 06659 0053 User manual

Home Styles

Home Styles 20 06659 0053 User manual

Home Styles 88 5219 95 User manual

Home Styles

Home Styles 88 5219 95 User manual

Home Styles Pantry 88 5523 691 User manual

Home Styles

Home Styles Pantry 88 5523 691 User manual

Home Styles 20 05700 0081 User manual

Home Styles

Home Styles 20 05700 0081 User manual

Home Styles 20 05506 0692 User manual

Home Styles

Home Styles 20 05506 0692 User manual

Home Styles Arts & Crafts 88 5180 181 User manual

Home Styles

Home Styles Arts & Crafts 88 5180 181 User manual

Home Styles Pantry 88 5549 652 User manual

Home Styles

Home Styles Pantry 88 5549 652 User manual

Home Styles Modern Craftsman Media Console 88 5050 06 User manual

Home Styles

Home Styles Modern Craftsman Media Console 88 5050 06 User manual

Home Styles Lafayette 88553709 User manual

Home Styles

Home Styles Lafayette 88553709 User manual

Home Styles Pantry 88 5022 69 User manual

Home Styles

Home Styles Pantry 88 5022 69 User manual

Home Styles 20 06700 0055 User manual

Home Styles

Home Styles 20 06700 0055 User manual

Home Styles Nantucket Hutch User manual

Home Styles

Home Styles Nantucket Hutch User manual

Home Styles Lloyd 5180-16 User manual

Home Styles

Home Styles Lloyd 5180-16 User manual

Home Styles 88 5029 88 User manual

Home Styles

Home Styles 88 5029 88 User manual

Home Styles 88 5002 79 User manual

Home Styles

Home Styles 88 5002 79 User manual

Popular Indoor Furnishing manuals by other brands

Regency LWMS3015 Assembly instructions

Regency

Regency LWMS3015 Assembly instructions

Furniture of America CM7751C Assembly instructions

Furniture of America

Furniture of America CM7751C Assembly instructions

Safavieh Furniture Estella CNS5731 manual

Safavieh Furniture

Safavieh Furniture Estella CNS5731 manual

PLACES OF STYLE Ovalfuss Assembly instruction

PLACES OF STYLE

PLACES OF STYLE Ovalfuss Assembly instruction

Trasman 1138 Bo1 Assembly manual

Trasman

Trasman 1138 Bo1 Assembly manual

Costway JV10856 manual

Costway

Costway JV10856 manual
moss DESIGN Caisson Credenza Assembly instructions

moss DESIGN

moss DESIGN Caisson Credenza Assembly instructions

Aquaglide FULL DECK 15.0 owner's manual

Aquaglide

Aquaglide FULL DECK 15.0 owner's manual

AREBOS AR-HE-SW30 user manual

AREBOS

AREBOS AR-HE-SW30 user manual

Till-Hilft Fulda 87005.330 Assembly instructions

Till-Hilft

Till-Hilft Fulda 87005.330 Assembly instructions

Twoey Outside 2010 quick start guide

Twoey Outside

Twoey Outside 2010 quick start guide

Hettich Easys 200 operating instructions

Hettich

Hettich Easys 200 operating instructions

The bedboss RELAX 404 Series owner's manual

The bedboss

The bedboss RELAX 404 Series owner's manual

Oeseder Möbelindustrie Bern 991 720 Assembly instructions

Oeseder Möbelindustrie

Oeseder Möbelindustrie Bern 991 720 Assembly instructions

Costway HW68469 user manual

Costway

Costway HW68469 user manual

Next ALIX A27743 Assembly instructions

Next

Next ALIX A27743 Assembly instructions

BROSA Hans Assembly guide

BROSA

BROSA Hans Assembly guide

Prodigg MINIKA PBA015T-FUR installation manual

Prodigg

Prodigg MINIKA PBA015T-FUR installation manual

manuals.online logo
manuals.online logoBrands
  • About & Mission
  • Contact us
  • Privacy Policy
  • Terms and Conditions

Copyright 2025 Manuals.Online. All Rights Reserved.

Hardware List
Part List
6658-80
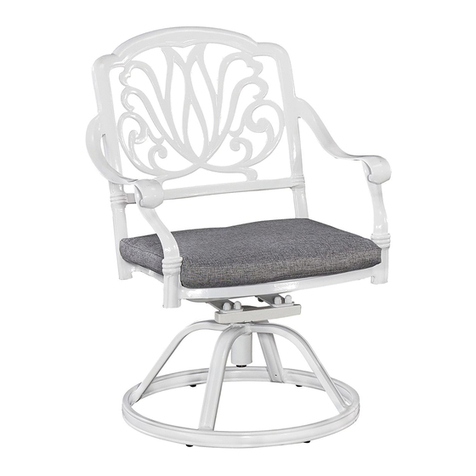
Arm Chair
IMPORTANT
A.
Back
1 pc.
D.
Arm
1 pc.
E.
Cushion
1 pc.
Carefully remove all the parts from the carton and place them
individually on a soft cloth to prevent scratches or other damage.
Carefully and strictly follow these assembly instructions
to ensure a completed product as designed.
This product is made of aluminum. Do not use power tools
above 8 volts to assemble and only tighten bolts until snug.
Over tightening can damage the aluminum.
C.
Arm
1 pc.
Spring Washer
10 pcs. (+1 extra)
Flat Washer
10 pcs. (+1 extra)
Tool(s) required for assembly: Level
M6x20
Head Cap Bolt
10 pcs. (+1 extra)
B.
Seat
1 pc.
styles Customer Service: www.homestylesfurniture.com,home
[email protected], 888-680-7460
Hex Wrench
1 pc.
Small Hex Wrench
1 pc.
Assembly Instructions 2/3
IMPORTANT
Use a soft cloth between these parts and the floor.
Do not use power tools above 8 volts to assemble.
Do not tighten all the bolts until each part is properly assembled.
Keep Hex Wrench as the bolts may need to be tightened in the future.
STEP 1
Attach Seat (B) to Back (A) with Flat Washers,
Spring Washers and Head Cap Bolts,
tightening bolts only halfway.
(See Figure 1)
Head Cap Bolt
Spring Washer
Flat Washer
A
B
Figure 1
C
D
STEP 2
Attach unit to Arm (D) with Flat Washers,
Spring Washers and Head Cap Bolts,
tightening bolts only halfway.
Attach Arm (C) to unit with Flat Washers,
Spring Washers and Head Cap Bolts,
tightening bolts only halfway.
Tighten all Bolts used in Steps 1 and 2.
Head Cap Bolt
Spring Washer
Flat Washer
Assembly Instructions 3/3
STEP 4
Use velcro on Cushion (E) to attach to unit.
(See Figure 2)
Level unit by adjusting the adjustable
levelers on bottom of unit.
(See Figure 3)
STEP 3
Turn unit to its upright position.
Place Cushion (E) onto unit.
Figure 3Figure 2
E
Velcro
E
NEVER
use glass cleaners on
finished furniture. Ammonia
chemically attacks the finish.
allow liquids to remain on furniture.
Absorption causes parts to warp
and split and finishes to delaminate.
NEVER
CARE INSTRUCTIONS
Do not use rubber
based placemats.
PREVENT
DISCOLORING
Do not use commercial
waxes and polishes.
PREVENT
YELLOWING
Do not place hot
objects on surface.
PREVENT
FINISH DAMAGE
Do not write
directly on surface.
PREVENT
MARKING
Do not use power tools
above 8 volts to assemble.
PREVENT
CRACKING
Do not place
in direct sunlight.
PREVENT
FADING
with a soft cloth moistened
in lukewarm soap and water.
Buff with a dry clean cloth.
CLEAN
homestyles will provide replacements free of charge for missing or damaged parts within 2 years of purchase.
Digital images of the defective parts may be required. If the product was not purchased from an authorized retailer,
homestyles is under no obligation to provide replacement parts. Parts are not available for fully assembled items nor
are parts available for sale. Replacements for missing or damaged parts may be requested via contact info below.
styles Customer Service: www.homestylesfurniture.com,home
[email protected], 888-680-7460