manuals.online logo
Brands
  1. Home
  2. •
  3. Brands
  4. •
  5. Honeywell
  6. •
  7. Timer
  8. •
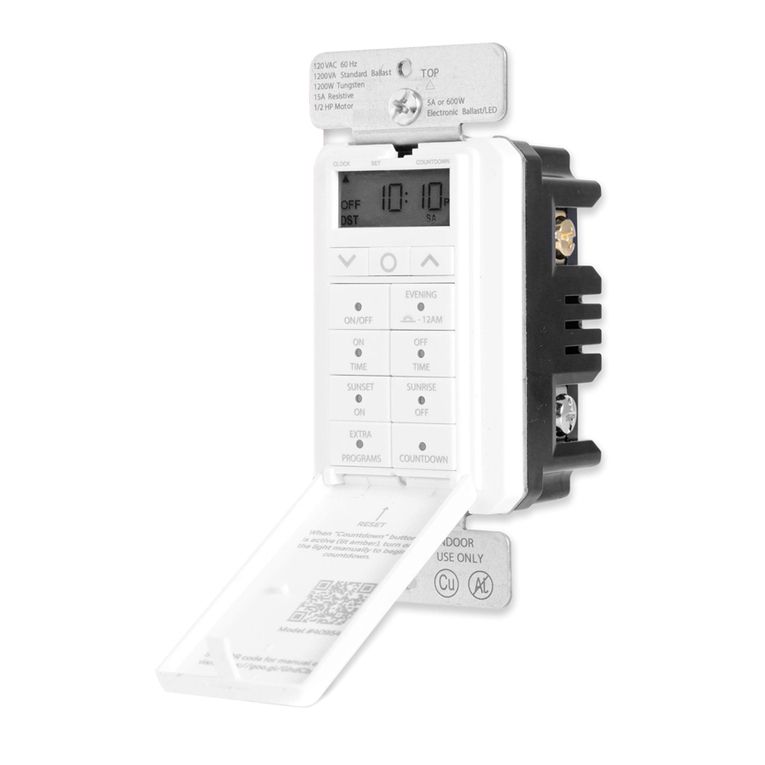
  9. Honeywell PLS750C User manual

Honeywell PLS750C User manual

PLS750C/PLS751C
INSTALLATION ADDENDUM
SUPPLÉMENT D'INSTALLATION
ADENDA (ADICIÓN SUPLEMENTARIA)PARA LA INSTALACIÓN
The information in this addendum supersedes that in the user guide.
The following information is an update to the user guide included in this box. The yellow 3-WAY wire must NOT be connected to any
wire when the switch is used in a single-switch installation. Use the diagram below if you intend to use the switch in a single-switch
installation.
SINGLE-SWITCH INSTALLATION
1. Cut power at the circuit breaker to avoid electric shock.
2. Remove the existing switch.
3. Install the new switch (refer the diagram below).
4. Apply power at the circuit breaker.
NOTE: Use the diagram in the user guide for a 3-way installation.
IMPORTANT
Do not install the switch in an area where the temperature does not meet rating of -40°F to 140°F (-40°C to 60°C).
Les informations contenues dans cet addenda remplace celles du guide de l'utilisateur.
L'information suivante est une mise à jour du guide de l'utilisateur inclus dans la boîte. Le fil jaune «3-WAY» NE doit être connecté à
aucun autre fil lorsque l'interrupteur est utilisé dans une installation conventionnelle. Utiliser le schéma ci-dessous pour une ins-
tallation conventionnelle.
INSTALLATION CONVENTIONNELLE
1. Mettre le circuit hors tension à partir du disjoncteur afin d'éviter tout risque de choc électrique.
2. Enlever l’interrupteur existant.
3. Installer le nouvel interrupteur (se référer au schéma ci-dessous).
4. Remettre le circuit sous tension à partir du disjoncteur.
NOTA: Utiliser le schéma dans le guide de l'utilisateur pour une installation à 3-voies.
IMPORTANT
Ne pas installer l’interrupteur dans une zone où la température excède la plage de fonctionnement prévue de -40 ° F à 140 ° F (-40 ° C à
60 ° C).
black (LINE)
yellow (3-WAY)
120
VAC
blue (LOAD)
white (NEUTRAL)
black
white
black
white
NOTE: Isolate the yellow 3-WAY
wire from the other wires using a
solderless connector.
NOTA: isoler le fil jaune «3-WAY»
des autres fils au moyen d’un
connecteur sans soudure.
noir (LINE)
jaune (3-WAY)
bleu (LOAD)
blanc (NEUTRAL)
noir
blanc
120
Vca noir
blanc
La información en esta adenda sustituye la presentada en la guía del usuario.
La siguiente información, que se incluye en este recuadro, es una actualización de la guía del usuario. El cable amarillo de 3 vías
(3-WAY) NO se debe conectar a ningún cable cuando el interruptor está en una instalación de conmutación simple. Siga el dia-
grama a continuación si intenta utilizar el interruptor en una instalación de conmutación simple.
INSTALACIÓN DE CONMUTACIÓN SIMPLE
1. Corte la alimentación al interruptor de circuito para evitar una descarga eléctrica.
2. Retire el interruptor existente.
3. Instale el nuevo interruptor (refiérase al diagrama a continuación).
4. Conecte la alimentación al interruptor de circuito.
NOTA: Utilice el diagrama en la guía del usuario para una instalación de 3 vías.
IMPORTANTE
No instale el interruptor en un área donde la temperatura exceda la clasificación de -40 °F a 140 °F (-40 °C a 60 °C).
Negro (LINE)
Amarillo (3-WAY)
120
VAC
Azul (LOAD)
Blanco (NEUTRAL)
negro
blanco
NOTA: Aísle el cable amarillo de 3
vías (3-WAY) de otros cables
utilizando un conector sin soldadura.
negro
blanco
Printed in USA / Imprimé aux É.-U. / Impreso en EE.UU. 08-2012

This manual suits for next models

1

Other Honeywell Timer manuals

Honeywell ST9120U User manual

Honeywell

Honeywell ST9120U User manual

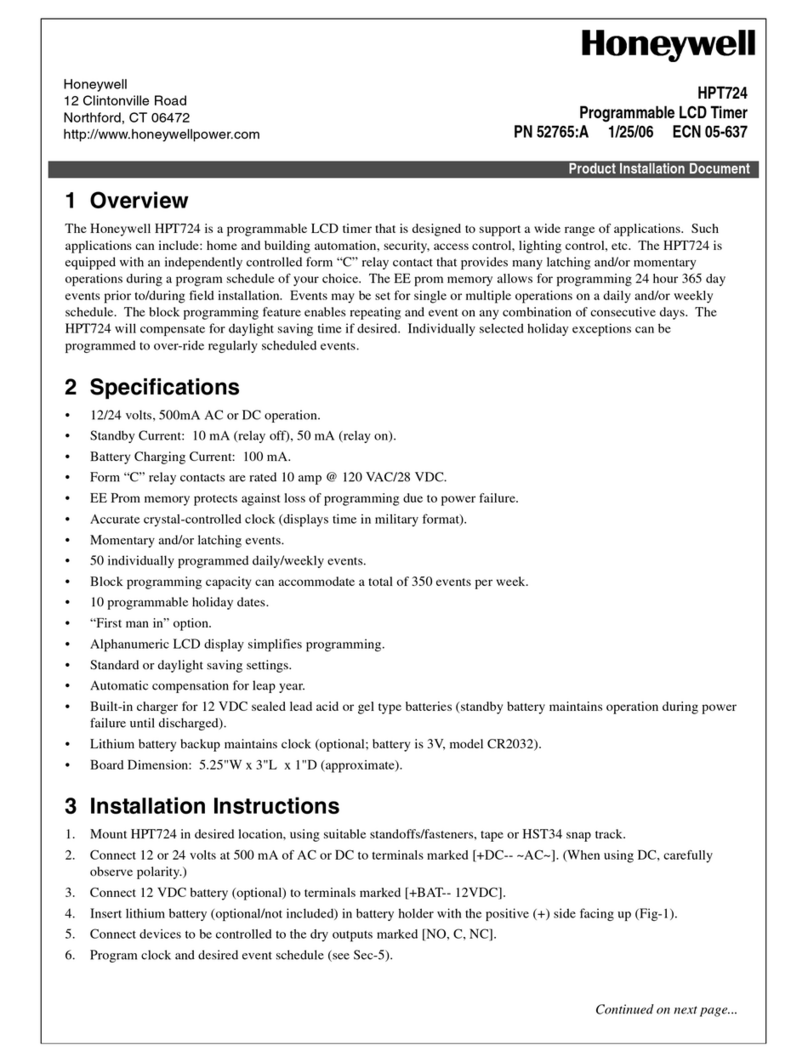
Honeywell HPT724 Technical manual

Honeywell

Honeywell HPT724 Technical manual

Honeywell 45959 User manual

Honeywell

Honeywell 45959 User manual

Honeywell ST9100S User manual

Honeywell

Honeywell ST9100S User manual

Honeywell 40954 User manual

Honeywell

Honeywell 40954 User manual

Honeywell ST6008A Owner's manual

Honeywell

Honeywell ST6008A Owner's manual

Honeywell ST6100C User manual

Honeywell

Honeywell ST6100C User manual

Honeywell ST7009 A User manual

Honeywell

Honeywell ST7009 A User manual

Honeywell 46213 User manual

Honeywell

Honeywell 46213 User manual

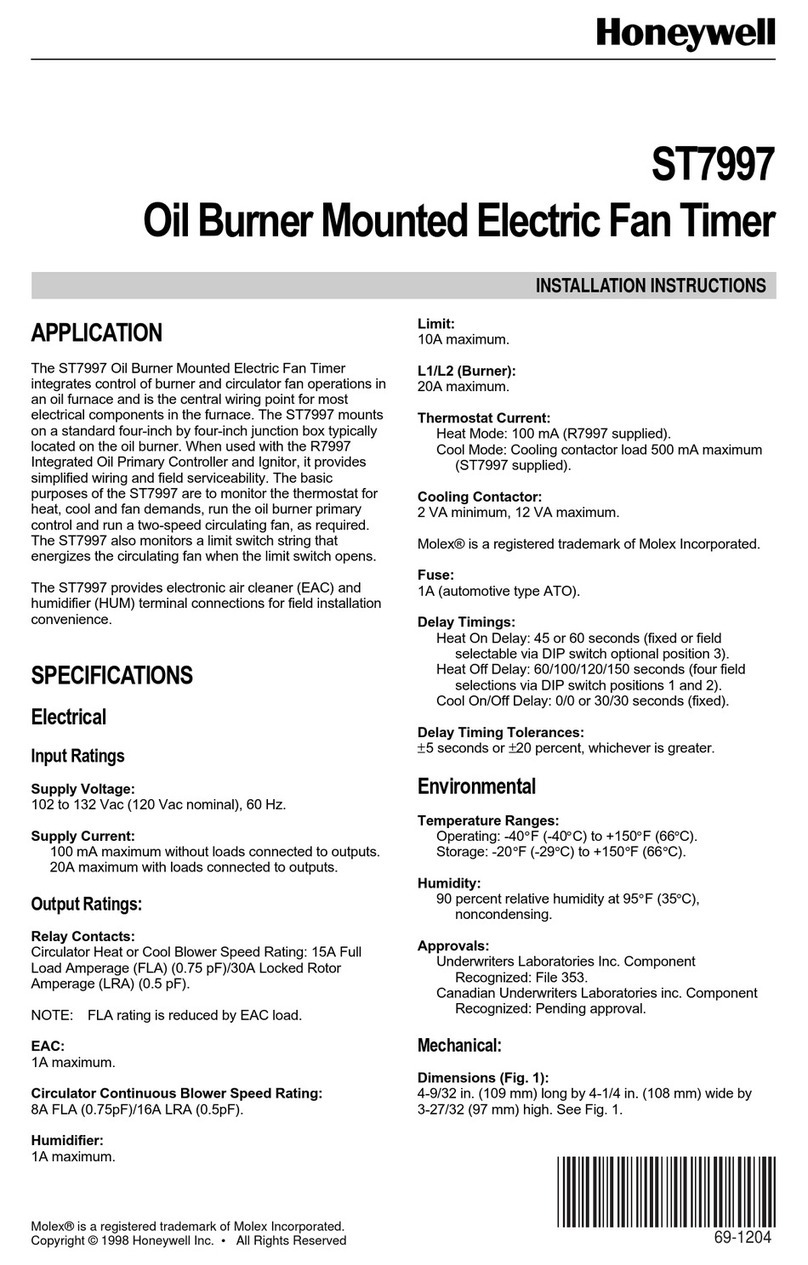
Honeywell ST7997 User manual

Honeywell

Honeywell ST7997 User manual

Honeywell ST699 User manual

Honeywell

Honeywell ST699 User manual

Honeywell 32003487-001 User manual

Honeywell

Honeywell 32003487-001 User manual

Honeywell ST9100S User manual

Honeywell

Honeywell ST9100S User manual

Honeywell 45183 User manual

Honeywell

Honeywell 45183 User manual

Honeywell ST7009A User manual

Honeywell

Honeywell ST7009A User manual

Honeywell ST9100A User manual

Honeywell

Honeywell ST9100A User manual

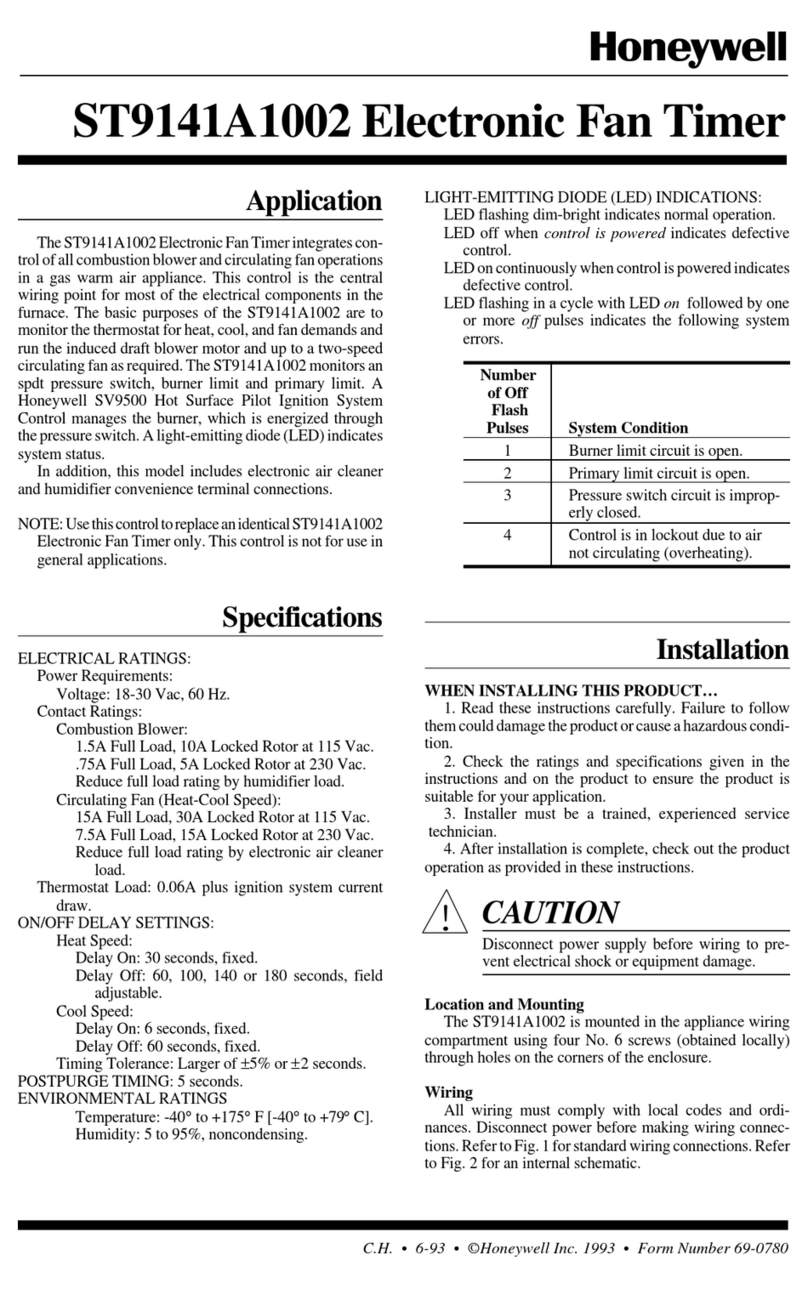
Honeywell ST9141A1002 User manual

Honeywell

Honeywell ST9141A1002 User manual

Popular Timer manuals by other brands

X10 Mini Timer XPMT1 owner's manual

X10

X10 Mini Timer XPMT1 owner's manual

General Components GC0653 quick start guide

General Components

General Components GC0653 quick start guide

LINKTAP D1 user manual

LINKTAP

LINKTAP D1 user manual

Nassar PS-100 user manual

Nassar

Nassar PS-100 user manual

Vent-Axia 563515A Fitting & Wiring Instructions

Vent-Axia

Vent-Axia 563515A Fitting & Wiring Instructions

Autonics LA8N-BN instruction manual

Autonics

Autonics LA8N-BN instruction manual

WAREMA Comfort Timer Operating and installtion instructions

WAREMA

WAREMA Comfort Timer Operating and installtion instructions

Intermatic TimeMaster GMX Series operating instructions

Intermatic

Intermatic TimeMaster GMX Series operating instructions

Zamel ASM-04 user manual

Zamel

Zamel ASM-04 user manual

CAPERE MT306Z manual

CAPERE

CAPERE MT306Z manual

Selec xt242 operating instructions

Selec

Selec xt242 operating instructions

Microgate WITTY quick guide

Microgate

Microgate WITTY quick guide

red lion PAXTM manual

red lion

red lion PAXTM manual

Technoline KT-300 user manual

Technoline

Technoline KT-300 user manual

HANYOUNG NUX MP Series instruction manual

HANYOUNG NUX

HANYOUNG NUX MP Series instruction manual

FLORABEST FBC 7 B2 operating instructions

FLORABEST

FLORABEST FBC 7 B2 operating instructions

Timeguard BoostMaster FBT4 Installation & operating instructions

Timeguard

Timeguard BoostMaster FBT4 Installation & operating instructions

Timeguard TG77 Installation & operating instructions

Timeguard

Timeguard TG77 Installation & operating instructions

manuals.online logo
manuals.online logoBrands
  • About & Mission
  • Contact us
  • Privacy Policy
  • Terms and Conditions

Copyright 2025 Manuals.Online. All Rights Reserved.