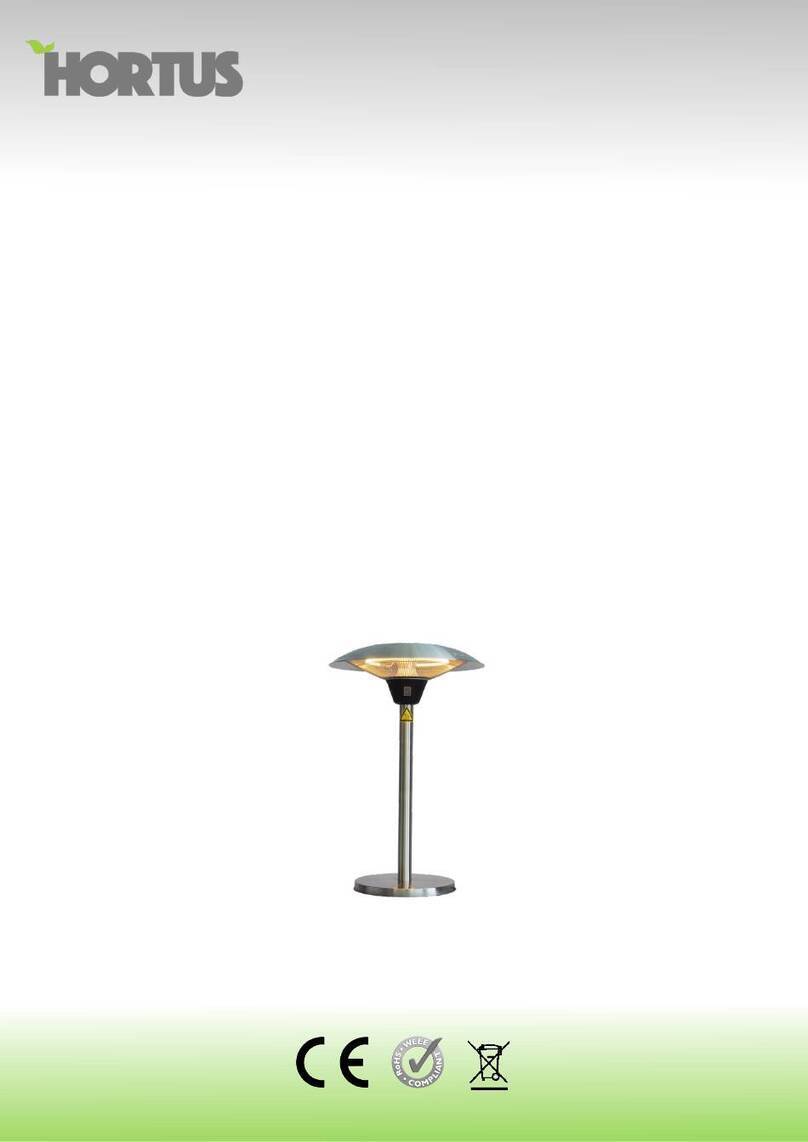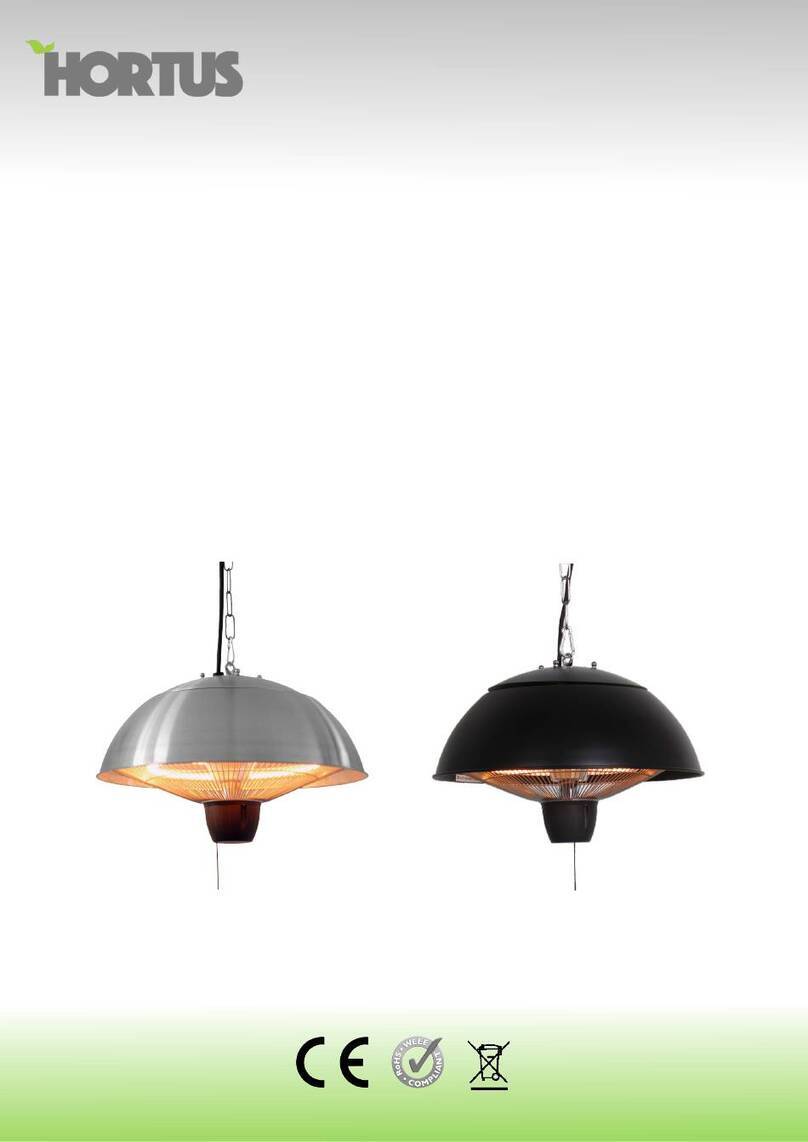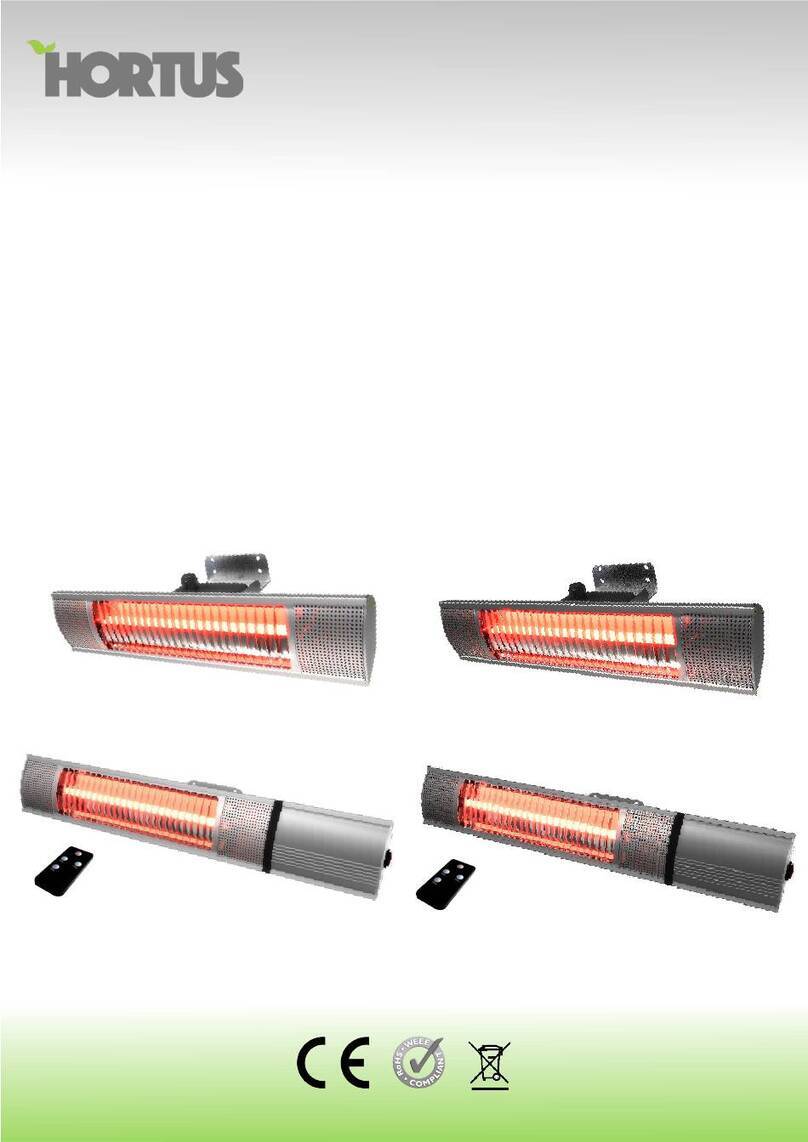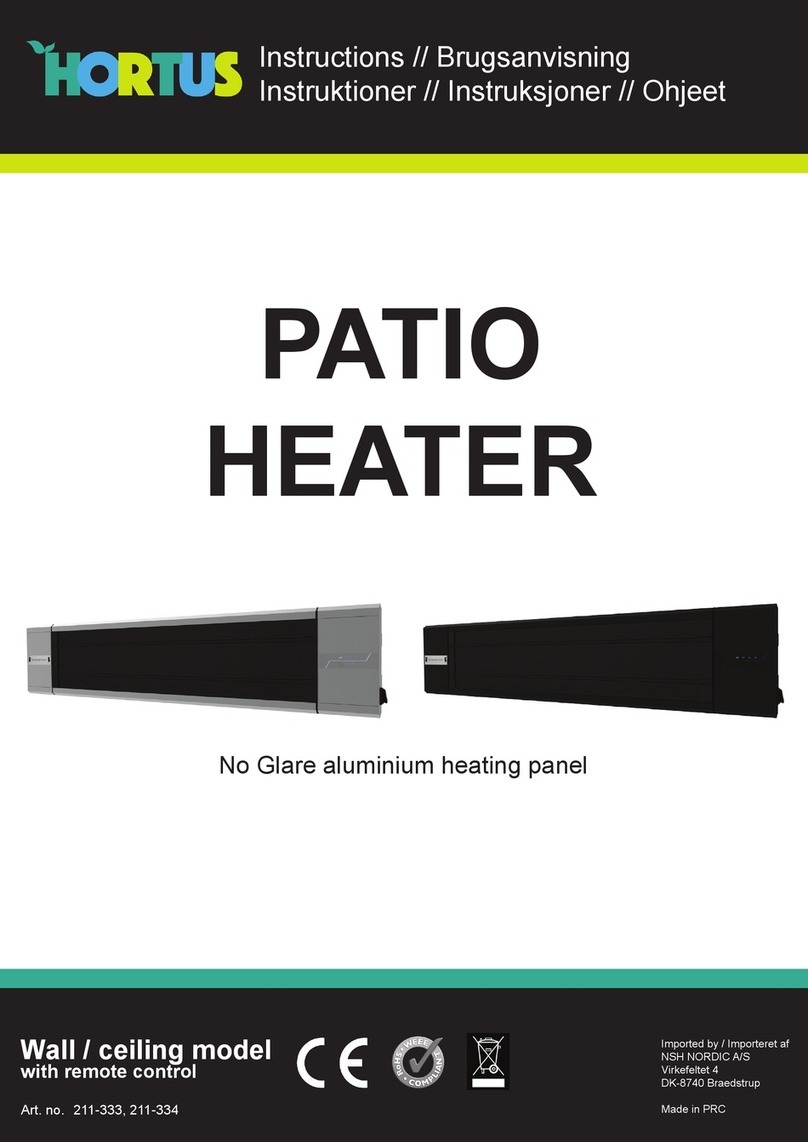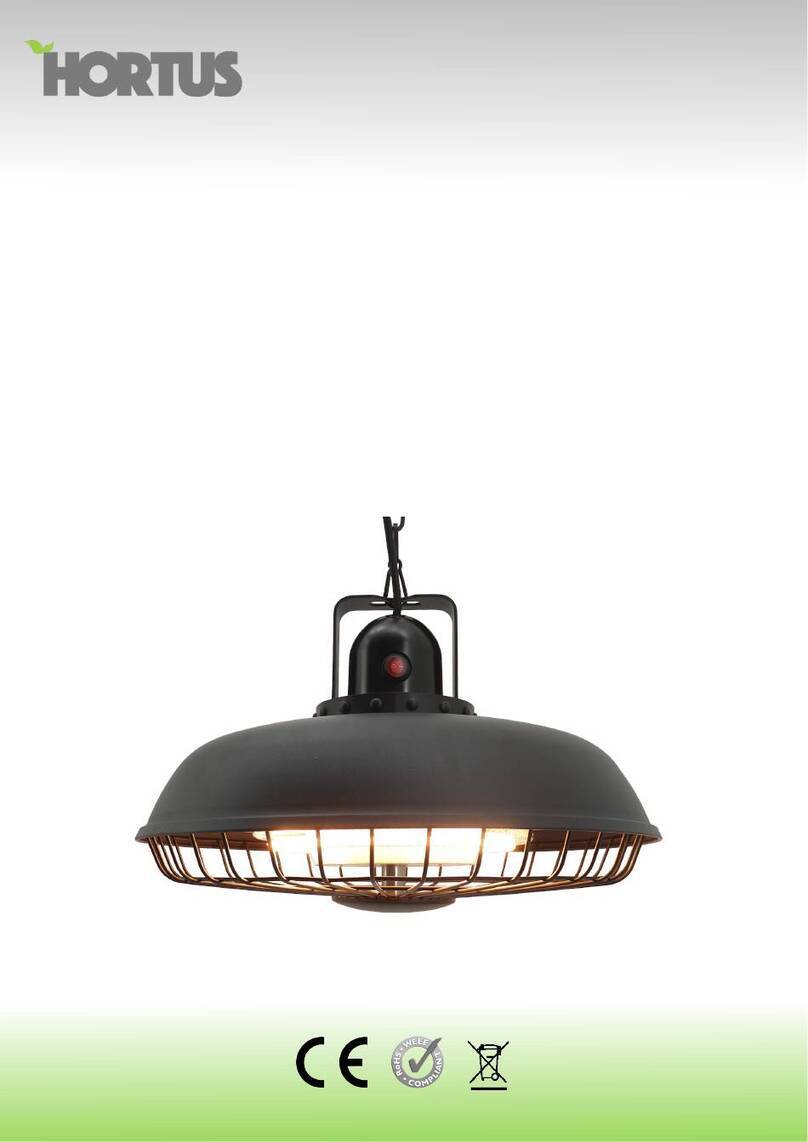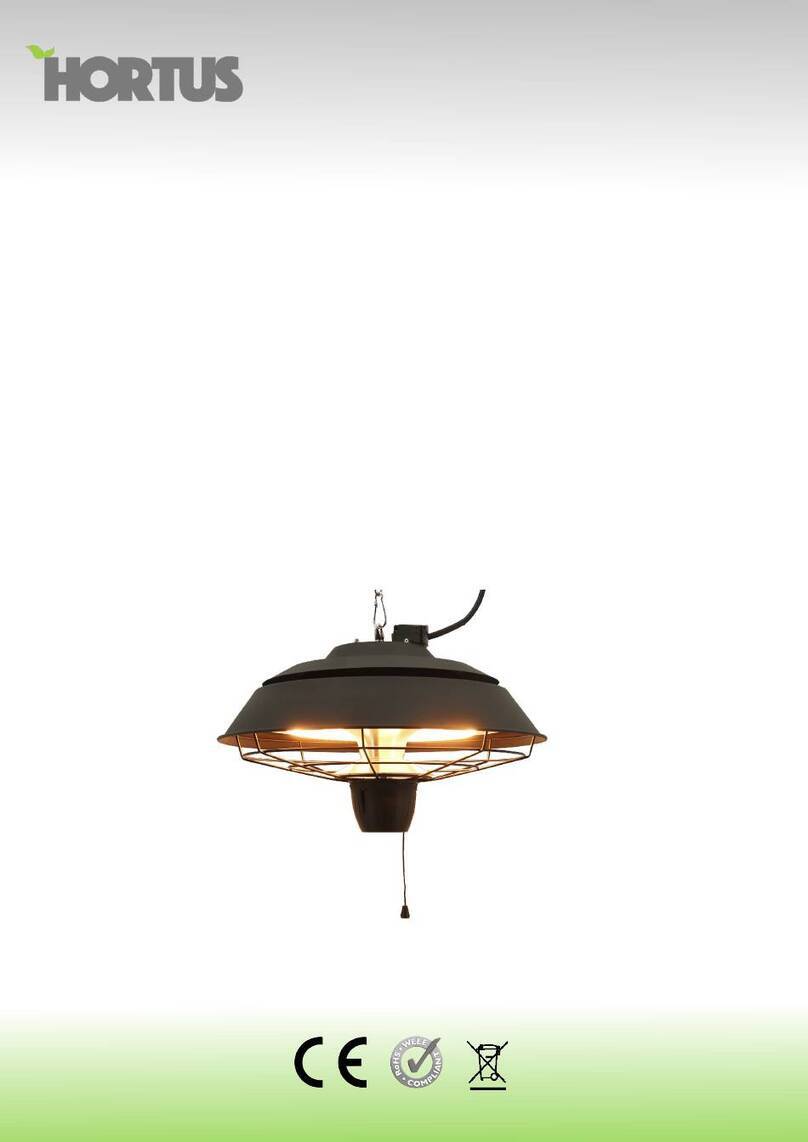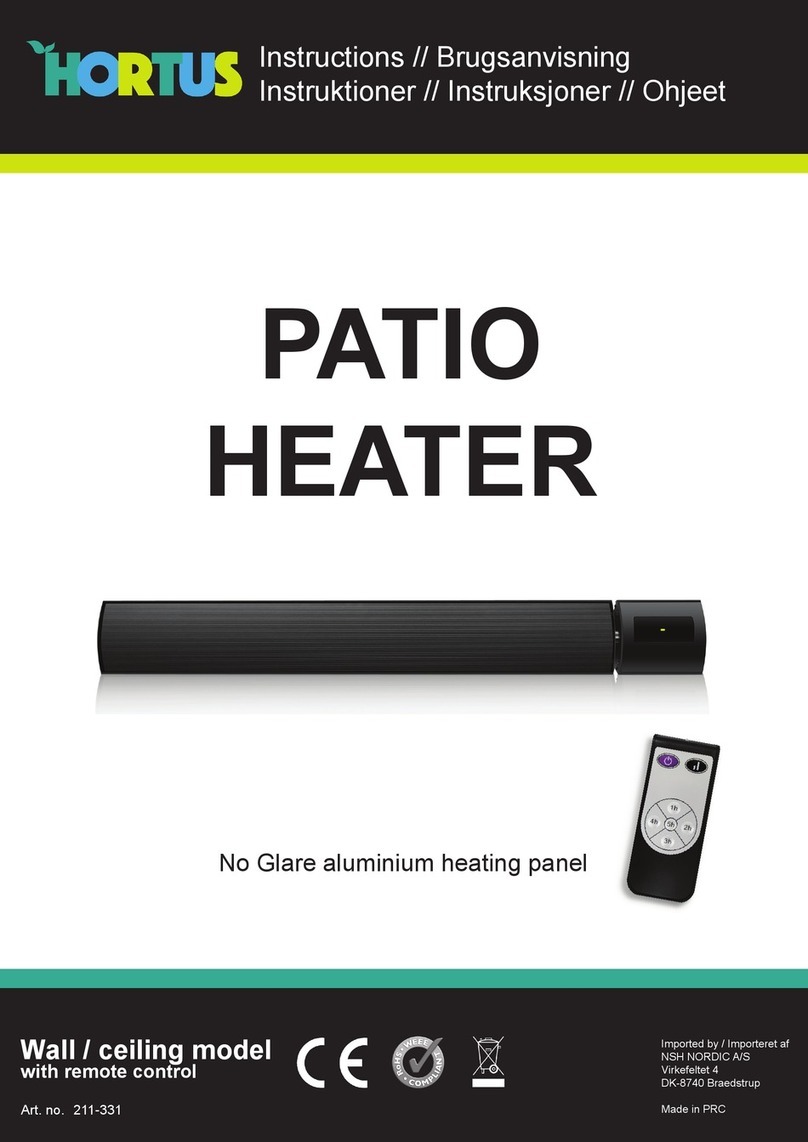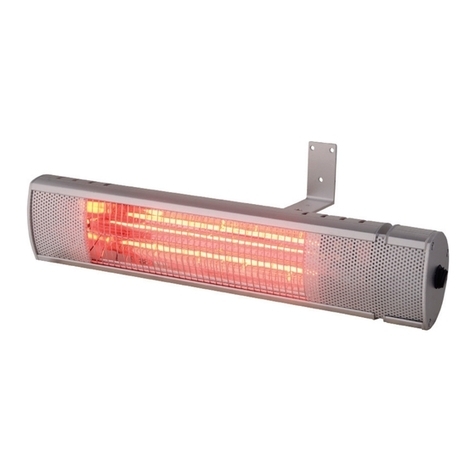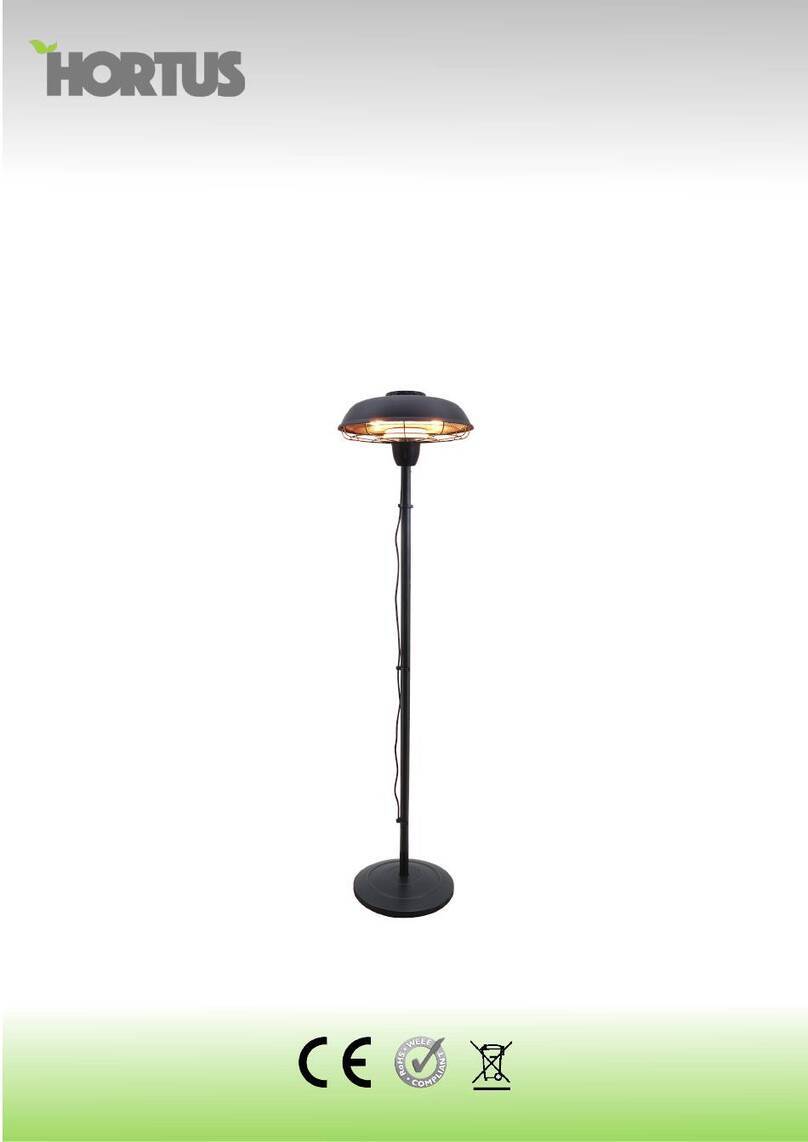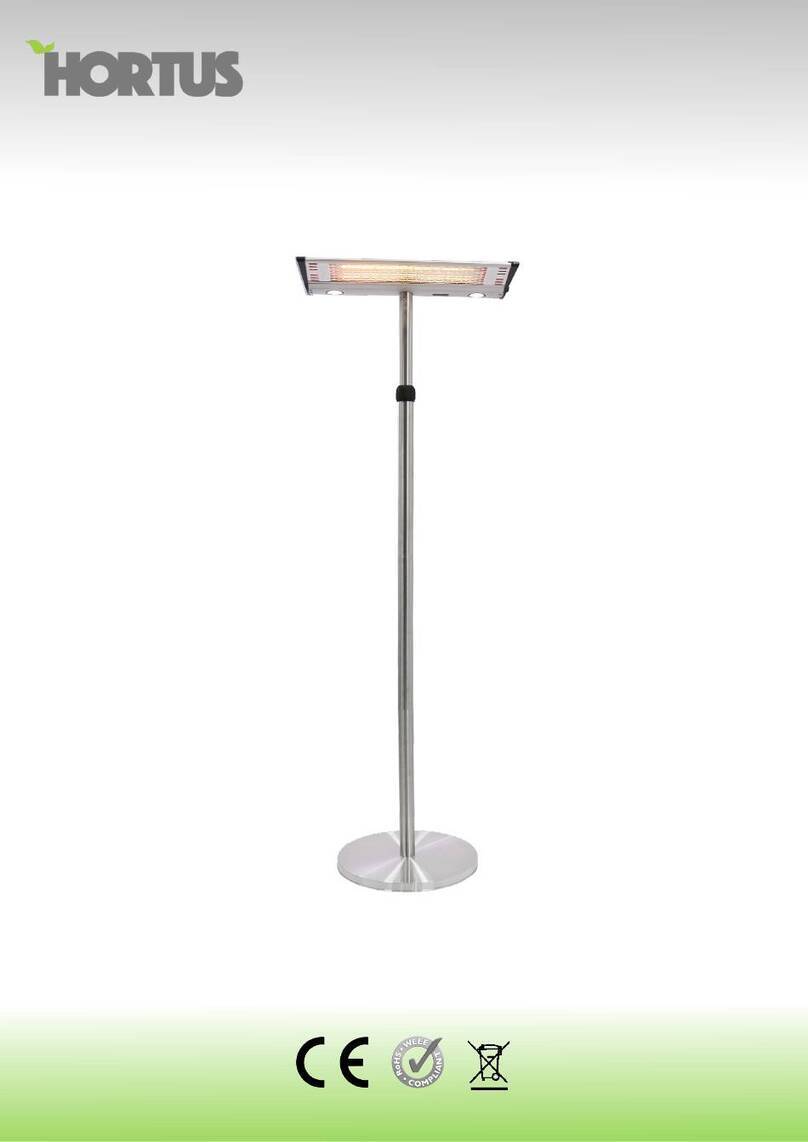
Model no. ZHQ1592-SW
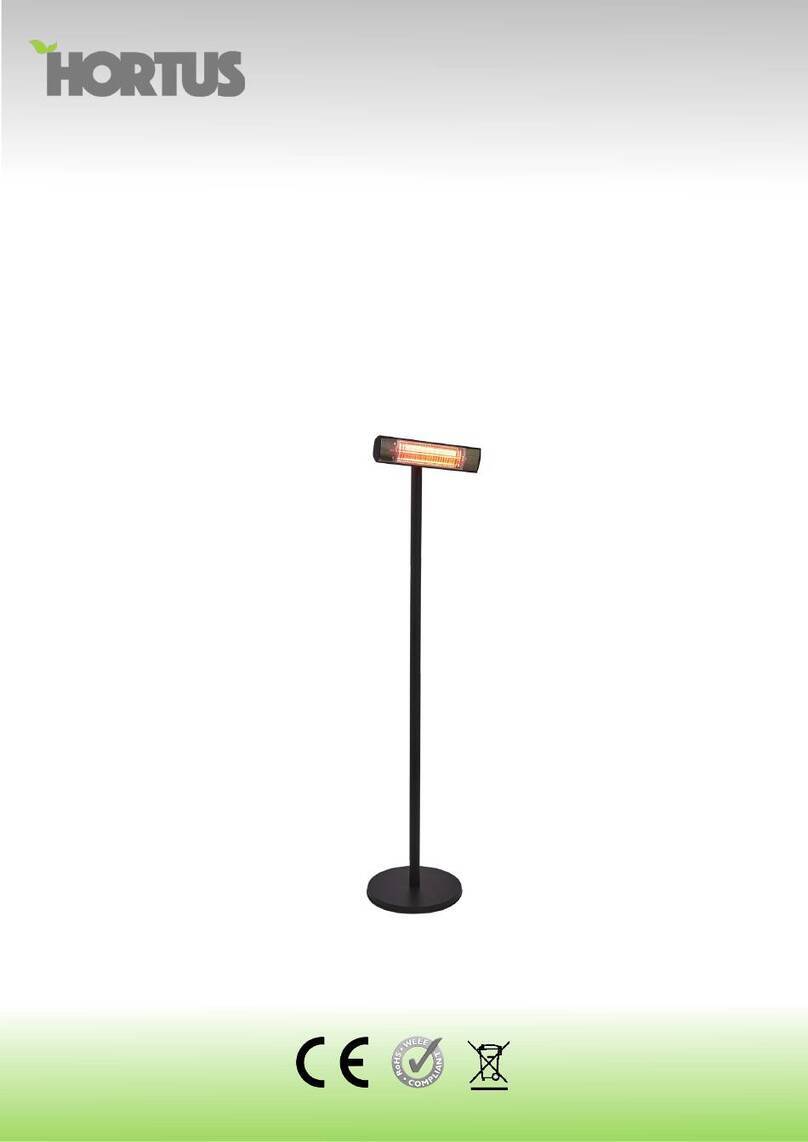
Varenr. 211-358
Strømkilde 230V AC ~ 50 Hz
Strømforbrug 1500W
Kapslingsklasse IP55
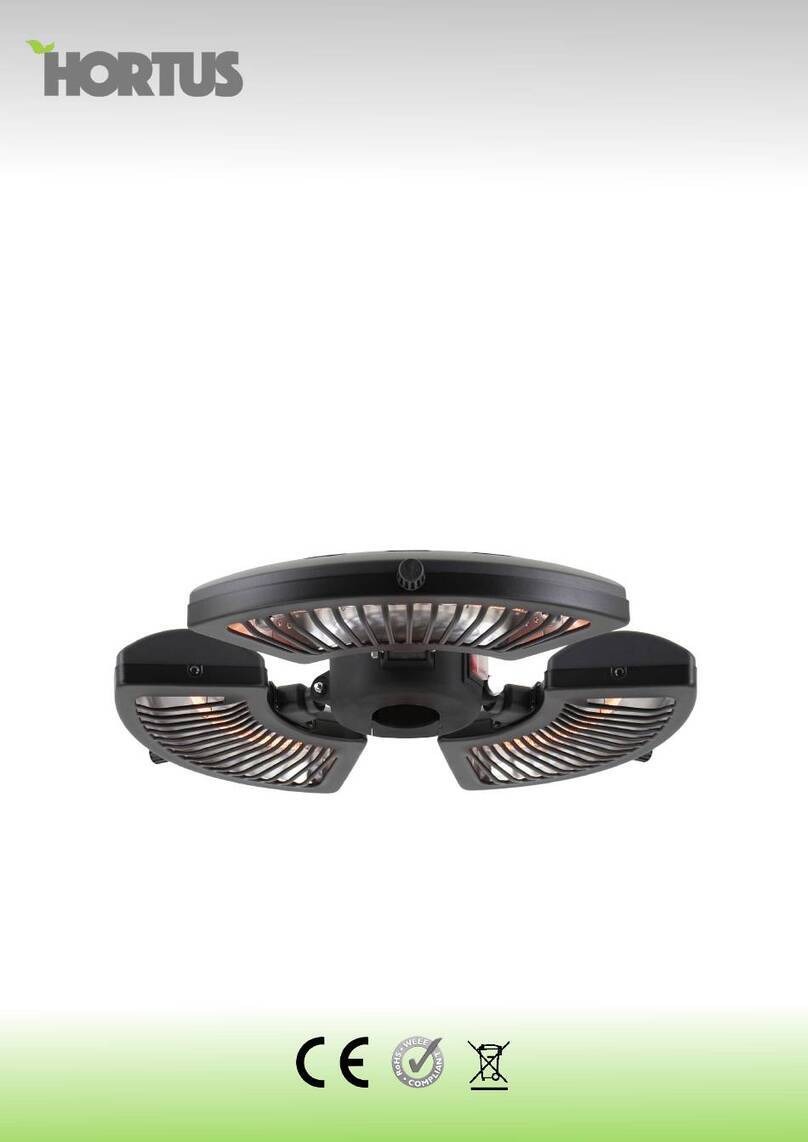
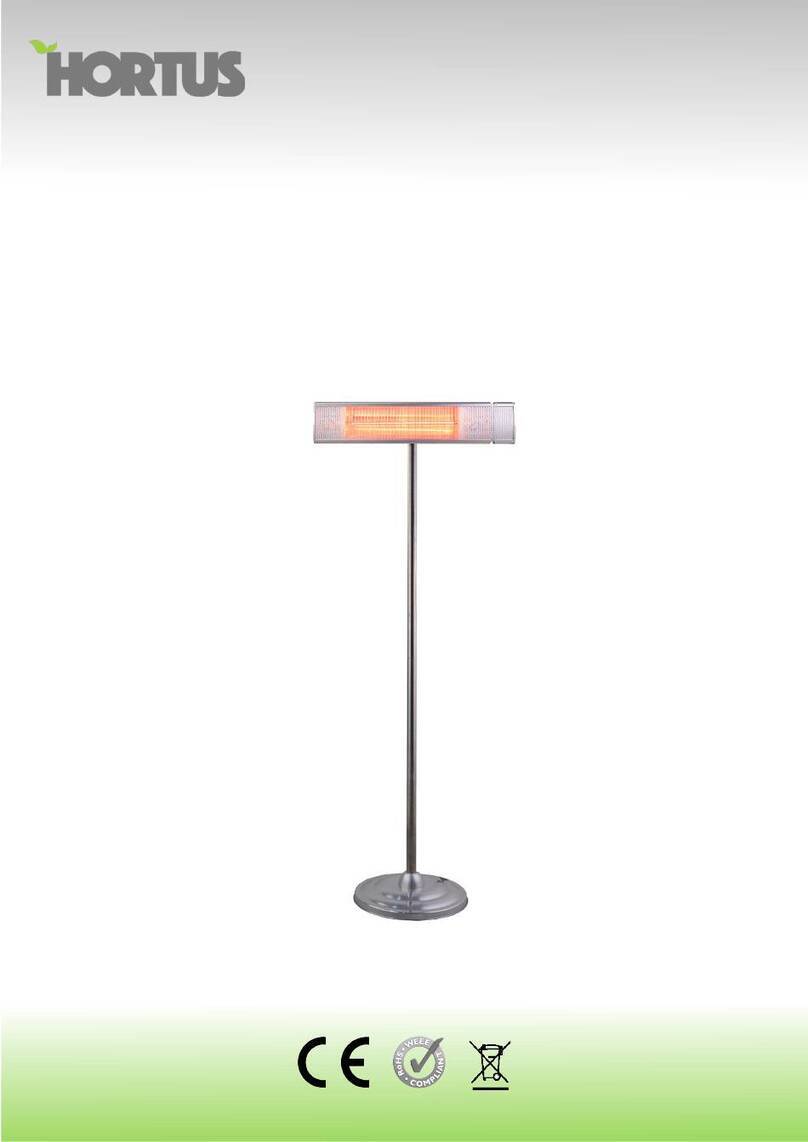
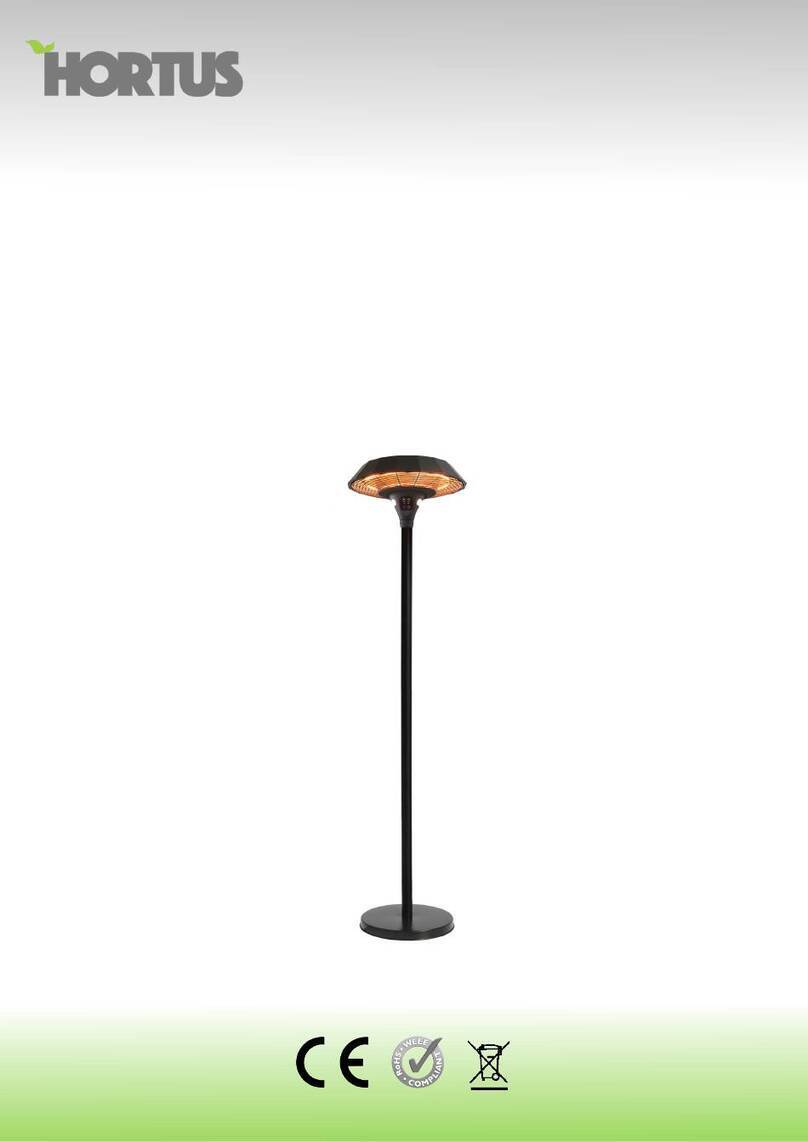
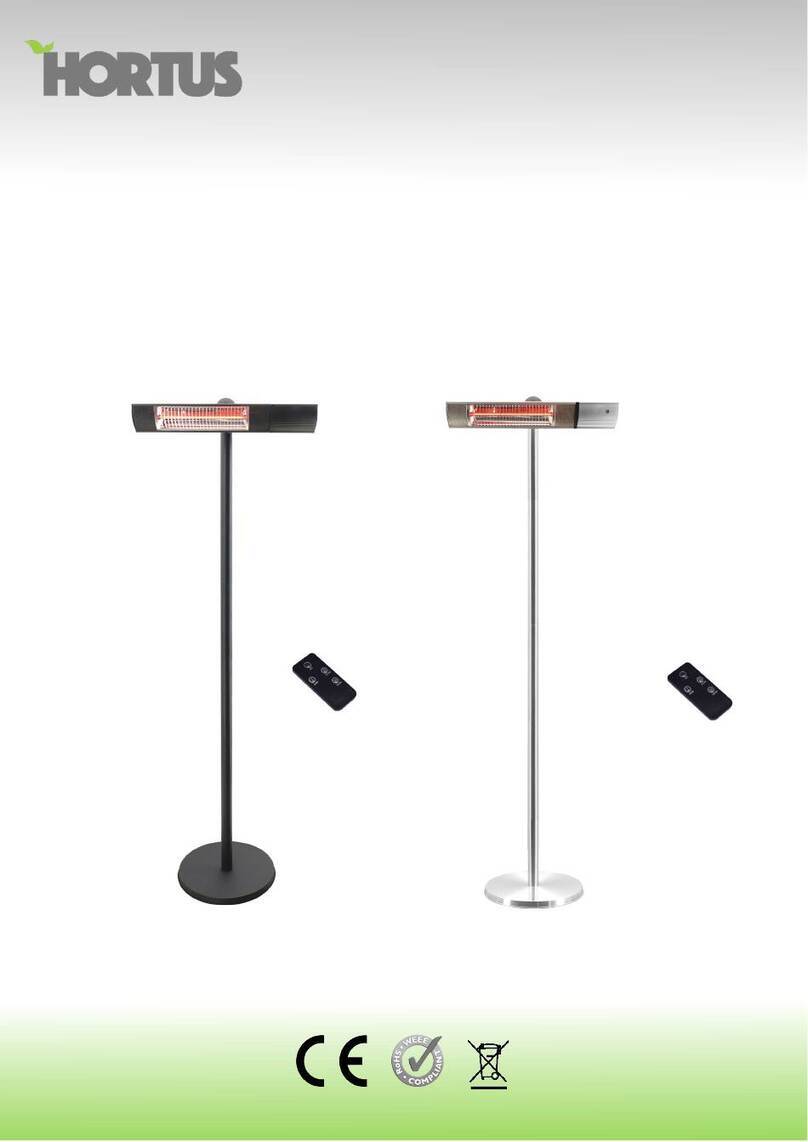
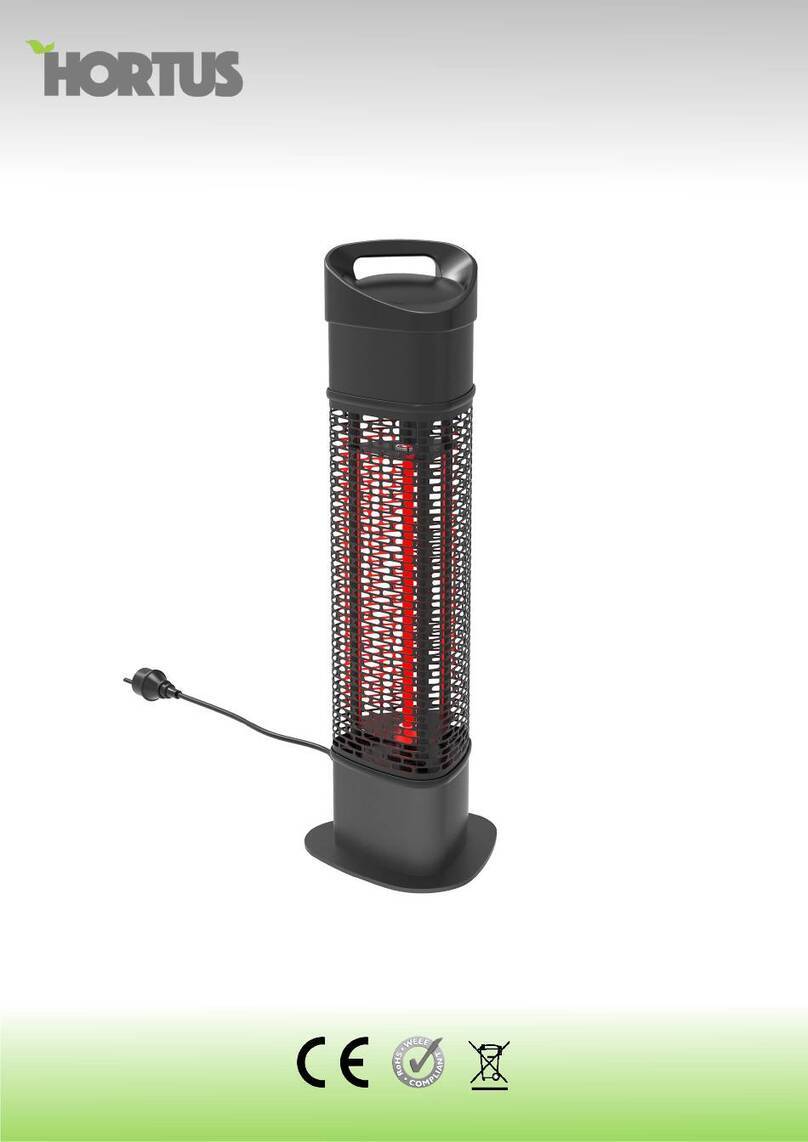
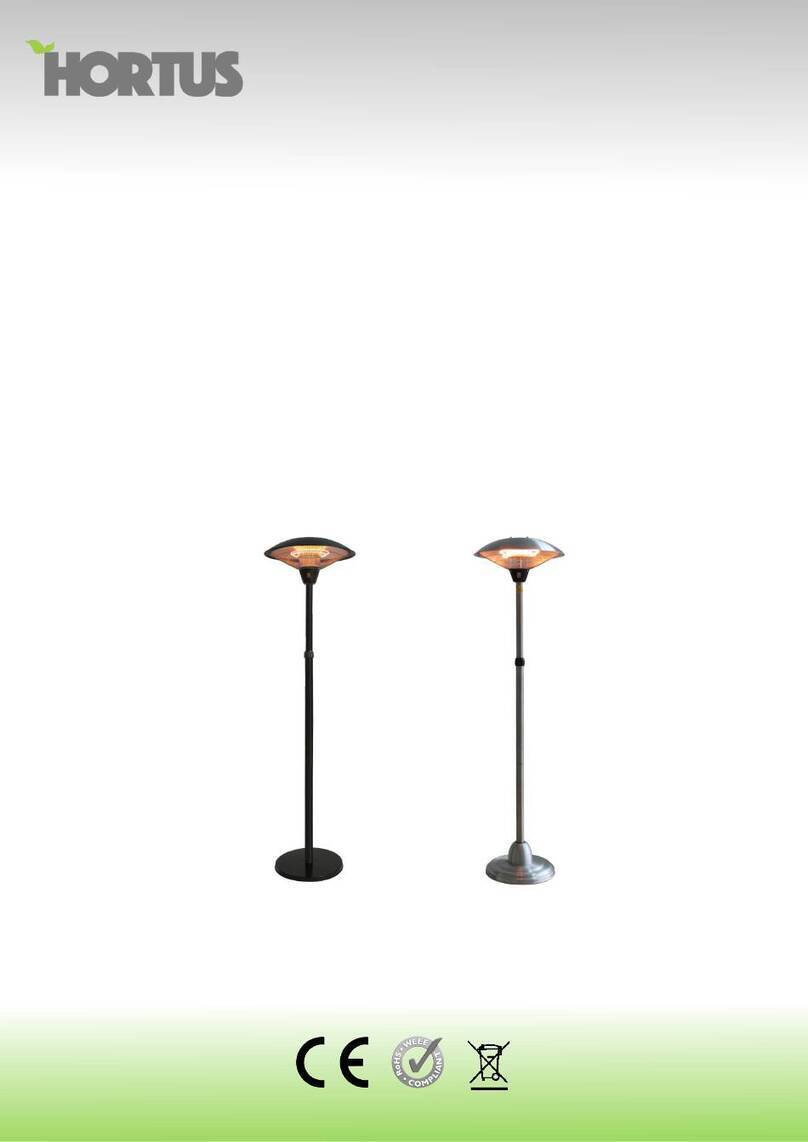
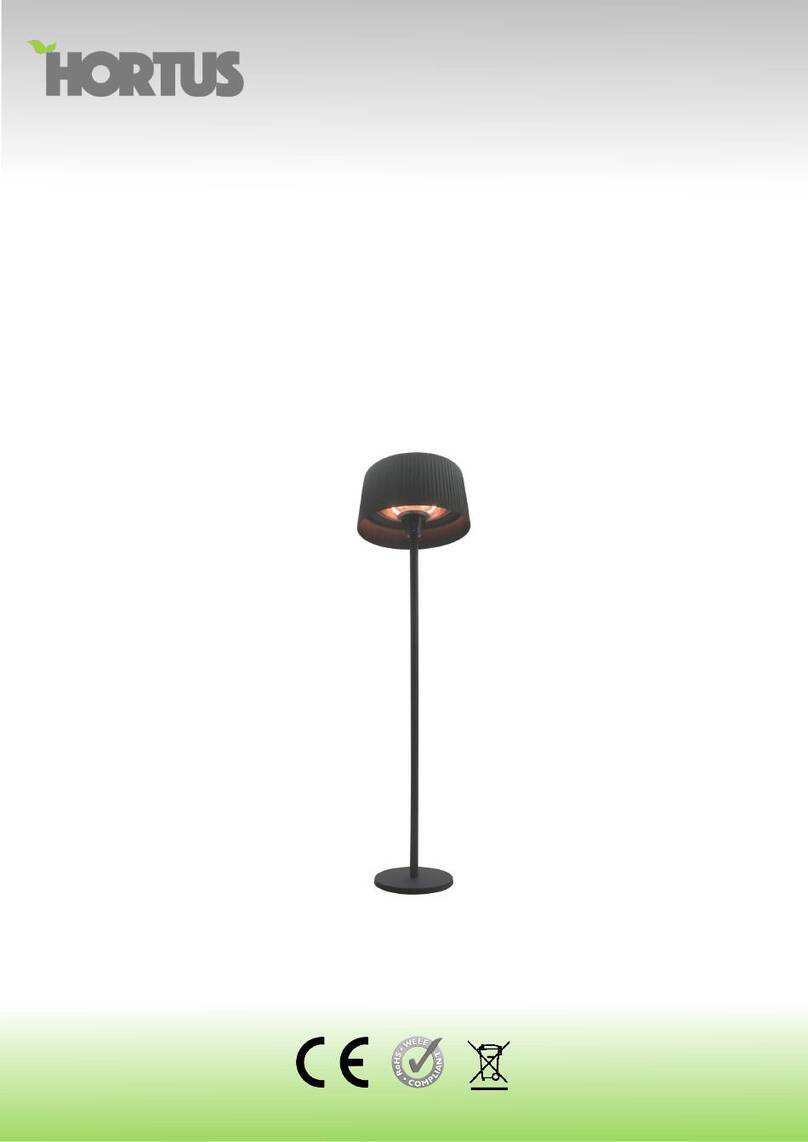
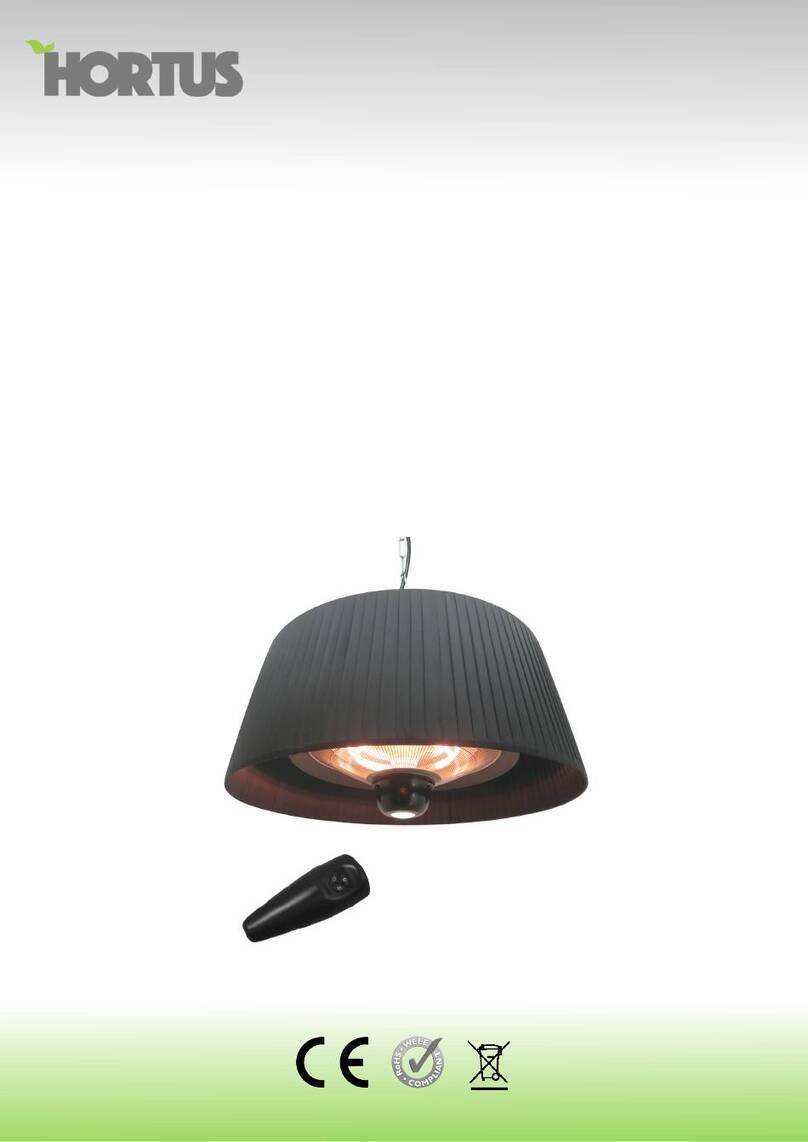
Model no. ZHQ2046 Model no. ZHQ2080-W M-RM
Varenr. 211-355 Varenr. 211-356
Str ømkilde 230V AC ~ 50 Hz Str ømkilde 230V AC ~ 50 Hz
Strømforbrug 2000W Strømforbrug 2000W
Kapslingsklasse IP 55 Kapslingsklasse IP 54
Garanti
Produktgarantien er i henhold til købeloven. Garantiperioden starter den dag produktet er blevet købt.
Garantihåndtering
Et fejlbehæftet produkt skal returneres til købsstedet sammen med en gyldig kvittering. Hvis produktet får
en fejl i løbet af garantiperioden, skal produktet returneres til købsstedet.
Fraskrivelse af garanti
Skade eller defekter der opstår ved mislighold, eller ved ukorrekt brug af produktet, dækkes ikke af ga-
rantien. Garantien dækker heller ikke force majeure, som lynnedslag, oversvømmelse, ildebrand eller
skader sket under transport. Garantien vil bortfalde, hvis der på nogen måde er foretaget modikationer på
produktet, eller hvis produktet er forsøgt repareret af en udenforstående tredjepart.
WARNING: This heater is not equipped with a device to control the room
temperature. Do not use this heater in small rooms when they are occupied
by persons not capable of leaving the room on their own, unless constant
supervision is provided.
Children of less than 3 years should be kept away unless continuously
supervised.
Children aged from 3 years and less than 8 years shall only switch on/off the
appliance provided that it has been placed or installed in its intended normal
operating position and they have been given supervision or instruction
concerning use of the appliance in a safe way and understand the hazards
involved. Children aged from 3 years and less than 8 years shall not plug in,
regulate and clean the appliance or perform user maintenance.
Accessories
Installation
This Heater is built with the best quality components in accordance to
the prevailing legal regulations and certified for safety in use. For best
results from the appliance please ensure that the installation is done
by a qualified electrician in accordance with the following instructions
and taking full account of current regulations. When using the heater,
please carefully follow the instructions and recommendations below.
You could loosen the two M6*10 screws to change the best Angle
of heating. Then retighten them.
Installation to Wall
When fixing the heater to a wall, ensure hinges are in the
underside so that the lid hands down in the open position.
Minimum required distances:
a) 500mm from the side wall
b) 500mm from the ceiling
c) Installation height above 1.8M
JUSTERING AF VINKEL
M6X10
IBRUGTAGNING
Montér terrassevarmeren som vist på side 12 i brugsanvisningen.1.
Tilslut terrassevarmeren til en 230V ~ 50Hz stikkontakt.2.
Brug kun terrassevarmeren når den er monteret som vist på side 12.3.
Juster vinklen som vist nedenfor.4.
Modeller med fjernbetjeningen - se betjeningsvejledning nedenfor.5.
FOR MODELLER MED FJERNBETJENING
Tilslut terrassevarmeren til en 230V ~ 50Hz1.
stikkontakt.
Tænd for terrassevarmeren på ON/OFF2.
knappen.
Brug fjernbetjeningen for at slukke og tænde for3.
terrassevarmeren.
Operation
Connect the power cable to a 13 amp supply which is located in a safe,
dry area.
The switch on the heater is used to control the Heater. When the
position mean on the【ON】, the first indicator light will be turn red,
the heater will be in standby mode. The【OFF】position will turn
off the Heater.
The panel control:
The Remote Control
To operate the heater, please press the remote control button.
Press one time for 2000W, press second time for off.
Although the patio heater is waterproof, do not use when raining
or in wet conditions.
Never connect the power cable from the electrical supply, when
the patio heater is not in use.
Care and maintenance
•When disconnected from the electrical supply, clean the
surface of the patio heater with a damp cloth. Never use
corrosive or solvent cleaners or immerse in water.
•Any maintenance or repairs including replacing the halogen
tube should only be carried out by a qualified electrician or by a
recommended service center.
Technical specification
•Power supply 220V-240V~50Hz
•Wattage 2000W,
•Net weight 1.9kg
•Insulation class I
•Dim: 59.5x10cm
JUSTERING AF VINKLEN
BRUGSANVISNING
1. Monter terrassevarmeren som vist på side 12.
2. Tilslut terrassevarmeren til en 230V ~ 50Hz stikkontakt.
3. Brug kun terrassevarmeren, når den er monteret som vist på side 12.
4. Juster vinklen som vist nedenfor (g. 1).
5. Aktivér/deaktivér terrassevarmeren ved at tænde/slukke for ON/OFF knappen som vist nedenfor (g. 2).
flammable dust.
28. The heater is at high temperature when in use. Unplug the
heater and wait until it cools down before cleaning.
29. Don’t use this heater in place where causticity or volatile air
exists, such as dust, steam, gas, etc.
30. Don’t use this heater as a cloth drier or towel drier.
31. Don’t use this heater as a sauna heater.
32. Don’t use this heater in place of animal propagating and
raising.
33. The heater should be plugged in a socket, which is easily
visible and reachable.
34. Do not use this heater in the immediate surroundings of a bath,
a shower or a swimming pool.
35. Do not use this heater with a programmer, timer, separate
remote-control system or any other device that switches the
heater on automatically, since a fire risk exist if the heater is
covered or positioned incorrectly.
36. Place the heater outside or in a large open area and well away
from any obstructions such as branches or where the heater is
close to any objects that can be affected by heat, such as
furniture, curtains or other inflammable objects (minimum
distance 1 meter).
37. The instruction manual shall provide adequate instructions for
connection to the supply ensuring an equivalent protection!
38. If the supply cord is damaged, it must be replaced by the
manufacturer, its service agent or similarly qualified persons in
order to avoid a hazard.
Operation
Connect the power cable to a 13 amp supply which is located in a safe,
dry area.
The switch on the heater is used to control the Heater. When the
position mean on the 【ON】, the first indicator light will be turn
red, the heater will be in standby mode. The【OFF】position will
turn off the Heater.
The panel control:
Although the patio heater is waterproof, do not use when raining
or in wet conditions.
Never connect the power cable from the electrical supply, when
the patio heater is not in use.
Care and maintenance
•When disconnected from the electrical supply, clean the
ON/OFF
g. 1 g. 2
involved. Children aged from 3 years and less than 8 years shall not plug in,
regulate and clean the appliance or perform user maintenance.
Accessories
Installation
Heater ZHQ 1592-CW-RMis built with the best quality components in
accordance to the prevailing legal regulations and certified for safety
in use. For best results from the appliance please ensure that the
installation is done by a qualified electrician in accordance with the
following instructions and taking full account of current regulations.
When using the heater, please carefully follow the instructions and
recommendations below.
You could loosen the two M6*10 screws to change the best Angle
of heating. Then retighten them.
Installation to Wall
When fixing the heater to a wall, ensure hinges are in the
underside so that the lid hands down in the open position.
Minimum required distances:
a) 500mm from the side wall
b) 500mm from the ceiling
c) Installation height above 1.8M
M6X10
Instructions
Read the instructions carefully before installing the patio heater and then store the instruction
manual in a safe place. Keep the instructions for use for any future questions about using your
product. The patio heater is designed and manufactured in accordance with European standards:
CE, RoHS. The product complies with the essential requirements of the directives: EN 60335-2-
30:2009, EN 60335-1: 2012.
• The patio heater can be used by children from 8 years and upwards if they are super
vised or have received instructions in using the patio heater safely and understand possible
hazards. Children are not allowed to play with the patio heater. Cleaning and user
maintenance must not be carried out by unsupervised children. Children under 3 years of age
must be kept away from the patio heater unless continuously supervised. Children over 3
years of age and younger than 8 years of age may only turn the patio heater on o if they are
supervised or have been trained on how to use the patio heater safely and have understood
the resulting hazards;
This provided that:
• The patio heater is located or installed in its normal place of use. Children over 3 years
old and younger than 8 years old should not plug the patio heater into the wall outlet, adjust
the heater, clean the patio heater and/or perform any maintenance.
• Extreme caution is necessary when the patio heater is used by or near children or disabled
persons, as well as whenever the patio heater is left on and unattended.
• CAUTION – Some parts of this product can get very hot and cause burns. Particular attention
must be paid where children and vulnerable people are present.
• The user may only connect the patio heater to a power outlet using the standard cable of
the device. If standard cable needs to be changed or if the patio heater needs to be
permanently connected to an electrical outlet, the installation must be done by a licensed
electrician. While the installation is being carried out, the main power should always be
interrupted. Turn on the patio heater only when all cables are connected correctly.
• The patio heater must only be connected to a timer that turns o the unit after the set time.
Do not connect the patio heater to a timer that starts the patio heater automatically.
• When using electrical appliances, basic safety precautions must always be followed to reduce
the risk of re, electric shock or injury, including the following;
• This patio heater is warm when in use. To avoid burns, do not let the bare skin touch the hot
surfaces. If possible, use lift handles or brackets when moving the patio heater. Store
ammable materials, such as furniture, pillows, bedding, papers, clothing and curtains at least
90 cm from the front of the patio heater.
• Always unplug the heater from the wall socket when not in use.
• Do not use the patio heater if the cord or plug is damaged. Also, do not use the patio heater
after a malfunction or if it is dropped or otherwise damaged. Discard the patio heater in case
of severe damage or contact the dealer for possible repair of the damage.
• Do not run the cord under blankets. Do not cover the cord with solid blankets, runners or
similar coatings. Do not run the cord under furniture or appliances. Place the cord away from
hallways to avoid tripping over the wire.
• Do not use the patio heater in the immediate vicinity of a bath, shower or swimming pool.
• Do not use the patio heater outdoors in bad weather, such as rain, snow or storm.
• Connect only to grounded sockets/power outlets.
• Do not place or install the patio heater directly under an electrical outlet /power outlet.
• To disconnect the patio heater, turn o the switch and then remove the plug from the wall
outlet.
• Do not insert or allow foreign objects to enter any ventilation or grille opening, as this may
cause electric shock, re or damage the patio heater.
• To prevent a possible re, air intakes or grilles must not be blocked in any way. Do not place
the patio heater on soft surfaces such as a bed where the vents may become blocked.
Kundeservice / Garanti
• En garantiperiode starter fra den dato produktet er købt. Købsbevis eller købsnota skal altid
forelægges i garanti sager. Ved garantisager kontaktes forhandler/stedet hvor produktet er
købt. Behandling af garantisager foregår mellem forhandler og NSH NORDIC.
• Garanti dækker ikke skader forvoldt ved fejl, der skyldes ændring, ulykke, misbrug,
forsømmelse eller forkert vedligeholdelse.
• I overensstemmelse med vores politik om kontinuerlig produktudvikling forbeholder vi os
ret til, at ændre produkt- og dokumentationsspecikationer uden varsel.
