manuals.online logo
Brands
  1. Home
  2. •
  3. Brands
  4. •
  5. HP
  6. •
  7. Power Supply
  8. •
  9. HP StorageWorks 2312 Guide

HP StorageWorks 2312 Guide

HP StorageWorks
2312/2324 Modular Smart
Array DC power supply
replacement instructions
© Copyright 2008 Hewlett-Packard Development Company, L.P.
First edition: November, 2008
The information in this document is subject to change without
notice.
Printed in China
www.hp.com
500919-001
About this document
This document details procedures for replacing a failed DC power
supply in an HP StorageWorks 2000 Family Modular Smart Array.
Before you begin
CAUTION:
Parts can be damaged by electrostatic discharge. Use proper
anti-static protection:
•Keep the replacement component in the ESD bag until needed
•Wear an ESD wrist strap grounded to an unpainted surface
of the chassis.
•If an ESD wrist strap is unavailable, touch an unpainted surface
of the chassis before handling the component.
•Never touch connector pins.
Verifying component failure
Check the DC Voltage/Fan Fault/Service Required (bottom) LED:
•Amber = Fault condition
Disconnecting a DC power cable
IMPORTANT:
Use only the DC power cables provided with your product.
1. Verify that the main breaker to the rack is shut off prior to
disconnecting any DC connections.
2. Verify that all enclosure power switches are off.
3. Loosen the cable-locking screws attaching the D-shell connector to
the power supply.
4. Disconnect the power cable from the power supply.
5. Turn on the main breaker to the rack.
Removing a power supply
1. Turn the thumbscrew until it is disengaged from the module.
2. Rotate the latch downward to disconnect the internal connector,
and slide the module out.
Page 1
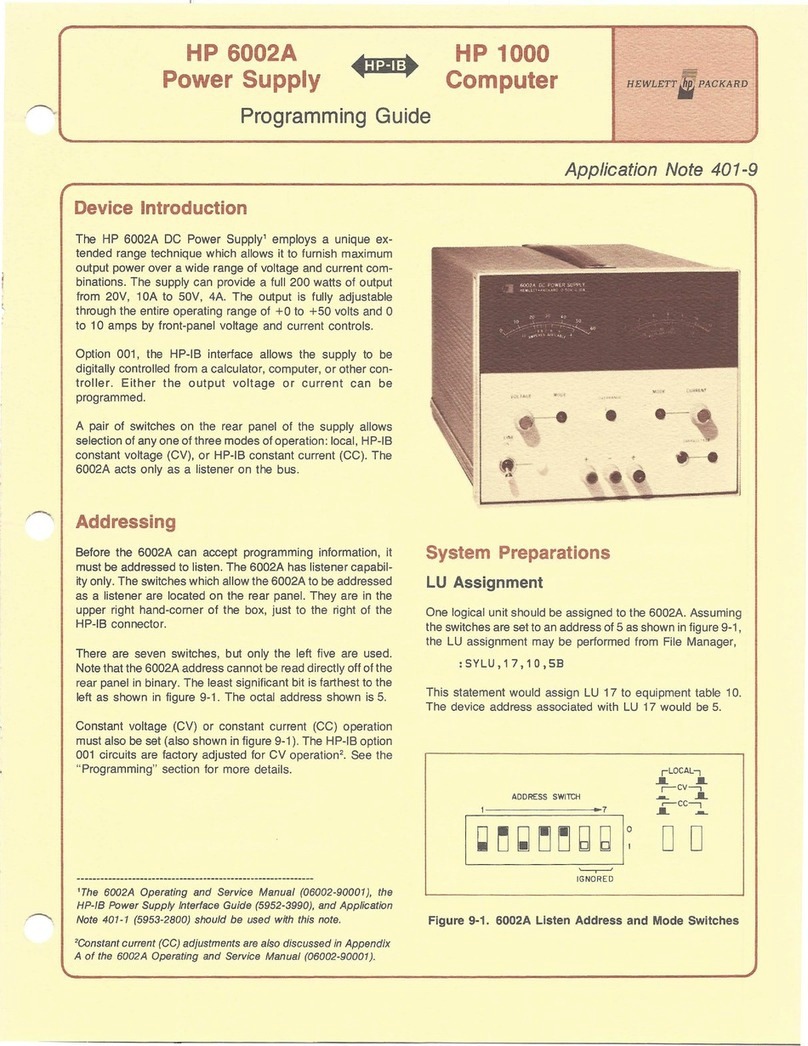
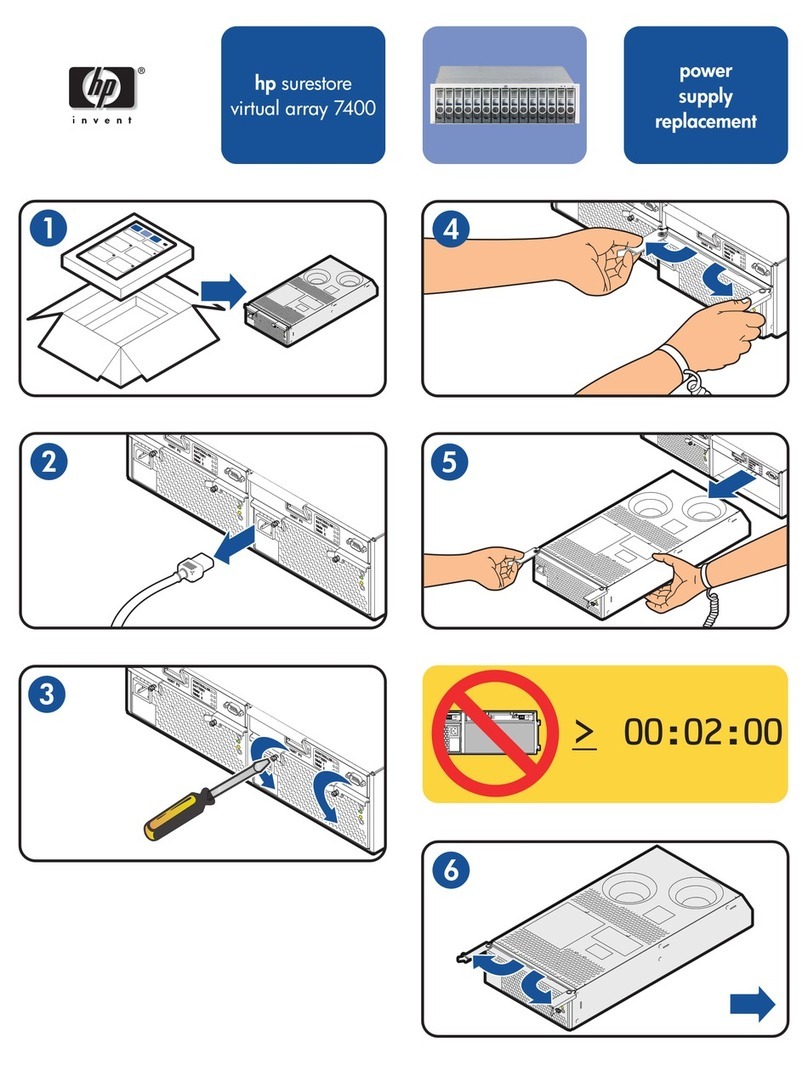
Installing a DC power supply
1. Slide the module into the slot as far as it will go.
2. Press the latch upward to engage the module; turn the thumbscrews
finger-tight
3. Connect a DC power cable to each power supply using the
D-shell connector. Use the up arrow on the shell to ensure proper
positioning before tightening.
4. Tighten the screws at the top and bottom of the shell with a torque
between 1.7 N-m (15 lb-in) and 2.3 N-m (20 lb-in) to attach the
cable securely to the DC power sources.
5. Turn on the main breaker to the rack.
6. Turn on the enclosure power switches.
Verifying component replacement
After replacing the module, check that the Input Power Good LED is on
and the DC Voltage/Fan Fault/Service Required (bottom) LED is off.
Additional information
See the MSA2000 web site: http://www.hp.com/go/msa2000.
Page 2

This manual suits for next models

1

Other HP Power Supply manuals

HP 6034A User manual

HP

HP 6034A User manual

HP 6236B Service manual

HP

HP 6236B Service manual

HP PSR650-A User manual

HP

HP PSR650-A User manual

HP 654A User manual

HP

HP 654A User manual

HP E3631A Guide

HP

HP E3631A Guide

HP xw8600 - Workstation Operating instructions

HP

HP xw8600 - Workstation Operating instructions

HP R6000 series User manual

HP

HP R6000 series User manual

HP 6826A Service manual

HP

HP 6826A Service manual

HP Entry-Level User instructions

HP

HP Entry-Level User instructions

HP UPS R/T3000 User manual

HP

HP UPS R/T3000 User manual

HP 59501B Service manual

HP

HP 59501B Service manual

HP HPJ3136A Installation and operating manual

HP

HP HPJ3136A Installation and operating manual

HP 6200B Service manual

HP

HP 6200B Service manual

HP 6236B Service manual

HP

HP 6236B Service manual

HP 6259B Service manual

HP

HP 6259B Service manual

HP 6220B Service manual

HP

HP 6220B Service manual

HP 59501A Service manual

HP

HP 59501A Service manual

HP 6960A Service manual

HP

HP 6960A Service manual

HP 6269B Installation instructions

HP

HP 6269B Installation instructions

HP 721A Owner's manual

HP

HP 721A Owner's manual

HP ProCurve J8161A User manual

HP

HP ProCurve J8161A User manual

HP 59501A Service manual

HP

HP 59501A Service manual

HP E3633A User manual

HP

HP E3633A User manual

HP 6205C Service manual

HP

HP 6205C Service manual

Popular Power Supply manuals by other brands

Sungrow SG80KTL-20 Quick installation guide

Sungrow

Sungrow SG80KTL-20 Quick installation guide

Rainbow Colour Changers Micro Series Short Reference

Rainbow Colour Changers

Rainbow Colour Changers Micro Series Short Reference

EnerSys alpha APX3-G Series Installation and operation manual

EnerSys

EnerSys alpha APX3-G Series Installation and operation manual

Leader LPS-151 instruction manual

Leader

Leader LPS-151 instruction manual

Coolmax CTI-500B user manual

Coolmax

Coolmax CTI-500B user manual

Rodix VF-3 manual

Rodix

Rodix VF-3 manual

EVGA SuperNOVA 850G XC quick guide

EVGA

EVGA SuperNOVA 850G XC quick guide

TDK-Lambda DRJ120 Series instruction manual

TDK-Lambda

TDK-Lambda DRJ120 Series instruction manual

ZALMAN ZM400-ST user manual

ZALMAN

ZALMAN ZM400-ST user manual

VOLTEQ RX Series user manual

VOLTEQ

VOLTEQ RX Series user manual

LC-POWER GP3 Series manual

LC-POWER

LC-POWER GP3 Series manual

Novasub SCC-1VL-DVR G3 quick start guide

Novasub

Novasub SCC-1VL-DVR G3 quick start guide

Thermal Dynamics CE Pak Master 100XL Plus Service manual

Thermal Dynamics

Thermal Dynamics CE Pak Master 100XL Plus Service manual

NAPCO NP-P7A instructions

NAPCO

NAPCO NP-P7A instructions

SOMFY Power 1.0 DC Flush installation instructions

SOMFY

SOMFY Power 1.0 DC Flush installation instructions

Allanson AHVPS714-12-MV-PCB Product Specifications and Operating Manual

Allanson

Allanson AHVPS714-12-MV-PCB Product Specifications and Operating Manual

Eaton MFD-AC-CP4 user manual

Eaton

Eaton MFD-AC-CP4 user manual

Linergy SPY CENTER BASIC SCB050 Series user manual

Linergy

Linergy SPY CENTER BASIC SCB050 Series user manual

manuals.online logo
manuals.online logoBrands
  • About & Mission
  • Contact us
  • Privacy Policy
  • Terms and Conditions

Copyright 2025 Manuals.Online. All Rights Reserved.