1. 2 ACTIVATE YOUR
STRAIGHT TALK WIRELESS PHONE
Locate your Activation Card
and follow the instructions on the card.
If you are a current Straight Talk customer it’s
easy to transfer your service to another Straight
Talk phone. To transfer your service, go to
StraightTalk.com
, then select the
Activate/
Reactivate
tab and select the
Phones
option.
To keep your existing phone number, select
Transfer my existing Straight Talk Service
,
then follow the instructions. You will need the
information on the red Activation Card in your
package to continue the Activation process.
For additional help, call the Customer Care
Center at 1-877-430-2355.
This Card has the Serial and SIM numbers you need to Activate
your phone.
To Activate, go to StraightTalk.com or call 1-877-430-2355 from
another phone.
A
B
C
1.1
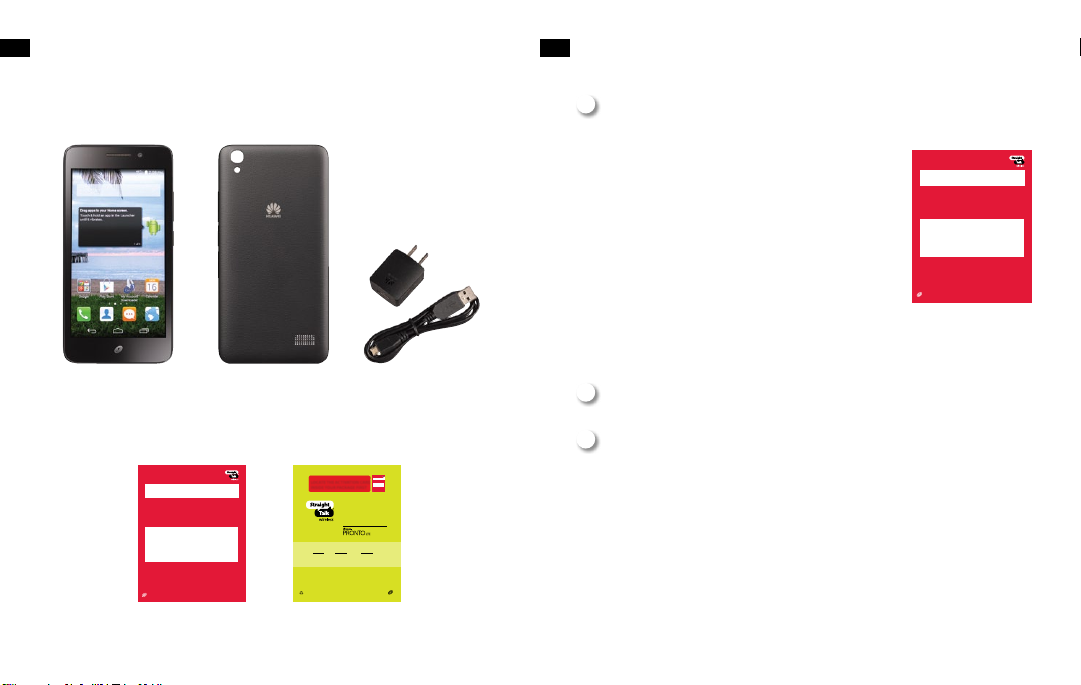
WHAT’S IN YOUR PACKAGE
Straight Talk
Wireless Phone Back Cover
Activation Card
Charger/
USB Cable
Services Guide
SERVICES
GUIDE
For more informationand the latest
Terms and Conditions of Service, visit StraightTalk.com
1.
Get
Started
3.
How To Use Your
Straight Talk
Wireless Phone
2.
About Your
Straight Talk
Wireless Service
LOCATETHE ACTIVATION CARD
INSIDE YOUR PACKAGE FIRST
STARTHERE
1.ACTIVATEYOURSERVICE
Go to StraightTalk.com or call 1-877-430-2355 to Activate your
Service.Bereadytoprovidethefollowing:
• ServicePlanPIN.Youmay also purchase one during Activation
usingacreditordebitcard.
• SerialNumber(IMEI)forthis device (shown below)
• Ifyoutransferyournumber from a different company.
Providetheaccurate:
• ACTIVE phone number to transfer
• Current Service Account Number, Name and Address
• Current Service Account Password or PIN
• Alternate contact phone number
®
PLEASEREADTHETERMS AND CONDITIONS OF SERVICE IN
THESERVICESGUIDEINTHISPACKAGE or at StraightTalk.com
BEFOREACTIVATINGYOURPHONEORANYSERVICE PLANS.
PLEASE RECYCLE
Printed in the U.S.A.
QUAG-STH891G
®
Once you receive confi rmation that the service has been Activated,
follow the instructions below to complete your Activation.
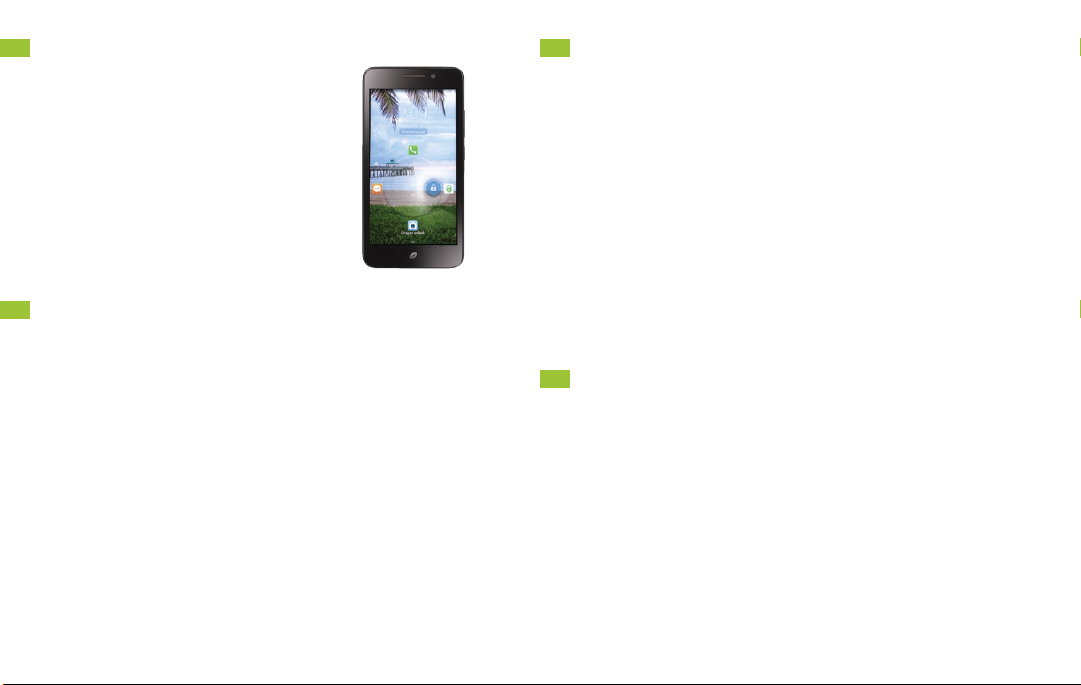
2. SET UP YOUR PHONE
1. Turn your phone OFF and back ON. Your phone will begin
the automatic setup process.
2. Once the setup is completed make a test call.
3. If your test call is successful, you are fi nished. If the setup or
test call fails, wait a few minutes and repeat these steps.
Questions?
Visit StraightTalk.com or call 1-877-430-2355.
START HERE
1. ACTIVATE YOUR SERVICE
Go to StraightTalk.com or call 1-877-430-2355 to Activate your
Service. Be ready to provide the following:
• Service Plan PIN. You may also purchase one during Activation
using a credit or debit card.
• Serial Number (IMEI) for this device (shown below)
• If you transfer your number from a diff erent company.
Provide the accurate:
• ACTIVE phone number to transfer
• Current Service Account Number, Name and Address
• Current Service Account Password or PIN
• Alternate contact phone number
®
PLEASE READ THE TERMS AND CONDITIONS OF SERVICE IN
THE SERVICES GUIDE IN THIS PACKAGE or at StraightTalk.com
BEFORE ACTIVATING YOUR PHONE OR ANY SERVICE PLANS.
CHECK YOUR DATA USAGE
To check your data usage, text the word USAGE to 611611. For Activations/
Reactivations/Redemptions, the data usage information may not be available
for the fi rst 48-72 hours after service begins or Airtime is added.
MANAGE YOUR DATA USAGE
• TRACK USAGE: You may download a Data Usage app such as My Data Manager.
With Android™ 4.0 and later versions, you can set a mobile data limit reminder.
• Wi-Fi®: Use a secure Wi-Fi connection to stream music, video, and other data
heavy content.
• AUTO UPDATES: Turn off auto updates on your apps or change your settings to
update over Wi-Fi only.
• PICTURES AND VIDEO: Turn off automatic picture and video uploading or change
your settings to upload on Wi-Fi only.
• EMAIL: Turn off push e-mail or set e-mail accounts to sync every hour or greater,
or to update manually.
•
MOBILE WEBSITES: Access the mobile website version of your choice. Full websites
require more data to view and browse them.
• BACKGROUND APPS: Turn off apps running in the background. They constantly
use data and can slow down the processing speed of your phone.
REFILL AND CHECK YOUR BALANCE
Download our free Straight Talk Wireless My Account
App to
check your Service End Date and refi ll your service. Download
this app from Google Play™ or simply scan the QR code
shown here. We recommend using a
secure Wi-Fi source for
your downloads.
Once you receive confi rmation that the service has been Activated,
follow the instructions below to complete your Activation.
2. SET UP YOUR PHONE
1. Turn your phone OFF and back ON. Your phone will begin
the automatic setup process.
2. Once the setup is completed make a test call.
3. If your test call is successful, you are fi nished. If the setup or
test call fails, wait a few minutes and repeat these steps.
Questions?
Visit StraightTalk.com or call 1-877-430-2355.
START HERE
1. ACTIVATE YOUR SERVICE
Go to StraightTalk.com or call 1-877-430-2355 to Activate your
Service. Be ready to provide the following:
• Service Plan PIN. You may also purchase one during Activation
using a credit or debit card.
• Serial Number (IMEI) for this device (shown below)
• If you transfer your number from a diff erent company.
Provide the accurate:
• ACTIVE phone number to transfer
• Current Service Account Number, Name and Address
• Current Service Account Password or PIN
• Alternate contact phone number
®
PLEASE READ THE TERMS AND CONDITIONS OF SERVICE IN
THE SERVICES GUIDE IN THIS PACKAGE or at StraightTalk.com
BEFORE ACTIVATING YOUR PHONE OR ANY SERVICE PLANS.
CHECK YOUR DATA USAGE
To check your data usage, text the word USAGE to 611611. For Activations/
Reactivations/Redemptions, the data usage information may not be available
for the fi rst 48-72 hours after service begins or Airtime is added.
MANAGE YOUR DATA USAGE
• TRACK USAGE: You may download a Data Usage app such as My Data Manager.
With Android™ 4.0 and later versions, you can set a mobile data limit reminder.
• Wi-Fi®: Use a secure Wi-Fi connection to stream music, video, and other data
heavy content.
• AUTO UPDATES: Turn off auto updates on your apps or change your settings to
update over Wi-Fi only.
• PICTURES AND VIDEO: Turn off automatic picture and video uploading or change
your settings to upload on Wi-Fi only.
• EMAIL: Turn off push e-mail or set e-mail accounts to sync every hour or greater,
or to update manually.
•
MOBILE WEBSITES: Access the mobile website version of your choice. Full websites
require more data to view and browse them.
• BACKGROUND APPS: Turn off apps running in the background. They constantly
use data and can slow down the processing speed of your phone.
REFILL AND CHECK YOUR BALANCE
Download our free Straight Talk Wireless My Account
App to
check your Service End Date and refi ll your service. Download
this app from Google Play™ or simply scan the QR code
shown here. We recommend using a
secure Wi-Fi source for
your downloads.