Huawei Nova Y61 User manual

User Guide

Contents
Essentials
Basic Gestures 1
Lock and Unlock Your Screen 4
Get Familiar with the Home Screen 5
Notication and Status Icons 6
Control Panel 7
Screenshots & Screen Recording 11
Enter Text 16
Multi-Window 17
Smart Features
AI Lens 21
AI Touch 21
Easy Projection 21
Huawei Print 22
Multi-Device Collaboration 23
Audio Control Panel 24
Camera and Gallery
Take Photos 25
Shoot in Portrait, Night, and Wide Aperture Modes 27
AI Camera 29
Moving Pictures 29
High-Res Mode 30
Pro Mode 30
Record Videos 32
Slow-Mo Recording 34
Time-Lapse Photography 35
Adjust Camera Settings 35
Manage Gallery 37
Smart Photo Categorization 41
Apps
Notepad 43
Compass 46
Settings
More Connections 48
Display & Brightness 48
Biometrics & Password 49
Security 52
About Phone 53
i

Essentials
Basic Gestures
Basic Gestures and Shortcuts
System Navigation Gestures
Go to Settings > System & updates > System navigation and make sure that Gestures is
selected.
Return to the previous screen
Swipe in from the left or right edges to return to the previous screen.
Back to home screen
Swipe up from the bottom to go to the home screen.
Recent tasks
Swipe up from the bottom of the screen and hold to view recent tasks.
Close an app
When viewing recent tasks, swipe up on an app preview to close the app.
1

Switch between apps
•Slide across the bottom edge of the screen to switch between apps.
Before using this gesture, touch Settings on the System navigation
screen, and ensure that Slide across bottom to switch apps is enabled.
•Swipe across the bottom of the screen in an arc to switch between apps.
If your device does not have the Slide across bottom to switch apps switch, it indicates
that the corresponding feature is not supported.
Knuckle Gestures
Before using knuckle gestures, use either of the following methods to make sure that all
necessary features are enabled (depending on your device model):
•Go to Settings > Accessibility features > Shortcuts & gestures, and enable Take
screenshot and Record screen.
•Go to Settings > Accessibility features > Motion control > Take screenshot, and enable
Smart screenshot.
Take a screenshot
Knock twice on the screen with a knuckle to take a screenshot.
Take a scrollshot
Knock on the screen with a knuckle and draw an "S" to take a scrolling
screenshot.
Capture part of the screen
Knock and draw an enclosed area with a knuckle to capture part of the
screen.
Essentials
2

Record screen
Knock twice on the screen with two knuckles to start or end a screen
recording.
More Gestures
Access Home screen editing mode
Pinch two ngers together on the home screen.
Display the shortcut panel on the lock screen
Turn on the screen and swipe up from the bottom of the lock screen.
Display the search bar
Swipe down from the middle of the home screen.
Display the notication panel
Swipe down from the upper left edge of the screen.
Turn on a shortcut switch
Swipe down from the upper right edge of the screen to display Control
Panel and touch to expand the shortcut switches panel (depending on
your device model).
Essentials
3

Button Shortcuts
Power o and restart
Press and hold the Power button until your phone displays the Power o
and Restart menu.
Turn up volume
Press the Volume up button.
Turn down volume
Press the Volume down button.
Take a screenshot
Press the Volume down and Power buttons simultaneously.
Some products do not have volume buttons.
Lock and Unlock Your Screen
Lock Your Screen
Auto-lock:
Your phone will automatically turn o when you haven't used it for a certain period of time.
You can go to Settings > Display & brightness > Sleep, and set the screen timeout duration.
Manually lock the screen:
To lock the screen, use either of the following methods:
•Press the Power button.
•On the home screen, pinch two ngers together to enter editing mode. Touch Widgets, and
drag the Screen Lock icon to the home screen. Then touch the Screen Lock icon to lock the
screen.
Essentials
4

Turn On the Screen
You can turn on the screen in any of the following ways (depending on your device model):
•Press the Power button.
•Go to Settings > Accessibility features > Shortcuts & gestures > Wake screen, and
enable and use Raise to wake, Double-tap to wake, or Show palm to wake.
•Go to Settings > Accessibility features > Motion control > Pick up, and enable and use
Wake device.
If your phone does not have this option, it indicates that this feature is not supported.
Unlock Your Screen
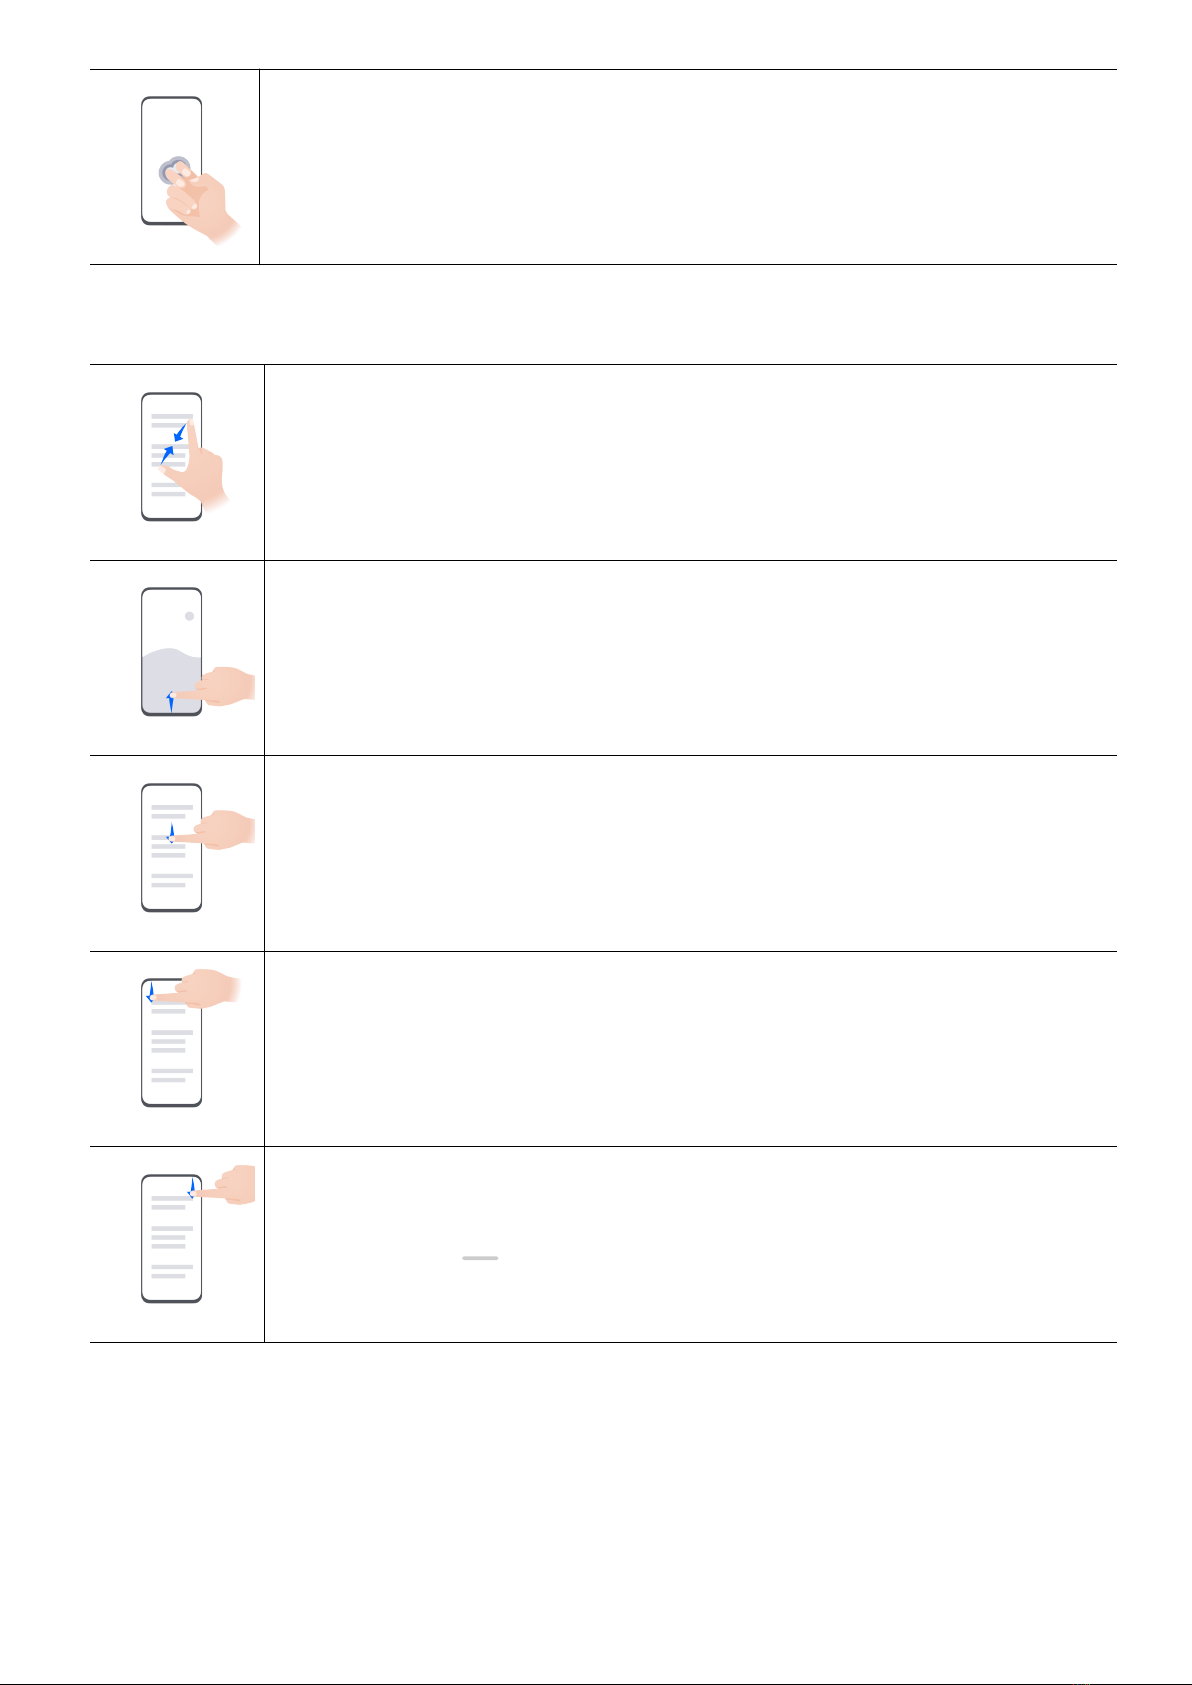
Password unlock: Once the screen is turned on, swipe up from the middle of the screen to
display a panel where you can enter your lock screen password.
Face unlock: Once the screen is turned on, bring your face in front of the screen. Your phone
will unlock automatically after recognizing your face.
Fingerprint unlock: Touch the ngerprint sensor zone with a nger that you have enrolled.
Be sure to rst wake the screen, if your device has an in-screen ngerprint sensor.
Get Familiar with the Home Screen
Create and Use Large Folders
You can group similar apps in a large folder and name the folder for better management.
You can also turn a standard folder into a large one (both the folder and the app icons in it
will be enlarged) to access apps more easily.
Create a Large Folder
1Touch and hold an app icon and drag it over another icon to create a new folder.
2Touch and hold a folder to switch between display modes. For example, you can touch
and hold a new folder and select Enlarge from the displayed menu to create a large
folder.
3You can touch the lower right corner of the large folder to open it and then touch the
folder name to rename it.
You can also rename the folder by touching and holding it and selecting Rename.
Operations in a Large Folder
You can perform the following operations in large folders:
•Open apps: In a large folder, touch an icon to access the app directly.
•Enter and exit folders: Touch the lower right corner of a large folder to enter it. Touch a
blank area in the folder to exit it.
Essentials
5

When there are more than nine apps within a large folder, a stacked icon will appear in the
lower right corner of the folder. You can touch the stacked icon to view more apps within
the folder.
•Add or remove apps: Open a large folder, touch , and add or remove apps as required.
If you deselect all apps within the folder, the folder will be deleted.
•Switch between display modes: Touch and hold a folder to switch between a standard
and large display. For example, you can touch and hold a standard folder and select
Enlarge from the displayed menu to create a large folder.
Notication and Status Icons
Network status icons may vary depending on your region or network service provider.
Supported features vary depending on the device model. Some of the following icons
may not be relevant to your phone.
5G network connected 4G network connected
3G network connected 2G network connected
Full signal strength Roaming
Data saver enabled No SIM card inserted
Hotspot enabled Hotspot connected
Hotspot disconnected Switching networks via Wi-Fi+
Wi-Fi connected Wi-Fi network is faulty, unable to
connect to the Internet
Wi-Fi 6 connected Wi-Fi 6 network is faulty, unable
to connect to the Internet
Wi-Fi 6+ connected Wi-Fi 6+ network is faulty, unable
to connect to the Internet
Airplane mode enabled Alarm set
Battery empty Low battery
Charging Fast charging
Super charging Wireless super charging
Essentials
6

Wireless fast charging Regular wireless charging
Power Saving mode enabled Digital Balance enabled
Bluetooth enabled Bluetooth device battery
Bluetooth device connected VPN connected
Driving mode enabled Projection device connected
Location service enabled Eye Comfort enabled
Headset connected Performance mode enabled
Calling VoLTE enabled
Missed call New message
Silent mode Vibration pattern
NFC enabled Do Not Disturb mode enabled
Syncing data Data syncing failed
New email Event reminder
More notications
Control Panel
Introduction to Control Panel
You can easily manage and control media playback, shortcuts, and Super Device in the
Control Panel.
Swipe down from the upper right edge of the screen to display Control Panel where you can
access the following features with ease:
Essentials
7

The gures are for reference only.
•Media controls: To control media playback and switch between recently used media apps
and media devices (such as Visions and Bluetooth headsets).
•Shortcut controls: To enable, disable, or set frequently used features.
•Super Device: Automatically discovers nearby devices logged in to the same HUAWEI ID
and allows you to link them so they work together as one.
•Device controls: To manage and control devices and scenes that have been added in AI
Life.This feature is only available in some countries and regions.
Use Shortcut Switches
Essentials
8

Turn on a Shortcut Switch
Swipe down from the upper right edge of the screen to display Control Panel and touch
to expand the shortcut switches panel (depending on your device model).
The gures are for reference only.
•Touch a shortcut switch to enable or disable the corresponding feature.
•Touch and hold a shortcut switch to access the settings screen of the corresponding feature
(supported by some features).
•Touch to access the system settings screen.
Essentials
9

Customize Shortcuts
Swipe down from the upper right edge of the screen to display Control Panel, go to >
Edit switches, then touch and hold a shortcut switch to drag it to your preferred position,
and touch Done.
Audio Control Panel
Manage Audio Playback in Audio Control Panel
When multiple audio apps (such as Music) are opened, you can manage music playback and
switch between these apps in Audio Control Panel with ease.
1After opening multiple audio apps, swipe down from the upper right edge of the phone to
display Control Panel, then touch the audio playback card at the top of Control Panel.
2The currently and recently used audio apps will be displayed in Audio Control Panel where
you can manage playback (such as playing, pausing, and switching to the previous or next
song) in the app in use, or touch another audio app to quickly switch playback.
•Some apps need to be updated to the latest version before using this feature.
•Not all apps support Audio Control Panel.
Quickly Switch Audio Playback Device
When your phone is connected to an audio device (such as a headset, Bluetooth speaker, or
Vision product), you can quickly switch the playback device in the audio control section in
Control Panel (such as for transferring the current music playback from your phone to a
Bluetooth speaker).
1Connect your phone to an audio device via Bluetooth or other methods.
After a Vision product is connected to your phone via Bluetooth, you can also connect it to
the same Wi-Fi network and log in to the same HUAWEI ID as your phone to perform
more operations.
2Swipe down from the upper right edge of your phone to display Control Panel, touch
or the device icon (such as ) in the top right corner of the audio control section at the
top, then select the audio device from the connected device list to transfer the current
audio playback on your phone to the device.
Switch Seamlessly Between Screens, with Super Device
Use Super Device for multi-device collaboration with just a tap, to turn all of your smart
devices into one cohesive unit. For example, when you go home, you can continue watching
a movie on your HUAWEI Vision, by picking up right from where you had left o on your
phone; when you return to the oce, you can continue to edit the same documents on your
computer, by picking up right from where you had left o on your phone.
Essentials
10

Before using Super Device, check whether this feature is supported by the devices you
wish to connect.
Set Super Device
Before using Super Device, enable Bluetooth and Wi-Fi on your phone, and log in to your
HUAWEI ID.
Make sure that the screens of your other devices remain on, and perform the following
settings on these devices:
•Phone: Enable Bluetooth and Wi-Fi, and make sure that the device is logged in to the same
HUAWEI ID as the phone that is being used to control it.
Only phones that support Multi-cam mode can be used as connected devices. You can
check whether Multi-cam mode is supported, by going to Camera > More.
•Tablet or tablet with an E Ink display: Enable Bluetooth and Wi-Fi, and make sure that
the device is logged in to the same HUAWEI ID as the phone.
•Computer or HUAWEI Vision: Enable Bluetooth and Wi-Fi, and make sure that the device
is logged in to the same HUAWEI ID as your phone.
•Smart speaker: Make sure that it is connected to the same Wi-Fi network as your phone
and logged in to the same HUAWEI ID on your phone via AI Life.
•Earphones or glasses: Make sure that they are paired and connected to your phone via
Bluetooth.
•Watch or band: Make sure that it is paired with your phone via Huawei Health, and logged
in to the same HUAWEI ID.
Device types supported by Super Device may vary by product.
Scan for Nearby Devices to Create Your Super Device
Swipe down from the upper right edge of your phone to display Control Panel, and touch
or in Super Device to search for nearby devices to connect with.
Touch the device you wish to connect to, or drag this device to the local device, and follow
the onscreen instructions to complete the connection.
If you can't nd Super Device in Control Panel, touch in the upper right corner, and
touch Show Super Device.
Screenshots & Screen Recording
Take a Screenshot
Take a Full Screenshot with a Knuckle Tap
1Before using knuckle gestures, use either of the following methods to enable this feature
(depending on your device model):
Essentials
11

•Go to Settings > Accessibility features > Shortcuts & gestures > Take screenshot
and enable Knuckle screenshots.
•Go to Settings > Accessibility features > Motion control > Take screenshot and
enable Smart screenshot.
2Tap twice in quick succession with one knuckle to take a screenshot of the entire screen.
Take a Screenshot with a Key Shortcut
Press and hold down on the Power and Volume down buttons at the same time to take a
screenshot.
Take a Screenshot with a Shortcut Switch
Swipe down from the upper right edge of the screen to display Control Panel, touch to
expand the shortcut switches panel (depending on your device model), and touch
Screenshot to take a screenshot.
Share or Edit a Screenshot
After you take a screenshot, a thumbnail will appear in the lower left corner of the screen.
Feel free to:
•Swipe up on the thumbnail to select a method for sharing the screenshot with others.
•Tap on the thumbnail to edit, delete, or do more with the screenshot.
Screenshots are saved to Gallery by default.
Swipe Down with Three Fingers to Take a Screenshot
1Go to Settings > Accessibility features > Shortcuts & gestures > Take screenshot or
Settings > Accessibility features > Motion control > Three-nger screenshot
(depending on your device model) and make sure that Three-nger screenshot is
enabled.
2Swipe down from the middle of the screen with three ngers to take the screenshot.
Take a Partial Screenshot
Use Partial screenshot to take a screenshot of a part of the screen. You can choose your
preferred screenshot shape (such as a rectangle, oval, or heart).
Take a Partial Screenshot with Knuckle Gestures
Essentials
12

The gures are for reference only.
1Knock on the screen with a single knuckle and hold to draw an enclosed shape around the
part of the screen that you wish to capture. Make sure that your knuckle does not leave
the screen.
2The screen will display the motion of your knuckle. From there, feel free to:
•Drag the frame to the desired position, or resize it.
•Touch any of the shape options at the bottom of the screen to change the shape of the
captured area.
3Touch to save the screenshot.
Partial Screenshot Shortcuts
1Swipe down from the upper right edge of the screen to display Control Panel and touch
to expand the shortcut switch panel (depending on your device model). Then touch
the triangle icon next to Screenshot, and select Partial screenshot.
2Follow the onscreen instructions to draw an enclosed shape with your nger around the
part of the screen that you wish to capture.
3The screen will display the motion of your nger. From there, feel free to:
•Drag the frame to the desired position, or resize it.
•Touch any of the shape options at the bottom of the screen to change the shape of the
captured area.
4Touch to save the screenshot.
Essentials
13

Take a Scrolling Screenshot
Use Scrollshot to capture a memorable chat, article, or essential work document that can't
display in full on the screen, and share with others.
Use a Knuckle to Take a Scrolling Screenshot
The gures are for reference only.
1Tap a single knuckle against the screen and hold to draw an "S". Your device will
automatically scroll to the bottom of the page to capture all of the content in a single
screenshot.
2You can touch the screen at any time to stop the scrolling.
Use a Shortcut to Take a Scrolling Screenshot
1Swipe down from the upper right edge of the screen to display Control Panel, touch
to expand the shortcut switches panel(depending on your device model), touch the
triangle icon next to Screenshot, and touch Scrollshot in the displayed dialog box.
2You can touch the screen at any time to stop the scrolling.
Swipe down on the Thumbnail to Take a Scrolling Screenshot
Essentials
14

The gures are for reference only.
After you take a screenshot, a thumbnail will appear in the lower left corner. You can
continue to take a scrolling screenshot.
1Swipe down on the thumbnail to take a scrolling screenshot.
2You can touch the screen at any time to stop the scrolling.
Record the Screen
Record your screen activities in sharable videos to compose a tutorial, show o your
awesome gaming skills, and a lot more.
Use a Key Combination to Start Screen Recording
Press and hold the Power and Volume up buttons simultaneously to start screen recording. To
stop recording, press and hold both buttons again.
Use a Shortcut to Start Screen Recording
1Swipe down from the upper right edge of the screen to display Control Panel, touch
to expand the shortcut switches panel (depending on your device model), and touch
Screen Recorder to start screen recording.
2To stop the recording, touch the timer at the top of the screen.
3The recording will be saved in Gallery.
Start a Screen Recording with just Two Knuckles
1Before using knuckle gestures, use either of the following methods to make sure that all
necessary features are enabled (depending on your device model):
Essentials
15

•Go to Settings > Accessibility features > Shortcuts & gestures > Record screen and
enable Record screen.
•Go to Settings > Accessibility features > Motion control > Take screenshot and
enable Smart screenshot.
2Knock the screen twice in quick succession with two knuckles to start a screen recording.
To stop recording, knock twice as before.
Record Your Voice During Screen Recording
You can enable the microphone to record your voice while recording the screen.
After starting a screen recording, touch the microphone icon and ensure that it is displayed as
. You can now record your voice.
If the microphone is disabled (if it is displayed as ), you will only be able to record
system sounds, such as music.
Enter Text
Use Celia Keyboard
Celia Keyboard is a secure and intuitive keyboard developed by Huawei. It supports ecient
voice inputs, smooth handwriting, as well as 170+ input languages.
If Celia Keyboard is not yet installed on your device, search for and install it in AppGallery.
Go to Settings > System & updates > Language & input and set Celia Keyboard as the
default keyboard.
Text Input
Keyboard input
Celia Keyboard comes with a 26-key layout by default. As you type on the keyboard, a box
will be displayed for you to select predicted words.
Press and hold a letter key and then swipe up to enter a number, or swipe left or right to
enter the letter.
Voice input
You can have your speech converted into text to improve your input eciency.
•Touch and hold to go to the voice input screen.
•On the voice input screen, touch to select your preferred language.
This feature is only available in some countries and regions.
Essentials
16

Rich Media Input
•On the keyboard, touch and hold , then touch and select dierent emojis.
•On the keyboard, touch and hold , then touch and select dierent emoticons.
Switch to Another Input Language
Touch and hold in the lower left corner and select English(United States) or More
languages… in the pop-up menu. Alternatively, touch to quickly switch input language.
Multi-Window
Edit the Multi-Window Dock
Swipe inward from the left or right edge of your phone and hold, to bring up the Multi-
Window dock.
•To check whether an app supports Multi-Window: Go to on the Multi-Window dock,
nd the list of apps that support Multi-Window in the More apps section.
•Add apps: Go to > on the Multi-Window dock, select your desired apps from the
More apps section, and touch .
•Move apps: Go to > , touch and hold an app icon on the Multi-Window dock, drag
it up or down to your desired position on the dock, and touch .
•Remove apps: Go to > , touch in the top right corner of an app icon on the
Multi-Window dock, and touch .
The suggested apps shown on the Multi-Window dock cannot be moved around or
deleted.
The Multi-Window dock is enabled by default. To disable it, go to Settings > Accessibility
features > Multi-Window, and turn o the Multi-Window dock switch.
Split the Screen, to Multi-Task Away
Multi-Window allows you to open apps in split screen mode, for seamless multi-tasking at all
times.
Split-screen mode is only supported in certain apps.
Splitting the screen:
Essentials
17

1After opening an app, swipe inward from the left or right edge of your phone screen and
hold, to bring up the Multi-Window dock.
2Hold down on an app in the dock, drag it to the screen, and then release.
Switching split-screen panes:
Touch and hold down on at the top of a split-screen pane until you see the pane shrink,
then drag it to the other side of the screen to switch panes.
Exiting split-screen mode:
Touch and hold down on or in the middle of the split screen line, and drag it until
you see either pane disappear.
Drag and Drop Between Apps with Multi-Window
Use the Multi-Window feature to easily drag and drop images, text, and documents between
apps.
•Drag and drop an image: When taking notes with Notepad, open Files, select the photo
you want to add, and drag it into the Notepad editor.
•Drag and drop text: When sending an SMS message, open Notepad, touch and hold the
text you want to send, and drag it into the message text input box.
•Drag and drop a document: When writing an email, open Files, select the document you
want to attach, and drag it into the email editor.
Not all apps fully support drag-and-drop with Multi-Window.
Multi-Window View for a Single App
You can create two task windows for the same app (such as Email and Notepad), and drag
images, text, or documents between them.
This feature is unavailable in some apps.
Enter the split-screen view within an app.
1Open the Email app.
2Swipe inward from the left or right edge of your phone and hold to bring up the Multi-
Window dock.
3Touch and hold the Email icon, and drag it to the screen to enter split-screen view.
Drag images, text, or documents between the split-screen windows.
•Drag an image: Select an image from one split-screen window and drag it to the other
window.
•Drag text: Touch and hold the text and select the desired part from one split-screen
window, then touch and hold the text again and drag it to the other window.
•Drag a document: Select a document from one split-screen window and drag it to the
other window.
Essentials
18
Table of contents
Other Huawei Cell Phone manuals

Huawei
Huawei P7-L12 User manual

Huawei
Huawei G3622 User manual

Huawei
Huawei Ascend Y330 User manual

Huawei
Huawei Y330-U15 User manual

Huawei
Huawei Mate20 X User manual

Huawei
Huawei Virqin media VM720 User manual

Huawei
Huawei CherryPlus Dimensions

Huawei
Huawei T7200 User manual

Huawei
Huawei Honor 2 User manual

Huawei
Huawei C209S User manual

Huawei
Huawei G5510 User manual

Huawei
Huawei SnapTo User manual

Huawei
Huawei Honor 6 Plus User manual

Huawei
Huawei C3300 User manual

Huawei
Huawei P20 lite User manual

Huawei
Huawei u2801 User manual

Huawei
Huawei Ascend G300 User manual

Huawei
Huawei Ascend P6 User manual

Huawei
Huawei G6600 User manual

Huawei
Huawei Honor U8860 User manual