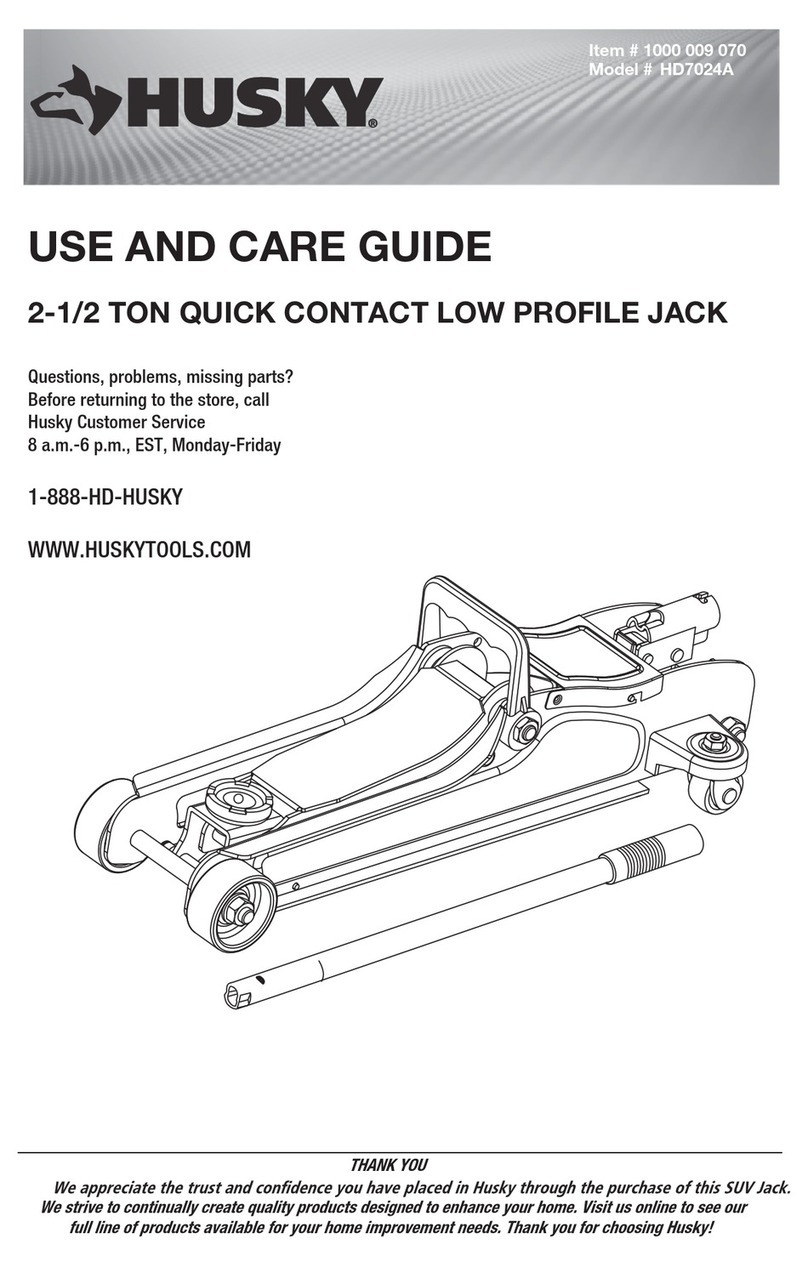
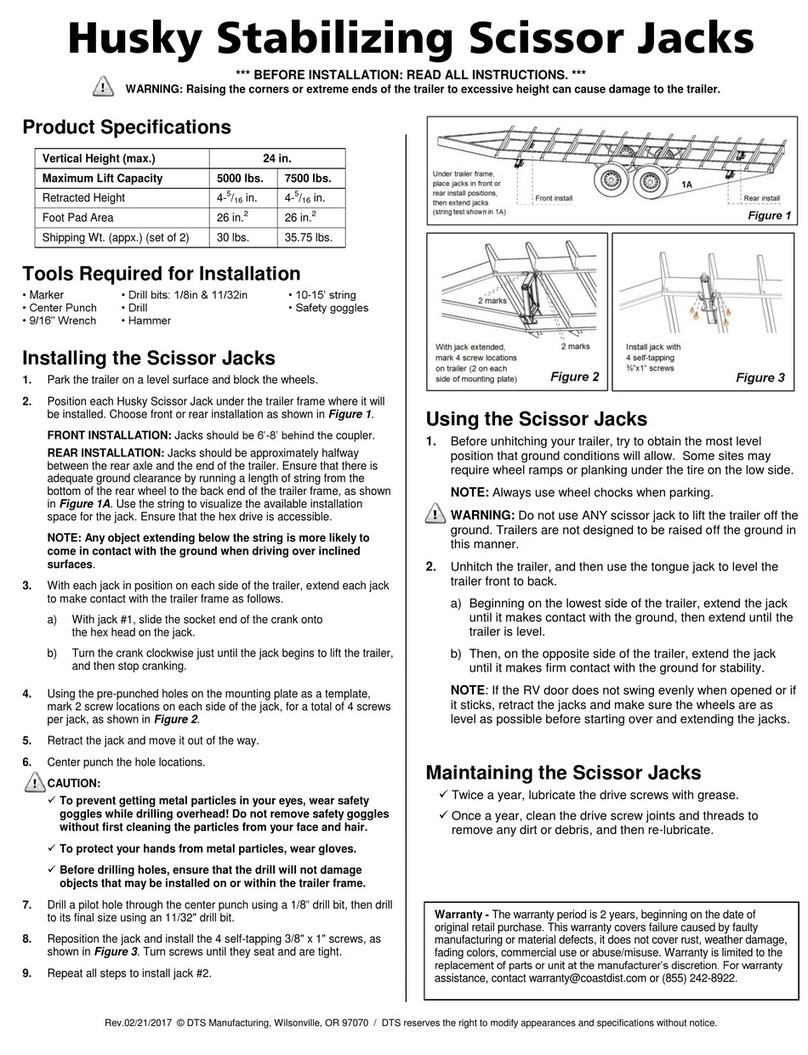
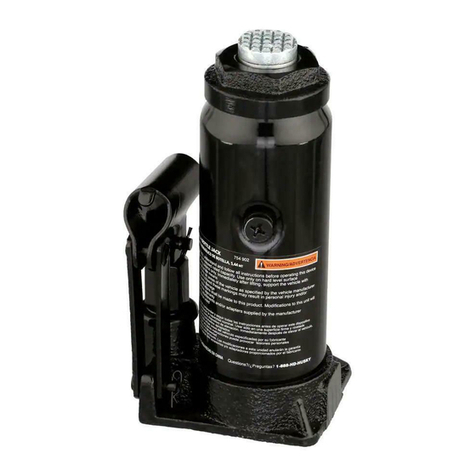
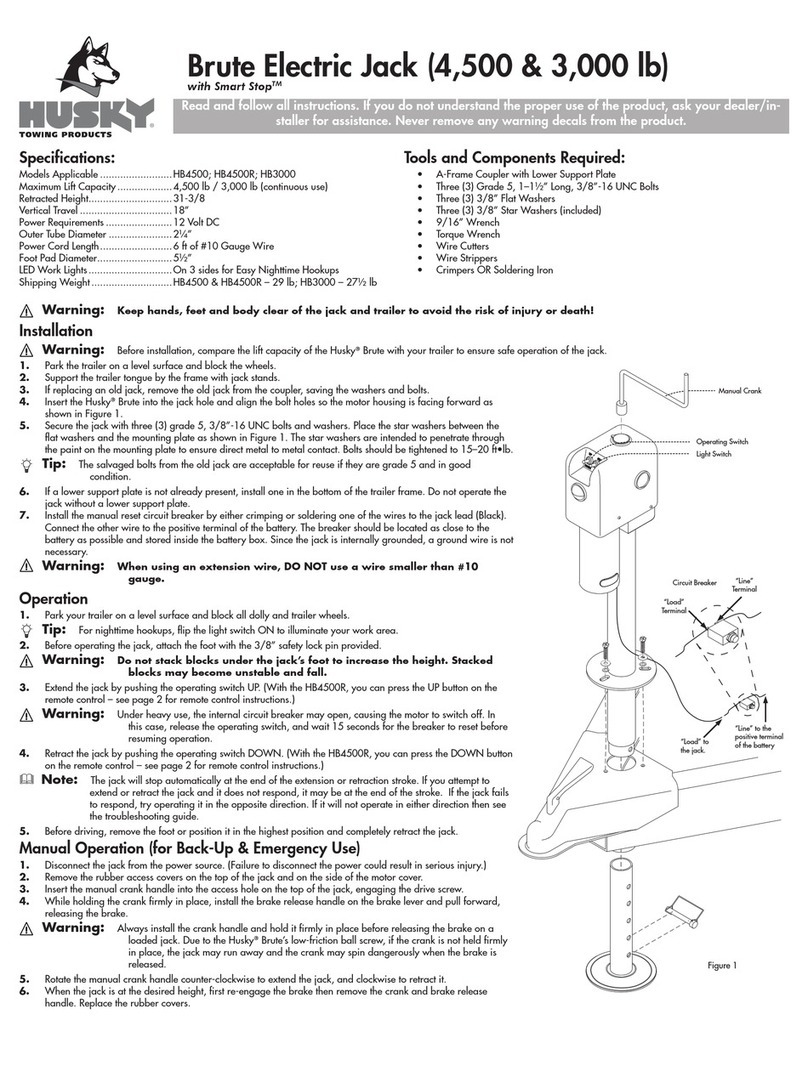
Husky HD00120 User manual

THANK YOU
continually create quality products designed to enhance your home. Visit us online to see our full line of products
available for your home improvement needs. Thank you for choosing Husky!
USE AND CARE GUIDE
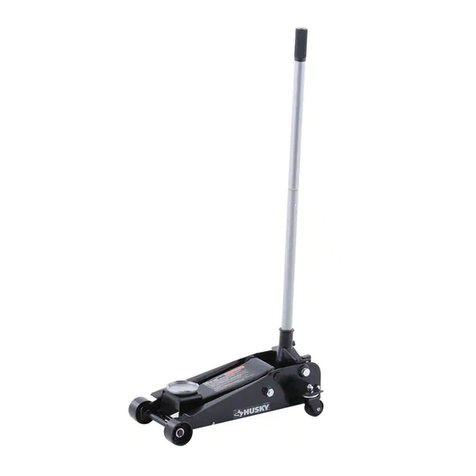
3 TON LOW PROFILE FLOOR JACK
WITH SPEEDY LIFT
Questions, problems, missing parts?
Before returning to the store, call
Husky Customer Service
8 a.m. - 7 p.m., EST, Monday - Friday, 9 a.m. - 6 p.m., EST Saturday
1-888-HD-HUSKY
HUSKYTOOLS.COM
Item #1001 573 538
Model #HD00120

2
Table of Contents
Safety Information................................................................. 2
Warranty................................................................................. 2
Pre-Operation......................................................................... 3
Before Assembly and Operation ........................................ 3
Specications.................................................................... 3
How It Works ..................................................................... 3
Garage Jack Package Contents......................................... 3
Jack Operation....................................................................4-5
Tool Set Up ............................................................................. 5
Attaching the Handle......................................................... 5
Bleeding ............................................................................ 5
Adding Oil.......................................................................... 5
Care and Cleaning ................................................................ 6
Inspection.......................................................................... 6
Maintenance ......................................................................... 6
Replacing Hydraulic Jack Oil............................................. 6
Lubricating the Jack.......................................................... 6
Storing the Jack ................................................................ 6
Cleaning the Jack.............................................................. 6
Troubleshooting ..................................................................... 7
General Operation.................................................................. 8
Lifting ................................................................................ 8
Lowering ........................................................................... 8
Exploded View........................................................................ 9
Safety Information
READ AND SAVE THESE INSTRUCTIONS
1. Read, understand, and follow all instructions before
operating this device prior to use.
2. Do not overload this jack beyond the rated capacity.
3. This jack is designed for use only on hard level
surfaces capable of sustaining the load. Use on
other than hard level surfaces can result in jack
instability and possible loss of load.
4. This is a lifting device only. Immediately after
lifting, support the vehicle with jack stands.
5. Inspect the jack prior to each use. Do not attempt
use if the unit is broken, bent, cracked, or has
missing and/or damaged parts. Replace broken,
bent, cracked, missing and/or damaged parts, and/
or missing labels, warnings and/or decals with
factory authorized parts prior to use.
DANGER: Because of the potential hazards associated
with the misuse of equipment of this type, no alterations
shall be made to the product without written authorization
of the manufacturer or supplier.
WARNING: Do not get under or allow anyone under the
vehicle until it has been supported by jack stands.
WARNING: For your safety and to prevent injury, use the
service jack for lifting purposes only.
WARNING: This jack is a lifting device only. It is not
a support device. NEVER place yourself under or near
a raised vehicle supported by a jack. Immediately after
lifting, support the vehicle with jack stands or other
appropriate means.
CAUTION: Do not move or dolly the vehicle while on
the jack.
CAUTION: Any jack that appears to be damaged or has
worn parts should be removed from service immediately.
IMPORTANT: Lift only on areas of the vehicle as
specied by the vehicle manufacturer. Use the vehicle
manufacturer’s instructions on proper lifting.
NOTE: Center the load on the saddle prior to lifting.
NOTE: Use of garage and bottle jacks on sea vessels is
prohibited.
NOTE: Some vehicles require an adapter to properly
engage the frame for lifting
NOTE: Failure to heed these warnings may result in
personal injury and/or property damage.
Warranty
The manufacturer warrants the products to be free from defects in materials and workmanship for a period of
one (1) year from the date of purchase. This warranty applies only to the original consumer purchaser and only to
products used in normal use and service. If this product is found to be defective, the manufacturer’s only obligation,
and your exclusive remedy, is the repair or replacement of the product at the manufacturer’s discretion, provided
that the product has not been damaged through misuse, abuse, accident, modications, alteration, neglect, or
mishandling. This warranty shall not apply to any product as a result of an accident, misuse, abuse, negligence,
alteration, faulty installation, or any other failure not relating to faulty material or workmanship. This warranty
shall not apply to the nish on any portion of the products such as surface and/or weathering, as this is considered
normal wear and tear.
The manufacturer does not warrant and specially disclaims any warranty, whether express or implied, of tness for
a particular purpose, other than the warranty contained herein. The manufacturer specically disclaims any liability
and shall not be liable for any consequential or incidental loss or damage, including but not limited to any labor/
expense costs involved in the replacement or repair of said product.
Contact the Customer Service at 1-888-HD-HUSKY or visit www.huskytools.com.
3 HUSKYTOOLS.com
Please contact 1-888-HD-HUSKY for further assistance.
Pre-Operation
BEFORE ASSEMBLY AND OPERATION
Compare all parts with the Package Contents lists in this manual. If any part appears missing or damaged, do not
use this product. Contact the Customer Service at 1-888-HD-HUSKY or visit www.huskytools.com.
SPECIFICATIONS
Model Jack Dimensions Max Load
Capacity
Lifting Range Saddle
Dimensions
Jack
Weight
Floor Jack with
Speedy Lift
29.125 in. x 13.5 in. x 6.25 in. 6,000 lbs 3 to 19.75 in. 4.3 in.
Diameter
78.1 lbs.
HOW IT WORKS
The jack power unit consists of a plunger, plunger cavity, hydraulic oil reservoir, cylinder, and ram. An upward stroke
of the jack handle draws oil from the reservoir into the plunger cavity. Hydraulic pressure closes a valve that keeps
oil in the cavity. A downward stroke of the jack handle forces oil into the cylinder, pushing out the ram and raising
the saddle.
NOTE:
overextended ram stroke and possible jack damage.
GARAGE JACK PACKAGE CONTENTS
Part Description Quantity
A 3 Ton Floor Jack 1
B Handle 1

4
Jack Operation
1 Inserting the handle
□Insert the handle (B) into the handle socket of
the jack (A). Ensure the pin on the lower end of
the handle (B) snaps into the socket slot.
A
B
2 Placing the vehicle in park
□Place the vehicle in PARK and apply the
emergency brake.
3 Closing the jack
□Close the jack release valve by turning the
handle (B) clockwise.
B
4 Blocking the wheels
□Block the vehicle wheels that are not being
raised.
5 Centering the jack
□Center the jack under the load so that the
saddle (1) contacts the load rmly and will
not slip. (Refer to the vehicle manufacturer’s
owner’s manual to locate the approved lifting
points on the vehicle). 1

5 HUSKYTOOLS.com
Please contact 1-888-HD-HUSKY for further assistance.
Jack Operation (continued)
6 Lifting the vehicle
WARNING: To avoid pinching or crushing hands or feet,
ALWAYS keep them clear of the jack hinge and ground
contact area when lowering the vehicle. The jack is a
lifting device only. DO NOT move or dolly the vehicle while
it is on the jack.
□Pump the jack handle (B) until the saddle (1)
nears contact with the vehicle. Check to see
that the saddle (1) is centered and will contact
the lifting point rmly.
□Continue to pump the jack handle (B) to lift
the vehicle to a height slightly above the jack
stands or other supports. Then turn the handle
(B) very slowly counterclockwise to open the
release valve to lower the vehicle onto the
supports.
B
1
Tool Set Up
ATTACHING THE HANDLE
1. Fasten the Upper handle to the Lower Handle.
2. Loosen the Set Screw and insert the assembled Handle into the Handle Socket.
3. Tighten the Set Screw.
BLEEDING
1. Loosen the Fill Screw.
2. Insert the Handle into the Handle Socket to operate the Release Valve.
3. Turn the Handle counterclockwise to open the valve.
4. Pump the Handle up and down quickly several times to purge air from the system.
5. Tighten the Fill Screw.
ADDING OIL
1. Remove the Fill Screw.
2. Add high grade hydraulic uid into the Fill Screw slowly until the oil reaches the top of the oil ll hole.
3. Replace the Fill Screw.
NOTE: Do not touch the handle when adding hydraulic oil.

6
Care and Cleaning
INSPECTION
Maintain the product according to these instructions. You may not alter this product in any way.
1. Before using, inspect the jack thoroughly. Look for cracks in the welds, bent, damaged, loose, worn or
missing parts.
2. Inspect according to this manual ONLY.
3. If the jack has been subjected to abnormal load or shock (abuse), perform an immediate inspection. Take
the product to a local customer service representative for an authorized inspection before use.
Maintenance
CLEANING, MAINTENANCE AND LUBRICATION
CAUTION: To prevent serious injury from tool failure: Do
not use damaged equipment. If abnormal noise or vibration
occurs, have the problem corrected before further use.
IMPORTANT: Procedures not specically explained in
this manual must be performed by a qualied technician.
1. Before each use, inspect the general condition of the jack. Check for broken, cracked or bent parts, loose or
missing parts, and any condition that may affect the proper operation of the product. If a problem occurs, have the
problem corrected before further use.
DO NOT USE DAMAGED EQUIPMENT
2. Before each use, thoroughly test the jack for proper operation prior to its actual use. If the jack appears not to be
working properly, follow bleeding instructions on page 5.
3. Change the hydraulic oil at least once every three years.
A. With the jack fully lowered, remove the Oil Filler Plug on the side of the housing.
B. Tip the jack to allow the old hydraulic oil to drain out of the housing completely, and
dispose of the old hydraulic uid in accordance with local regulations.
C. With the jack upright, completely ll the housing with a high quality hydraulic oil (not
included) until the oil is 1/4” below the ll hole.
D. Open the valve by turning the handle counterclockwise and pump the handle to bleed air
from the system.
E. Recheck oil level and re-ll as needed.
F. Reinstall the Oil Filler Plug.
4. Wipe dry with a clean cloth. Then, store the jack in a safe, dry location out of reach of children and other
non-authorized people.

7 HUSKYTOOLS.com
Please contact 1-888-HD-HUSKY for further assistance.
Troubleshooting
Problem Probable Cause Solution
The jack will not lower
completely.
□There is air in the hydraulic
system.
□The release valve is stuck.
□Purge air from the hydraulic
system.
□Transfer the weight load and clean
the valve.
The jack will not hold weight. Release the valve in open
position. Check the locking pin
and release handle to make sure
they are functioning properly.
Close the release valve tightly.
The jack will not raise. □The oil level is low.
□There is air in the hydraulic
system.
□Fill to recommended level.
□Purge air from the hydraulic
system.
The jack lifting is weak. □There is air in the hydraulic
system.
□The oil is dirty.
□The release valve is not
completely closed.
□Purge air from the hydraulic
system.
□Change the oil.
□Close the release valve tightly.
The jack will not lift the load. □The weight is excessive.
□The release valve is in the
open position.
□The oil level is low.
□Decrease the weight or change to a
higher capacity jack.
□Turn the valve clockwise and
tighten.
□Fill to a recommended level.
The lift arm will not lower. Check the locking pin and release
handle to make sure they are
functioning properly.
Call customer service.
WARNING: TO PREVENT SERIOUS INJURY: Use caution when troubleshooting a malfunctioning jack. Stay clear of the supported load.
Completely resolve all problems before use. If the solutions presented in the Troubleshooting guide do not solve the problem, have a qualied
technician inspect the and repair the jack before use.
After the jack is repaired: Test it carefully without a load by raising and lowering it fully, checking for proper operation, BEFORE RETURNING
THE JACK TO OPERATION

8
General Operation
LIFTING
WARNING: Park vehicle on a at, level, solid surface safely away from oncoming trafc. Turn off the vehicle’s engine. Place the vehicle’s
transmission in “PARK” (if automatic) or in its lowest gear (if manual). Set the vehicle’s emergency brake. Then, chock the wheels that are not
being lifted.
1. Turn the handle counterclockwise to lower the jack. Once the jack is fully lowered, turn the handle rmly
clockwise to close it.
2. Carefully position the saddle of the jack under the vehicle manufacturer’s recommended lifting point.
(See vehicle manufacturer’s owner’s manual for location of frame lifting point.)
3. Pump the handle until the top of the jack’s saddle has nearly reached the vehicle lifting point. Position
the saddle directly under the vehicle’s lifting point.
4. To lift the vehicle, pump the handle of the jack. Use smooth, full strokes.
5. Once the vehicle is raised, slide a jack stand of appropriate capacity (not included) under a proper lifting
point referred to in the vehicle owner’s manual. Always use two jack stands, position them at the same
point on each side of the vehic
WARNING: The rated capacity of jack stands is per pair, not the individual capacities combined unless specically noted on the product by
the jack stand manufacturer. Do not exceed rated jack stand capacity. Ensure that the vehicle support points are fully seated in the saddle
of both jack stands. Use a matched pair of jack stands per vehicle to support one end only. Failure to do so may result in the load suddenly
falling, which may cause personal injury and/or property damage.
6. Center the vehicle’s lifting point(s) on the center of the jack stand(s). Set the jack stand(s) to the same
height according to the manufacturer’s instructions, making sure that they lock securely into position.
7. Slowly turn the handle counterclockwise to lower the vehicle onto the saddle(s) of the jack stand(s).
Then, turn the handle rmly clockwise to close it.
LOWERING
1. Carefully remove all tools, parts, etc. from under the vehicle.
2. Position the saddle under the lifting point. Turn the handle rmly clockwise and raise the load high
enough to clear the jack stands, then carefully remove the jack stands.
3. Slowly turn the handle counterclockwise (never more than 1/2 full turn) to lower the vehicle onto the
ground.
4. Lower the jack completely. Then, store in a safe, dry location out of reach of children.

9 HUSKYTOOLS.com
Please contact 1-888-HD-HUSKY for further assistance.
Exploded View
3 TON LOW PROFILE FLOOR JACK
Part Description Quantity Part Description Quantity
1 Retaining Ring (M20) 2 17 Set Screw 1
2 Washer (M20) 2 18 Upper Handle 1
3Front Wheel 2 19 Lower Handle 1
4 Frame 1 20 Screw (M6x35) 1
5 Nut (M16) 4 21 U-Joint 1
6 Washer (M16) 4 22 Hydraulic Unit 1
7 Screw (M5x12) 4 23 Spring 2
8Rear Caster Assembly 2 24 Retaining Ring (M22) 2
9 Screw (M10x20) 4 25 Hydraulic Unit Adaptor 1
10 Washer (M10) 4 26 Pin (A4x55) 1
11 Bolt 2 27 Retaining Ring (M25) 2
12 Washer (M18) 2 28 Lift Arm Shaft 1
13 Retaining Ring (M12) 1 29 Cover Plate 1
14 Handle Socket Roller 1 30 Saddle 1
15 Handle Socket 1 31 Saddle Screw 1
16 Shaft 1 32 Handle Bumper 1

Questions, problems, missing parts?
Before returning to the store,
call Husky Customer Service
8 a.m.-6 p.m., EST, Monday-Friday
1-888-HD-HUSKY
WWW.HUSKYTOOLS.COM
Retain this manual for future use.
Questions, problems, missing parts?
Before returning to store,
call Husky Customer Service
8 a.m.-7p.m., EST, Monday-Friday,
9 a.m.-6p.m., EST, Saturday
This manual suits for next models
1
Table of contents
Other Husky Jack manuals
Popular Jack manuals by other brands

Perfomance Tool
Perfomance Tool W1636 owner's manual

Weaver
Weaver WA-72B Operation and service instructions

ATD Tools
ATD Tools ATD-7500 Operating instructions & parts manual

Westfalia
Westfalia 57 10 91 instruction manual

Meec tools
Meec tools 013584 operating instructions

Ranger Products
Ranger Products Professional RFJ-3TP Installation and operation manual