manuals.online logo
Brands
  1. Home
  2. •
  3. Brands
  4. •
  5. Husky
  6. •
  7. Tools Storage
  8. •
  9. Husky 72WB01SS-THD User manual

Husky 72WB01SS-THD User manual

Other Husky Tools Storage manuals

Husky H63MWC11FT User manual

Husky

Husky H63MWC11FT User manual

Husky HOTC9624BB1M User manual

Husky

Husky HOTC9624BB1M User manual

Husky H52MWC10BLU User manual

Husky

Husky H52MWC10BLU User manual

Husky TSA4524 User manual

Husky

Husky TSA4524 User manual

Husky H72CH9HD User manual

Husky

Husky H72CH9HD User manual

Husky HPRO72MWC20BLK User manual

Husky

Husky HPRO72MWC20BLK User manual

Husky HOTC5209B21M User manual

Husky

Husky HOTC5209B21M User manual

Husky H30MECH6BLK User manual

Husky

Husky H30MECH6BLK User manual

Husky HOTC6212B11M User manual

Husky

Husky HOTC6212B11M User manual

Husky H5TR2LEC User manual

Husky

Husky H5TR2LEC User manual

Husky HOTC4116B23S User manual

Husky

Husky HOTC4116B23S User manual

Husky HOTC6110BB1M User manual

Husky

Husky HOTC6110BB1M User manual

Husky HMT5212 User manual

Husky

Husky HMT5212 User manual

Husky H48JSB User manual

Husky

Husky H48JSB User manual

Husky H4CH1 User manual

Husky

Husky H4CH1 User manual

Husky HOTC6212B11S User manual

Husky

Husky HOTC6212B11S User manual

Husky H52CH6HDV4 User manual

Husky

Husky H52CH6HDV4 User manual

Husky H46X18MWC9BLK User manual

Husky

Husky H46X18MWC9BLK User manual

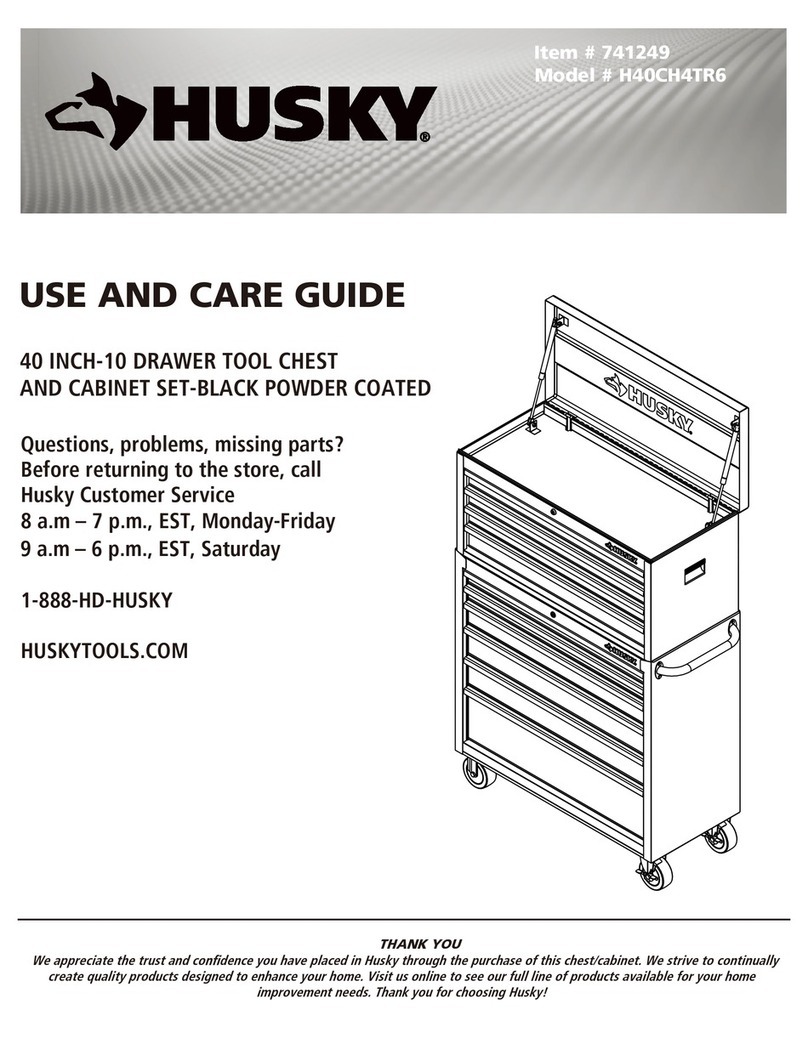
Husky H40CH4TR6 User manual

Husky

Husky H40CH4TR6 User manual

Husky 76812A24 User manual

Husky

Husky 76812A24 User manual

Husky 7440946b User manual

Husky

Husky 7440946b User manual

Husky H72MWC15R User manual

Husky

Husky H72MWC15R User manual

Husky 1006402724 User manual

Husky

Husky 1006402724 User manual

Husky ERZ7824W-1 User manual

Husky

Husky ERZ7824W-1 User manual

Popular Tools Storage manuals by other brands
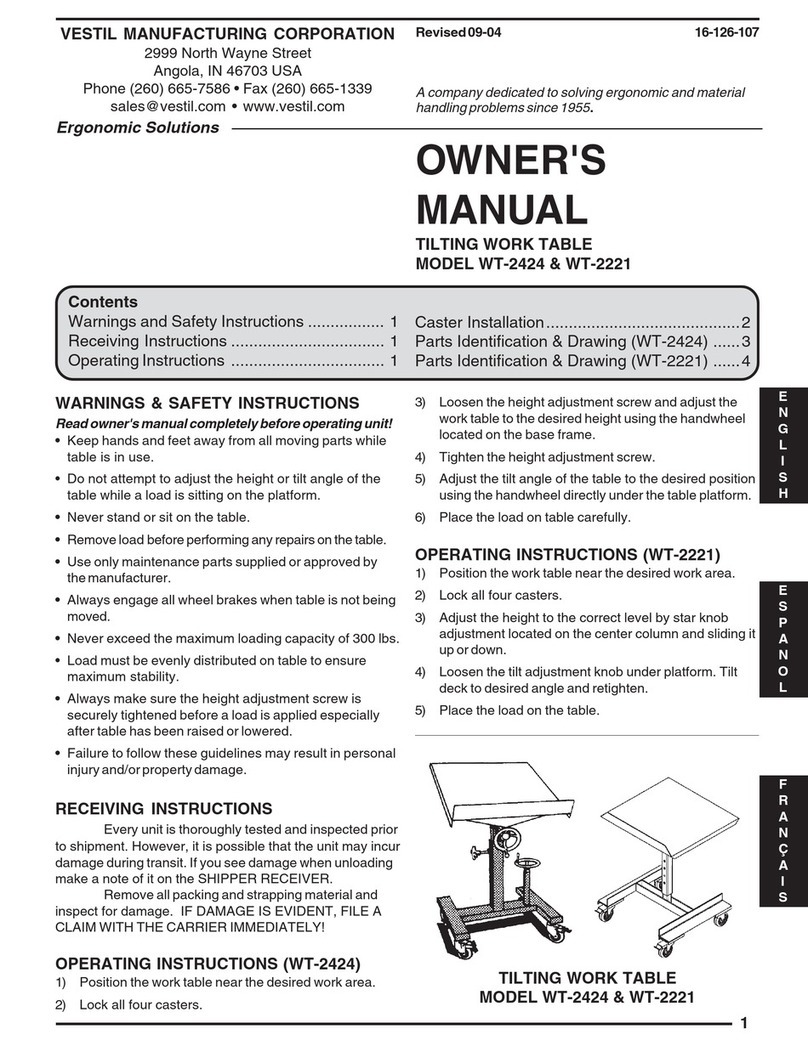
Vestil WT-2424 owner's manual

Vestil

Vestil WT-2424 owner's manual

Kendall Howard ESDW-9630-1000 owner's manual

Kendall Howard

Kendall Howard ESDW-9630-1000 owner's manual

Ryobi RWB03 Original instructions

Ryobi

Ryobi RWB03 Original instructions

Scheppach ts 2100 Translation from original manual

Scheppach

Scheppach ts 2100 Translation from original manual

DIVERSIFIED WOODCRAFTS SHAIN GSB-6024 Assembly instruction

DIVERSIFIED WOODCRAFTS

DIVERSIFIED WOODCRAFTS SHAIN GSB-6024 Assembly instruction

Cassese CS200 CART user & parts manual

Cassese

Cassese CS200 CART user & parts manual

Cornwell Tools CTB360AKBK Assembly instructions

Cornwell Tools

Cornwell Tools CTB360AKBK Assembly instructions

Workzone 99609 Assembly instructions

Workzone

Workzone 99609 Assembly instructions

Stanley STST83800-1 instruction manual

Stanley

Stanley STST83800-1 instruction manual

Perel ROLLER SHUTTER STORAGE CABINET Assembly instructions

Perel

Perel ROLLER SHUTTER STORAGE CABINET Assembly instructions

BGS technic 4107 manual

BGS technic

BGS technic 4107 manual

Tennsco RXHS-962484 Assembly Instructions/Parts Manual
Tennsco

Tennsco RXHS-962484 Assembly Instructions/Parts Manual

Grizzly T1240 owner's manual

Grizzly

Grizzly T1240 owner's manual

Rubi 66924 manual

Rubi

Rubi 66924 manual

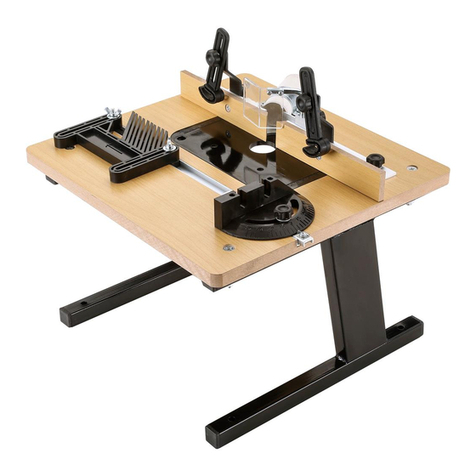
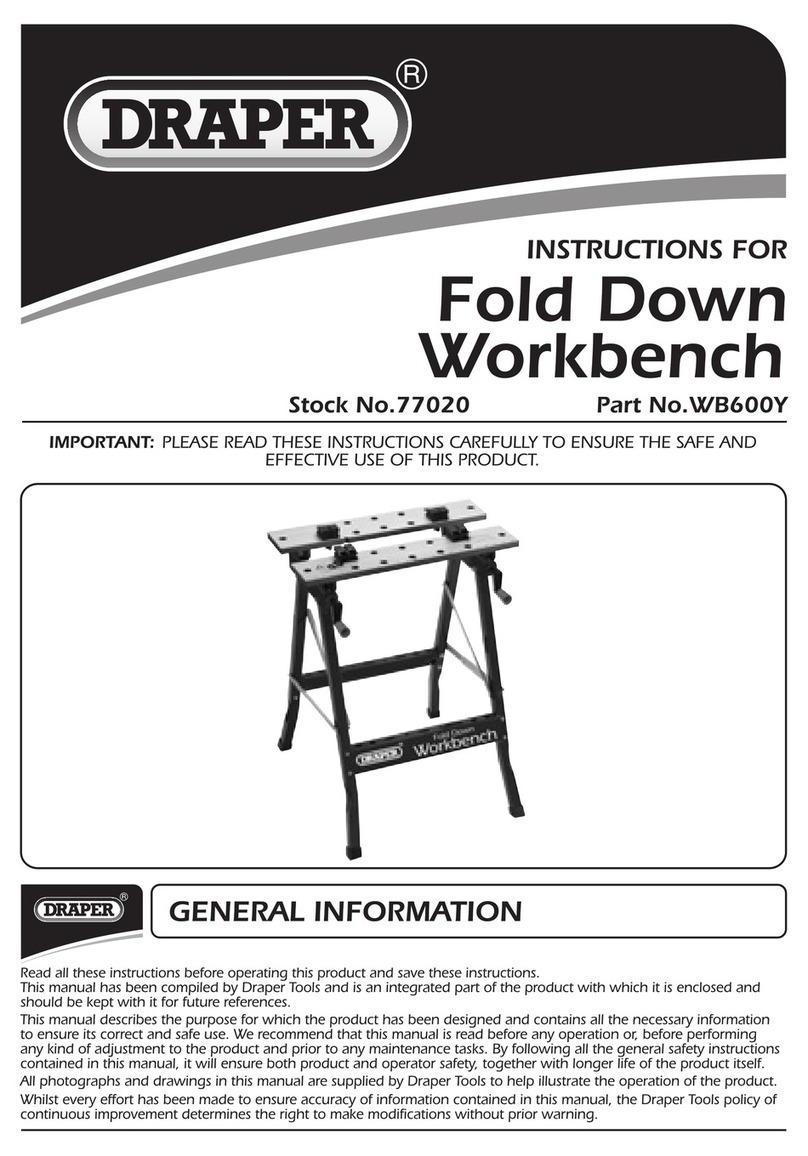
Draper 77020 instructions

Draper

Draper 77020 instructions

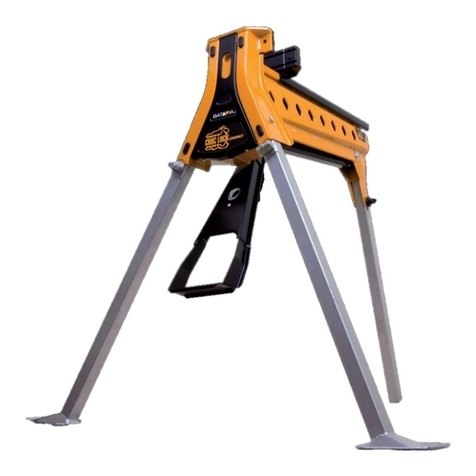
Batavia CROC LOCK COMPACT Translation of the original instructions

Batavia

Batavia CROC LOCK COMPACT Translation of the original instructions

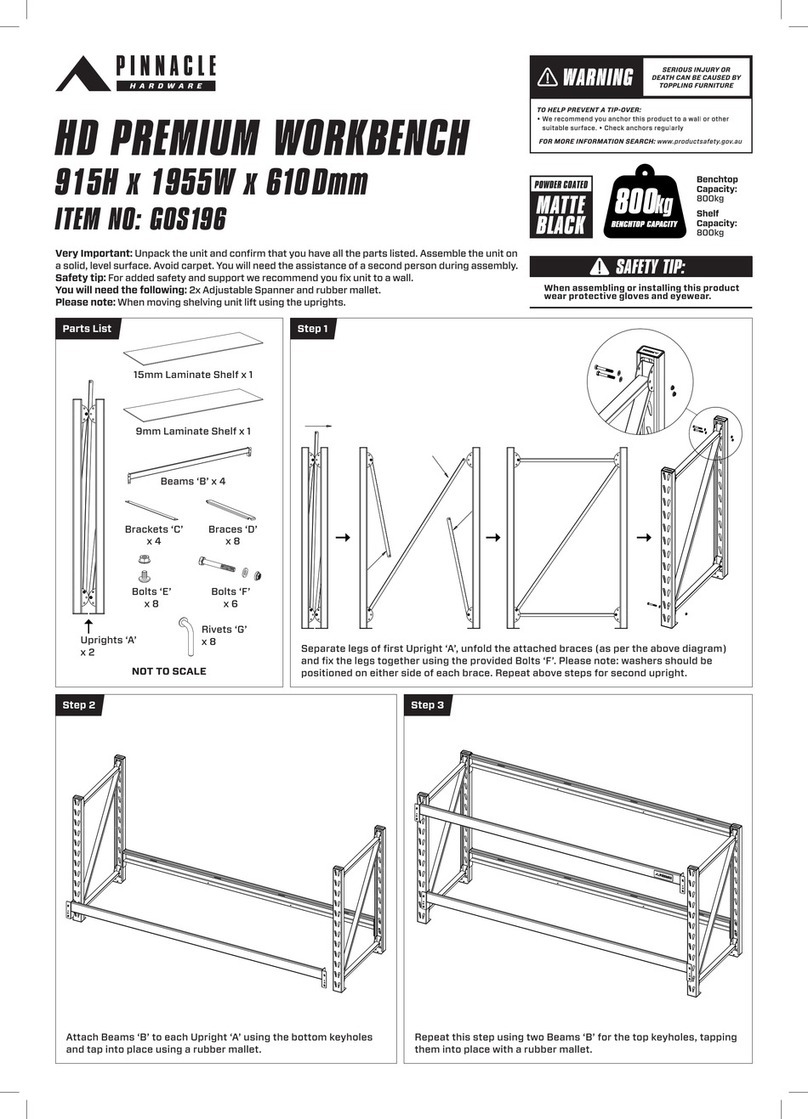
Pinnacle GOS196 quick start guide

Pinnacle

Pinnacle GOS196 quick start guide

Scheppach BLTC1100 Translation of the original instruction manual

Scheppach

Scheppach BLTC1100 Translation of the original instruction manual

manuals.online logo
manuals.online logoBrands
  • About & Mission
  • Contact us
  • Privacy Policy
  • Terms and Conditions

Copyright 2025 Manuals.Online. All Rights Reserved.

OPERATOR'S
MANUAL
c^HUSKY
6FTWORKBENCH
MODEL# 72WB01SS-THD
AT
LEAST
TWO
PERSONS.
SERVICE
PARTS
CALL
1-866-440-3170
FOR
SERVICE
PARTS.
Please
providetheModelNumberwhencalling.Toexpandyourgarage
storageproject,pleasevisitwww.homedepot.com/garagestorage
foradditionalproductoptions.
Locating
Model
#
Information
Modelnumbersandotherinformationrequiredforservicepartsis
locatedona whitelabelontheupperrighthandcorneroftheunit.
CAPACITIES
•Weightoftheunitis94lbs.
•Themaximumloadcapacityfortheworksurfaceis1000lbs.
evenlydistributed.
•Themaximumproductweight,includingcontentsstoredonthe
worksurfaceis1094lbs.
MAINTENANCE
PAINTED
SURFACES:
•Periodicallythesurfacesshouldbecleanedwitha mild
detergentandwater.
•Greaseandoilcanberemovedwithmoststandardcleaning
fluids.
Forsafety,usea nonflammablecleaning
fluid.
•Autowaxwillpreservetheunit'sluster
finish.
Applythewax
astoa car.Thewaxwillalsohelpprotecttheunitagainst
scratches.
STAINLESS
SURFACES:
•Stainlesssteelcandiscolorwhenexposedtopoolchemi-
cals,
saltwaterorcleanerswithbleach.
•Keepyourstainlesslookingnewbycleaningwitha good
qualityall-in-onestainlesssteelcleanerpolishmonthly.
Frequentcleaningwillremovesurfacecontaminationthat
couldleadtorust.
•Donot
clean
with
steel
woolorother
abrasive
pads.
•Donotuse
cleaners
not
specifically
Intended
for
stainless
steel
on
stainless
surfaces
(this
Includes
glass,
tile
andcounter
cleaners).
SAFETY
DANGER
A isusedtoindicatea hazardous
situationwhich,ifnotavoided,wjl!resultinseriousinjury
or
death.
—'
WARNING
A indicatesa hazardoussituationwhich,
ifnotavoided,couldresultinseriousinjuryordeath.
CAUTION
isusedtoindicatea hazardoussituation
which,
ifnotavoided,mayresultinminorinjury,moderate
injury,orpropertydamage.
CAUTION:
ReadandfollowallSafetyRulesand
OperatingInstructionsbeforefirstuseofthisproduct.
DANGER
A
•DONOTstandonthisproduct.Youmayfallwhichmay
causepersonalinjury.
•DONOTmountthisproductona truckbedorany
othermovingobject.Thismaycausepersonalinjuryor
productDamage.
.
APPROPRIATELY
SECUREthisproductbefore
movingitwitha forklift.
WARNING
A
.USE
APPROPRIATE
SAFETYequipmentwhen
usingpowerandhandtools.Failuretodosomaycause
personalinjuryorproductdamage.
•USE
ADEQUATE
MANPOWER
whenassembling
andmovingthisunit.Failuretodosomaycausepersonal
injuryorproductdamage.
•DONOTalterthisproductinanymanner.Thismay
causeproductdamageorpersonalinjury.
•
UNIT
MUST
BElocatedona levelsurface.The
productmaybecomeunstableandtipifstoredormoved
onanun-levelsurface,whichmaycausepersonalinjury
orproductdamage.
F1831
HARDWARE
CARTON
CONTENTS
TOOLS
REQUIRED:
^1°©
SocketWrench
3/8in
SocketExtensionB.Rail- TopBack
7/16in
Deep-wellSocket
3/8in
WrenchC.WorkbenchTop
Drill1/8inDrillbitD.Rail- TopFront
SquareTapemeasureE-BottomRail
OPTIONAL
TOOLS:
Screwdriver,Flatheadand
7/16-in
Open
End
Wrench
ASSEMBLY
SIDE
CONSTRUCTION
ItemsNeeded:
A-Side(Qty:2)
AA-
1/4-20
X
5/8in
CarriageBolt(Qty:4)
BB-5/16inWasher(Qty:4)
CC-1/4-20FlangeNut(Qty:4)
EE- ScrewLeveler(Qty:4)
FF- LevelingFoot,Left(Qty:2)
GG- LevelingFoot,Right(Qty:2)
Process:
•Place(1)levelingfootpadFFand(1)levelingfootpad
GGoneachsideatthebottom.Makesureeachleveling
footisfullyseatedoneachcorner.
•SecureeachLevelingFootwith(1)boltAA,(1)Washer
BBand(1)NutCC.
•Wrenchtighten.
•Assemble(1)levelerEEineachlevelingfootSome
adjustmentsmaybenecessaryafterworkbenchisin
desiredposition.
Figure1
TOP
RAIL
ASSEMBLY
ItemsNeeded:
B-Rail-Top
Back(Qty:1)
D-Rail-Top
Front(Qty:1)
AA-1/4-20
X
5/8in
CarriageBolt(Qty:8)
BB-5/16Washer(Qty:8)
CC-
1/4-20
SerratedFlangeNut(Qty:8)
Process:
•PlaceWorkbench
Top,
withstainlesssteelsidefacing
down.
(Usepackagingmaterialtopreventscratches.)
NOTE:
TheRailwiththeHusky®nameplateshouldbe
placedtowardthefrontoftheunit
with
thenameplate
positionupsidedown.
•Assemble(2)sidesA andrailsB andD,asshownusing
(8)
bolts
AA,
(8)washerBB,and(8)nutCC.Holeson
railsshouldbefacingtotheoutsideoftheworkbenchtop.
•
Finger
tighten.
Front
Holes
facingout
Back
Figure2
3
BOTTOMRAILASSEMBLY
ItemsNeeded:
E-Bottom
Rail(Qty:1)
AA-1/4-20
X
5/8in
CarriageBolt(Qty:4)
BB-5/16inWasher(Qty:4)
CC-1/4-20FlangeNut(Qty:4)
Process:
•AttachrailE intopbacksetofholesinbothsidesA as
shown,
using(4)bolts
AA,
(4)washersBB,and(4)nuts
CC.
FlangesofRailE shouldpointin.
•Fingertighten.
Flanges
point
In
Front
Back
Bottom
Rail
Figure3
IMPORTANT:
•YOUMUST
SQUARE
THE
UNIT
AND
WRENCH
TIGHTENALL
FASTENERS
TO
ENSURE
STABILITY.
TOP
ATTACHMENT
itemsNeeded:
C- WorkbenchTop
DD- #14-10
X
5/8in
HexScrew(Qty:6)
Drill
1/8inDrillBit
Process:
•PositionframeassemblyonWorkbenchTop,
asdesired.
NOTE:
Thebackof
the
workbenchframemustbeat
least1-1/2inches(38mm)fromthebackofthe
WorkbenchTop.
•Markcentersof(6)mountingholes.
•Removeworkbenchframeinordertodrillpilotholes.
•Drill(6)1/8inpilotholes1/2indeepinmounting
holelocations.
•RepositionworkbenchassemblyonWorkbenchTop.
•Attachusing(6)HexScrewsDD.
NOTE:
Additionalfastenersmaybeusedtoattach
workbenchtopthroughholesinsidesupportifdesired.
(Notsupplied)
1-1/2
Inches
38mm
Figure4
Mounting
Holes
>
Usinghelp(secondperson)liftworkbenchupand
rotateontolevelingfeetFFandGG.Donotreston
sideoflegswhilerotatingworkbenchtoitsupright
position.
Damagecouldoccur.
>
Placetheworkbenchinitsuprightposition.
•Moveworkbenchtodesiredlocationandadjustlevel-
ingfeetFFandGGtomakeworkbenchleveland
secure.(Seeoperation.)
REMOVING
PROTECTIVE
FILMFROM
STAINLESS
STEEL
•Startingatoneofthecorners,peelbacktheprotective
coatingfromthestainlesstop.
•Besuretoremovealltheprotectivecoatingbefore
initialuse.
•Followthecleaningmethodsinthevmaintenancesec-
tiontokeepthestainlesslookingnew.
OPERATION
LevelingFootAdjustment
•Adjustlevelingfoottodesiredpositionwithflathead
screwdriveror7/1Binopenendwrenchasshown.
4