manuals.online logo
Brands
  1. Home
  2. •
  3. Brands
  4. •
  5. Hytronik
  6. •
  7. Accessories
  8. •
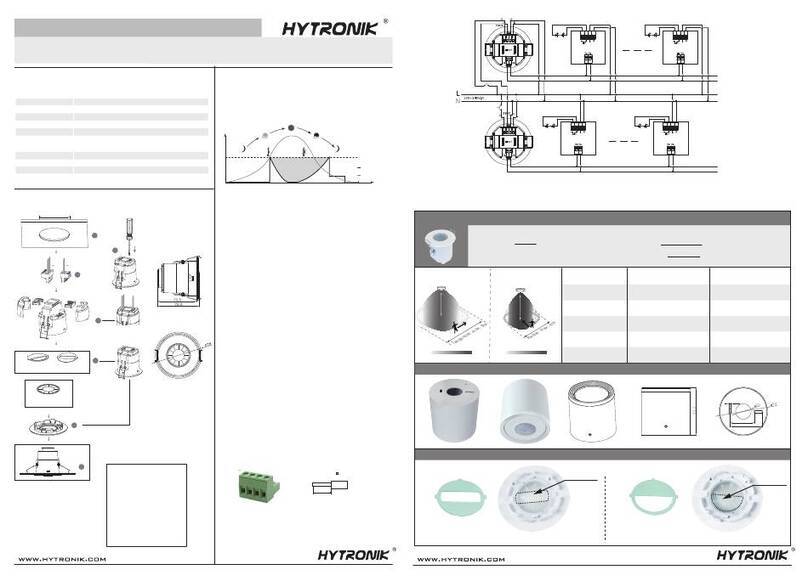
  9. Hytronik HMW11 Quick guide

Hytronik HMW11 Quick guide

1. Technical Specifications
Product type High bay microwave motion sensor (Tri-level control)
Operating voltage 120~277VAC 50/60Hz
Rated load Resistive:700W@120V; 1600W@220-277V;
Capacitive:400VA@120V; 800VA@220-277V;
Power consumption < 1W
Detection angle 360o
Detection area (DxH) 12 x 12m (Maximum)
Mounting height 15M(Maximum)
Detection range 10% / 50% / 75% / 100%
Hold time 2s / 30s / 1min / 5min / 10min / 15min / 20min / 30min
Stand-by time 0s / 10s / 1min / 5min / 10min / 30min / 1h / +
Stand-by dimming level 10% / 20% / 30% / 50%
Daylight threshold 2 ~ 500Lux, Disable
Warmming up time 20s
Operating temperature -20oC ~ +50oC
IP rating IP42
3. Rotary Switch Settings
A rotary switch is built inside the sensor for
scene selection / fast programming. Total
16 channels available:
Note: settings can also be changed by remote control HRC-11. The last action controls.
8
SURFACE MOUNT HIGH BAY MOTION SENSOR HMW11
Installation and Instruction Manual
Rotary switch preset (Please
see the location in 2. Installation)
Detection
range
Channel
0
1
2
3
4
5
6
7
8
9
A
B
C
D
E
F
100%
100%
100%
100%
100%
100%
100%
100%
100%
100%
100%
75%
50%
100%
100%
100%
5s
1min
5min
5min
5min
5min
5min
10min
10min
10min
10min
10min
10min
30min
30min
5s
10s
5min
10min
30min
0s
+∞
+∞
10min
30min
+∞
+∞
+∞
+∞
+∞
+∞
10s
10%
10%
10%
10%
Disable
10%
30%
10%
10%
10%
30%
10%
10%
10%
30%
10%
Disable
2Lux
10Lux
30Lux
10Lux
30Lux
Disable
2Lux
10Lux
30Lux
Disable
30Lux
10Lux
50Lux
Disable
2Lux
Hold
time
Stand-by
time
Stand-by
dimming level
Daylight
threshold
4. Functions
Hytronik builds this function inside the motion sensor to achieve tri-level control, for some areas require a
light change notice before switch-off.
It offers 3 levels of light: 100%-->dimmed light-->off; and 2 periods of selectable waiting time: motion
hold-time and stand-by period; Selectable daylight threshold and freedom of detection area.
The built-in daylight sensor can measure ambient natural light and switch off the fixture automatically
whenever artificial light is not required (natural light lux level exceeds daylight threshold).
Note: if the stand-by time is preset at "+∞", the fixture never switches off even when natural light
is sufficient.
4.1 Tri-level Control (Corridor Function)
4.2 Lux Off Function
HMW11-20180809-A1
2. Installation
Warnings:
1. Installation must be carried out by a qualified engineer in accordance with local regulations.
2. Disconnect supply before installing.
3. Install to a solid surface - vibrations may cause mis-triggering.
4. Ensure environmental conditions are suitable for electronic equipment
Direct junction “J” box mounting
a. Separate control board (A) from facia (B)
& junction box (C).
b. Make electrical connections to control board
(A). See detailed wiring diagram on next page.
c. Secure control board (A) to junction box.
d. Set-up sensor modes as per sections 3 & 4
of this manual.
e. Clip facial plate (B) to control board (A).
Surface mount assembly
a. Separate control board (A) from facia (B) &
Surface box (C).
b. Securely mount surface box (C) to a flat and
solid surface.
c. Make electrical connections to control board
(A). See detailed wiring diagram on next page.
d. Set-up sensor modes as per sections 3 & 4 of
this manual.
e. Secure control board (A) to surface box (C).
f. Clip facial plate (B) to control board (A).
A - Control Board
Rotary switch preset
Photocell
Infrared receiver
HF Sensor module LED indicator
56
A
56
A
CC
29
56
50.2
109
38.6
B B
C - Surface box
B - Facia Cover
11
43.5
64.7
69.1
Ceiling mounted detection pattern (m)
Ceiling mounted height(m)
6
0
12
10%
10%
30%
30%
75%
75%
50%
50%
5. Wiring Diagram
Description of the
Button Functions
(remote control HRC-11)
7.
HRC-11
6
8
10
11
12
13
14
2
4
1
3
7
9
5
Permanent ON/OFF [ ]
Press button to select permanent ON or permanent OFF mode.
* Press button / to resume automatic operation.
The mode will change to AUTO Mode after power failure.
Semi-auto Mode [ button & ]
Power output [ button ]
Press button , the light output shifts between 80% and 100%.
Note: the function of “Sensor off” and “Twilight” are disabled.
Ambient daylight threshold [ button ]
Detection range [ zone ]
Press buttons in zone to set detection range at 100% / 75% /
50% / 10%.
Stand-by time [ zone ]
Press buttons in zone to set the stand-by period at 0s / 10s /
1min / 5min / 10min / 30min / 1h / +∞.
Note: “0s” means on/off control; “+∞” means bi-level control, 100%
on when motion detected, and remains at the stand-by dimming
level when no presence after hold-time.
Daylight threshold [ zone ]
Press buttons in zone to set the daylight sensor at 2Lux / 10Lux /
50Lux / 100Lux / 300Lux / 500Lux or Disable.
Note: To set daylight sensor at 100Lux / 300 Lux / 500Lux, press
button Shift at first.
button
Auto Mode [ button ]
Brightness +/- [ button ]
Press button to adjust the light brightness between 10%~100% .
Scene prog. [ zone ]
(One-key-commissioning)
1. Press button Shift, the red LED is on for indication.
2. Press button , the ambient lux level is sampled and set as the
new daylight threshold.
Hold time [ zone ]
Press buttons in zone to set the hold time at 2s / 30s / 1min /
5min / 10min / 15min / 20min / 30min.
Note: 1.To set hold-time at 30s / 5min / 15min / 30min, press button
Shift at first.
2. 2s is for test purpose only, stand-by period and daylight
sensor settings are disabled in this mode.
*To exit from Test mode, press button or any button in zone .
Stand-by dimming level [ zone ]
Press buttons in zone to set the stand-by dimming level at 10% /
20% / 30% / 50%.
Dual tech & RF mode [ zone ]
All buttons in zone are disabled.
Detection Pattern6.
Shift [ button ]
LED Driver
1-10V
+
-
L
N
P
L
N
1-10V
+
-
L’ N N L
RESET [ button ]
Press button , all settings go back to the rotary switch settings.
Press button to initiate automatic mode. The sensor starts working
and all settings remain as before the light was switched ON/OFF.
1. Press button “Start” to program.
2. Select the buttons in “Detection range”, / “Daylight threshold”,
“Hold time”, “Stand-by time”, “Stand-by dimming level” to
set all parameters.
3. Press button “Memory” to save all the settings programmed in the
remote control.
4. Press button “Apply” to set the settings to each sensor unit(s).
For example, to pre-set detection range 100%, daylight threshold
Disable, hold time 5min, stand-by time +∞, stand-by dimming level
30%, steps should be:
Press button Start, button 100%, Disable, Shift, 5min,
Shift, +∞ , 30%, Memory. By pointing to the sensor unit(s)
and pressing Apply, all settings are passed on the sensor(s).
Press button , the LED on the top left corner is on for indication.
All values / settings in RED are in valid for 20 seconds.
1. Press button Shift (the red LED is on for indication),
2. press button to initiate semi-auto mode. The fixture is manually on
by push-switch and automatically off in semi-auto mode.
18
3
3
2
9
10
11
12
13
14
14
13
12
11
11
10
9
8
2
2
3
3
3
3
4
4
4
5
6
7
7
7
7
3
3
8
8 9
10
10 11
1312
11 12 13
6
5
4
1
2 4
3
HMW11-20180809-A1
The motion sensor is employed, but only activated on the manual press of the push switch,
The light remains on during presence and dims down in absence, eventually switching off
automatically after the stand-by time has expired.
Note: in this mode, the push terminal used for the ‘manual on’ switch input.
End-user can choose either function 4.3 or 4.4 for application. Default function is 4.3.
4.4 Semi-auto Function (Absence Detection)
4.3 Manual Override
With the help of push-switch, this sensor maybe over-ridden by the end-users to switch on/off
the lights manually, or adjust the light brightness during motion hold-time. This makes the
product more user-friendly and offers more options to fit for extra-ordinary demands.
* Short push (<1s): on/off function;
ON →OFF: the light turns off immediately and cannot be lighten for a certain time (equals
to hold time preset) even there is movement is detected. After this period, the sensor goes
back to auto sensor mode.
OFF →ON: the light turns on 100% and goes to auto sensor mode, even when ambient
Lux level exceeds the daylight threshold.
* Long push (>1s): adjust the maximum brightness (between 10% and 100%) during
hold-time. Both the settings on remote control and push switch can
overwrite each other, the last adjustment remains in memory.
HMW11
Hytronik Industrial Ltd. | www.hytronik.com
3rd Floor, block C, complex building, 155#, Bai'gang road south,
Bai'gang village, Xiao Jin Kou town, Huicheng district, Huizhou 516023
Tel: 86-752-2772020 Fax: 86-752-2777877
Note: if neither function 4.3 nor 4.4 is desired, simply leave the “push” terminal disconnected.
&
A
4
4 hhh
Note:the function of 24h /12h /4h /30s are disabled.
Other Hytronik Accessories manuals

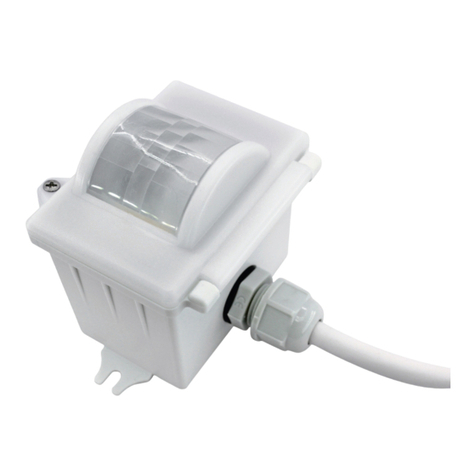
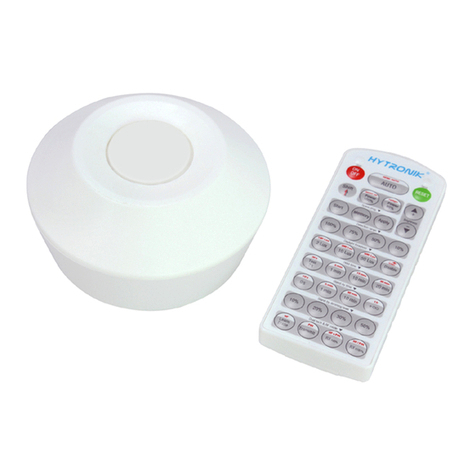
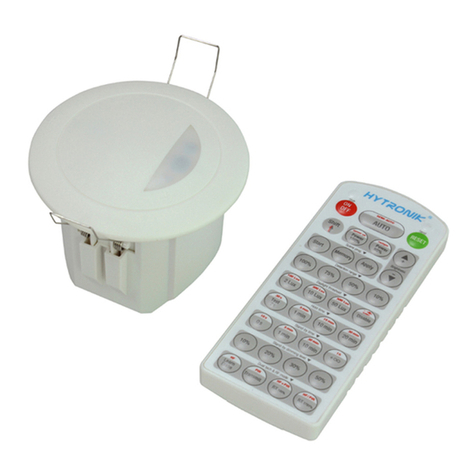
Hytronik HMW35 Quick guide

Hytronik

Hytronik HMW35 Quick guide

Hytronik HMW12 Quick guide

Hytronik

Hytronik HMW12 Quick guide

Hytronik HC419S User manual

Hytronik

Hytronik HC419S User manual

Hytronik HC407VDS User manual

Hytronik

Hytronik HC407VDS User manual

Hytronik Dual Sense HIM15 User manual

Hytronik

Hytronik Dual Sense HIM15 User manual

Hytronik HC404VRC-KD User manual

Hytronik

Hytronik HC404VRC-KD User manual

Hytronik HMW39/RF Quick guide

Hytronik

Hytronik HMW39/RF Quick guide

Hytronik HIR23 Quick guide

Hytronik

Hytronik HIR23 Quick guide

Hytronik HIM12 User manual

Hytronik

Hytronik HIM12 User manual

Hytronik HIR28 User manual

Hytronik

Hytronik HIR28 User manual

Hytronik HMW21 Quick guide

Hytronik

Hytronik HMW21 Quick guide

Hytronik DualSense HIM11 Quick guide

Hytronik

Hytronik DualSense HIM11 Quick guide

Hytronik HIM30 User manual

Hytronik

Hytronik HIM30 User manual

Hytronik HIR21 Quick guide

Hytronik

Hytronik HIR21 Quick guide

Hytronik HCD418 User manual

Hytronik

Hytronik HCD418 User manual

Hytronik HIM32 Quick guide

Hytronik

Hytronik HIM32 Quick guide

Hytronik HEC7430 User manual

Hytronik

Hytronik HEC7430 User manual

Hytronik HC005S/BT Quick guide

Hytronik

Hytronik HC005S/BT Quick guide

Hytronik HEC7028 User manual

Hytronik

Hytronik HEC7028 User manual

Hytronik DS05 Quick guide

Hytronik

Hytronik DS05 Quick guide

Hytronik HMW34 Quick guide

Hytronik

Hytronik HMW34 Quick guide

Hytronik HMW34 Quick guide

Hytronik

Hytronik HMW34 Quick guide

Hytronik HMW12 Quick guide

Hytronik

Hytronik HMW12 Quick guide

Hytronik HC005S/I Quick guide

Hytronik

Hytronik HC005S/I Quick guide

Popular Accessories manuals by other brands

Global Cache GC-SC1 quick start guide

Global Cache

Global Cache GC-SC1 quick start guide

Karpo Prolaser 896 5-DOT user manual

Karpo

Karpo Prolaser 896 5-DOT user manual

SOMFY Sunis RTS Operating and installation guide

SOMFY

SOMFY Sunis RTS Operating and installation guide

Rancilio iSteam specification

Rancilio

Rancilio iSteam specification

Outdoor Revolution Journey 260 instructions

Outdoor Revolution

Outdoor Revolution Journey 260 instructions

American Standard Rise and Shine Toilet Seat 5325.024 Specifications

American Standard

American Standard Rise and Shine Toilet Seat 5325.024 Specifications

SICK OLS20 operating instructions

SICK

SICK OLS20 operating instructions

Delfino DRH7 user manual

Delfino

Delfino DRH7 user manual

Swisher PowerBlade PBP-3640 Assembly instructions

Swisher

Swisher PowerBlade PBP-3640 Assembly instructions

Denon DN-HC4500 - DJ Mixer USB Controller operating instructions

Denon

Denon DN-HC4500 - DJ Mixer USB Controller operating instructions

RTS BTR-24 operating manual

RTS

RTS BTR-24 operating manual

PASCO Pasport PS-2109 instruction sheet

PASCO

PASCO Pasport PS-2109 instruction sheet

eta Mole E3 operating instructions

eta

eta Mole E3 operating instructions

Roboception rc viscore Assembly and operating manual

Roboception

Roboception rc viscore Assembly and operating manual

SciGene Hybex 1057-36-1 user manual

SciGene

SciGene Hybex 1057-36-1 user manual

Labnet I-4001-HCS instruction manual

Labnet

Labnet I-4001-HCS instruction manual

Easy Track PT190306001 quick start guide

Easy Track

Easy Track PT190306001 quick start guide

Dudek Soul user manual

Dudek

Dudek Soul user manual

manuals.online logo
manuals.online logoBrands
  • About & Mission
  • Contact us
  • Privacy Policy
  • Terms and Conditions

Copyright 2025 Manuals.Online. All Rights Reserved.