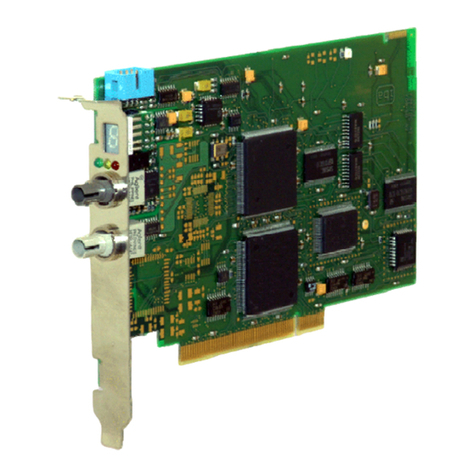
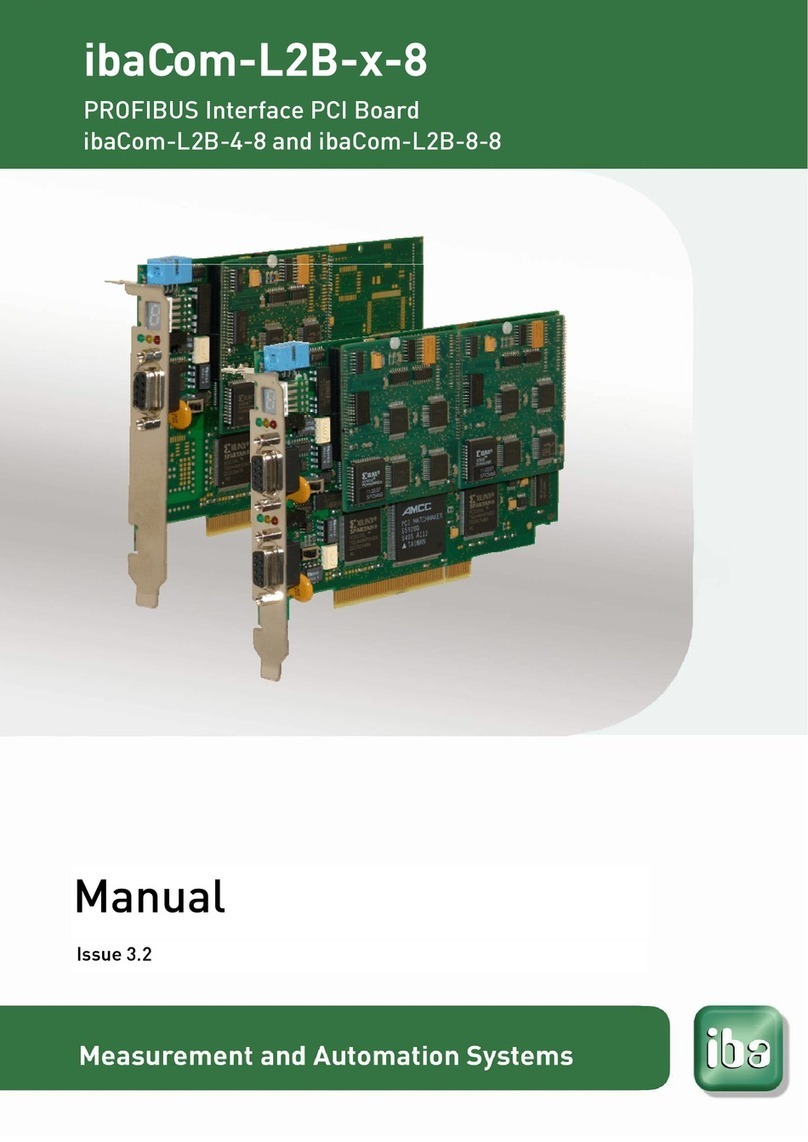
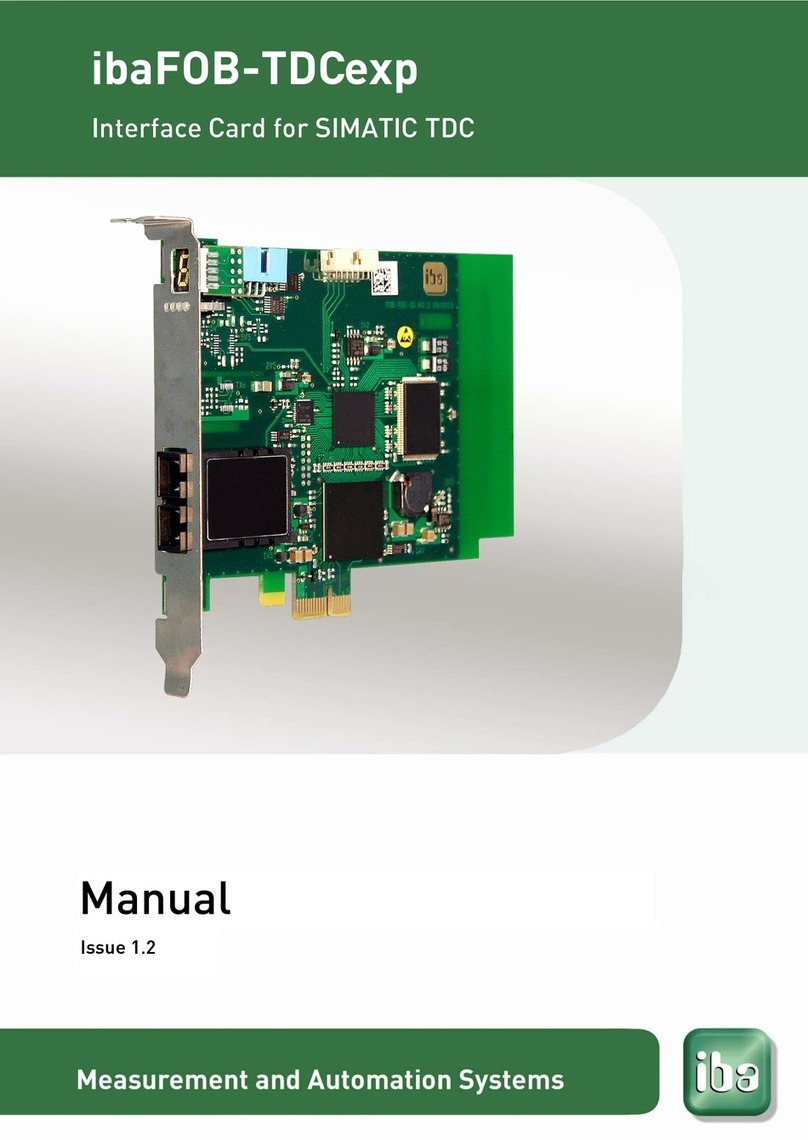
IBA ibaFOB-PlusControl User manual

ibaFOB-PlusControl
Interface Card for PLUSCONTROL Systems
Manual
Issue 1.1

Manufacturer
iba AG
Koenigswarterstr. 44
90762 Fuerth
Germany
Contacts
Main office
+49 911 97282-0
Fax
+49 911 97282-33
Support
+49 911 97282-14
Engineering
+49 911 97282-13
E-Mail: iba@iba-ag.com
Web: www.iba-ag.com
This manual must not be circulated or copied, or its contents utilized and disseminated,
without our express written permission. Any breach or infringement of this provision will
result in liability for damages.
©iba AG 2019, All Rights Reserved
The content of this publication has been checked for compliance with the described
hardware and software. Nevertheless, deviations cannot be excluded completely so
that the full compliance is not guaranteed. However, the information in this publication
is updated regularly. Required corrections are contained in the following regulations or
can be downloaded on the Internet.
The current version is available for download on our web site http://www.iba-ag.com.
Protection note
Windows® is a label and registered trademark of the Microsoft Corporation. Other prod-
uct and company names mentioned in this manual can be labels or registered trade-
marks of the corresponding owners.
Certification
The device is certified according to the European standards and directives. This device
corresponds to the general safety and health requirements. Further international custo-
mary standards and directives have been observed.
Version
Date
Revision
Chapter
Author
Version HW/FW
1.1
07/31/2019
Note on limited number of cards
5.2
ms

ibaFOB-PlusControl
Manual
Issue 1.1
3
Table of contents
1About this manual...........................................................................................5
1.1 Target group ..................................................................................................5
1.2 Notations .......................................................................................................5
1.3 Symbols used ................................................................................................6
2Scope of delivery ............................................................................................7
3Safety information...........................................................................................7
4System requirements......................................................................................7
4.1 Hardware.......................................................................................................7
4.2 Software ........................................................................................................7
5Product properties..........................................................................................8
5.1 Application .....................................................................................................8
5.2 Characteristics...............................................................................................8
5.3 Operational modes ........................................................................................8
5.4 Front view......................................................................................................9
5.5 Plug and socket connections .........................................................................9
5.6 Indicators.....................................................................................................10
5.7 Fiber optical interface ..................................................................................10
6Mounting and dismounting .......................................................................... 11
6.1 Safety information........................................................................................11
6.2 Mounting......................................................................................................11
6.3 Dismounting.................................................................................................11
7Configuration in ibaPDA...............................................................................12
7.1 Card configuration .......................................................................................12
7.2 Link configuration.........................................................................................13
7.3 Configuration of „preferred modules“ ...........................................................15
7.4 Configuration of standard modules ..............................................................17
7.5 Groups.........................................................................................................21
8Diagnostics....................................................................................................22
8.1 Card diagnostics..........................................................................................22
8.2 Connection diagnostics................................................................................23
9Synchronization of more than one card......................................................26
9.1 Important information...................................................................................26
9.2 Procedure....................................................................................................26

ibaFOB-PlusControl
Manual
4
Issue 1.1
10 Technical data ...............................................................................................27
10.1 Main data.....................................................................................................27
11 Support and Contact.....................................................................................28

ibaFOB-PlusControl
Manual
Issue 1.1
5
1 About this manual
This manual describes in detail the configuration and use of the product ibaFOB-
PlusControl.
1.1 Target group
This manual addresses in particular the qualified professionals who are familiar with han-
dling electrical and electronic modules as well as communication and measurement tech-
nology. A person is regarded to as professional if he/she is capable of assessing safety
and recognizing possible consequences and risks on the basis of his/her specialist train-
ing, knowledge and experience and knowledge of the standard regulations.
1.2 Notations
In this manual the following notations are used:
Action
Notation
Menu command
Menu „Logic diagram“
Call of menu command
„Step 1 – Step 2 –Step 3 –Step x”
Example:
Select menu „Logic diagram –Add –New logic dia-
gram ”
Keys
<Key name>
Example: <Alt>; <F1>
Press keys simultaneously
<Key name> + <Key name>
Example:
<Alt> + <Ctrl>
Buttons
<Button name>
Example:
<OK>; <Cancel>
File names, Paths
„File name“, „Path”
Example:
„Test.doc“

Manual
ibaFOB-PlusControl
6
Issue 1.1
1.3 Symbols used
If safety instructions or other information are used in this manual, they mean:
The non-observance of this safety information may result in an imminent risk of death
or severe injury:
By an electric shock!
Due to the improper handling of iba software products which are coupled to input
and output procedures with control function!
The non-observance of this safety information may result in a potential risk of death or
severe injury!
The non-observance of this safety information may result in a potential risk of injury or
material damage!
Note
A note indicates special requirements or actions to be observed.
Important information
Information that a special indication has to be observed, e.g. exceptions from the gen-
eral rule.
Tip
Tip or example which serves as helpful information or a trick to facilitate the work.
Other documentation
Reference to supplementary documentation or further literature.

ibaFOB-PlusControl
Manual
Issue 1.1
7
2 Scope of delivery
The following components are included in delivery:
ibaFOB-PlusControl card
Synchronization cable (sync cable)
Manual
For more accessories not included in delivery, please see www.iba-ag.com.
3 Safety information
Please consider the following safety advises:
To prevent electrical shock during installation or uninstallation of the device disconnect
the power supply from the computer before opening!
This card contains components which can be destroyed by electrostatic discharge. Prior
to touching any electronics card, your body must be electrically discharged.
4 System requirements
4.1 Hardware
PC with the following minimum configuration (depending on application):
Pentium IV/3 GHz or higher
At least one free PCIe slot (PCIe 1.0-x1-compatible slot)
512 MB RAM or higher
Free disk space > 10 GB
For more information about iba PC, please see www.iba-ag.com.
4.2 Software
ibaPDA version V6.35.0 or higher

Manual
ibaFOB-PlusControl
8
Issue 1.1
5 Product properties
5.1 Application
The ibaFOB-PlusControl card couples the iba process data acquisition system ibaPDA
with Siemens PLUSCONTROL systems. To achieve this, the ibaFOB-PlusControl card
must be connected to a PLUSCONTROL CP.
The connection supports a data transmission rate of 1 Gbit/s. Up to 400 analog or digital
signals can be transmitted.
The parameters are completely configured in the software. Jumper settings are not nec-
essary.
Figure 1: Coupling to a Siemens PLUSCONTROL system
5.2 Characteristics
The card has the following characteristics:
PCI Express card for 1.0-x1 compatible slot
Firmware update without dismounting the card
Bidirectional fiber optic link with SC technology
Transmission rate up to 1 Gbit/s
Absolutely noise free acquisition of process data
Display for card ID, processor and link status via 7-segment display and LEDs
Up to 4 PCIe cards per PC (depending on performance and workload, especially
when data transmission rate is high, the number of cards per PC should be limited
to 3 or 2)
Plug and play installation
5.3 Operational modes
The ibaFOB-PlusControl card in combination with ibaPDA is suitable for measurement
data acquisiton with free operand/symbol selection.
The data to be measured is requested online by ibaPDA. For this purpose the symbolic
names and addresses of all available variables are read from the PLUSCONTROL CP
and stored internally in ibaPDA when the connection has been established for the first
time. This address book serves as base to select the measuring data using the address
book browser.

ibaFOB-PlusControl
Manual
Issue 1.1
9
5.4 Front view
1 7-segment display
2 Device status display
3 FO connector (SC technology)
4 FO connector (SC technology)
Figure 2: Front view
5.5 Plug and socket connections
1 Synchronization (Sync-IRQ-connector)
Figure 3: Plug and socket connections

Manual
ibaFOB-PlusControl
10
Issue 1.1
5.6 Indicators
Device status LEDs
LEDs indicate the operational state of the card and fiber optic channels. On power on
all LEDs are lit for a few seconds to prove their proper function.
LED
Status
Indication
Green
Off
Blinking
Card is dead or defect
Normal operation
Yellow
Off
Blinking
On
No connection, fiber optics not connected or PLUSCONTROL
system switched off
Connection to PLUSCONTROL system is OK, but system not
ready
Connection to PLUSCONTROL system is OK, system ready
White
Off
On
No data transfer
Data transfer in progress
Red
Off
Blinking
On
Normal state
Running in FPGA factory rescue mode
Hardware failure (FPGA not configured)
7-segment display
The 7-segment display shows the following information:
Horizontal bar: After switching on, until the initialization by ibaPDA
is finished.
Card ID (ranging from 0 to 3):After card was initialized
The decimal point is ON: Card is configured as an internal interrupt master
The decimal point is OFF: Card is configured as an interrupt slave
The decimal point is blinking: Card is configured as an external interrupt master
Note
It is not allowed to configure the ibaFOB-PlusControl as external interrupt master.
5.7 Fiber optical interface
The ibaFOB-PlusControl card provides 1 duplex SC type jack with optical transmitter
and optical receiver.

ibaFOB-PlusControl
Manual
Issue 1.1
11
6 Mounting and dismounting
6.1 Safety information
The cards may be used in every PCIe 1.0-x1 compatible slot.
Electric shock!
Switch off the PC and disconnect it from the mains power supply before opening!
Electrostatic discharge!
This card contains components which can be destroyed by electrostatic discharge. Be-
fore touching the card make sure that your body is electrically discharged or work in a
designated ESD protected area!
The standards for handling electrostatic sensitive devices (ESD) must be followed.
6.2 Mounting
1. Shut down the PC.
2. Unplug the mains power line and open the PC so you can reach the PCIe slots.
3. Take the card carefully out of the package. Use a grounding cable or discharge any
electrostatic charge before taking the card.
No wiring or jumpering is necessary.
4. Grab the card at the front plate and the rear upper corner. Do not touch the con-
tacts.
5. Plug in the card carefully into a free PCIe slot and fix the card to the housing of the
PC.
6. If more than one iba card is installed connect all cards with one another by the flat
ribbon cable (sync cable).
7. Close the PC.
8. Plug in the power line and start the PC.
6.3 Dismounting
1. Shut down the PC.
2. Unplug the mains power line and open the PC so you can reach the card.
3. Disconnect all external connections from the card.
4. Release the fixing screw.
5. Unplug the card carefully out of the slot. Store the card in an appropriate container.

Manual
ibaFOB-PlusControl
12
Issue 1.1
7 Configuration in ibaPDA
If the card has been installed correctly it should be available in the I/O manager’s signal
tree as data interface. If you click on the interface icon 3 tabs appear on the right side of
the dialog displaying the card’s properties.
7.1 Card configuration
Select the „Configuration“ tab.
The interrupt mode is automatically generated by ibaPDA: as soon as other iba-cards
are plugged in, „slave mode“ is activated. In case no other card types are used, but only
several ibaFOB-PlusControl cards, it is possible to specify which card is set to „interrupt
master internal“. As a result, this card will generate the interrupt for the other cards. The
interrupt will be transmitted to these iba cards via the synchronization cable (sync cable
is included in delivery).
Check the option “In use” if the card is being used by ibaPDA.
Figure 4: Card representation in ibaPDA
Further data and tabs are described in chapter 8.1 „Card diagnostics“.

ibaFOB-PlusControl
Manual
Issue 1.1
13
7.2 Link configuration
If the card is displayed correctly in the I/O manager, mark the “Link” node under the
interface. 3 tabs appear on the right side displaying connection information.
For description of diagnostics information and other tabs please refer to chapter 8.2
“Connection diagnostics”.
The connection to a PLUSCONTROL system is being established by clicking the <Test
connection> button in the “Connection” tab.
Figure 5: ibaFOB-PlusControl, “Connection”tab
If the connection to the PLUSCONTROL system has been successfully established, the
following actions are performed:
1. The system information of the connected PLUSCONTROL CP is read and displayed
in the “Connection” tab.
2. The address book is read and evaluated:
The address book contains all available variables. Available signal types are stand-
ard signals and preferred signals, see chapter 7.3 Configuration of „preferred mod-
ules“.
3. “Preferred modules” are automatically created in ibaPDA for the preferred signals.
When the address book has been updated, a dialog appears providing 3 options
how to proceed with preferred signals:

Manual
ibaFOB-PlusControl
14
Issue 1.1
Update preferred modules:
The preferred modules are updated with the preferred modules from the ad-
dress book. The signal IDs of already existing preferred signals remain un-
changed.
Replace preferred modules:
The current preferred modules are removed and replaced by new preferred
modules from the address book. The signal IDs of existing preferred signals
may change.
Don‘t change preferred modules:
The current preferred modules remain unchanged.
4. Groups are automatically created for preferred signals in the I/O manager. You can
enter a group name in the text box at the bottom of the tab. Default name is
"ibaFOB-PlusControl".
See also chapter 7.5 “Groups”.

ibaFOB-PlusControl
Manual
Issue 1.1
15
7.3 Configuration of „preferred modules“
General tab
Figuer 6: Preferred module, „General“tab
The preferred modules contain the preferred signals assigned in the address book.
Only the following properties of a preferred module can be changed:
Locked
A locked module can only be modified by authorized users.
Enabled
The data acquisition for this module is either enabled (TRUE) or disabled (FALSE).
Module No.
Logic module number for clearly referencing of signals e. g. in expressions in virtual
modules or ibaAnalyzer. The module number is assigned automatically by ibaPDA
in ascending order, but may be changed by the user.
Timebase
Timebase for data acquisition, cycles down to 10 µs are possible (depending on the
number of signals). Default setting is 25 µs.
Use name as prefix
IF TRUE is selected, the module name is put as prefix in front of the signal name of
this module.

Manual
ibaFOB-PlusControl
16
Issue 1.1
Analog tab
Figure 7: Preferred module, „Analog“tab
Name
Here, you can enter a signal name and addtitionally two comments, if you click on
the icon on the signal name field.
Unit
Here, you can enter a physical unit.
Gain / Offset
Gradient (Gain) and y axis intercept (Offset) of a linear equation. You can convert a
standardized value transferred without a unit into a physical value.
Symbol
Name of the displayed value provided by the address book. This field cannot be
changed.
Active
Only enabled signals are acquired.
Actual
Display of the currently acquired value (only available when acquisition is running).
Digital tab
Figure 8: Preferred module, „Digital“tab
Name
Here, you can enter a signal name and additionally two comments, if you click on
the icon on the signal name field.
Symbol
Name of the displayed value provided by the address book. This field cannot be
changed.
Active
Only enabled signals are acquired.

ibaFOB-PlusControl
Manual
Issue 1.1
17
Actual
Display of the currently acquired value (only available when acquisition is running).
7.4 Configuration of standard modules
Standard modules may contain preferred symbols and standard symbols.
Add module
In order to add manually a standard module right-click the link of the ibaFOB-PlusControl
card and select “PlusControl Standard”.
Figure 9: Add standard module
General tab
Figure 10: Standard module, „General“tab

Manual
ibaFOB-PlusControl
18
Issue 1.1
Basic
Module type
Display of the module type (read only)
Locked
A locked module can only be modified by authorized users.
Enabled
The data acquisition for this module is either enabled (TRUE) or disabled (FALSE).
Name
Here, you can enter a module name.
Module No.
Logic module number for clearly referencing of signals e. g. in expressions in virtual
modules or ibaAnalyzer. The module number is assigned automatically by ibaPDA
in ascending order, but may be changed by the user.
Timebase
Timebase for data acquisition, cycles down to 10 µs are possible (depending on the
number of signals). Default setting is 25 µs.
Use name as prefix
If TRUE is selected, the module name is placed in front of the signal name as pre-
fix.
Groups
Generate groups
If TRUE is selected, the symbols are entered in the I/O manager groups according
to the structure in the address book which has already been generated for the pre-
ferred signals.
See also chapter 7.5 "Groups".
Module Layout
No. Analog signals
Defining the number of analog signals in this module.
No. Digital signals
Defining the number of digital signals in this module.
Note
When clicking in a field the corresponding description will be displayed in the text field
below the input fields. For a detailed parameter description please refer to the ibaPDA
manual.
Select symbols
Measurement values for this standard module can be selected using the PlusControl
symbol browser. A click on the blue link “Select symbols” opens the symbol browser.

ibaFOB-PlusControl
Manual
Issue 1.1
19
Figure 11: PlusControl symbol browser
Preferred symbols are indicated by a star symbol , standard symbols by a flag .
In the symbol browser, you have the following options:
Use comment as signal name
The signal comment from the symbol table is used as signal name in the standard
module.
Show only standard symbols
Filter function for standard symbols
Hide symbols with unsupported datatype
A symbol whose datatype is not supported, will not be displayed.
In order to add symbols to the recording, mark the desired symbols and click the <Add>
button. The marked symbols will be inserted in the corresponding “Analog” or “Digital”
tab.
Tip
While pressing the keys <Shift> or <Strg> several symbols can be marked at once and
then be added together.
Analog tab
Identical to the “Analog” tab of the preferred modules.
It is also possible to open the symbol browser with a click on the button and directly
enter the variables.

Manual
ibaFOB-PlusControl
20
Issue 1.1
Figure 12: Standard module, Analog tab
Digital tab
Identical to the “Digital” tab of the preferred modules.
It is also possible to open the symbol browser with a click on the button and directly
enter the variables.
Figure 13: Standard module, Digital tab
Table of contents
Other IBA Computer Hardware manuals

IBA
IBA Com-L2B-4-8 User manual

IBA
IBA ibaW-750 User manual

IBA
IBA ibaPADU-S-IT-2x16 User manual

IBA
IBA ibaFOB-TDCexp User manual

IBA
IBA ibaFOB-D User manual

IBA
IBA ibaPADU-S-IT-16 User manual

IBA
IBA ibaLink-VME User manual

IBA
IBA FOB-SD User manual

IBA
IBA ibaFOB-4i-X User manual

IBA
IBA ibaFOB-4i-S User manual
Popular Computer Hardware manuals by other brands

AXIOMTEK
AXIOMTEK tBOX323-835-FL Quick installation guide

Hella Gutmann
Hella Gutmann mega macs PC Bike quick start guide

Lexicon
Lexicon MPX 1 - REV 1 user guide

Panasonic
Panasonic TY-SB01QS operating instructions

National Instruments
National Instruments PCI-6034E user manual

Huawei
Huawei SMU Specifications