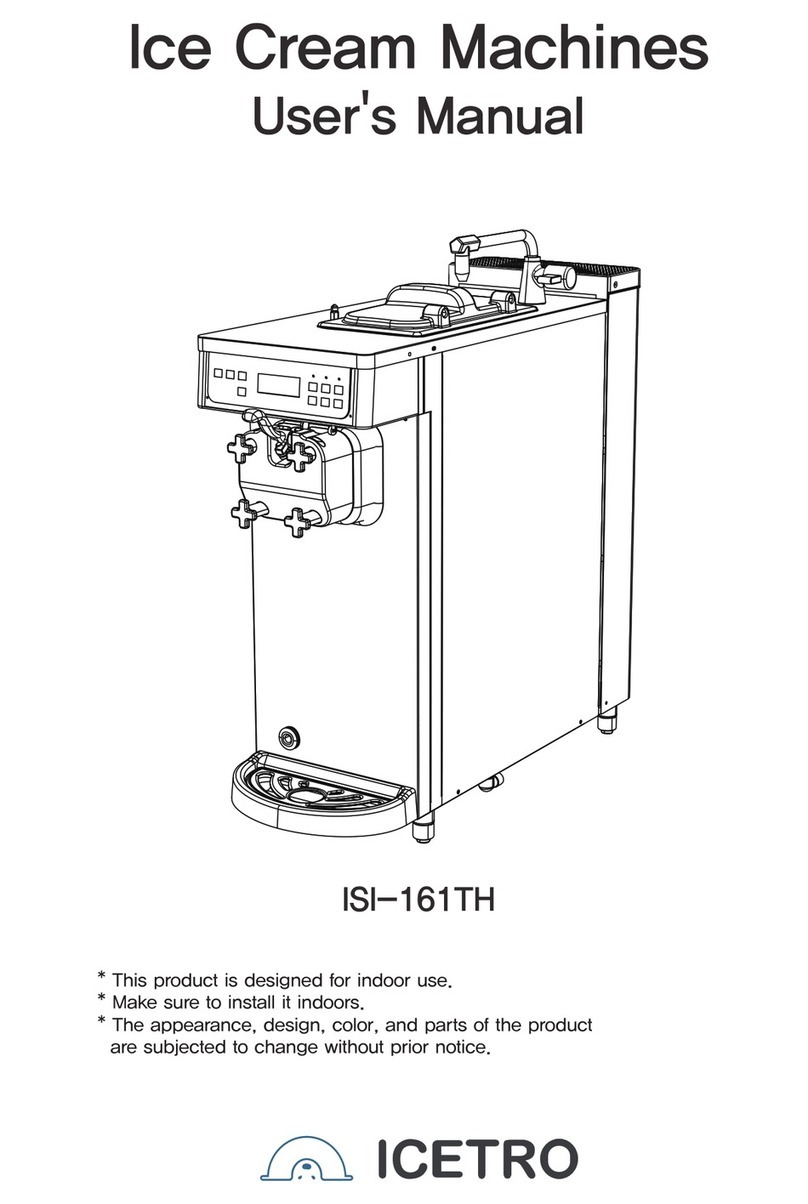
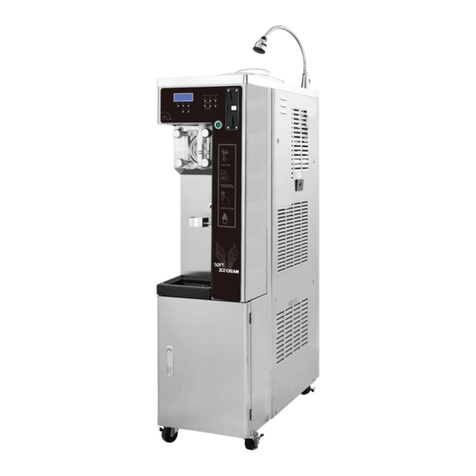
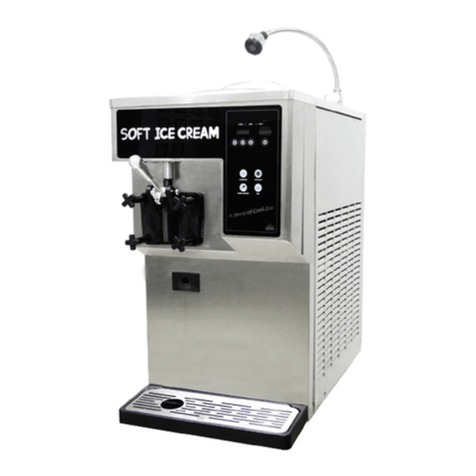
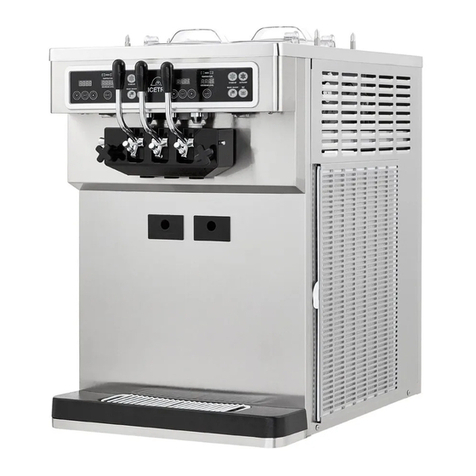
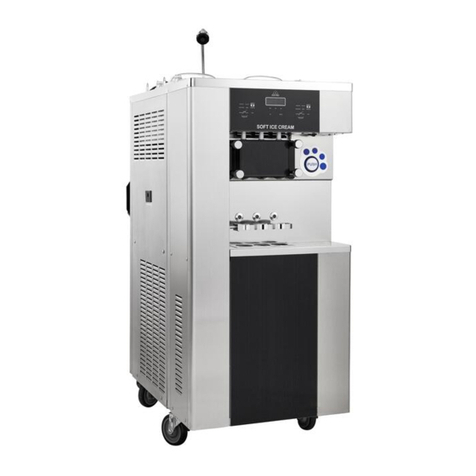
icetro ISI-303SNA User manual

ISI-303SNA
ISI-303SNW
● This product is for indoors, so do not use it outdoors.
●
Before using the product, be fully familiar with the contents in the manual.
Please store this manual in a place where you can reach it easily for
future reference.
● This user manual contains a product warranty.

2
Our soft ice cream freezer offers the following advantages.
4. Large mixing tank(SSI(ISI)-303)
1. Minimum noise and refreshing cooling system
With a high efciency and low noise motor, we can achieve minimal
noise from the refreshing cooling system.
2. MICOM control method
Use of an articial intelligence control type achieves an
optimal cooling system.
3. Body sensing button
The touch button provides a smoother operation.
5. Independent cooling system
Additional 19.5 liter space can store more ingredients.
Separate systems are used for freezing and storage to give
more convenience.

3
Dear customers;
Contents
Acknowledgment
Cleaning Method
Method of Use
ETC
Cautions for your safety
-Power supply related items
-Installation related items
-During use
Installation method
04~05
04
05
05
06~08
09
10
11~12
13
14
15~17
18~23
24
25
26
32~37
32~34
35~37
38
39
40~42
43
44~46
47
48
49
50
50
51
52~58
27~30
27~28
29
29
30
31
For long-term storage
Product specication
Part names
Check prior to use
Button display description
and functions
Functional description of the buttons
Explanation of the function button
(set by an expert)
How to makes soft ice cream
Soft ice cream out-speed control
Carburetor control
Cleaning Method
-Wash mode
-Washing of each parts
-Condenser and lter cleaning method
-How to clean inside the drum
Dasher cover assembly method
How to upgrade the program
-Download kit Product
-Pc Download kit
Before requesting service
Error code types
Circuit diagram
Refrigerant diagram
Service for refrigerant lines
Removal and replacement of compressor
Removal and replacement
of capillary tube
Removal and replacement of condenser
Replacement of fan motor
Replacement cycle of consumable parts
Product warranty
Part list
Thank you very much for purchasing a soft ice cream maker made by ICETRO. For correct use of the
product and its maintenance, please read this manual carefully. If a problem occurs while using the
product, you can refer to this manual for troubleshooting. This manual contains a product warranty, so
keep it safely for future reference. This product can be installed only by someone qualied for installation.
If use of parts and accessories not provided or approved by ICETRO or any part or accessories made by
ICETRO but remodeled by other person causes a problem, we are not responsible for it nancially.
(The functions and specications shown in this manual and on the web site are subject to change without
notice. Please visit our website at http://www.icetro.com to obtain the latest specications.

4
Cautions for your safety
These are safety related items. So, comply with them at all times!
They are meant to protect the safety of users and prevent property damages.
Please, read the cautionary items carefully for correct use.
Danger
If violated, it can cause death
or severe injury.
Install it independently with an
earth leakage circuit breaker
with more than 50[A].
It can cause electrical shocks or fire.
Warning
If violated, it can cause sever
physical injury or property
damages.
Caution
If violated, it can cause
slight physical injury or
property damages.
Do not move the product by
pulling on the power cord.
It can cause electrical shocks or fires.
Do not bend the power cord too
much or cause damages or
deformation by pressing it under
aheavy object.
It can cause electrical shocks or fires.
If there is water inside the
power supply, turn off the
earth leakage circuit breaker
and dry it before use.
It can cause electrical shocks or
fires.
Do not touch the earth leakage
circuit breaker with your wet
hands.
It can cause electrical shocks or fires.
Do not turn the power on/off with
the circuit breaker continuously.
It can cause electrical shocks or fires.
When you repair or inspect the
product or replace any parts, turn
off the earth leakage circuit
breaker.
It can cause electrical shocks or fires.
Power supply related items
Do not pull on the power cord.
It can cause electrical shocks or fires.
Do not connect many electrical
products to the earth leakage
circuit breaker. Use it individually.
It can cause fires.
If you want to leave it unused for
along time, then close the water
supply valve and turn off the
earth leakage circuit breaker.
It can cause electrical shocks or fires.
Do not arbitrarily connect the
power cord or process it for use.
It can cause fires.
If the power cable is damaged,
then do not replace it on your
own. Call the service center for
cable replacement.
It can cause electrical shocks or fires.
Use a power cable larger than
4mm .
The outer box for the product
should be grounded.
It can cause electrical shocks or fires.
5
Cautions for your safety
Do not install it near a heating
device.
It can cause fires.
Do not install it near dust, moisture
or rainwater (water) popping.
It can cause electrical shocks or fires.
Do not use or store inflammable
gas or material near the product.
It can cause electrical shocks or fires.
Do not install it on a tilt.
It can cause physical injury or product
damages.
Do not apply excessive force or
impact to the product.
It can cause damages to the product.
This product shows the best
performance at temperature of
10~30 C.
The side and rear of the product
should be maintained at least 20cm
from the wall.
Installation related items
During use
Do not place candle lights or
cigarettes light on top of the
product.
It can cause fires.
While operating the product,
please completely close the
upper cap.
Bugs or alien substances can enter
the product.
Do not obstruct the entrance of
the air vent.
If so, the performance will be degraded.
If the product has weird sounds or
burning smell or smoke, turn off the
earth leakage circuit breaker
immediately and call the service
center.
It can cause electrical shocks or fires.
Do not place water containers,
medicine, foods, small metal parts
or inflammable material on top of
the product.
If they go inside the product, it can cause
electrical shocks, fire and damages.
To have good quality soft cream, it
is recommended to clean it every
day.
Otherwise, the ingredients can decay.
information
For your
- Clean the lter periodically. Otherwise, the cooling performance will degrade.
Don’t let a person who was not educated the product or a child touch
- Comply with the user guideline suggested by the maker.
Otherwise, it can cause malfunctions
or operate the machine
- Comply with the user guideline suggested by the maker.
Otherwise, it can cause malfunctions.Don't let a person who was not educated

6
Installation method
【 Electrical connection 】
1.Install a leakage current breaker, capacity of 20A or larger, in each distribution panel
of the relevant model.
▶AC 1Φ220V
▶AC 3Φ220V
▶AC 3Φ4W 380V
3. Attach a cable gland rmly on 4.0
㎟
cable and connect the cable.
4. Measure the L and N phasevoltages.
They should match the voltage displayed in
1-3. If not,then using a straight headed driver,
adjust the PCB variable resistance located
in the control box at the bottom front of the
product as shown in the figure on the right.
(Clock wise:Increase, Counter-Clock wise :
Decrease)
2. Remove the front panel at the front bottom,
and remove the control box cover.
Electrical connections should be performed by an electrical technician to make sure that
each phase is (L, N, GROUND) correctly connected. If the connection is wrong, it can cause
explosions or ignition of the PCB in the product and electrical shocks or res.
For your
information
GROUND GROUND

7
1. The input power should be AC 3PH 3W 220V and install an individual earth leakage circuit
breaker with a capacity of more than 20A to a power distribution box.
G
(Option)
X
Z
Y
【 Electrical connection for 3PH 220V 】(Option)
For your
infromatoon
Electrical connections should be performed by an electrical technician to make
sure that each phase is (R, S, T) correctly connected. If the connection is wrong,
it can cause explosions in the product and electrical shocks or fires.
Installation method

8
●Water supply connection
●Check the followings after connecting the water supply and drainage lines:
1. The water supply connector is located in the left
rear bottom. Wrap a teon tape around the screw
thread about 5 to 10 times.
< AIR-COOLED TYPE > < WATER-COOLED TYPE >
※Water supply connection
1. Water supply pressure should be between 20~80psi.
▶ If the water pressure is too high, water may leak at connections.
(Check with the gauge on the rear side.)
2. If the temperature goes down below 10℃(50℉), provide a means to prevent freezing.
▶Freezing can cause water leakage or failure of the system.
3. A strainer for water supply must be provided.
▶Dust or other foreign matter in the water line can cause failure of the
Ice cream machine.
4. Install a water purication lter in the region where the water contains high
concentration of calcium compounds.
Reset the current time when restarting after a long standstill.
For your
infromatoon
The shape of the water supply valve may look different depending on the environment
of the installation.
- To guarantee optimal performance, the detailed
installation method should be discussed with an
installation technician.(Please discuss the possible
changes of location during use)
- The product should not be installed on a rough surface,
in direct sunlight, exposed to dust and where water
splashes.
●Install it this way!
For your
infromatoon
INOUT
3PH, 220 V, 60Hz
MODEL ISI-303SNW
WATER INLET 1/2" FPT
DRAIN 1/2" FPT
Water InletWater Inlet Drain
Installation method(for water cooling type)
WATERIN
front panel
down
WATEROUT

9
For long-term storage(for water cooling type)
1. Please stop the machine by pressing the‘STOP’button.
- Turn the machine off.
2. Seperate the water pipe from a hose to withdraw all the water
inside the machine. (Picture 1)
Please put a basket under the water pipe and the drainpipe
for the water coming out from the machine.
※Water will not be removed if not separate the water supply hose.
3. Please turn on the drain valve that is on the rear side of the machine by turning it
anti-clockwise. Water will come out through the drainpipe, if the valve is open. (Picture 2)
4. After all the water comes out, please lock the drain
valve (Picture 2). (Water quantity : About 0.8~1lwill come out.)
5. To use the machine again, please lock the drain valve and connect a water supply
hose to the water pipe (Picture 1) for water supply and the machine can be used.
※ Please make sure to check when connecting the water pipe! ※
1. Please check if the water pressure is 20~80psi after having water supplied.
(Please check it at the water pressure gauge on the rear side of the machine.)
2. If the pressure is under 20psi, please adjust the valve and keep it from 20~80psi
to make the machine work.
3. If the water pressure is insufficient, the HPS will be operated and the machine will
stop to be protected, so please keep the suggested water pressure.
[ADJvalve(wateradjustvalve)direction]
*Viewfromthefrontside
OPEN
CLOSE
Dr alve
W e
(Pictur (Pictur
Drainpipe
(Seper
Basket
LEFT
RIGHT
Re over
Wessur
Dr alve

10
CLASSIFICATION SPECIFICATION
Product name Soft Ice Cream Freezer
Model name ISI-303SNA ISI-303SNW
Rated voltage and frequency 3Φ 220 V 50/60 Hz
Power consumption 7.4 kw
Product size
(including the wheel
and
excluding the cap)
HEIGHT
1456 1456
WIDTH
668 668
LENGTH
891 911
Cylinder capacity
(Mixing tank capacity)
3.4
(19.5)
Continuously sold cups 10~14
Cooling temperature 10 ℃ Below
Ingredient sensor Applied
FILTER mounted Applied
Product weight
Before being
packaged 330
After being
packaged 350
Product specication

11
Part names
ISI-303SNA
COVER
FOOD FAN
FILTER
CONDENSOR
DRAINBOX UP
DRAIN BOX
FRONT PANEL
ISI-303SNW
ISI-303SNA

12
ISI-303SNW
Part names
Part
SOCKET
Water Cooled Type
1 EA
BRUSH 143
1EA
PACKING REMOVE HANDLE
1 EA

13
【Make sure to check them prior to use 】
Install it independently in an earth leakage circuit breaker with more than 50A and
provide an external grounding.
(Ask a qualied electrical technician for the installation.)
The power cable should be connected for proper operation of the product.
If you intend to leave it unused for a long time, wash it and turn off the water supply
valve and the earth leakage circuit breaker.
The air suction and discharge should be facilitated, so that the cooling
performance can be optimized.
For better taste of soft ice cream, do not miss the lter cleaning time.
It is recommended to clean the cylinders, the mixing tanks, the impellers,
the dashers, the carburetors and the pistons every day.
Clean the condenser at least once a month or more often.
The cylinders, impellers, dashers or pistons inside the product contact
with the ingredients directly, so you should clean them once a day.
This product is for 3PH, 220 V, 60 Hz
● Do not block the air vent.
● Periodic lter cleaning. (At least once a week)
● Clean the condenser once a month.
● Pasteurize it at least once a day.
For your
information
Check prior to use

14
Each mode number and values are shown.
● AUTO : Displays the operational status.
● WASH :
It displays motor current during wash.
Displays the percentage of soft cream formation
in operation.
2-1: Displays the soft cream temperature
in the storage tank.
2-2: Displays the ingredient temperature
inside the cylinder.
2-3: Displays the condenser suction
temperature.
The "▼" and "▲" buttons are used to
change the setting in the upper
status display window.
Press the
"▼" and "▲" buttons at the
same time for five seconds to lock or
unlock the touch buttons.
It is used to check the temperature
in the lower status display window.
It blinks when there are insufficient ingredients.
It blinks when there is no ingredient.
It is used to stand by with
ingredients stored in the
cylinder and hopper.
It is used to produce soft cream.
It is used to store ingredients.
It is used to wash the machine.
"Insufficient Ingredients" lamp
"No Ingredients" lamp
"STAND-BY" button
"AUTO" button
"REF" button
"WASH" button
"Left Status Display Window"
Button display description and functions
"Right Status Display Window"
"▼ and ▲" buttons
"Select" button

15
Functional description of the buttons
If you press the "Set" button lightly, you can
enter the mode to check the setting as below.
Use the“▼”and“▲”buttons to see the settings.
1-1: Check ice cream level settings
You can check the current setting for the ice cream. If the
displayed value is higher than the no-load current (1-2),
the ice cream becomes harder and if lower,
the ice cream becomes softer.
1-2: Check the ice cream default level
It is the no-load current of the dasher motor.
It is the current consumed by the dasher motor when the
ingredients are in the liquid status.
1-3 : Check the currently supplied voltage.
It is the power supplied to the machine.
If the voltage is not correct after installation,
call for service.
1-4 : Check the storage temperature in the mixing tank.
You can check the temperature inside the mixing tank.
1-5 : Check the voice announcement
You can check whether a voice announcement is available.
1-6 : Check the program version
You can check the versions of the main
PCB and the display PCB.
"n" is for the main PCB and "d" is
for the display PCB.
The soft cream level is set for the ingredients (vanilla) designated by the maker.
Depending on the ingredients, you will need to adjust it properly. Please follow the
instructions from our company when changing the level for the ingredients.
For Your
Information

16
Functional description of the buttons
Check the temperature and the record
Press the "Select" button to check the different temperaturesettings
mentioned below. The item number and the temperature
will be displayed in turns.
2-1 : Temperature of the mixing tank
2-2 : Temperature of the mixing tank sensor
2-3 : Condenser suction temperature (neighboring temperature)
2-1 : Temperature of the mixing tank
The sensor located at the bottom of the mixing tank
to measure the temperature of ingredients may display
temperatures different from the actual ones if there is
no ingredient in the mixing tank or mixer.
2-2 : Temperature of the cylinder
The sensor located at the bottom front of the cylinder
may display temperatures different from those of
the ingredients or the ice cream.
2-3 : Ambient temperature of the condenser
The sensor located in front of the condenser can measure
the temperature of the ambient air entering the condenser
and the recommended installation conditions as well.
If 2-3 is too high, an error may occur.
This error is caused by poor environmental conditions
(clearance, cleaning, ventilation, etc.).
You should install the machine according to the manufacturer's recommendation.
For Your
Information

17
Functional description of the buttons
Press the "Set" button for three seconds to enter the setting change
mode as follows.
Use the "▼" and "▲" to enter the password and use the "Set" button
to move to each item. When the display blinks, use "▼" and "▲" to
change the value and use the "Set" button to leave the item. Press
and hold the "Set" button for three seconds to leave the value change
mode.
Change the setting
3-1 : Adjust the soft cream level
This item is used to adjust the target current of the soft cream.
If the value is lower, the ice cream becomes softer. If the level is
too high, the quantity of produced ice creams may drop, it may
not be discharged or other malfunctions may occur.
Consult an engineer.
3-4 : Set the mixing tank temperature
This item is used to adjust the cooling temperature of the
ingredients in the mixing tank. The larger the number is,
the higher the storage temperature is. The smaller the number is,
the lower the storage temperature is.
If the temperature is too low, the ingredients may freeze.
If too high, they may spoil.
3-5-1 : Select a voice announcement option
You can turn on/off the voice announcement.
For your
information
The ice cream level (3-1) may vary according to ingredients or sugar content.
If it is high, the machine operates too much unnecessarily to make the ice cream soft.
Also, if the machine stays in the auto mode for two or three hours without discharging any
ice cream, this may make the ice cream softer depending on the ingredients.

18
4-0. This is the category that can be selected according to the characteristic and
model of the product and that has a meaning that is different from the
model name of the product. When the model is changed in this category,
the content in Category 4 is reset to the default setting.
4-1: Rest time setting
This is the function to allow the compressor to rest for a certain period
of time by minute after the soft freezer is made. Adjust this category
carefully as it can make the soft freezer melt quickly.
4-2: Set the compressor to restart
This remembers the temperature at the time of making soft freezer.
When the temperature rises above the temperature that was set in
this category, the compressor is restarted. The rest time of the
compressor can be extended when the temperature in this category
is increased.
4-3: Hopper management temperature setting
This sets the management temperature to refrigerate the raw material
in the hopper. The temperature set in this category is managed as the
value added from the value in Categories 3-4. For example, if 3-4 is
2and 4-3 is 2 ,the management temperature of the hopper
is maintained at 2-4 .
Important
matters
The categories that determine the compressor rest time during operation are 4-1 and 4-2. When one
is satisfied with these two categories, the compressor rest time ends.
Model selection: Only experts that have been designated by the main office or by those who received professional
education and received approval from the main office shall adjust this category. A service charge will be applied if
problems occur due to unapproved alterations.
Press set + select buttons for 3 seconds to enter the stage of
inputting the password.
Password has 4 digits and input begins from the left to the left and the
relevant digit blinks.
Select the number by - and +buttons and press setbutton to move
to the next digit.
Input the 4 digit password in this way.
Do not let anyone without professional education know the 4 digit
password under any circumstances.
Explanation of the function button (set by an expert)

19
Explanation of the function button (set by an expert)

20
Explanation of the function button (set by an expert)
This manual suits for next models
1
Table of contents
Other icetro Ice Cream Maker manuals

icetro
icetro ISI-271SHSN User manual

icetro
icetro SSI-300T User manual

icetro
icetro SSI-141TG User manual

icetro
icetro ISI-271THN User manual

icetro
icetro ISI-321TA User manual

icetro
icetro ISI-163TT User manual

icetro
icetro ISI-273SH3S User manual

icetro
icetro ISI-271THS User manual

icetro
icetro SSI-143S User manual

icetro
icetro ISI-161TH User manual