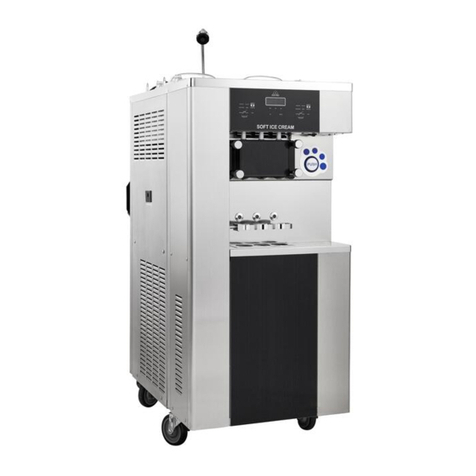
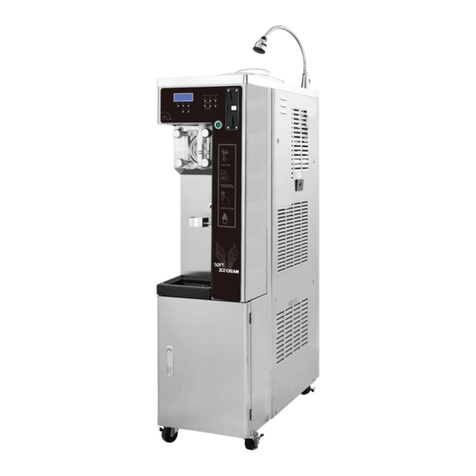
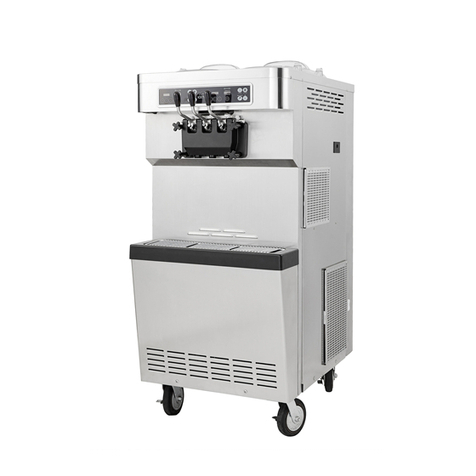
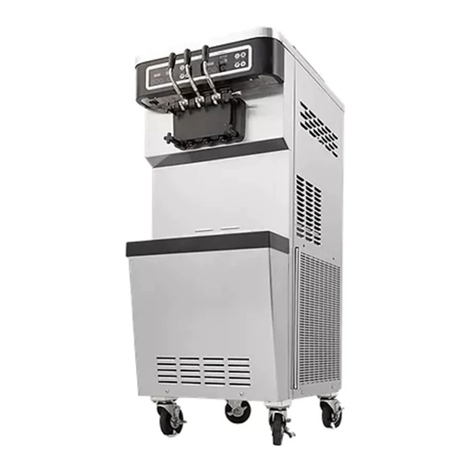
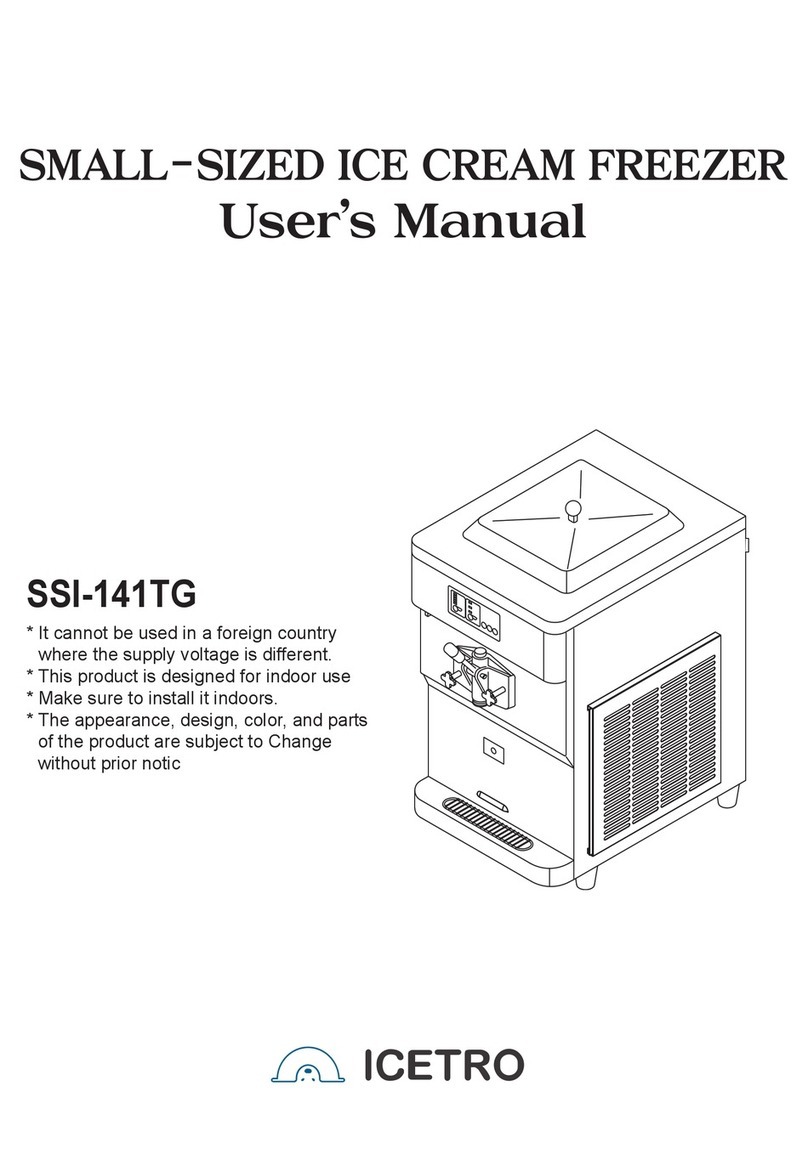
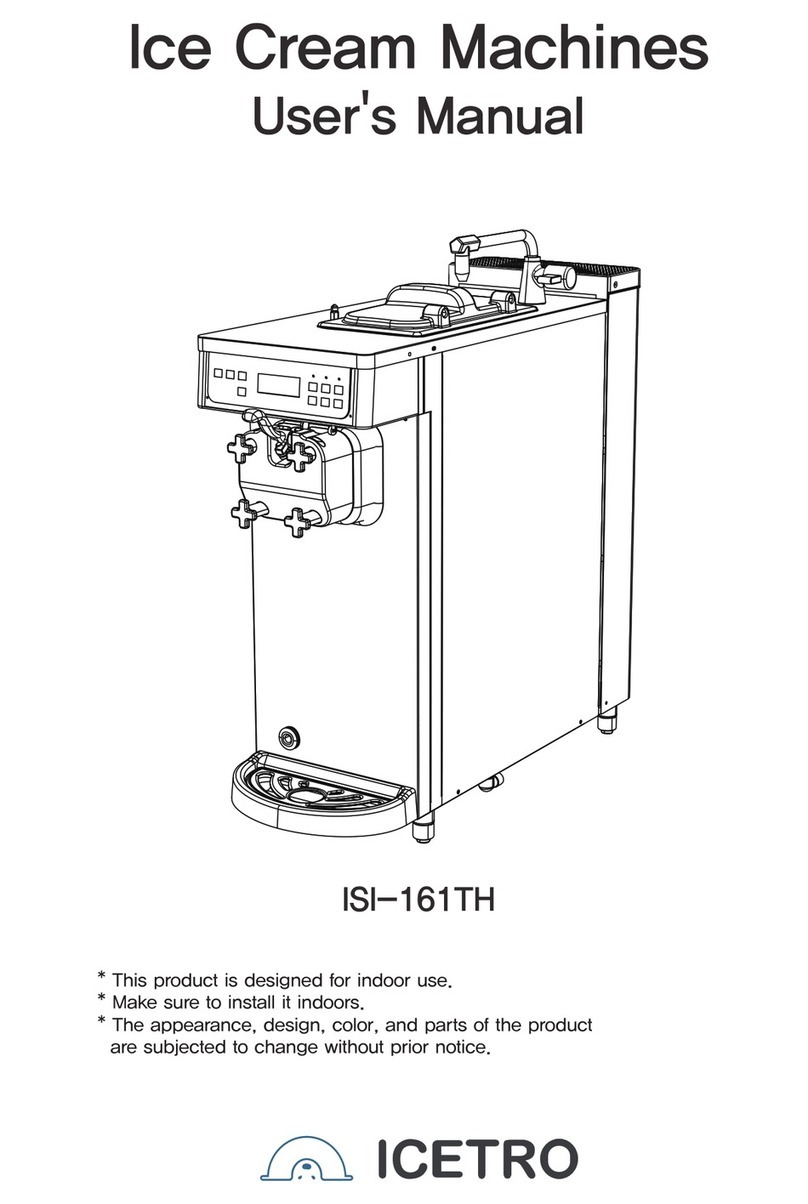
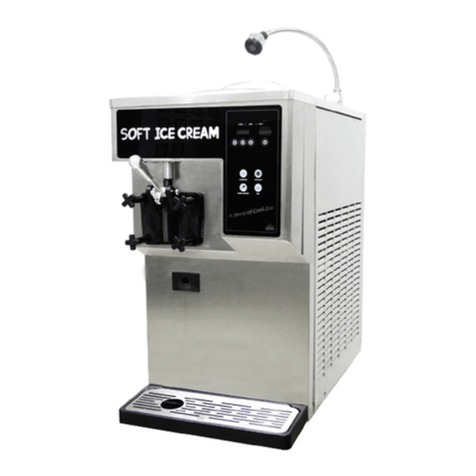
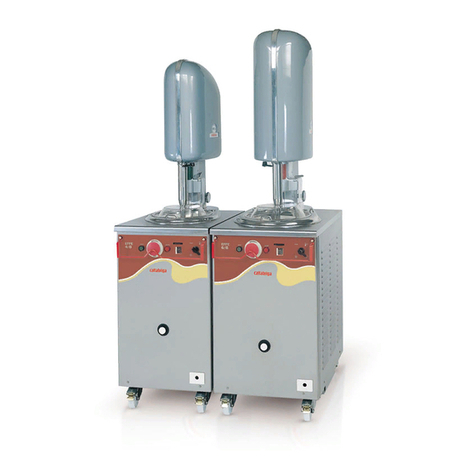
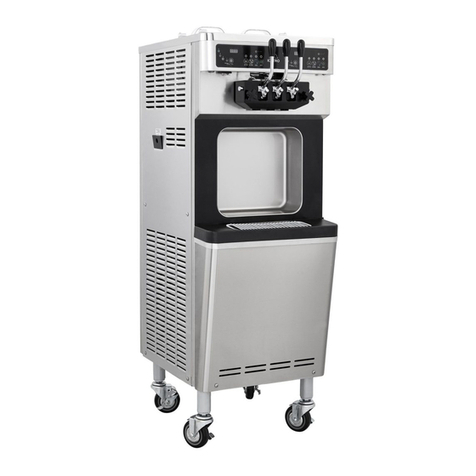
icetro SSI-300T User manual

SSI-151TG SSI/ISI-300T, TW
SOFT ICE CREAM FREEZER
User's Manual
●
This product is designed for indoor use .
●
Make sure to install it indoors.
●
The appearance, design, color, and parts of the product
are subject to change without prior notice.

2
Yogurt & soft ice cream Self machine offers the following advantages
1. Minimum noise and refreshing cooling system
2. MICOM control method
3. Body sensing button
4. Large mixing tank (Model 300T, TW)
5. Independent cooling system
With a high efficiency and low noise motor, we can achieve minimal noise from the
refreshing cooling system
Use of an artificial intelligence control type achieves an optimal cooling system.
The touch button provides a smoother operation.
Additional 19.5 liter space can store more ingredients.
Separate systems are used for freezing and storage to give
more convenience.

3
Thank you very much for purchasing a soft ice cream maker made by ICETRO. For correct use of the
product and its maintenance, please read this manual carefully. If a problem occurs while using
the product, you can refer to this manual for troubleshooting. This manual contains a product warranty,
so keep it safely for future reference. This product can be installed only by someone qualied
for installation. If use of parts and accessories not provided or approved by ICETRO or any part
or accessories made by ICETRO but remodeled by other person causes a problem,
we are not responsible for if nancially. (The functions and specications shown in this manual and on
the web site are subject to change without notice.
Please visit our website at http://www.icetro.com to obtain the latest specications
Dear customers
Contents
Cautions for your safety ...................................................................................................... 4~7
Unpacking method .............................................................................................................. 8
Installation method ............................................................................................................. 9~11
For long-term storage ............................................................................................................ 12
Name of each part ................................................................................................................ 13~16
Product specication
............................................................................................................. 17
Check prior to use ............................................................................................................... 18
Button display names and functions ..................................................................................... 19
Functional description of the buttons .................................................................................... 20~28
“1 category” ......................................................................................................................... 20
“2 category” ......................................................................................................................... 21
“3 category” ......................................................................................................................... 22
“4 category” ......................................................................................................................... 23~28
Making soft ice cream ......................................................................................................... 29
Soft ice cream out-speed control For ................................................................................. 30
Caburator control ................................................................................................................ 31
Cleaning method .................................................................................................................. 32~36
Dasher and dasher cover assembly method .................................................................... 37
Before requesting service
................................................................................................. 38
Replacement cycle of consumable parts
........................................................................ 39
Error Codes and Corrective Actions .................................................................................... 40
Circuit diagram
..
.................................................................................................................. 41~42
Part list ................................................................................................................................. 43~52

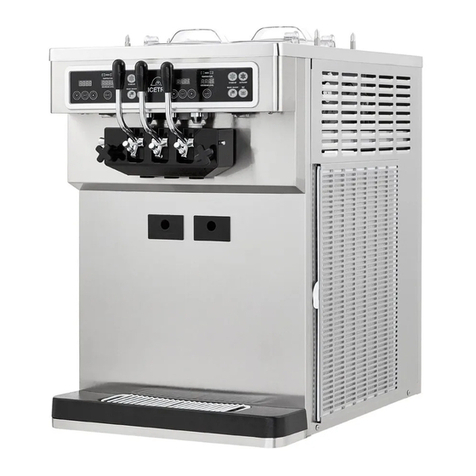
4
The caution/warning details for safety are intended to prevent accident or danger through
safe and proper use. Therefore please follow the details accordingly. The precaution details
are categorized into warning and caution, and the respective meanings are as follows.
※Personal Injury: Minor cuts, burns (high or low temperature) or electric shocks that
do not need hospitalization or long-term hospital visiting.
※ Property Loss: The loss on houses, household goods, livestock, bedding, and such.
This means that it can cause death or major injury
when the details are violated.
If you neglect this symbol and wrongly use the product,
it may cause a re, serious injury or death.
Warning
Danger
Caution This means that it can cause injury or house/
property damage when the details are violated.
[Each symbol has the following meanings]
This symbol means that it can be dangerous in specic conditions.
This symbol means never to do the described action.
This symbol means not to touch specic parts with bear hands.
This symbol means to unplug the power from the outlet.
Must be grounded.
This symbol means not to disassemble the product.
This symbol means to be careful because there is a possibility of
electric shock.
Cautions for your safety

5
Cautions for your safety
Call a service center
Observe the regulations Check your labels
Label
Warning
Caution
For relocation of the product, call an expert. Keep your warning and caution
labels clean for easy legibility.
The product may cause such hazards as
falling down unless properly installed.
It should be installed in accordance with related
regulations such as KS standards, the road and
trafc act. The re ghting act and the food sani-
tation act. ※ Call your distributor.
If the user misunderstands
the content of such a label,
an accident may occur.
Call an expert for repair.
Imperfect repair may cause re,
electric shock or injury.
If you think the product
needs repairing, call
your distributor.
When you dispose of the
product, consult a disposal
expert.
An accident may result unless
it is properly disposed of.
※ Call your distributor.
Caution
Caution
If the power cable needs
replacement or repair,
call a service center or
an expert.
Caution
Do not place any obstacle at
the entrance of the air vent.
The side and rear of the product
should be maintained at least
20cm from the wall. If no t so,
the performance will be degraded
When you replenish ice cream
raw materials do not allow
rain or snow to get into any
interior electric part.
Defective operation may occur. Electric shock or injury may
result.
Before you clean the inside
of the product, unplug the
earth leakage breaker
wearing rubber gloves.
Caution
Caution
Caution
Otherwise, the ingredients
can deday.
If sterilization is not done
every day, you are recommen
ded towash it every day.
To have good soft
icecream, it is recom-
mended topasteurize or
cleanit everyday.
EVERYDAY
Caution
It can cause damages to
the product.
Do not use or store
inammablegas or material
near the product.

6
Cautions for your safety
User’s
Manual
It can cause electrical
shocks or res.
without the manual,
an accident may occur
because of erroneous
handing or operation.
Do not install it near dust,
moisture or rainwater(water)
popping.
It can cause physical injury
or product damages.
It can cause damages to
the product.
Do not install it on a tilt.
Do not apply excessive force
orimpact to the product.
This product shows
the Optimal performance
at temperature of 10~30°C.
Do not operate the product
while all panels are not well
fastened enough.
Caution Caution
Caution
Caution
Caution
Caution
While operating the product,
please close the upper cap
completely.
Do not turn the power ON/
OFF with the circuit breaker
continuously.
Do not arbitrarily connect
the power cord or process
it for use.
Do not connect manyelec-
trical products to the earth
leakage circuit breaker.
Use it individually.
Bugs or alien substances
can enterthe product.
It can cause electrical
shocks or re. It can cause res.
It can cause res.
Caution Caution
ON
OFF
Caution Prohibited
Prohibited
Do not put anything on the
product.
Injury may occur if it falls over.
Fire or electric shock
may occur.
Oh! NO
Prohibited
If you sell or hand over
the product, make sure
to hand over the user’s
manual with it.
Do not put anything on
the power cable.
Make sure that
the power cable is not
twisted or knotted.

7
Prohibited
Prohibited
Prohibited
Prohibited
T
hinner
Gas
Ga
sol
in
e
If the earth leakage breaker
is in the ‘OFF’ position,
do not turn it to the ‘ON’
position by force.
Do not spray with
an insecticide,
ammable spray or
perfume near
the product.
Do not climb onto
the product or
shake or tilt it.
Do not inject inammable
material such as benzene,
gasoline, paint thinner or
LP gas into the product
otto keep it close to
product
Make sure that no electric part
has come into contact with water.
If you turn it ‘on’ while the
machine is defective, re
or electric shock may occur.
If the product was
immersed in water by a ood,
call a service center for
a check. Otherwise,
re or electric shock due to
electric leakage may occur.
Explosion, re or injury
may occur.
Fire or electric shock
may occur.
The product may fall down
or develop a problem.
Prohibited
Stop using the machine,
if you nd the power cable,
or any other cable to be
defective.
Fire or electric shock
may occur.
Oh! NO
Prohibited
Do not place water containers,
medicine, foods, small metal
parts or inammable material
on top of the product.
If they go inside the product,
it cancause electrical shocks,
re anddamages.
Prohibited
Keep a heating device away
from the power cable.
A heating device may melt
down the coating of the
power core, resulting
in re or electric shock.
Prohibited
Prohibited
Prohibited
Do not place candle lights
or cigarettes light on top of
theproduct.
Do not put anything on the
product.
It can cause res.
Injury may occur
if it falls over.
Do not touch any moving part inside the
product.
You may get injured.
Prohibited
Cautions for your safety

8
The Ice Cream Dispenser has been fully inspected and tested at the factory prior to shipping.
If you detect damage to the wooden package or apparent distortion of the shape of the system
after unpacking the product, immediately inform your distributor or manufacturer.
Find the serial number marked on the packing and the machine before starting installation.
Inform us of the serial number if you have any inquiry. Request the dealer or service provider
for assistance when the machine is to be moved.
1. Remove the wooden packing, taking care not to damage the exterior of the Ice Cream
Dispenser.
2. Remove the wooden packaging and the protective tapes and make sure that all parts of
the system are complete.
※ When tilting or moving the machine, take care not to overturn the machine.
1. Avoid sloping or irregular surface.
- Installation on a sloping or an irregular surface may result in machine overturning, malfunction,
or failure.
2. Avoid direct sunlight, rain, snow, and wind.
- Otherwise, re or electric shock may occur due to the ice cream or rain water.
3. Avoid the direct inuence of sea wind and hazardous gases.
- Ice cream buyers may complain or le a claim.
●
Location and Precautions for Installation
Unpacking method

9
control box cover
side cover
SSI-300
LN
- Consult with the engineers of the company for the details of installation of the system to ensure optimal
performance of the system (change of the installation site of the system also requires consultation with
the engineer of the company).
- Do not install the system on a place with adverse conditions such as uneven oor, place exposed to direct
light, or place with too much dusts or direct splashing of water.
● Electrical connection
1. Connect the main power for single-phase
power distribution box.
Install an earth leakage breaker (with capacity of
30A or higher) in the distribution box.
◆
Earth shall be provided for the safe operation of the system.
◆
Maintain space of 50cm or more each between
the walls and the right and rear sides, 20cm or more
between the left of the system.
◆ Precisely seat the rubber feet at the bottom to
prevent slipping
2. Remove the screws of the left side cover
and remove the cover of the inside control
box by the same method.
3. Plug in the power cord and measure voltage at the ends of
two power cords (L, N) of termnal block.
4. Measure the phase voltages.
They should match the voltage displayed in
'1-3'. If not, then using a straight headed
driver, adjust the PCB variable resistancel
ocated in the control box at the bottom front
of the product as shown in the gure on the right.
Measurement must be taken by a qualied electrician and adjust voltage to values displayed in '1-3'.
Otherwise, icecream will be too waterly or too thick.
Installation method
For your
infromatoon

10
ISI-300TW
Water
connection
Drain
connection
A
●
Check the followings after connecting the feed and discharge water lines:
1. Feed water pressure should be between 1~3kgf/㎠.
▶If the water pressure is too high, water may leak at connections.
2. If the temperature can go down below 10℃, provide a means to prevent freezing.
▶Freezing can cause water leakage or failure of the system.
3. There should be a tap water valve when you connect the system to tap water.
Close the tap water valve if there is water leak due to a defect of the tap on top of the product.
1. Coil teon tape 5~10 times around the thread of
water supply connector.
2. Fir rubber packing in the corrugated tube nut
of the feed water line and join it to the water
inlet of the product.
Tighten the nut rmly with a tool.
3. Pay special attention to protecting Section “A”
from damage when assembling the tools.
● Water Supply Connection
The raw water supply valve may vary depending on the installation environment of the system.
Measurement must be taken by a qualied electrician and adjust voltage to values displayed in '1-3'.
Otherwise, icecream will be too waterly or too thick.
For your
infromatoon

11
2. Loosen the screw on bracket panel on the back to remove the cover.
3. Measure voltage at both ends of relay magnet connector. LN
SSI-151TG
bracket
panel
bracket
panel
- Consult with the engineers of the company for the details of installation of the system to ensure optimal
performance of the system (change of the installation site of the system also requires consultation with
the engineer of the company).
- Do not install the system on a place with adverse conditions such as uneven oor, place exposed to direct
light, or place with too much dusts or direct splashing of water.
1. Connect the main power for single-phase
power distribution box.
Install an earth leakage breaker (with capacity of
15A or higher) in the distribution box.
◆
Earth shall be provided for the safe operation of the system.
◆
Maintain space of 50cm or more each between
the walls and the right and rear sides, 20cm or more
between the left of the system.
◆ Precisely seat the rubber feet at the bottom to
prevent slipping
4. Measure the phase voltages.
They should match the voltage displayed in
'1-3'. If not, then using a straight headed
driver, adjust the PCB variable resistancel
ocated in the control box at the bottom front
of the product as shown in the gure on the right.
Measurement must be taken by a qualied electrician and adjust voltage to values displayed in '1-3'.
Otherwise, icecream will be too waterly or too thick.
For your
infromatoon

12
For long-term storage
1. Drain raw ice cream liquid, clean the machine, and assemble the dasher cover and dasher
assay while the body is still wet from cleaning.
2. Lock the water supply valve. The power supply must be connected at this point, so check if it is.
3. Disconnect the water supply valve from the side of
the machine to drain any remaining water in
the line. (Figure 1)
4. Unscrew the quick valve cover from the lower part
of the left panel and have a basket ready at the
outlet hose.
5. Turn and open the quick valve inside of the valve
cover counter-clockwise.
This will allow the water to flow from the outlet hose.
(Figure 2)
6. Press the "AUTO" button and keep the machine
running for 5~10 minutes.
7. Press the "STOP" button on the front to stop the machine.
8. After water is completely drained, lock the water valve (Figure 1)
and quick valve (Figure 2) and close the cover.
(About 1.3~1.5 liters of water will be drained.)
9. To reuse the machine, lock the quick valve again (Figure 2) and reconnect the water
supply line (Figure 2)
(Up to 10 minutes until the high-pressure switch is activated and
the machine stops.)
(The basket is for collecting the water that may spill
on the ground.)
(Refer to the user instruction for the cleaning method.)
Waring
●The machine will be out of order if water gets frozen due to sub-zero temperature in winter.
Be sure to drain water before storing the machine.
●The manufacturer will not be responsible for the freezing and bursting of the machine without
draining water. Be sure to keep the following precautions to avoid charging of excessive
repair cost:
●Be sure to check the following when connecting the water supply line!
1. The pipe must have a diameter bigger than Φ12.7mm.
2. Check if the pressure is between 0.3 and 0.5 Mpa on the water pressure gauge after
connecting the line. (The water pressure gauge is on the back of the machine.)
3. If pressure is lower than 0.3 Mpa when operating the machine, control the flow of
the main valve to ensure stable operation.
4. The high-pressure cut-out switch (HPS) of the machine will be activated to stop and
protect the machine unless pressure is strong enough.
Remember to maintain the proper water pressure.
(Figure 1)
quick valve
(Figure 2)
open
close
water pipe
separation
off
water bottle
drain hose
valve cover

13
460
469
9
809
933
760
908
785
35
908
88
BUTTON DISPLAY
LEVER
COVER FOOD FAN
POWER SWITCH
POWER SWITCH
DRAIN SLUG
FRONT PANEL
FILTER COVER
BACK PANEL
SIDE COVER
SIDE PANEL
FOOT RUBBER
POWER
DRAIN BOX
FRONT
BACK
SSI-300T
RIGHT SIDE
LEFT SIDE
Name of each part

14
DRAIN WATER
SSI-300TW
460
481
21
933
760
887
785
893
73
35
809
BUTTON DISPLAY
LEVER
COVER FOOD FAN
POWER SWITCH
DASHER COVER
BOLT
DRAIN SLUG
FRONT PANEL
SIDE PANEL
VALVE COVER
VALVE COVER
WATER
PRESSURE
GUAGE
DRAIN BOX
FRONT
BACK
RIGHT SIDE
LEFT SIDE
Name of each part
BACK PANEL
BASKET COVER STUD
SIDE COVER
SIDE PANEL
FOOT RUBBER
POWER

15
SSI-151TG
395
404
9 715
720
814
77
54 636
767
Name of each part
FRONT
BACK
LEFT SIDE
POWER
FILTER COVER
BRACKET BACK PANEL
BUTTON DISPLAY
LEVER
POWER
COVER FOOD FAN
DRAIN SLUG
DRAIN SLUG
DRAIN COVER
SIDE PANEL
DRAIN BOX
DASHER COVER
BOLT

16
BRUSH DRUM
BRUSH DRUM
PACKING JAVARA
PACKING JAVARA
ELBOW NIPPLE
WATER VALVE
WATER IN
COVER
HOSE
BRUSH 3
BRUSH 3
HANDLE JAVARA
SHAFT POM PACKING
MANUAL
MANUAL
DRAIN BOX UP
DRAIN BOX UP
PACKING PISTON
BRACKET
DRAIN BOX
DRAIN BOX
DRAIN BOX
HINES
HINES
DASHER LUG POM
DASHER LUG POM
300
PART
151
1 EA
1 EA
6 EA
2 EA
1 EA
1 EA
WHITE
-1 EA
BLACK
- 1 EA
1 EA
1 EA
1 EA
1 EA
1 EA 1 EA
1 EA 1 EA
1 EA
1 EA
1 EA 1 EA
1 EA
1 EA
2 EA
1 EA 1 EA
3 EA
2 EA
1 EA
1 EA
1 EA
1 EA
1 EA
1 EA
1 EA
2 EA
1 EA
300TW
1 EA
CABURATOR
TUBE
RING
CABURATOR
ORIFFICE
ORIFFICE CAP DASHER BEARING
DASHER BEARING
O-RING
CABURATOR
TUBE BODY
PACKING
DASHER COVER
PACKING
DASHER COVER
Name of each part
CABURATOR
TUBE CABURATOR
TUBE BODY

17
CLASSIFICATION SPECIFICATION
Product name Soft Ice Cream Freezer
Model name SSI-300T ISI-300TW SSI-151TG
Rated voltage and frequency 1PH, 220V, 60Hz / 230V, 50Hz
Power consumption 3000 W 2170 W 1400 W
Product
size
WIDTH
(Filter and coolant supply pipe excluded)
460mm 460mm 395mm
DEPTH
(cover excluded)
760mm 760mm 715mm
HEIGHT
(foot
inclusion
)820mm 820mm 690mm
Cylinder capacity 3.4ℓ 1.3ℓ
Mixing tank capacity 19.5ℓ 9ℓ
Consecutive selling
(At interval of 30 seconds)
※Caution (for making 100g of ice cream at 27℃)
20~24cups 4~5cups
Cooling temperature Can keep under 8℃
Filter Located at the right of product.
Refrigerant amount(Freeze/refrigeration) 1000g / 140g 950g / 120g 380g / 80g
Refrigerant kind(Freeze/refrigeration) R-404A / R-134a
Ingredient sensor Applied
Product weight(Before packing) 130Kg 140Kg 92Kg
Product specication

18
Check prior to use
【Make sure to check them prior to use 】
Install it independently in an earth leakage circuit breaker with more than 20A and
provide an external grounding.
(Ask a qualied electrical technician for the installation.)
The power cable should be connected before the product can be operated normally.
If you intend to leave it unused for a long time, wash it and turn off the water supply
valve and turn off the earth leakage circuit breaker.
The air suction and discharge should be facilitated so that the cooling
performance can be optimized.
For better taste of soft ice cream, do not miss the lter cleaning time.
It is recommended to clean the cylinder, the mixing tank,the impeller, the dasher,
the caburator, the cup sensor, the piston every day.
Clean the condenser at least once a month or more often.
※This does not apply to 'ISI-300TW' (water cooled model).
This product is for 1PH / 220V, 60Hz
● Do not block the air vent.
● Periodic lter cleaning
● Clean the condenser once a month.
For your
information

19
Button display names and functions
9
Button display names and functions
"Left Status Display Window"
AUTO: Displays the operational status.
Defrost: Display the defrost condition.
Revive: Displays the revival condition.
Sterilization: Displays the sterilization status.
'and &Buttons
The 'and &buttons are used to
change the setting in the upper status
display window.
Press the 'and &buttons at the
same time for five seconds to lock or
unlock the touch buttons.
"Select" button
It is used to check the temperature
in the lower status display window.
"Right Status Display Window"
Displays the percentage of soft cream formation in operation.
2-1: Displays the soft cream temperature in the storage tank.
2-2: Displays the ingredient temperature inside the cylinder.
2-3: Displays the condenser suction temperature.
"Stand-by" button
It is used to stand by with ingredients
stored in the cylinder and hopper.
"No Ingredient" lamp
It blinks when there is no ingredient.
"Insufficient Ingredients" lamp
It blinks when there are insufficient
ingredients.
"Auto" button
It is used to produce soft cream.
"Ref" button
It is used to store ingredients.
"Wash" button
It is used to wash the machine.
For your
information
Buttons sense the touch of people(electric capacity), so press them slightly.
Also, buttons are placed narrowly each other. So when you press a button, the adjacent button can
be pressed.
If you press the buttons hard, internal malfunction can occur, or the buttons won't function.

20
Functional description of the buttons
10
Functional description of the buttons
Change the setting
If you press the "Set" button lightly, you can
enter the mode to check the setting as below.
Use the "'" and "&" buttons to see the
settings.
1-1: Check ice cream level settings
You can check the current setting for the ice cream. If the
displayed value is higher than the no-load current (1-2),
the ice cream becomes harder and if lower, the ice cream
becomes softer.
1-2: Check the ice cream default level
It is the no-load current of the dasher motor.
It is the current consumed by the dasher motor when the
ingredients are in the liquid status.
1-3: Check the currently supplied voltage.
It is the power supplied to the machine.
If the voltage is not correct after installation,
call for service.
1-4: Check the storage temperature in the mixing tank.
You can check the temperature inside the mixing tank.
For your
information
The soft cream level is set for the ingredients (vanilla) designated by the maker.
Depending on the ingredients, you will need to adjust it properly. Please follow the
instructions from our company when changing the level for the ingredients.
1-5 : Check the voice announcement
You can check whether a voice announcement is available.
1-6 : Check the program version
You can check the versions of the main PCB
and the display PCB.
"n" is for the main PCB and "d" is for
the display PCB.
This manual suits for next models
2
Table of contents
Other icetro Ice Cream Maker manuals

icetro
icetro ISI-271THS User manual

icetro
icetro ISI-161TH User manual

icetro
icetro ISI-163TT User manual

icetro
icetro ISI-271SHSN User manual

icetro
icetro SSI-303SN User manual

icetro
icetro SSI-143S User manual

icetro
icetro SSI-141TG User manual

icetro
icetro ISI-321TA User manual

icetro
icetro ISI-273SH3S User manual

icetro
icetro ISI-303SNA User manual