2
Thank you very much for purchasing a soft ice cream freezer made by ICETRO. For
correct use of the product and its maintenance, please read this manual carefully. If a
problem occurs while using the product, you can refer to this manual for troubleshooting.
This manual contains a product warranty, so keep it safely for future reference. This
product can be installed only by someone qualified for installation. If use of parts and
accessories not provided or approved by ICETRO or any part or accessories made by
ICETRO but remodeled by other person causes a problem, we are not responsible for
it financially. (The functions and specifications shown in this manual and on the web
site are subject to change without notice. Please visit our website at http://www.icetro.
com to obtain the latest specifications.
Note: Translations of the original instructions is provied by ICETRO co., Ltd.
Dear customers
Contents
Acknowledgment
ET C
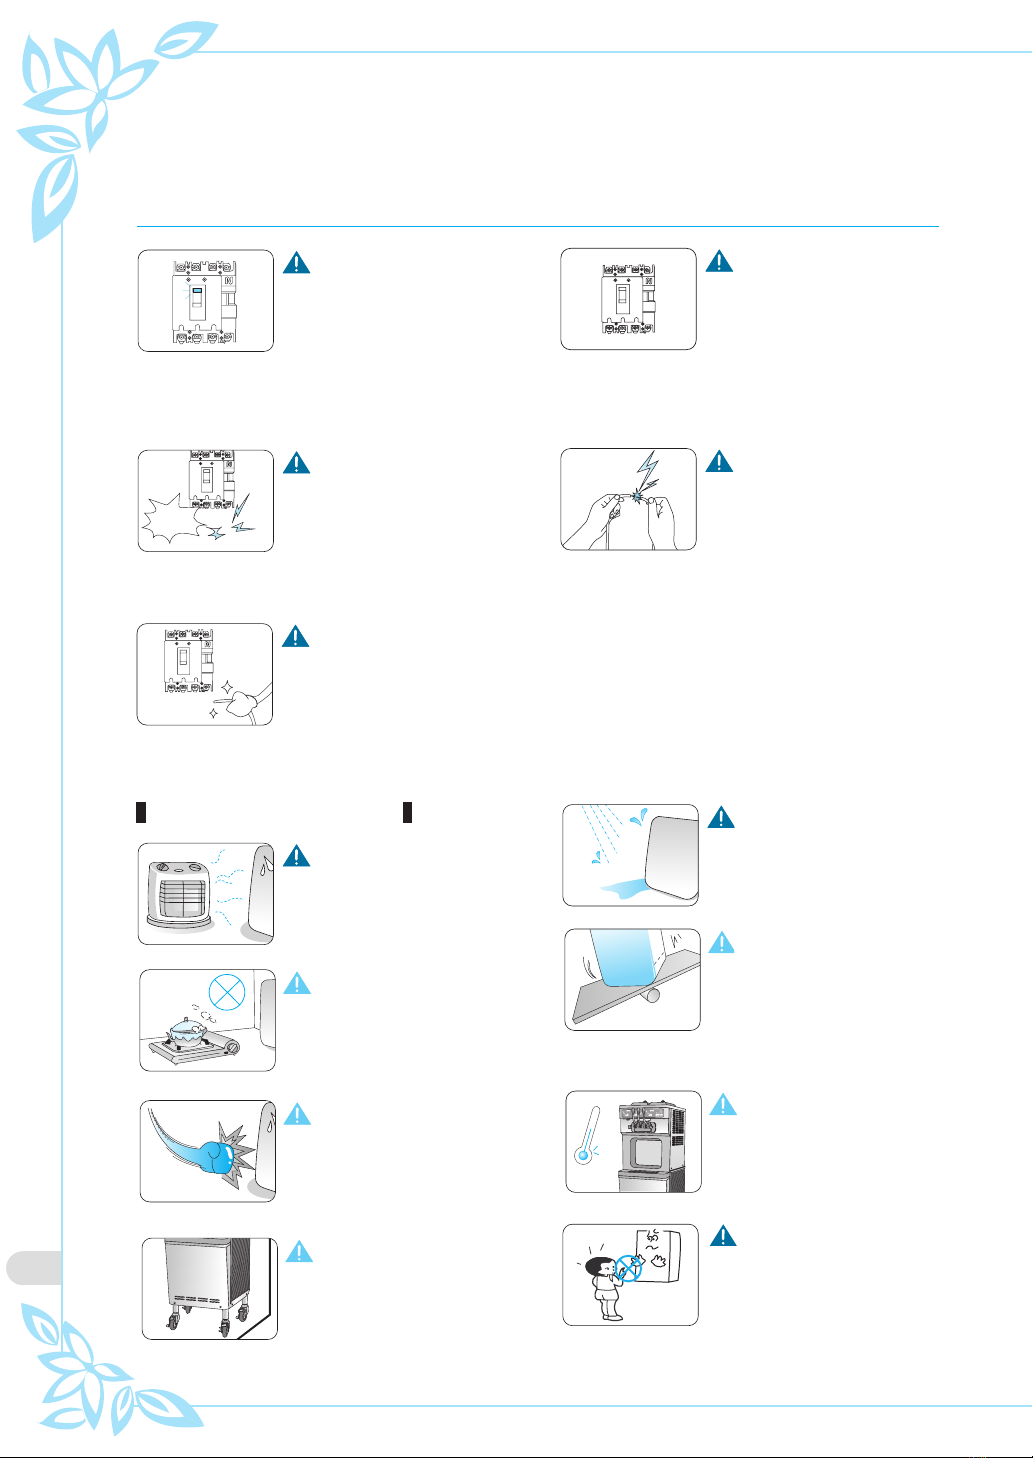
Cautions for your safety
- Power supply related items 3
- Installation related items 4
- During use 5
Part names and controllers 6~7
Check prior to use 8
Button display names and functions 9
How to make soft cream 10
Conversion function between
ice-cream mode and yogurt mode 11
How to set non-load
Caburator control
11
Caburator control
12
Soft ice cream out-speed control 13
Cleaning method
- Wash mode 14~16
- Washing of each parts 17~19
Dasher cover assembly method
- Dasher cover assembly 20
Dasher and dasher cover
assembly method
- Condenser and filter
cleaning method
21
- Cleaning the condenser 21
Installation method
- Electrical connection 2
23~25
2
Service for Refrigerant Lines
26Removal and Replacement
of Compressor
27
Removal and Replacement
of Condenser'
28
Replacement of Fan motor 29
Before requesting service 30~31
Removal and Replacement
of Capillary Tube
Error code types 31
Circuit diagram 32
Product specification 33
Refrigerant circuit 34
Part List 35~39
-Keep this user manual within your reach and view at all times.-
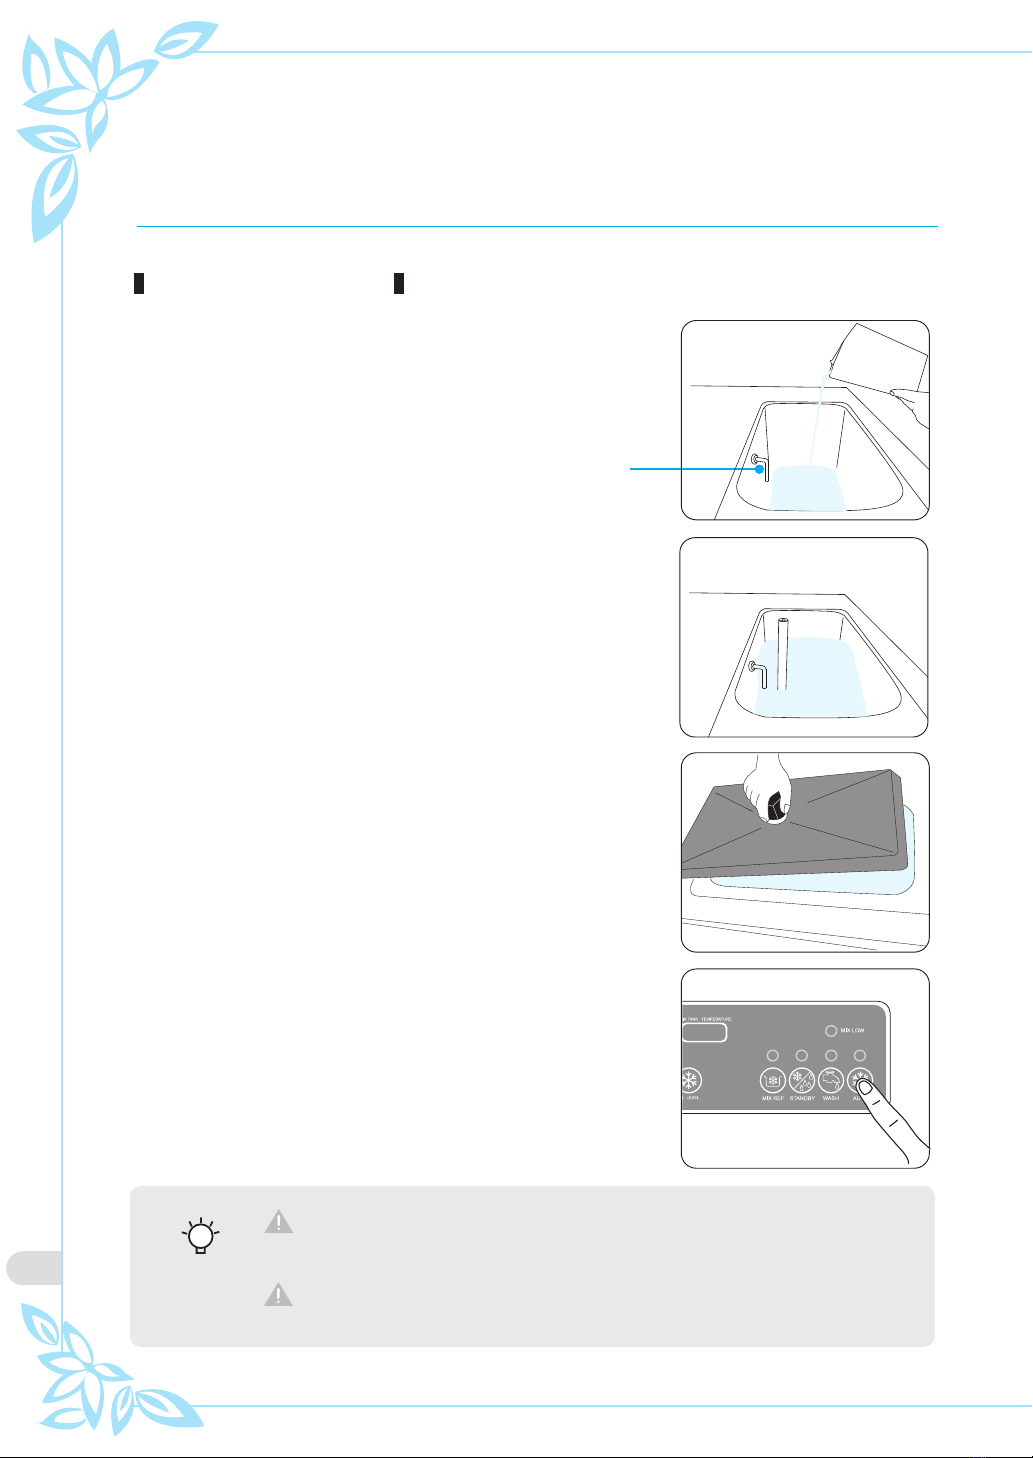
Method of Use
Cleaning Method