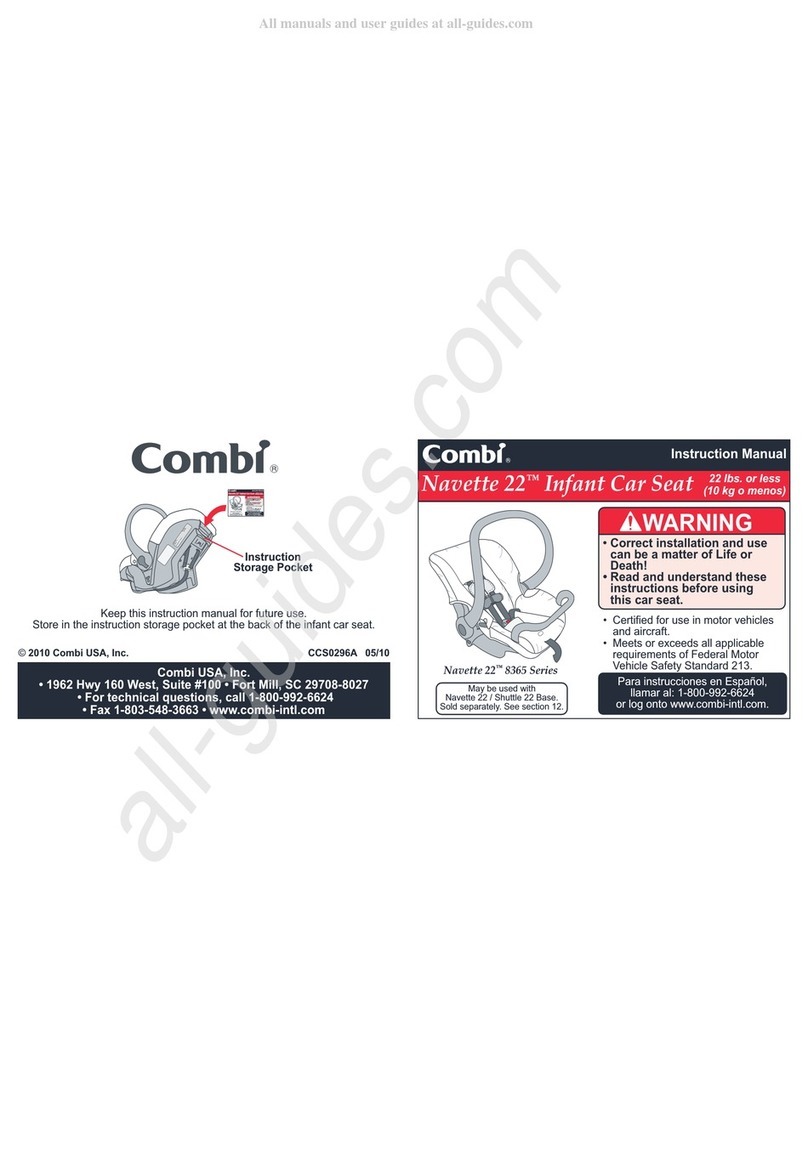
icklebubba Astral User manual

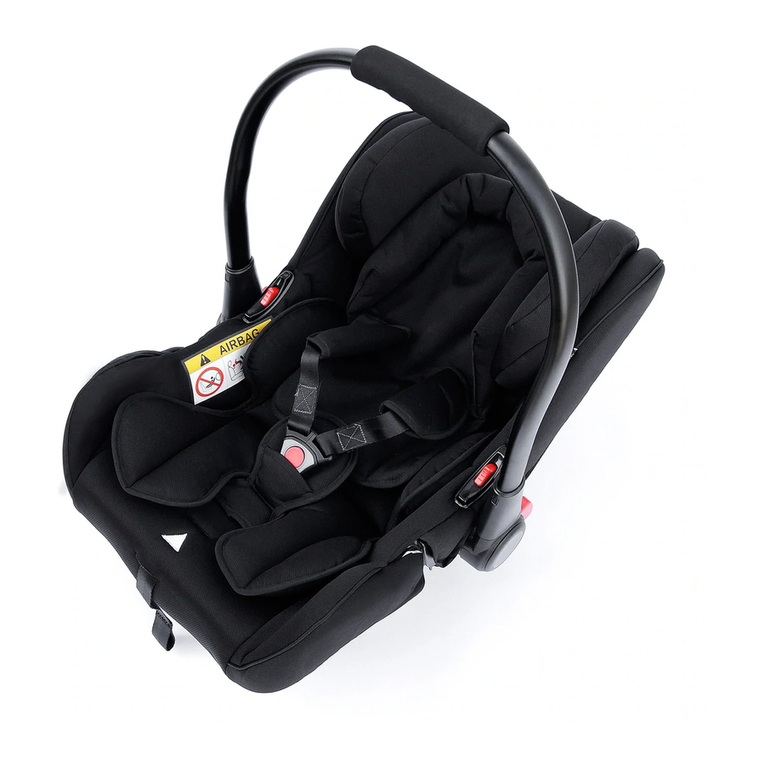
Astral Car Seat
Recommended
Weight
Recommended
Age
Mass Group
IMPORTANT – Read the instructions carefully before use and keep for future reference
0+0-13kg 0-12 months
(approx.)
English P. 2-13
Francais P. 14-26
Deutsch P. 27-39
Español P. 40-52
Italiano P. 53-65

1
2-3
4
5-6
6
6
7-8
9-10
11
11
12
13
Contents
Safety Warnings
Car Seat Features
Using the Harness
Adjusting the Shoulder Straps
Checking the Child is Correctly Fitted
Installing the Car Seat
Installing on to Pram
Adjusting the Handle Position
Fitting the Hood
Care and Maintenance
Warranty
1
Contents
...................................................
..........................................
.........................................
.........................................
..........................
.................
....................................
.....................................
..........................
..........................................
...................................
...................................................
V.11.20

2
Safety Warnings
WARNING: To prevent your child from falling out of the seat, always
check to make sure the carrying handle is clicked into the carrying
position before lifting the seat. Also make sure your child is always
strapped in securely with the harness belt.
WARNING: For the future use of the car seat, it is important that you
store this instruction manual.
WARNING: Never leave a child unattended in the car seat while in the
car or elsewhere.
WARNING: The correct routing of the seat belt is essential for your
child’s safety. Please see the Installation section. Never thread the belt
in any other way. When installing with the seat belt only, use the baby
car seat on a front-facing seat that has been approved according to the
ECE R16 standard or similar.
WARNING: Never use the car seat on a seat equipped with a front
airbag, as this can result in the death or injury of the baby. This does
not apply to side airbags.
WARNING: Do not leave your baby in the car seat on a raised surface,
such as a table, work top, bed, or shopping trolley, due to the risk of
falling. Always secure your child with the harness belt, even when the
seat is not fitted in the car.
Do not leave your baby in the car seat for a long period of time. It is
important for motor and muscle development that you place your baby
on its stomach or back regularly. The seat may become damaged and
unsafe after an accident and therefore should be replaced. The
manufacturer can only guarantee the safety of the seat if it is used by
the original owner. We strongly advise against using a second-hand
product, as you can never be sure of its history. We recommend that
car seats are not used for longer than 5 years after the date of
purchase. The properties of the product may deteriorate, for example,
aging of the plastic (as a result of direct sunlight) and this may not be
visible.
IMPORTANT – Read the instructions carefully
before use and keep for future reference
V.11.20

3
Safety Warnings
The moving parts of the baby car seat should not be lubricated in any way.
No alterations may be made to the baby car seat, as this could affect part or
the overall safety of the seat.
The baby car seat must not be used without its cover. Always use an original
cover, as the cover contributes to the safety of the seat.
In order to prevent damage to the cover, do not remove the logos or airbag
sticker.
Our baby car seat has been approved according to the most recent guidelines
of the ECE R 44/04: the European standard for safety seats. It is suitable for
children from birth to approximately 12 months (group 0+: 0 to 13kg).
Always check to make sure the seat fits in your car properly before
purchasing it.
The seat must always be secured, even when not in use.
An unsecured seat can injure other passengers in the car in the event of an
emergency stop.
If the seat belt height is adjustable, adjust it to the lowest position.
When installing the baby car seat on the passenger seat, position the car seat
in the rearmost position. The backrest must be in a fully upright position and
the headrest down. When not using the baby car seat, the passenger seat
(and headrest) may be adjusted as required.
Prevent damage to the seat by not wedging it between or underneath heavy
luggage, adjustable seats or slamming the car door etc.
Make sure that you properly secure all luggage and all other objects likely to
cause injury in the event of an accident.
Always cover the seat when the car is parked in the sun as plastic and, metal
parts can become very hot and the cover may become discoloured.
Always use a car seat, even for short trips, as this is when most accidents
occur.
NEVER hold a baby on your lap while driving. Due to the enormous forces
released in an accident, it will be impossible to hold onto the baby.
Never use the same seat belt to secure yourself and the child.
V.11.20

4
6. Handle
7. Sunshade/Hood
8. Shoulder Straps Slots
9. Slot for Vehicle Shoulder
Strap
10. Slot for Vehicle Lap Strap
Opening the Harness
Car Seat Features
6
7
3
4
5
1
2
10
8
9
1. To open the harness, press the red button on the buckle
2. Place the child into the car seat
3. The shoulder straps should be positioned above the child’s shoulders
(see figures on page 6)
Attention: Ensure that there is no distortion, knots or twists in the straps.
1. Button for Adjusting
Handle
2. Adjuster Strap
3. Fabric Cover
4. Buckle
5. Shoulder Strap
V.11.20

5
click!
112233
4455
Using the Harness
1.
Lock the two buckle parts together (Figure 1)
2.
To secure the harness, put the locked parts into the buckle
until you hear a "click" (Figure 2)
3.
Check the harness is secure by pulling the shoulder straps
(Figure 3)
4.
Tighten the harness by pulling the adjuster strap. Straps must
be secure. It is recommended the distance between the strap
and the child's shoulder is one finger width. Straps must not be
loose (Figure 4)
5.
To loosen the harness straps, press the button under the cloth
cover and at the same time pull the two shoulder straps upwards
(Figure 5)
6.
To release the harness, press the red button on the buckle and
remove the child from the seat.
V.11.20

6
too high recommended
too low
Adjusting the Shoulder Straps
To adjust the shoulder strap, ensuring that they are positioned correctly,
please remove the strap and feed it through the appropriate slot in the
backrest.
The recommended position is demonstrated below:
V.11.20

7
Installing the Car Seat
!
!
!
shoulder strap
lap strap
This car seat is suitable for vehicles equipped with a 3-point safety
belt with retractor, approved to GB 14166 or ECE R16.
V.11.20

8
Installing the Car Seat
1. Place the infant car seat rearward-facing on the vehicle seat and
ensure that it is close to the backrest (Figure 1)
2. Feed the lap strap of the seat belt through the slots in the infant car
seat and insert the latch of the seat belt into its buckle (Figure 2)
3. Feed the shoulder strap of the seat belt through the slot in the back
of infant car seat, behind the headrest (Figure 3)
4. Ensure that the vehicle seatbelt is tightened and make sure that it is
not twisted or knotted. Adjust the handle to the forward position so
that it contacts the backrest (Figure 4)
1
3 4
2
CLICK
buckle
latch
WARNING!
Do not use any other connection points than those marked
V.11.20

Step 2: Car Seat Attachment
Please line up the car seat
adapters with the chassis and
apply even pressure on both
sides until you here a click.
Step 3: Removing the Car Seat
Seat Please firmly press down the ‘release
buttons’ on either side of the car seat which
are located under the fabric cover and lift
off. Please refer to the grey indicator tabs to
locate the ‘release buttons’.
Please Note: the car sear adapters will
remain on the chassis after removing the
car seat. Please ensure these are removed
before attaching the seat unit. Please store
the adapters safely after use.
l
9
Installing on to Pram
Stomp V2 Chassis
Step 1: Adapter Attachment
Please insert each adapter into the car seat before attaching to the chassis.
V.11.20

Installing on to Pram
Moon Chassis
Step 1: Adapter Attachment
Please insert each adapter into the car seat before attaching to the chassis.
Step 2 Car Seat Attachment
Please line up the adapters with
each side of the chassis before
pushing down on each side. Please
be aware that even pressure wilI
need to be placed on both sides at
the same time when pushing
downwards.
l
0/ Step 3: Removing the Car Seat
Please press the circular buttons located on the
pram frame, underneath the adapters and lift.
Note: The Car Seat Adapters will remain in the
car seat, and can remain attached during use
Step 4: Removing the Adapters
Please firmly press down the ‘release
buttons’ on either side of the car seat which
are located under the fabric cover and lift
off. Please refer to the grey indicator tabs to
locate the ‘release buttons’.
10
V.11.20

11
1. To be used when installing in the car
2. To be used when carrying the car seat by hand
3. To be used when placing the child in or out of the infant car seat
4. To be used when placing the child in or out of the infant car seat
12 3 4
Adjusting the Handle Position
Fitting the Hood
To adjust the position of the handle, press the grey buttons on
both sides of the handle. There are 4 possible positions, as seen
below:
When the handle is adjusted to the desired position, ensure that it
is locked in place. When locked, the grey button will pop up
automatically and you will hear a clear "click" sound.
1. Place the hood around the handle and secure in position
using the two zips on either side
2. Pull the elasticated edge of the hood so that it is positioned
behind the headrest
V.11.20

12
Please hand wash
Layed flat to dry
Do not bleach
Do not tumble dry
Do not iron
Do not dry clean
Care and Maintenance
General
Remove the car seat from the car before carrying out any maintenance
work.
Removing the fabric cover
The fabric cover of the car seat can be easily removed and washed.
To remove, loosen the buckle, and take off the shoulder pads, then
rotate the buckle on the back of the car seat shell and pull out the
straps. The cover must be washed by hand (maximum 30° C).
Do not use a tumble dryer.
Do not use any abrasive detergents or bleach.
To refit the fabric cover, carry out the above instructions in reverse order.
V.11.20

13
Warranty
We guarantee that this product was manufactured in accordance with
the current European safety requirements and quality standards
applicable to this product, and is free from defects in workmanship and
material at the time of purchase. During the production process the
product was subjected to various quality checks.
If this product, despite our best efforts, shows a material/manufac-
turing fault within the warranty period, (with normal use as described in
the user instructions) we will comply with the warranty terms and
conditions.
Warranty Term:
The warranty applies for a period of 24 consecutive months from the
date the product was purchased. The warranty only applies for the first
owner and is not transferable.
Free 4 Year Extended Warranty
To activate your 4 year warranty, register online and keep your proof of
purchase for any future claim. If you register within 28 days of pur-
chase we will extend your standard warranty to 4 years from the date
of purchase at no extra cost.
THE WARRANTY IS NOT VALID IN THE FOLLOWING CASES:
1. In the case of a use or purpose other than described in the
manual.
2. If the product is submitted for repair through a dealer that is not
authorised by us.
3. If the product is not supplied to the manufacturer with the original
purchase receipt (via the retailer).
4. If repairs were carried out by third parties or a dealer that is not
authorised by us.
5. If the defect is the result of improper or careless use or main-
tenance, negligence or impact damage to the fabric cover and/or
frame.
6. If the parts show normal wear and tear that may be expected
from daily use of a product (wheels, rotating and moving parts etc.)
If in Doubt
Not all car seats fit all cars. For advice as to the suitability of this
product for your car, please contact your vehicle manufacturer.
We cannot accept responsibility for damage occurring to vehicle seats
or seat belts through normal use of this product.
V.11.20

14
15-16
17
18-19
19
19
20-21
22-23
24
24
25
26
Contenu
Avertissements de sécurité
Caractéristiques des siège auto
Utiliser le harnais
Ajustement des sangles d'épaule
Vérifier que l'enfant est correctement adapté
Installation du siège auto
Installation sur la poussette
Ajustement de la position de la poignée
La cagoule
Entretien et maintenance
Garantie
14
Contenu
....................................................
..............................
.........................
.........................................
.......................
........
................................
.............................
..............
.................................................
...............................
...................................................
V.11.20

15
Avertissements de sécurité
AVERTISSEMENT : Pour éviter que votre enfant ne tombe du siège,
vérifiez toujours que la poignée de transport est bien enclenchée en
position de transport avant de soulever le siège. Veillez également à
ce que votre enfant soit toujours bien attaché avec la ceinture harnais.
AVERTISSEMENT : Pour l'utilisation future du siège auto, il est
important que vous conserviez ce manuel d'instructions.
AVERTISSEMENT : Ne laissez jamais un enfant sans surveillance dans le
siège auto lorsqu'il se trouve dans la voiture ou ailleurs.
AVERTISSEMENT : L'acheminement correct de la ceinture de sécurité
est essentiel pour la sécurité de votre enfant. Veuillez consulter la
section Installation. N'enfilez jamais la ceinture d'une autre manière. Si
vous installez la ceinture de sécurité uniquement, utilisez le siège auto
pour bébé sur un siège orienté vers l'avant et approuvé selon la norme
ECE R16 ou une norme similaire.
AVERTISSEMENT : N'utilisez jamais le siège auto sur un siège équipé
d'un airbag frontal, car cela peut entraîner la mort ou des blessures du
bébé. Cela ne s'applique pas aux airbags latéraux.
AVERTISSEMENT : Ne laissez pas votre bébé dans le siège auto sur
une surface surélevée, telle qu'une table, un plan de travail, un lit ou un
chariot de supermarché, en raison du risque de chute. Attachez
toujours votre enfant avec la ceinture harnais, même lorsque le siège
n'est pas installé dans la voiture.
Ne laissez pas votre bébé dans le siège auto pendant une longue
période. Il est important pour le développement moteur et musculaire
que vous placiez régulièrement votre bébé sur le ventre ou sur le dos.
Le siège peut être endommagé et devenir dangereux après un accident
et doit donc être remplacé. Le fabricant ne peut garantir la sécurité du
siège que s'il est utilisé par le propriétaire d'origine. Nous vous
déconseillons vivement d'utiliser un produit d'occasion, car vous ne
pouvez jamais être sûr de son historique. Nous recommandons de ne
pas utiliser les sièges de voiture pendant plus de 5 ans après la date
d'achat. Les propriétés du produit peuvent se détériorer, par exemple,
le vieillissement du plastique (en raison de la lumière directe du soleil)
et cela peut ne pas être visible.
IMPORTANT - Lisez attentivement les
instructions avant utilisation et conservez-les
pour référence ultérieure
V.11.20

16
Avertissements de sécurité
Les parties mobiles du siège auto pour bébé ne doivent être lubrifiées
d'aucune manière.
Aucune modification ne doit être apportée au siège auto pour bébé, car cela
pourrait affecter une partie ou la sécurité globale du siège.
Le siège auto pour bébé ne doit pas être utilisé sans sa housse. Utilisez
toujours une housse d'origine, car la housse contribue à la sécurité du siège.
Afin d'éviter d'endommager la housse, ne retirez pas les logos ou l'autocollant
de l'airbag.
Notre siège auto pour bébé a été approuvé conformément aux directives les
plus récentes de la norme ECE R 44/04 : la norme européenne pour les sièges
de sécurité. Il convient aux enfants de la naissance à environ 12 mois (groupe
0+ : 0 à 13 kg).
Vérifiez toujours que le siège s'adapte correctement dans votre voiture avant
de l'acheter.
Le siège doit toujours être bien fixé, même lorsqu'il n'est pas utilisé.
Un siège non sécurisé peut blesser les autres passagers de la voiture en cas
d'arrêt d'urgence.
Si la hauteur de la ceinture de sécurité est réglable, réglez-la à la position la
plus basse.
Lorsque vous installez le siège auto pour bébé sur le siège passager, placez le
siège auto dans la position la plus reculée. Le dossier doit être en position
entièrement verticale et l'appui-tête en position basse. Lorsque le siège auto
pour bébé n'est pas utilisé, le siège passager
(et l'appui-tête) peut être ajusté selon les besoins.
Évitez d'endommager le siège en ne le coinçant pas entre ou sous des
bagages lourds, en réglant les sièges ou en claquant la porte de la voiture, etc.
Veillez à bien fixer tous les bagages et tous les autres objets susceptibles de
causer des blessures en cas d'accident.
Couvrez toujours le siège lorsque la voiture est garée au soleil, car le plastique
et les pièces métalliques peuvent devenir très chauds et la housse peut se
décolorer.
Utilisez toujours un siège de voiture, même pour de courts trajets, car c'est à
ce moment-là que se produisent la plupart des accidents.
Ne tenez JAMAIS un bébé sur vos genoux pendant que vous conduisez. En
raison des forces énormes qui se dégagent lors d'un accident, il sera
impossible de tenir le bébé sur les genoux.
N'utilisez jamais la même ceinture de sécurité pour vous attacher et attacher
l'enfant.
V.11.20

17
6. Manipuler
7. Pare-soleil/capuchon
8. Fentes pour les bretelles
9. Fente pour la sangle
d'épaule du véhicule
10. Fente pour la sangle de
sécurité du véhicule
Ouvrir le harnais
Caractéristiques des siège auto
6
7
3
4
5
1
2
10
8
9
1. Pour ouvrir le harnais, appuyez sur le bouton rouge de la boucle
2. Placez l'enfant dans le siège auto
3. Les bretelles doivent être placées au-dessus des épaules de l'enfant
(voir figures page 6)
Attention : Assurez-vous qu'il n'y a pas de distorsion, de nœuds ou de
torsions dans les sangles.
1. Bouton de réglage
de la poignée
2. Sangle d'ajustement
3. Couverture en tissu
4. Boucle
5. Sangle d'épaule
V.11.20

18
click!
112233
4455
Utiliser le harnais
1. Verrouillez les deux parties de la boucle ensemble (Figure 1)
2. Pour fixer le harnais, mettez les parties verrouillées dans la
boucle jusqu'à ce que vous entendiez un "clic" (Figure 2)
3. Vérifiez que le harnais est bien fixé en tirant sur les sangles
d'épaule (Figure 3)
4. Serrez le harnais en tirant sur la sangle de réglage. Les sangles
doivent être bien fixées. Il est recommandé que la distance entre
la sangle et l'épaule de l'enfant soit d'une largeur d'un doigt. Les
sangles ne doivent pas être desserrées (figure 4)
5. Pour desserrer les sangles du harnais, appuyez sur le bouton
situé sous la housse en tissu et tirez en même temps les deux
sangles d'épaule vers le haut (figure 5)
6. Pour libérer le harnais, appuyez sur le bouton rouge de la
boucle et retirez l'enfant du siège.
V.11.20

19
trop élevé recommandé
trop faible
Ajustement des sangles d'épaule
Pour régler la bandoulière, en vous assurant qu'elle est correctement
positionnée, veuillez retirer la bandoulière et la faire passer par la fente
appropriée du dossier.
La position recommandée est illustrée ci-dessous :
V.11.20
Other manuals for Astral
2
Table of contents
Languages:
Other icklebubba Car Seat manuals

icklebubba
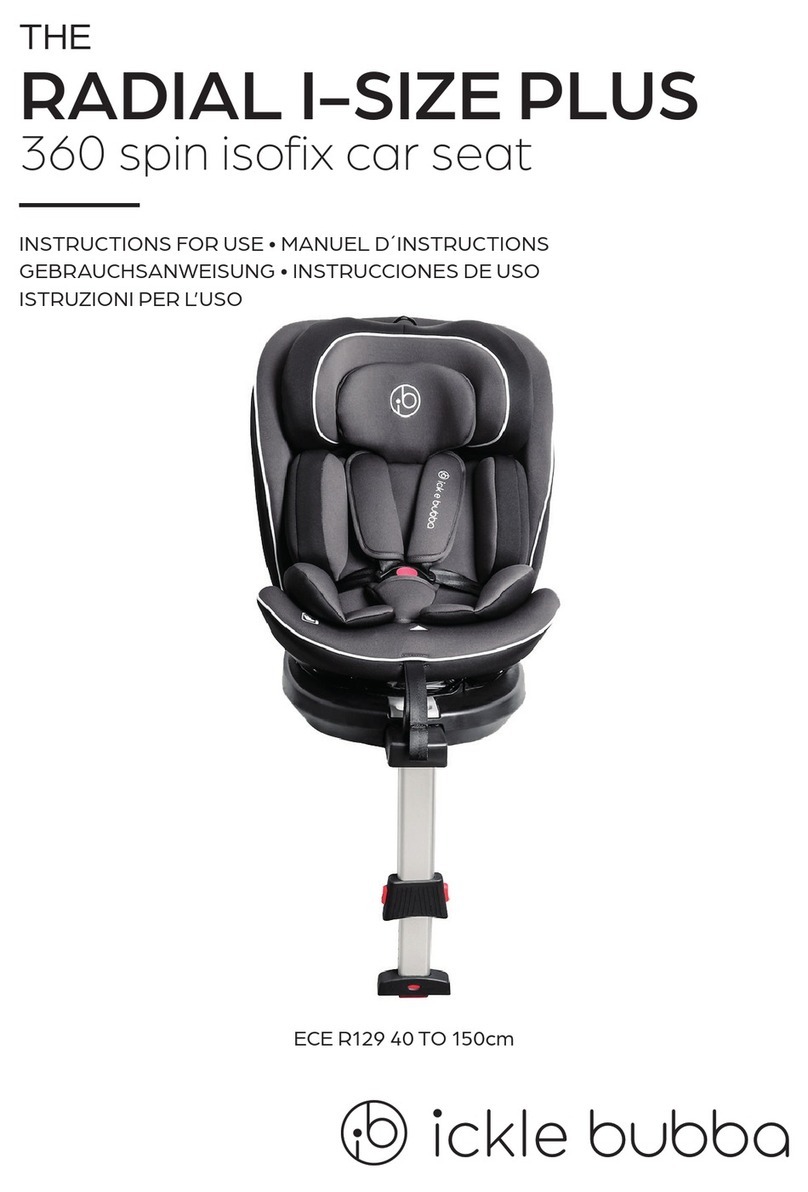
icklebubba RADIAL I-SIZE PLUS User manual

icklebubba
icklebubba Mercury User manual

icklebubba
icklebubba ROTATOR I-SIZE User manual

icklebubba
icklebubba Solar User manual

icklebubba
icklebubba STRATUS User manual

icklebubba
icklebubba ROTATOR User manual

icklebubba
icklebubba Galaxy User manual

icklebubba
icklebubba RADIUS User manual

icklebubba
icklebubba Stomp User manual

icklebubba
icklebubba Mercury User manual