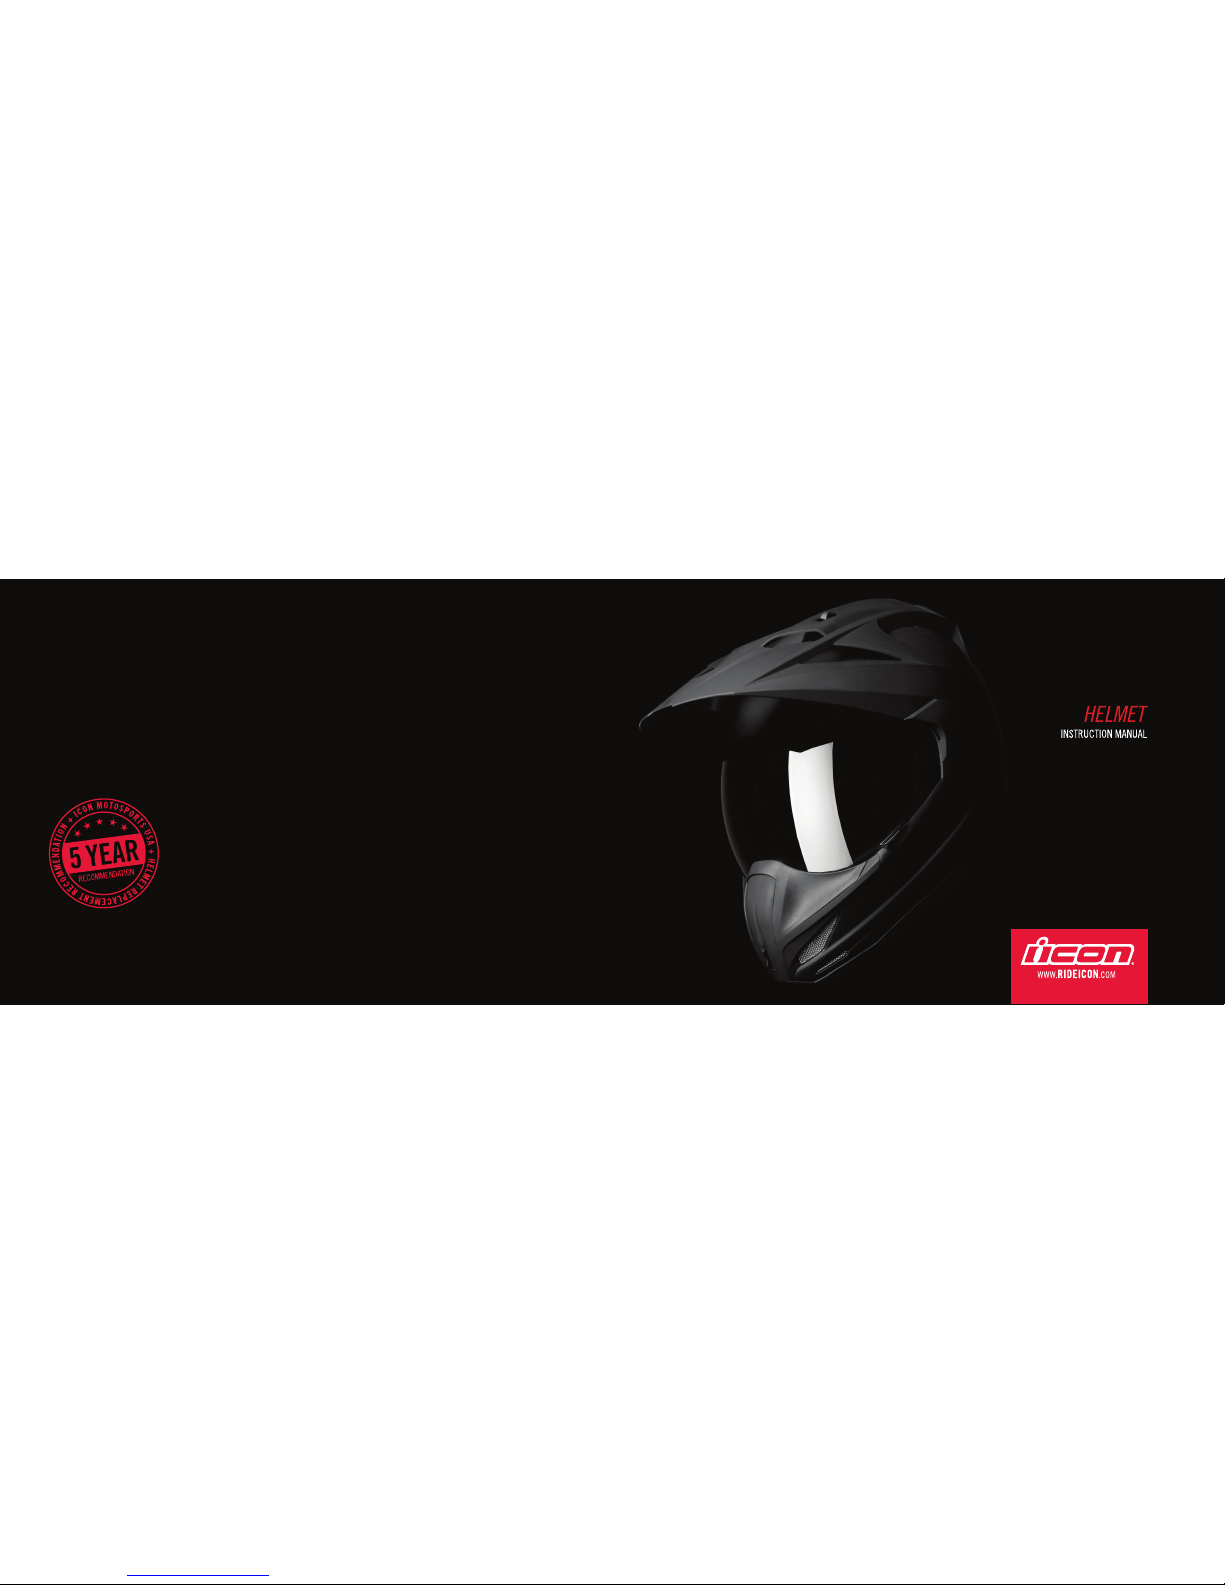
ICON MOTO SPORTS VARIANT MANUAL
13
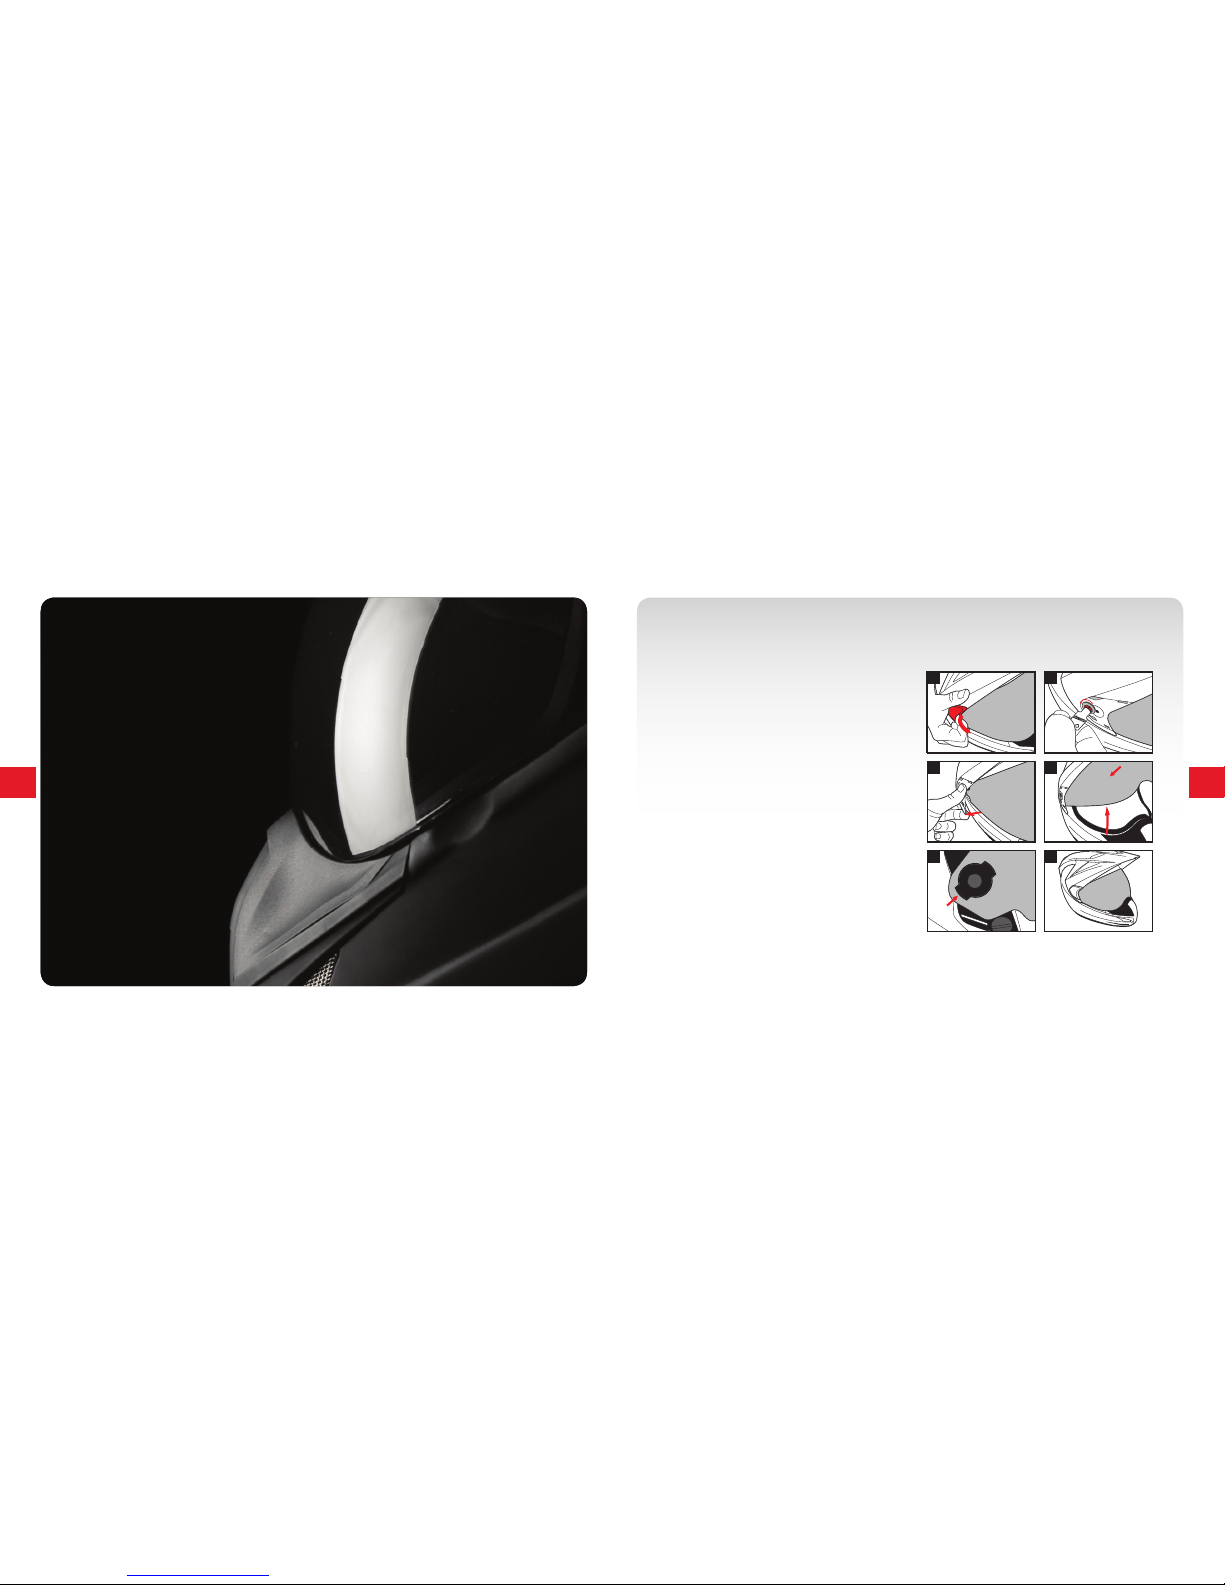
ICON MOTO SPORTS VARIANT HELMET
14
CARE AND CLEANING
ADVISORY
Let’s face it, Icon helmets look cool and you want to keep them that way. We’ve found the following methods work really well to keep our
helmets looking sharp and ready to roll. Remember, never use gas, pre-mix, carb cleaner, brake cleaner or any other random unlabeled
spray can lying around the garage. Chemicals and harsh solvents can break down the materials in your helmet; it’s like using brake
cleaner to polish your plastics—don’t do it!
EXTERIOR POLISHING
1. For gloss helmet finishes, use spray automotive wax that
is specifically designed for cars with a clear coat. (Available
at any automotive store.)
2. For matte finishes, you know better than to polish a
matte finish don’t you?
STORAGE
It is a good idea to protect your helmet if it is stored for a
period of time. Store your helmet inside the helmet
bag we have provided in a secure, dry place out of direct
exposure to sunlight.
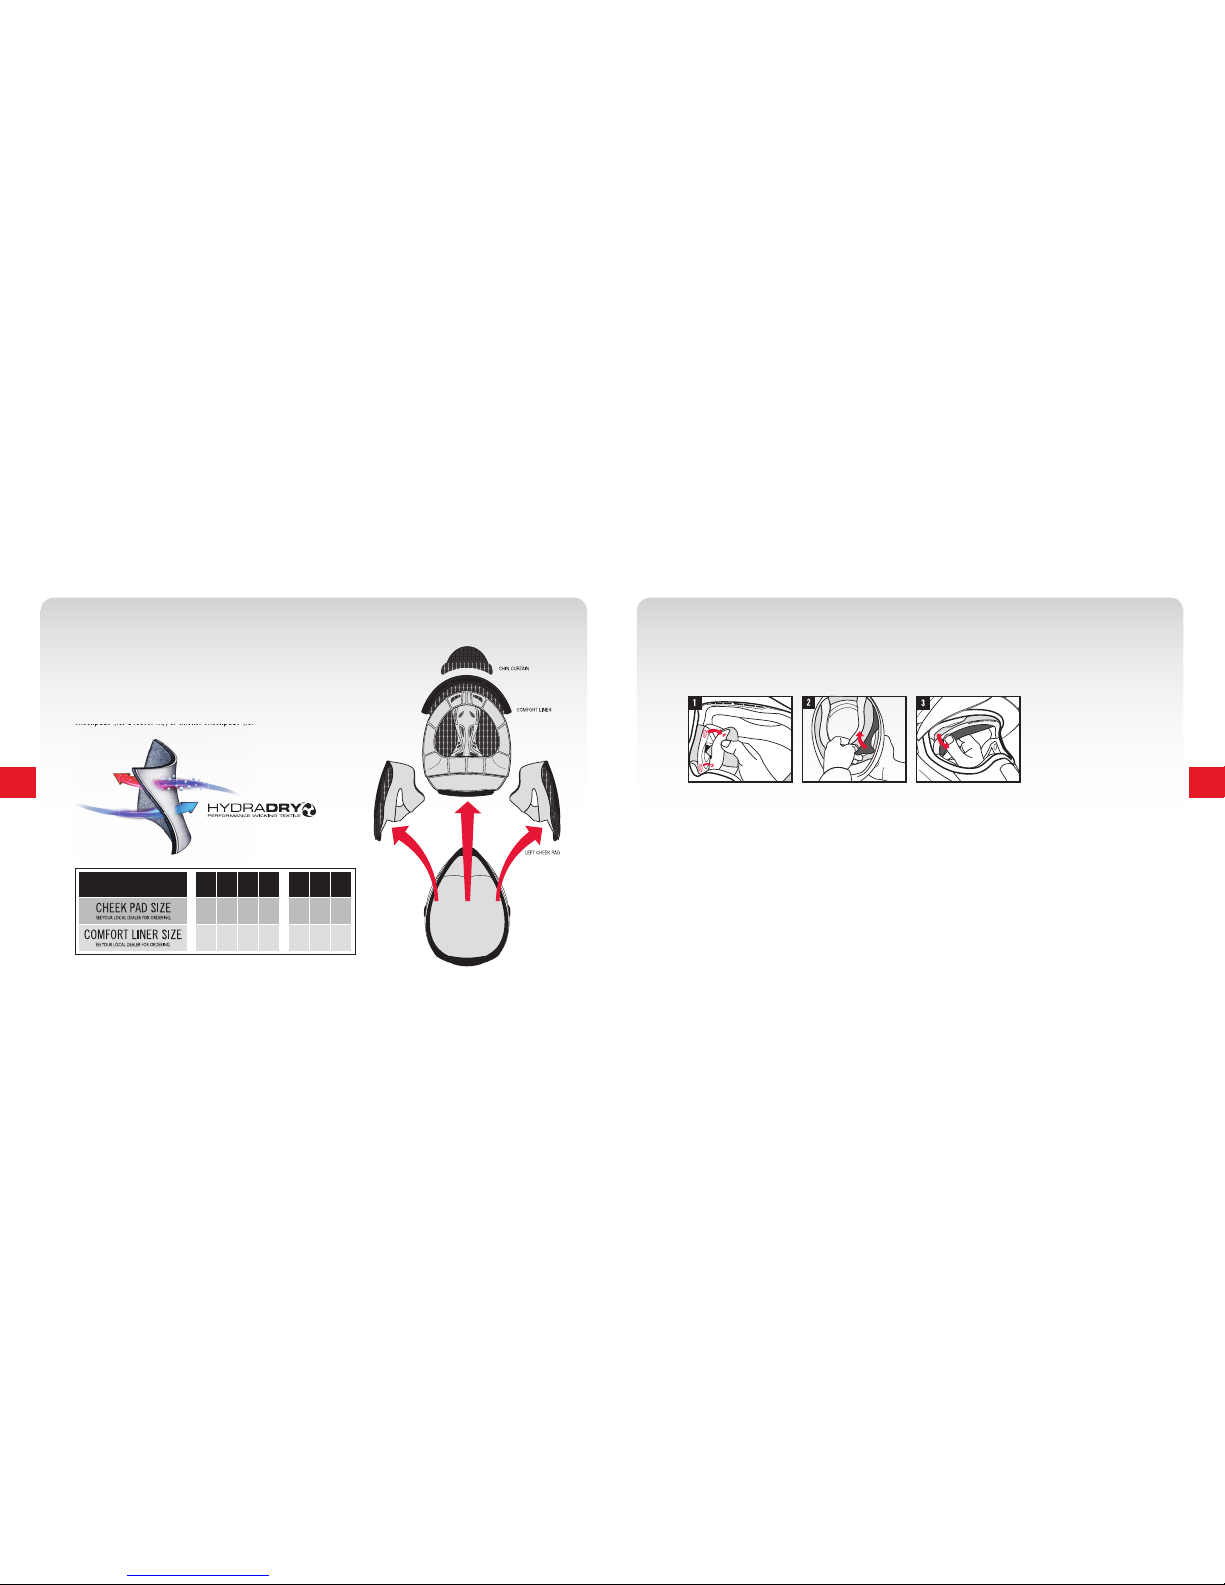
INTERIOR CLEANING
1. Remove interior lining as shown on page 10.
2. Soak your interior in a mild solution of baby shampoo.
3. Rinse in clean water several times until all soap is gone.
4. Let interior air dry and replace accordingly.
* Never machine wash or dry your helmet interior.
Although your helmet is solid and very well constructed, it should
be handled with care, dropping a helmet on the ground, or other
hard surfaces may eventually degrade the helmet’s performance.
Additionally, if the helmet falls to the ground at highway speeds
unocupied, the owner must be aware that some unseen damage
may have occurred.
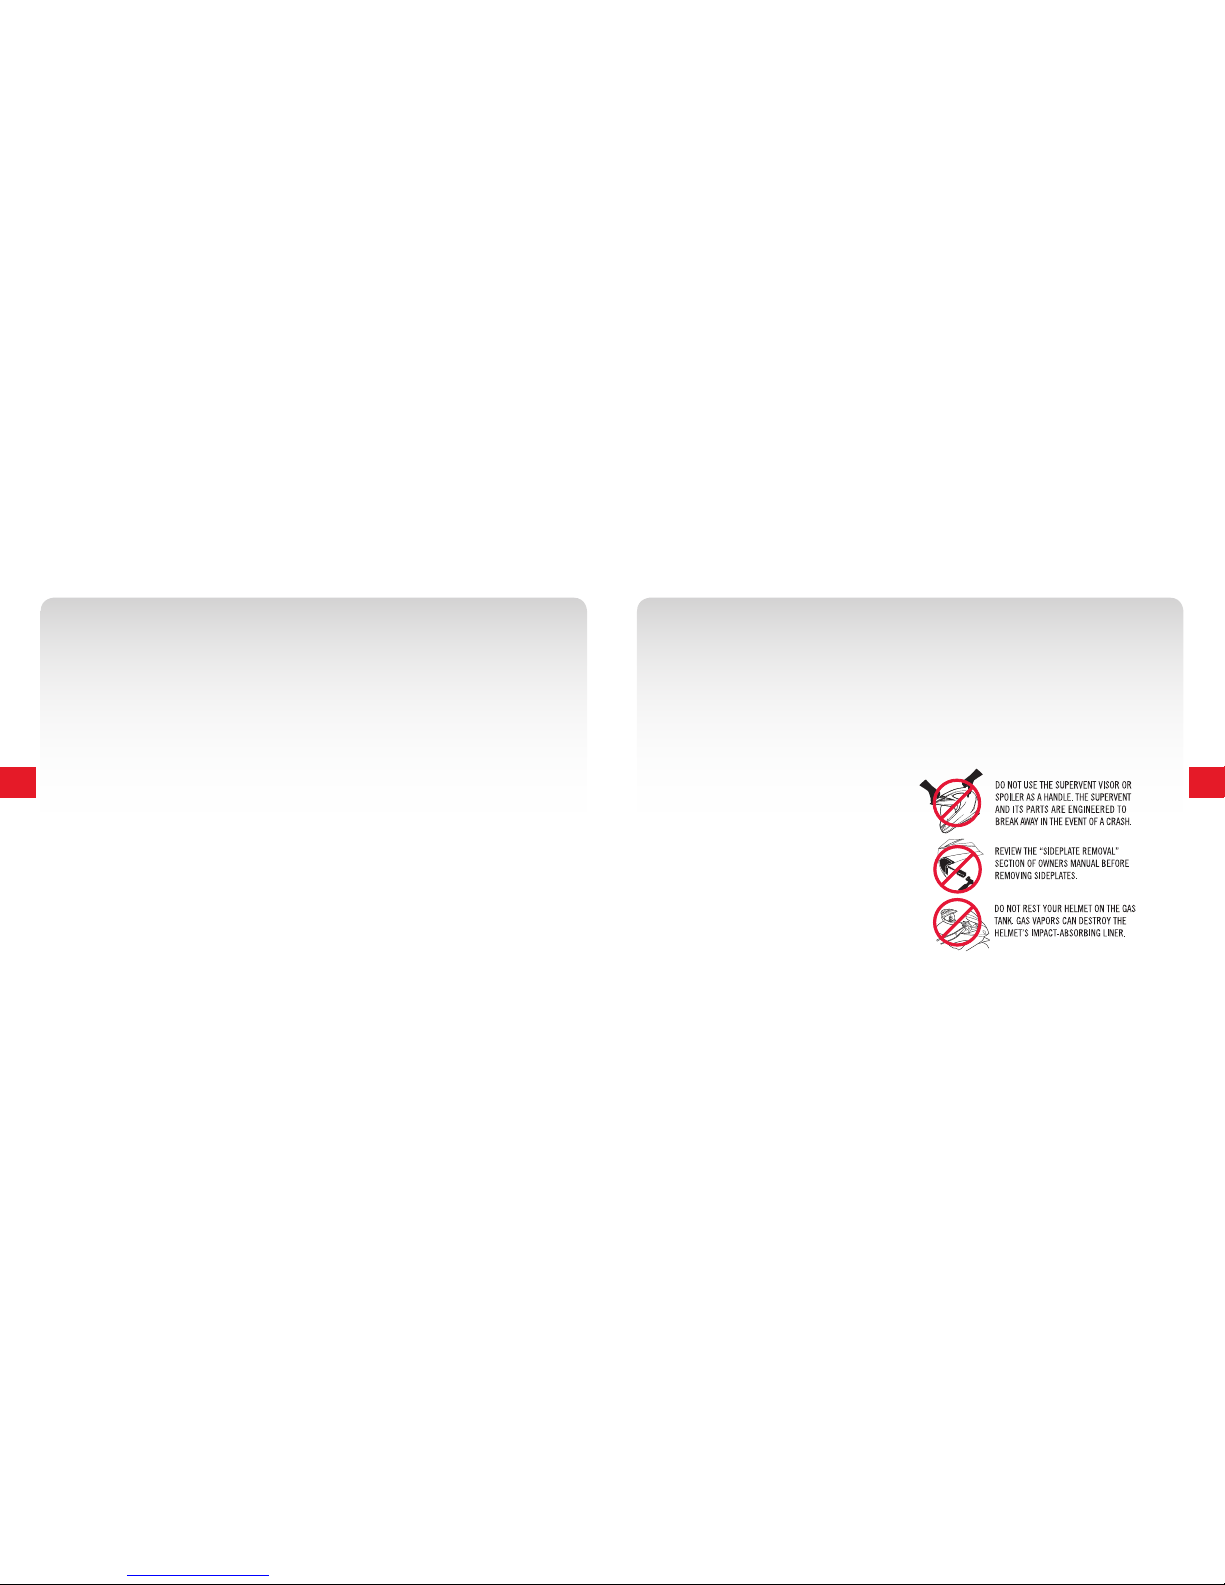
ICON RECOMMENDATION
ICON Motosports advises that if you are participating in an
activity that requires you to wear a helmet, it is strongly
recommended that you avoid hitting anything with your head.
If you suspect your helmet has been compromised, or the
helmet has been involved in an impact while in use, replace it.
EXTERIOR CLEANING (GLOSS HELMETS)
1. Lay a warm wet, cloth towel on the exterior of the helmet for at
least 5 minutes to soften dried on bugs. (Don’t skip this step!)
2. Using a fresh, wet, clean cloth and mild dish soap wipe down
the exterior to get rid of road grime and softened bug guts.
3. Use another fresh dry cloth towel to dry the helmet and get rid
of any water spots.
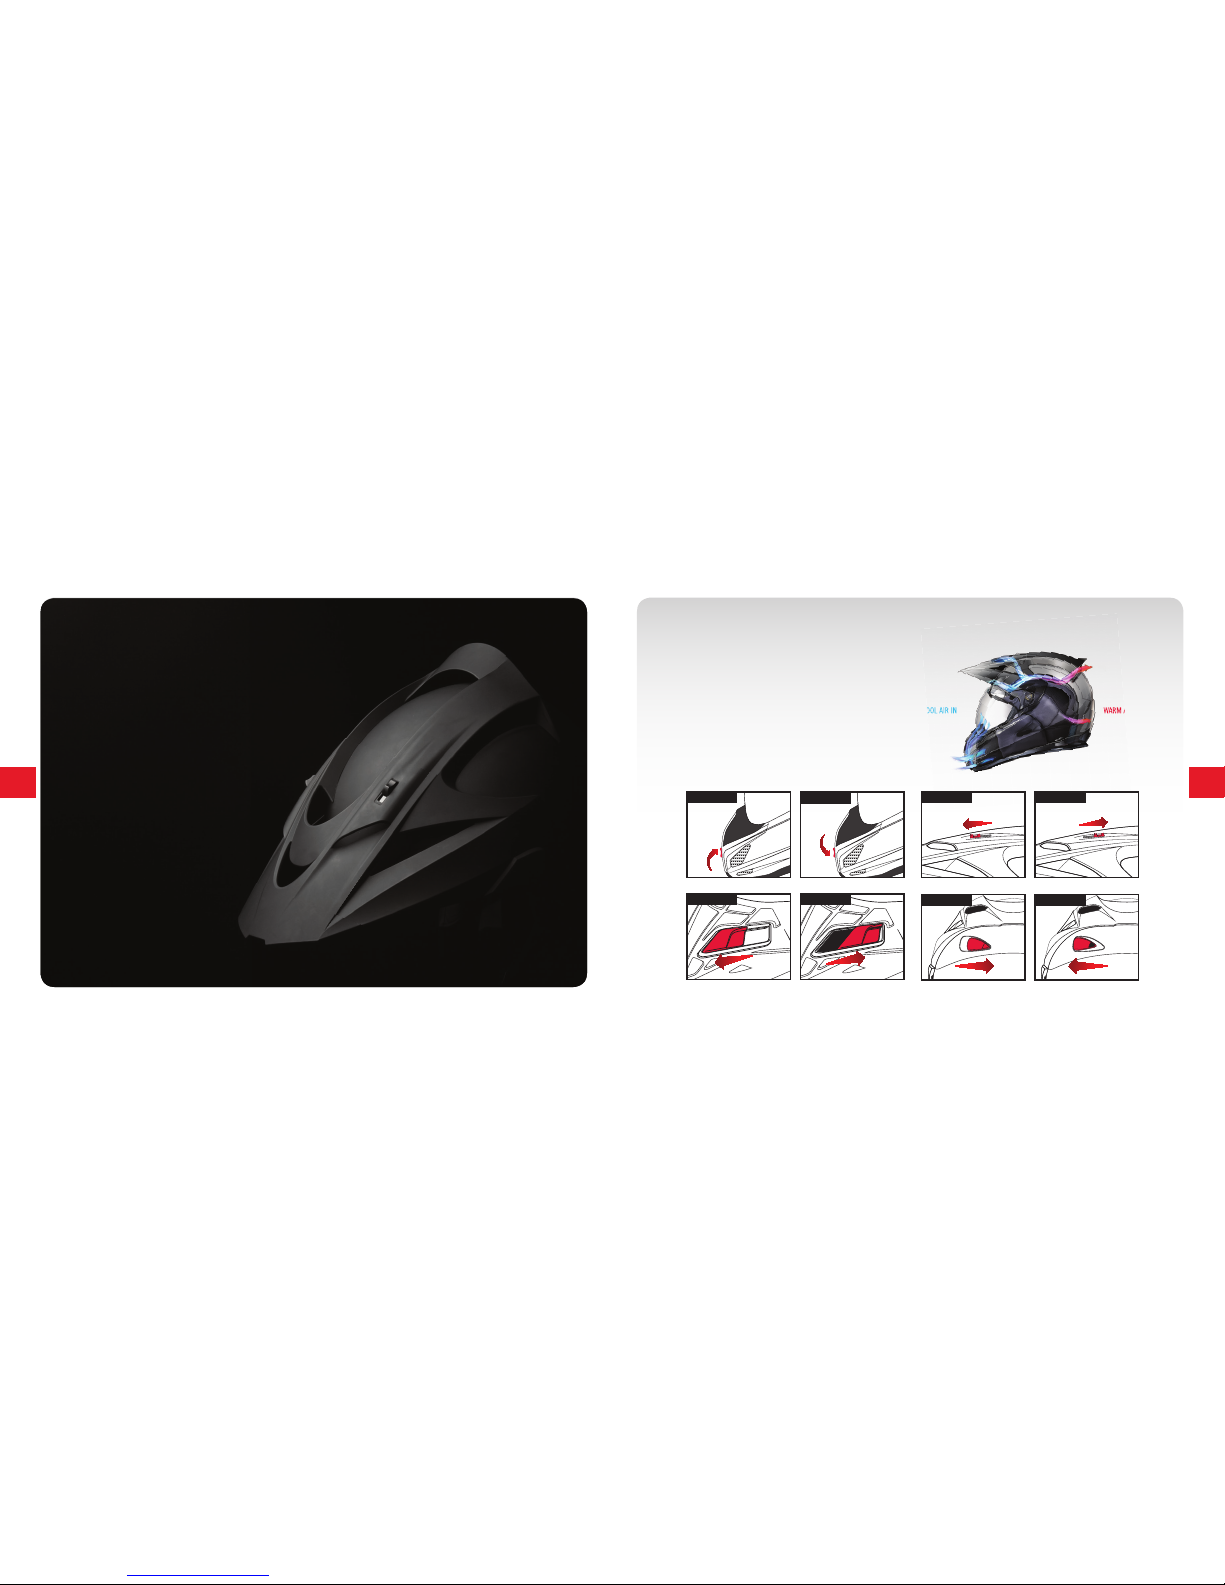
SHIELD CLEANING
Your helmet is equipped with a scratch resistant fog free shield. Common household cleaners such as Windex ® and Pledge ® can
leave behind unwanted residues, or in some extreme cases damage the shield itself. It is our recommendation the same steps outlined
above for cleaning the exterior of your helmet should be applied to cleaning the exterior of your shield. Use no cleaners or detergents on
the inside of your shield. Using anything other than a clean soft cloth, micro fiber cloth, or the bag supplied with your helmet, will ruin
or reduce the effectiveness of the fog free coating.
EXTERIOR CLEANING (RUBATONE HELMETS)
1. Lay a warm, wet, cloth towel on the exterior of the helmet for at
least 5 minutes to soften dried on bugs.
2. Remove the now softened bugs and road grime with a light blot-
ting action. For this use the soft part of your helmet bag provided
or a clean microfiber cloth.
* Never rub aggressively with anything on the Rubatone or you can ruin the finish.
CARE AND CLEANING VIDEOS
Care and cleaning instructional videos can be found at
www.rideicon.com in the video section which is located
under the culture tab.