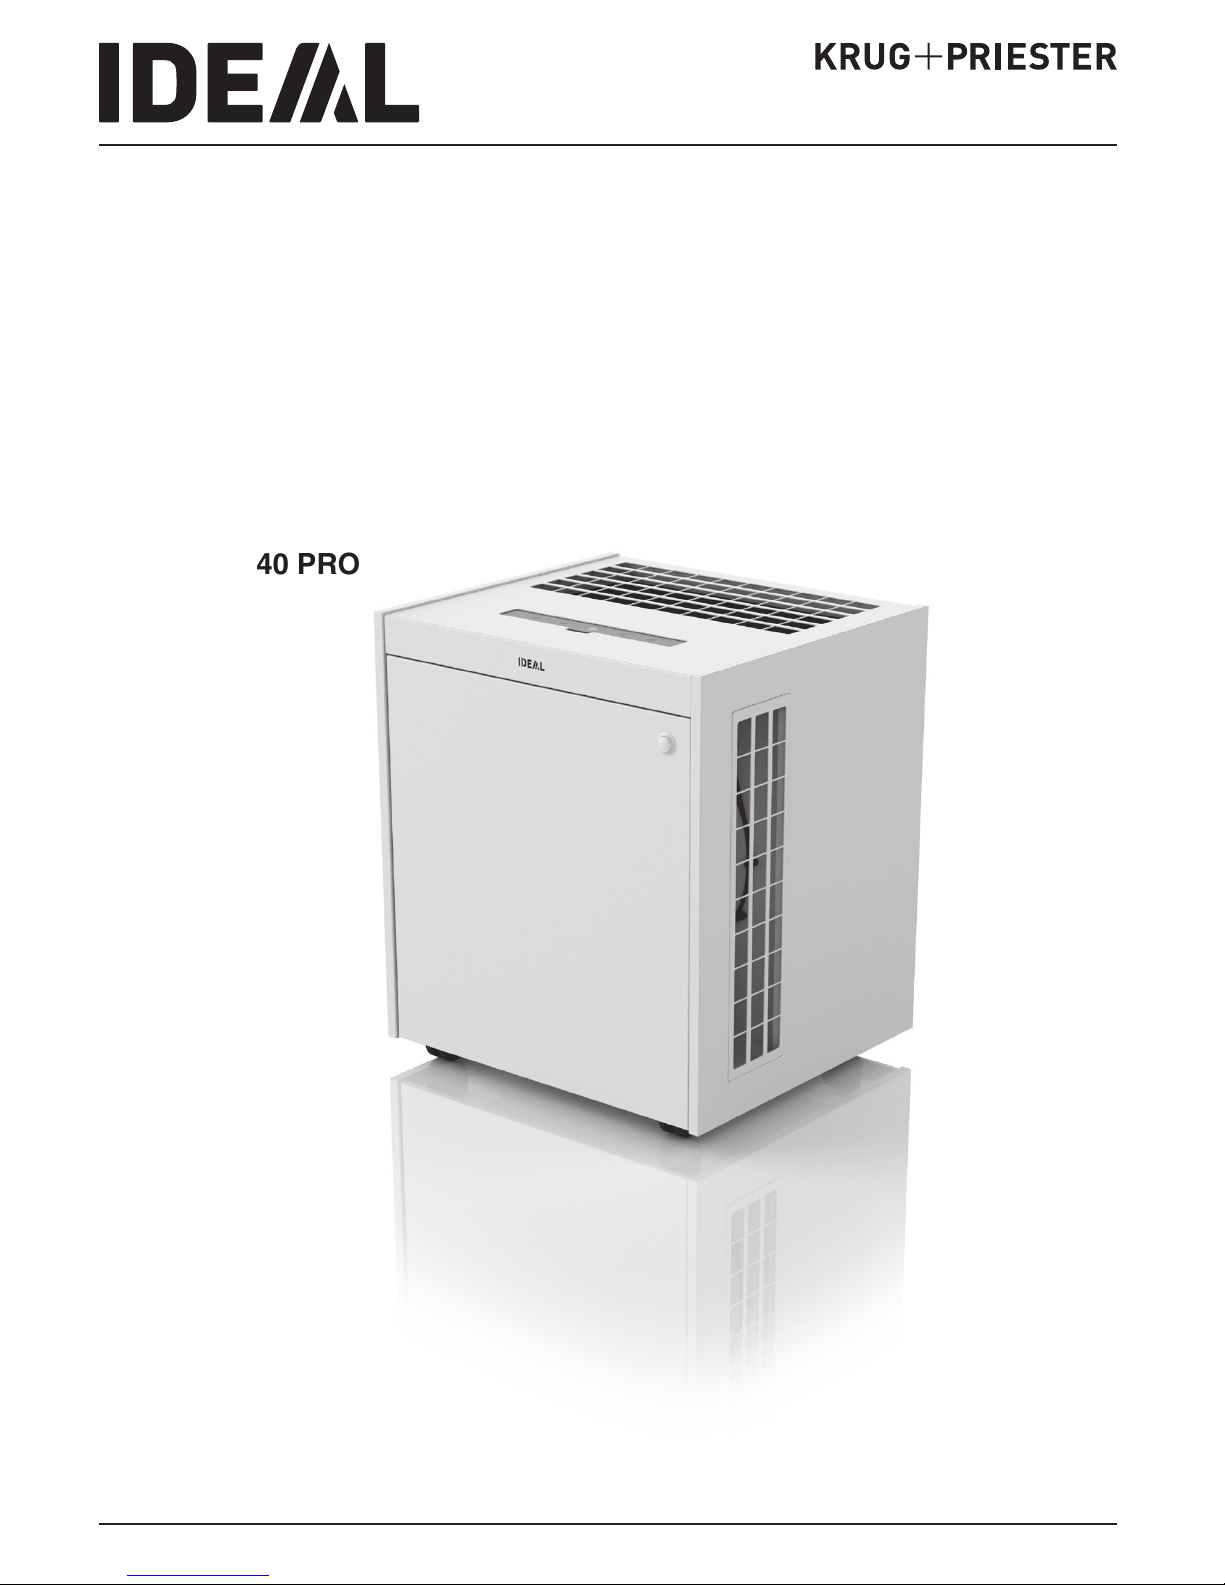
IDEAL AP140 PRO User manual

IDEAL AP140 PRO
EN Operating Instructions
Air Purier

25
EN
Operating Instructions
(25 – 47)
Intended use 26
Safety instructions 26
Product features 28
Included in the box 28
Unpacking and setting up 29
Control panel 32
Fan speeds 33
Timer function 33
Quiet function 34
Air quality indicator 34
Filter replacement indicator 34
Daylight sensor 34
IR receiver 34
Air quality sensor 34
Remote control (when using for the rst time) 35
Remote control (replacing the battery) 36
Remote control (function) 37
Changing the lter 38
App Control / WLAN 39
Cleaning and maintenance / Accessories 39
Troubleshooting 40
Technical data 43

26
Introduction
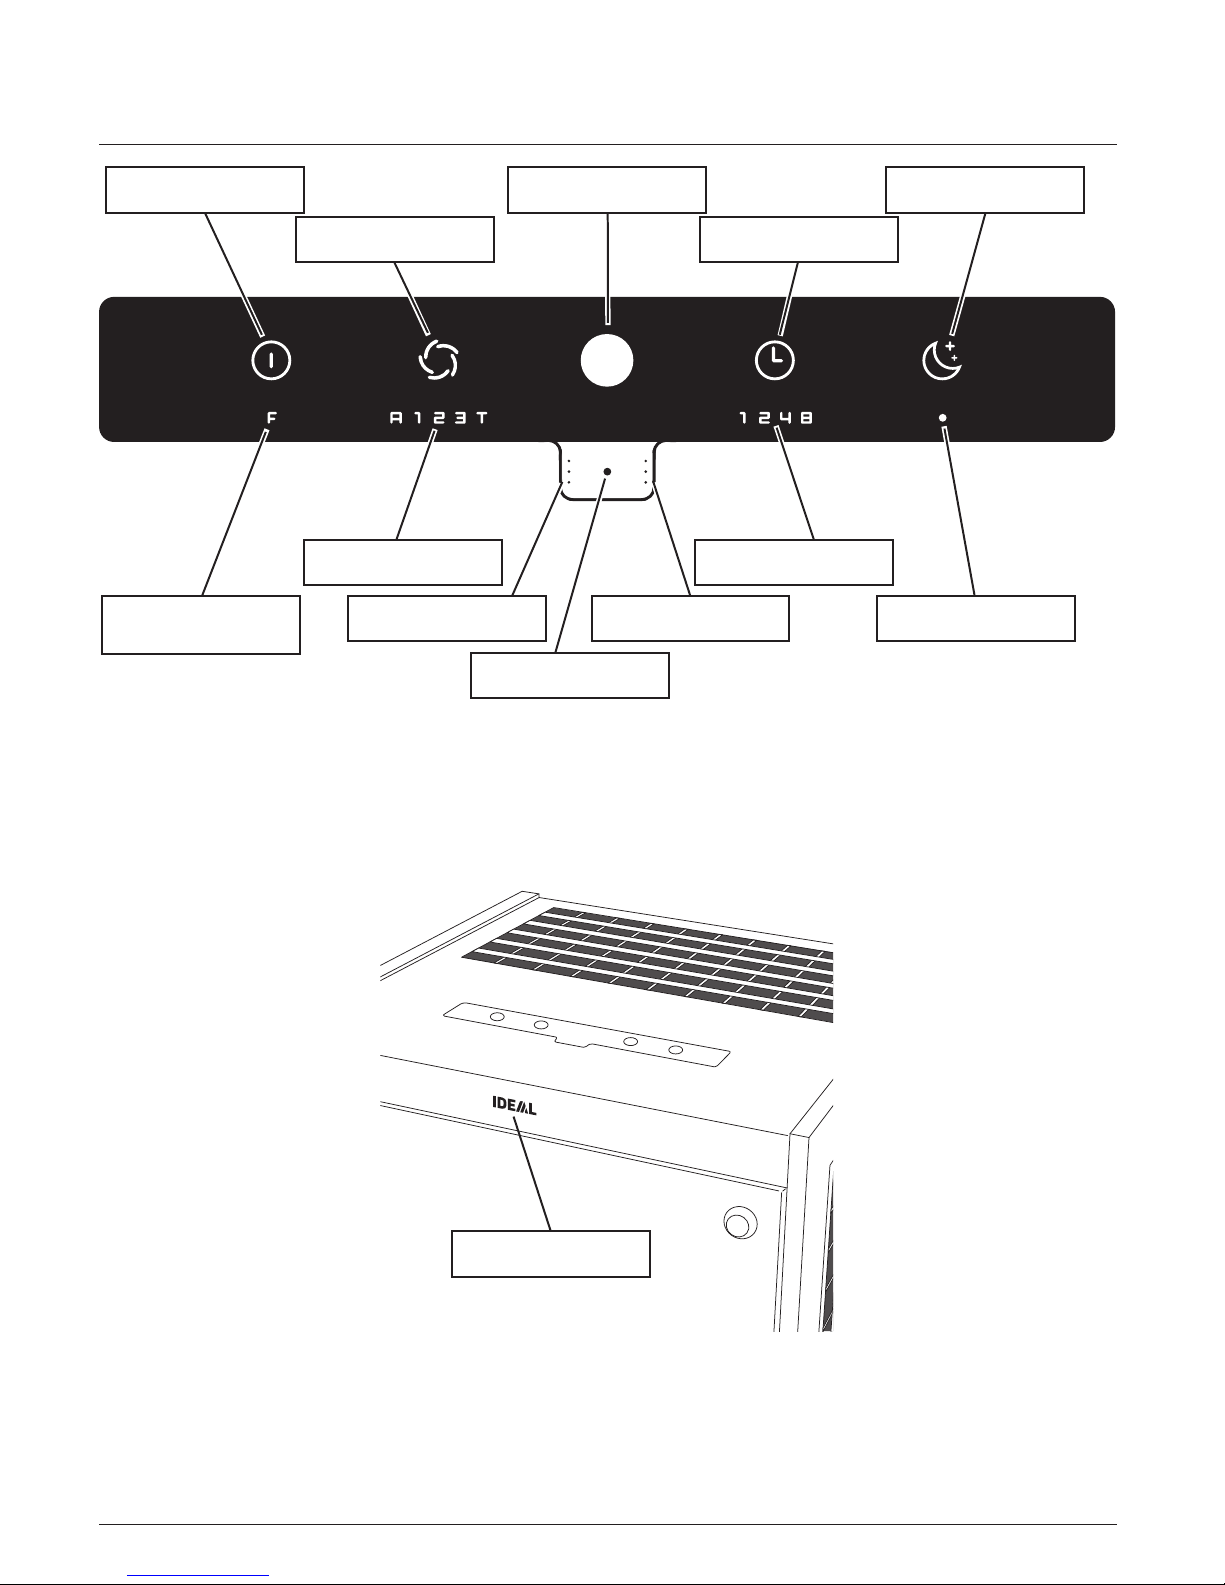
Thank you for choosing a device from IDEAL.
Intended use
• The device is used exclusively for cleaning the ambient air indoors.
• Please read these operating instructions before starting to use the device
and please follow the safety instructions.
The operating instructions must be kept available with the device at
all times.
Safety instructions
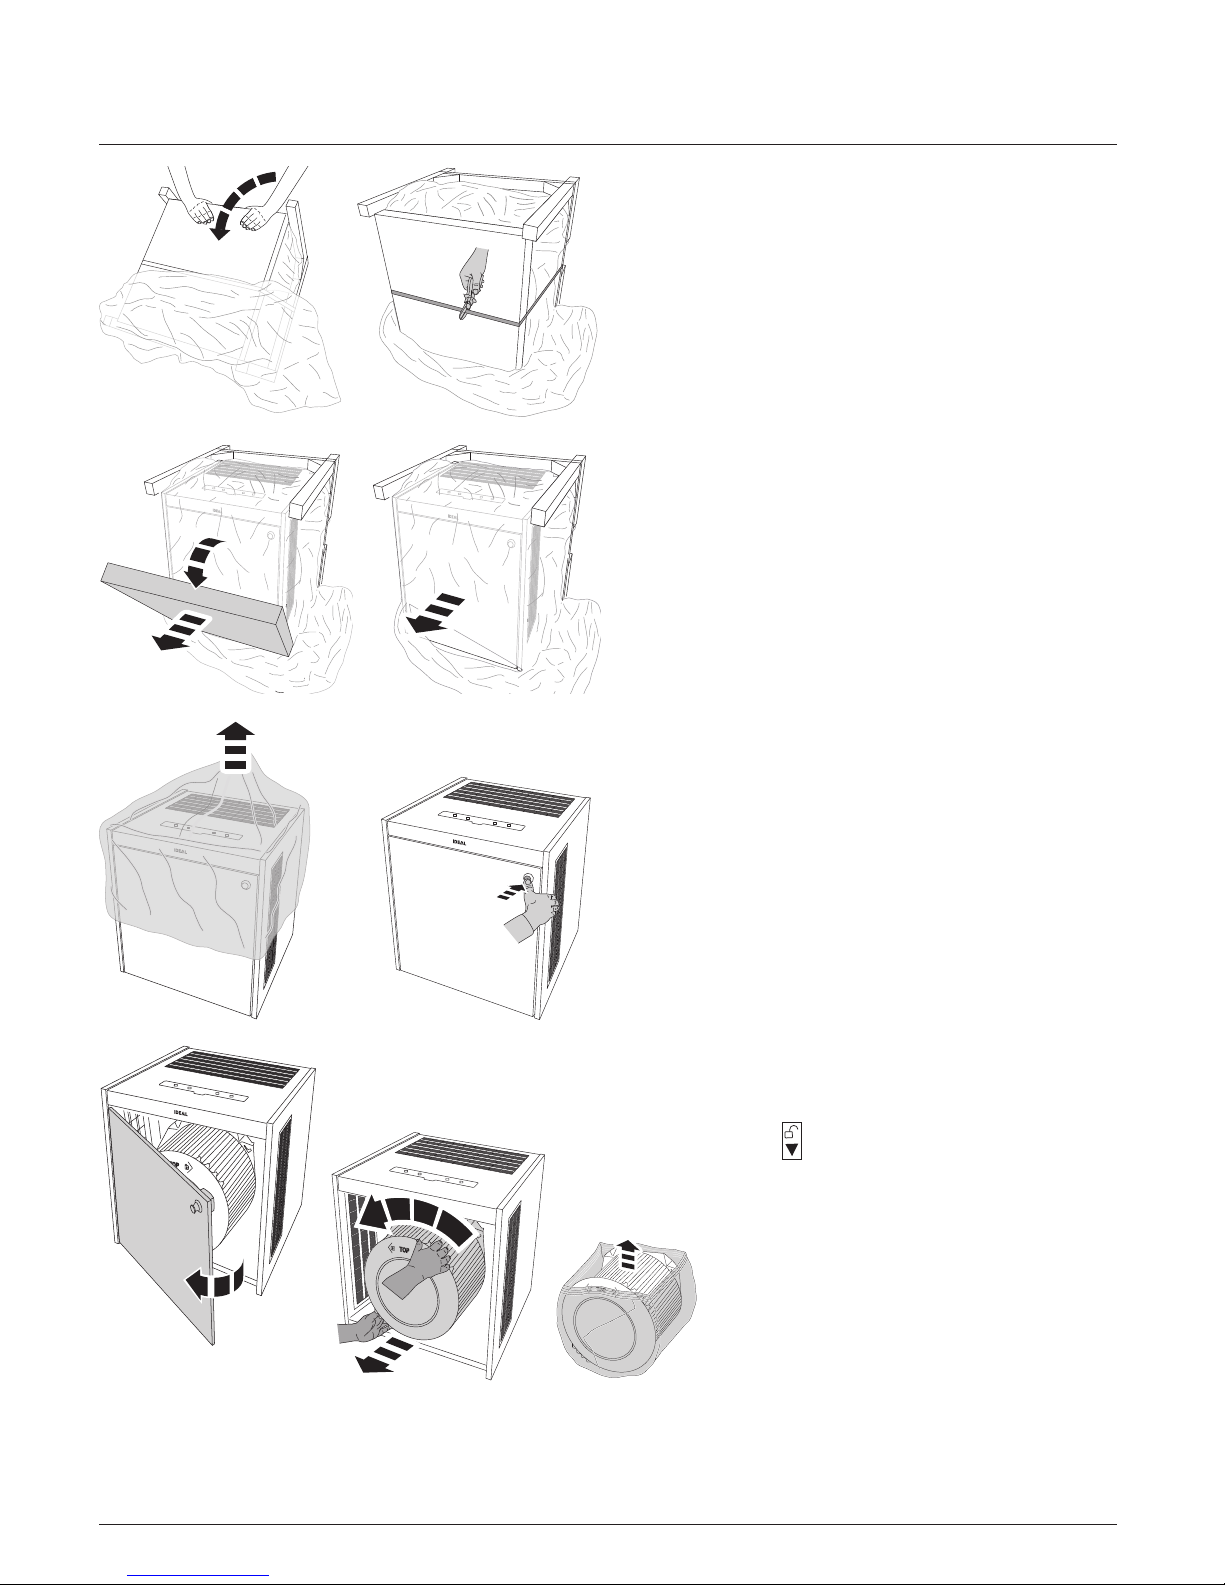
• Keep packing material, such as plastic wrapping, away from children!
(Risk of suffocation)
• Pleasefollowthesafetyinstructionstopreventreorelectricshock.
Only use the device indoors.
• Only use a wall socket that supplies the correct voltage (see rating plate).
• Do not modify or repair the device.
• Do not use the device if the power cable or mains plug is damaged or if
the connection at the wall socket is not stable.
• Make sure that the power cable does not get crushed while you are using
the device and that it cannot be damaged in any other way. Place the
cable so that no one will trip over it. Do not place the power cable under
strain.
• Disconnect the plug from the wall socket for cleaning purposes and
wheneverthedeviceisnotinuseforasignicantperiodoftime.
• Do not touch the plug or the device if you have wet hands.
• Do not spray any insect repellent.
• Do not use in rooms where the device may come into contact with fuel
vapour or metal dust.
•Do not use any volatile liquids, petroleum, kerosene, paint thinner or
polishing paste to clean the device. Such liquids may damage the surface
of the device.
• Do not expose the device to rain, water, moisture or high humidity, and do
not set it up in a bathroom or kitchen next to a sink.
• Make sure that no foreign objects get into the outlet grilles.
• Donotusenearanopenreorsparks.
• The device is not suitable for removing harmful gases (carbon monoxide,
e.g. from heating appliances).
• The appliance is not to be used by persons (including children) with
reduced physical, sensory or mental capabilities, or lack of experience
and knowledge, unless they have been given supervision or instruction.
• Children being supervised not to play with the appliance.
Safety instructions

27
Safety instructions
• Do not block the air intake and outlet.
• Keepthisairpurierawayfromdirectsunlight,nakedflamesorheat.
• Onlyusetheairpurierinlivingspacesandwithinthespeciedtechnical
parameters. Improper usage may pose a threat to life and health.
• Donotusetheunitneararealarm.Iftheoutletairisblowingtowards
arealarm,thealarmmayrespondlateornotatall.
Caution
Risk of injury due to electric shock.
Always disconnect the mains plug prior to:
• Carrying out maintenance work or cleaning
• Moving the device
• Changingthelter
Danger
• Donotuseanyspraycanswithammablecontentneartothe
AirPurier!
Danger
• Donotuseanyammablecleaningagents.
Safety instructions

28
Included in the box
Air Purier
(including lter cartridge) Filter cartridge Remote control
• With self-adhesive
magneticlm
• With 3V lithium battery
Power cable Printed operating
instructions
Product features
• Filter replacement indicator:
Anilluminatedredreplacementindicatorontheairpurierindicatesthattheltercartridge
needs to be replaced.
• Air purication in 5 speed settings
• 2-stage air purication system:
Pre-lter,HEPAlter
• 360° lter (Pre-lter, HEPA)
Easymaintenanceandreplacementoftheltercartridge.
Turbo Auto
8h
4h
2h
1h
3
2
1
IDEAL AP140 PRO
DE Betriebsanleitung
EN Operating Instructions
FR Mode d´emploi
ES Instrucciones de uso
IT Manuale d´istruzione
NL Gebruiksaanwijzing
Luftreiniger
Air Purier
Puricateur
Puricador
Depuratore
Zuiveraar
www.ideal.de
Product features / Included in the box

29
Unpacking and setting up
Installation guidelines for optimum performance:
• Place the device at least 10 cm away from the wall.
• Keep the device away from areas subjected to draft (wind).
• Make sure that furniture, fabrics or other objects do not come in contact with the air intake/
outlet or block them.
•Placethedeviceonastable,evensurfaceandmakesurethereissufcientaircirculation.
Remove all clips.
First, remove the pallet cover and then
remove the cardboard ring.
Opentheprotectivelmandexposethe
castors completely. Remove the box of
accessories. Take out the power cable, the
remote control (with magnetic foil) and the
operating instructions.
30x
Luftreiniger
IDEAL AP140 Pro
www.ideal.de
DE Betriebsanleitung
EN OperatingInstructions
FR Moded´emploi
Turbo Auto
8h
4h
2h
1h
3
2
1

30
Open the door by means of the door knob.
Holdtheltercartridgewithbothhands
using the recessed grips provided and turn it
anti-clockwise .
Takeouttheltercartridgeandremovethe
protectivelm.
Unpacking and setting up
Remove the cardboard cover. Carefully pull
the machine forwards out of the wooden crate.
Placetheairpurierincl.packagingcarefully
on the castors (tilt the wooden crate by 90°).
Cut the plastic belt.
Remove the protective foil. Unlock the door by
pressing the push lock, the door knob appears.

31
Inserttheltercartridgewiththethreetabsin
the notches provided and lock in position by
turning clockwise .
Safety information
Unpacking and setting up
Operatingtheairpurierwithoutpanelsand
protective covers (motor protection grille,
ventilation outlet grille, door, etc.) fully and
securely attached is not permitted.
X
Close the door and lock it by pressing the push
lock. Connect the power cable to the device
rst,thentothesocket.
Tip:
Forthis,theltercartridgecanbeplacedon
the assembly pins (X).

32
Control panel
AOn/off button DQuiet button
EAir quality indicator
FFilter replacement
indicator IQuiet indicator
KIR receiver
HTimer indicator
GFan speed indicator
JDaylight sensor LAir quality sensor
BFan speed button CTimer button
Note:
The air quality sensor (L)isrecalibratedthersttimeyouswitchiton(A) and after being
disconnected from the mains power supply. Once the air quality sensor has been calibrated, the
airpurieralwaysstartsinautomaticmode.Iftheltercartridgeismissing,thelterreplacement
(F) and air quality indicators (E) flash red alternately.
MDust sensor

33
Fan speeds
• Press the on/off button (A)toswitchtheairpurieronoroff.
•Theairpurierrunsinautomaticmode . In automatic mode, the fan speed (G) automatically
adapts to the measured air quality. The worse the air quality, the higher the fan speed.
• Press the fan speed button (B)toexitautomaticmode.Theairpuriernowrunsat
fan speed . Press again to increase the fan speed to .
Press again to increase the fan speed to , or to the turbofan speed .
•Theturbospeedsettingforfastpuricationoftheambientairrequirestheairpuriertorunat
maximum capacity. This can only be selected manually.
Timer functions
Pressingthetimerwhiletheairpurierisswitchedonactivatesthe“switch-offtimer” after the
settime,theairpurierswitchesoff:
•Switchtheairpurieron(on/offbuttonA).
• Press the timer button (C) to activate the timer. Press repeatedly to increase the timer time:
(h) . Each number lights up in turn. Press the timer button again (no number
lights up) to disable the timer function.
• The timer indicator counts the respective time with ( Countdown). The remaining time is
displayed.
Pressingthetimerbuttonwhiletheairpurierisswitchedoffactivatesthe"switch-ontimer"
afterthesettime,theairpurierswitcheson.
AOn/off button DQuiet button
EAir quality indicator
FFilter replacement
indicator IQuiet indicator
KIR receiver
HTimer indicator
GFan speed indicator
JDaylight sensor LAir quality sensor
BFan speed button CTimer button
Control panel

34
Quiet function
The Quiet button (D) is provided for particularly low-noise, unobtrusive operation
(e.g. bedrooms). Press the Quiet button (D) to switch the fan speed (G) to its lowest capacity
and switch off all indicators. Only the Quiet indicator (I) is dimly lit.
Air quality indicator (E)
The air quality is displayed in 3 colours:
Green: good air quality
Yellow: average air quality
Red: poor air quality
Filter replacement indicator (F)
An illuminated red " "onthecontrolpanelindicatesthatthelterneedsreplacing.
•Thelifeexpectancyofthelterisapprox.1year
(dependingonoperationandpuricationactivities).
•OnlyuseoriginalIDEALltercartridge.ThedevicewillonlyfunctionwithanoriginalIDEAL
ltercartridge.
Daylight sensor (J)
The display brightness is automatically adjusted to the ambient light.
IR receiver (K)
Receives the signals from the remote control.
Air quality sensor (L)
AOn/off button DQuiet button
EAir quality indicator
FFilter replacement
indicator IQuiet indicator
KIR receiver
HTimer indicator
GFan speed indicator
JDaylight sensor LAir quality sensor
BFan speed button CTimer button
Control panel

35
Remote control
Battery usage
• Always use 3V lithium batteries CR2025 for the remote control.
• Incorrect battery usage may result in leakage of battery fluid and/or damage.
• If the remote control is not going to be used for a long time, please remove the battery.
Unsuitable location
• Make sure that no objects or furnishings are situated between the remote control and the
airpurier.
•Theairpuriershouldnotbeplacedindirectsunlight.Thiscouldimpairtheinfraredsensor.
• Locations where fluorescent tubes are flickering because they are defective or old.
• Do not store the remote control in direct sunlight and/or close to radiators/heaters.
• When using for the rst time
The remote control has a pre-installed lithium
battery CR2025. Remove the protective flap to
activate the remote control battery.
How to use correctly
•Pointtheremotecontrolattheairpurier(IRreceiverK).
Turbo Auto
8h
4h
2h
1h
3
2
1
K

36
Important information about the batteries and how to dispose of them
Batteries must NOT be disposed of with household waste. As the user, you are legally obligated
to return used batteries for proper disposal. You can hand in your batteries at public collection
points in your community or wherever the same type of batteries are sold.
• It is very important that you make sure that the polarity of the batteries is correct.
Wronglyinsertedbatteriescoulddestroythedevice–arehazard.
• Donottrytoopenordamagebatteriesanddonotthrowbatteriesintoare.
• Batteries that are leaking fluid are dangerous. Only touch these with suitable gloves.
• Keep batteries out of the reach of children.
• Takethebatteriesoutofthedeviceifyouarenotgoingtobeusingitforasignicant
period of time.
Replacing the battery
• Open the battery compartment by pressing
(1.) and pulling out (2.) at the same time.
Take out the flat battery.
• Insert a new battery into the battery compart-
ment, making sure the polarity is correct (+ / -).
• Always use 3V lithium batteries CR2025.
• Slide the battery compartment back into its
seating (3.).
The remote control comes with a self-
adhesivemagneticlm(4.). If required,
this can be stuck on the back of the remote
control.Withthemagneticlmstuckonit,the
remote control can easily be attached to any
ferromagnetic surface
(e.g.onthebackoftheairpurier).
1. 3.
2.
CR2025
3V
4.
Turbo Auto
8h
4h
2h
1h
3
2
1
Remote control

37
Remote control
N: Select the required fan speed .
O: Switchestheairpuriertoautomaticmode .
P: Switchestheairpurieron/off .
Q: SwitchestheairpuriertoQuietmode .
R: Select the required timer time .
S: Press the locking button tolockthebuttonsonthecontrolpanel(airpurier).
Press the locking button again to unlock.
Thelockcanalsoberemovedbydisconnectingtheairpurierfromthemainsorby
pressing and holding down the on/off button (A) on the device.
Note:
When you operate the remote control, the air quality indicator (E) lights up for approx. 1 second
inacknowledgement.Ifyouoperateabuttononthecontrolpanel(airpurier)whilethelocking
function is activated, the air quality indicator (E) lights up briefly in red.
POn/off button
NFan speed buttons
OAutomatic button
QQuiet button
SLocking button
RTimer buttons
Function
Turbo Auto 8h
4h
2h
1h
3
2
1
AOn/off button EAir quality indicator

38
Filter replacement (e.g.inaccordancewiththelterreplacementindicator F, see page 34)
Note:
Only original IDEAL lter cartridges (order from www.ideal.de) may be used. No tools are
required to replace the lter cartridge.
Note:
The air purier automatically detects that a new IDEAL lter cartridge has been inserted
and automatically resets the lter replacement indicator.
IDEAL lter cartridge Order no. 7320 099
Changing the lter
CAUTION: Disconnect the mains plug!
Unlock the door by pressing the push lock, the
door knob appears. Open the door by means of
the door knob.
Close the door and lock it by pressing the push
lock. Connect the power cable to the device
rst,thentothesocket.
Holdthespentltercartridgewithbothhands
using the recessed grips provided and turn it
anti-clockwise .
Removetheltercartridge.
Insertthenewltercartridge(removethe
protective foil beforehand) with the three
snap-ttabsintotherecessesprovidedforthis
purpose and lock it by turning it clockwise .
Forthis,theltercartridgecanbeplacedonthe
assembly pins (Xsee page 31).

39
App Control / WLAN
App Control
Yourpuriercanadditionallybecontrolledbythe"IDEALAIRPRO"Appviayour
smartphone / tablet (iOS /Android).
WLAN DQuiet button
EAir quality indicator
Enabling/disabling WLAN
Theairpurierisconnectedtothepowersupplyandswitchedoff.
Press and hold down the Quiet button (D) until the air quality indicator (E) flashes
The WLAN is enabled
when the air quality indicator (E) flashes blue
The WLAN is disabled
when the air quality indicator (E) flashes white.
Resetting the WLAN
Theairpurierisdisconnectedfromthepowersupply.
Press and hold down the Quiet button (D), plug in the power cable and continue to hold down
the Quiet button (D) until the air quality indicator (E) flashes pink
The WLAN is reset to factory settings.
Note:
ToensureastableWLANconnection,aminimumdistanceof1mbetweenairpurierand
smartphone/tablet should be maintained during setup (connection setup).

40
Cleaning and maintenance
CAUTION: Disconnect the mains plug prior to any cleaning or maintenance work!
•Replacetheltercartridgeassoonasthelterreplacementindicator(F, page 34) lights up.
Theaveragelifeexpectancyofthelterisapprox.1year(dependingonoperationand
puricationactivities).
•Cleantheairpurierhousingwithalint-freeclothmoistenedwithsoapywater.
• Clean the control panel with a dry, lint-free cloth.
• Clean the openings for the air quality sensor (L) and the dust sensor (M page 32) with a
vacuum cleaner.
•Cleantheairintakeductsandtheinterioroftheairpurierwithavacuumcleaner.
•Cleantheltercartridge'spre-lterwithavacuumcleaner.Todothis,removethelter
cartridge ("Changing the lter" page 38).
• Do not use any solvents. These could damage the housing surface, the control panel and the
air quality sensor.
•Protecttheairpurierfromwater.
• Do not use any substances containing silicone, since this could destroy the air quality sensor.
• Do not test the effectiveness of the air quality sensor with high quantities of gas, or alcohol,
since this could destroy the air quality sensor.
Cleaning and maintenance / Accessories
Accessories
You can source accessories via your dealer or at www.ideal.de.
IDEALltercartridge Orderno.7320099

41
Troubleshooting
The air purier won't switch on. Is the power cable securely connected to
the back of the device?
Make sure that the power cable is not
damaged in any way.
Check both ends of the power cable. Make
sure that these are plugged in and that the
purierisconnectedtothepowersupply
(page 31).
Has a lter cartridge been inserted? Is the
lter cartridge inserted correctly?
MakesurethatanoriginalIDEALlter
cartridge is inserted.
Makesurethattheltercartridgeisclicked
in place with all 3 tabs and is fully locked
(padlock icon, page 31).
The buttons on the air purier do
not work.
The buttons on the remote control do
not work.
Has the locking function been activated?
Disable the locking function on the remote
control (function S,page 37).
Unplug the power cable and then plug it
back in.
Is the battery in the remote control?
Or is it flat?
Check the battery (3V lithium CR2025).
Is the IR receiver dirty?
Clean the IR receiver with a dry, lint-free
cloth.
Are you using it correctly?
Pointtheremotecontrolattheairpurier
(page 35).
Having joined the power cord or
exchangedthelter,thefunctionofthe
remote control is blocked for
about 10 seconds

42
The indicators on the control panel do not
light up at all. Is the air purier switched on?
Switchtheairpurieronbypressingthe
on/off button (A, page 32).
Has the Quiet function been activated?
Disable the Quiet function by pressing
the Quiet button (D, page 34).
Automatic mode is not working properly. The air purier calibrates the air
quality sensor. This happens when you
rst switch it on and after disconnecting it
from the mains.
Wait until the calibration process has been
completed (this may take a few minutes)
The air quality sensor is dirty.
Clean the openings for the air quality
sensor L, dust sensor M(page 32), the air
intake ducts and the interior of the air
purier(wheretheltercartridgeis
located) with a vacuum cleaner.
The air quality sensor is not detecting the
air quality reliably
Calibrate the air quality sensor by briefly
disconnecting it from the mains again!
Troubleshooting

43
The air purier is making loud noises. Is the lter cartridge really dirty?
Cleanthepre-lterwithavacuumcleaner.
Is the air purier located on an even
surface?
Place the device on an even surface.
Is the air purier running at a high fan
speed?
Use the fan speed button (B, page 33) to
set a lower fan speed (G, page 33).
In bright environments, the indicators on
the air purier control panel are too dark. Is the daylight sensor dirty?
Clean the relevant section on the control
panel (J, page 32)!
The display intensity automatically adapts
to its surroundings.
Troubleshooting
Did none of the specied solutions help you
with your problem?
Contact: Service
• www.krug-priester.com
Service
Other manuals for AP140 PRO
1
Table of contents
Other IDEAL Air Cleaner manuals
Popular Air Cleaner manuals by other brands

Flanders
Flanders SwissAire R-1 Media SAR-1 Media Specifications

Honeywell
Honeywell UV2400U installation instructions

Hoko
Hoko KJ160F-085 Use & care instructions

Panasonic
Panasonic F-PXM55A operating instructions

MICRO-AIR
MICRO-AIR SC 150 owner's manual

Honeywell
Honeywell 50100 - Enviracaire Air Purifier user manual