Inficon WHISPER User manual
Other Inficon Security Sensor manuals
Inficon
Inficon ELT3000 PLUS Quick guide
Inficon
Inficon RC1000 Series Quick guide
Inficon
Inficon ULTRATEST UL3000 Fab Quick guide
Inficon
Inficon Sensistor ISH2000 HySpeed User manual
Inficon
Inficon Southern Cross IRwin User manual
Inficon
Inficon TEK-Mate User manual
Inficon
Inficon TEK-Mate User manual
Inficon
Inficon UL6000 Fab Quick guide
Inficon
Inficon D-TEK Stratus User manual
Inficon
Inficon D-TEK Stratus User manual
Inficon
Inficon D-TEK CO2 User manual
Inficon
Inficon HLD6000 User manual
Inficon
Inficon D-TEK Stratus 724-202-G Series User manual
Inficon
Inficon IRwin User manual
Inficon
Inficon IRwin User manual
Inficon
Inficon Ecotec E3000 User manual
Inficon
Inficon ELT3000 Quick guide
Inficon
Inficon XL3000flex Manual
Inficon
Inficon D-TEK 3 User manual
Inficon
Inficon Sensistor XRS9012 User manual
Popular Security Sensor manuals by other brands
System Sensor
System Sensor AFD Accuflow Installation and maintenance instructions
EXTOL Craft
EXTOL Craft 97270 user manual

Edwards
Edwards SIGA2-HRS Installation and operation

Buckingham
Buckingham 21402 Attachment instructions

Martec
Martec Sentinel MLXSP524WS quick start guide
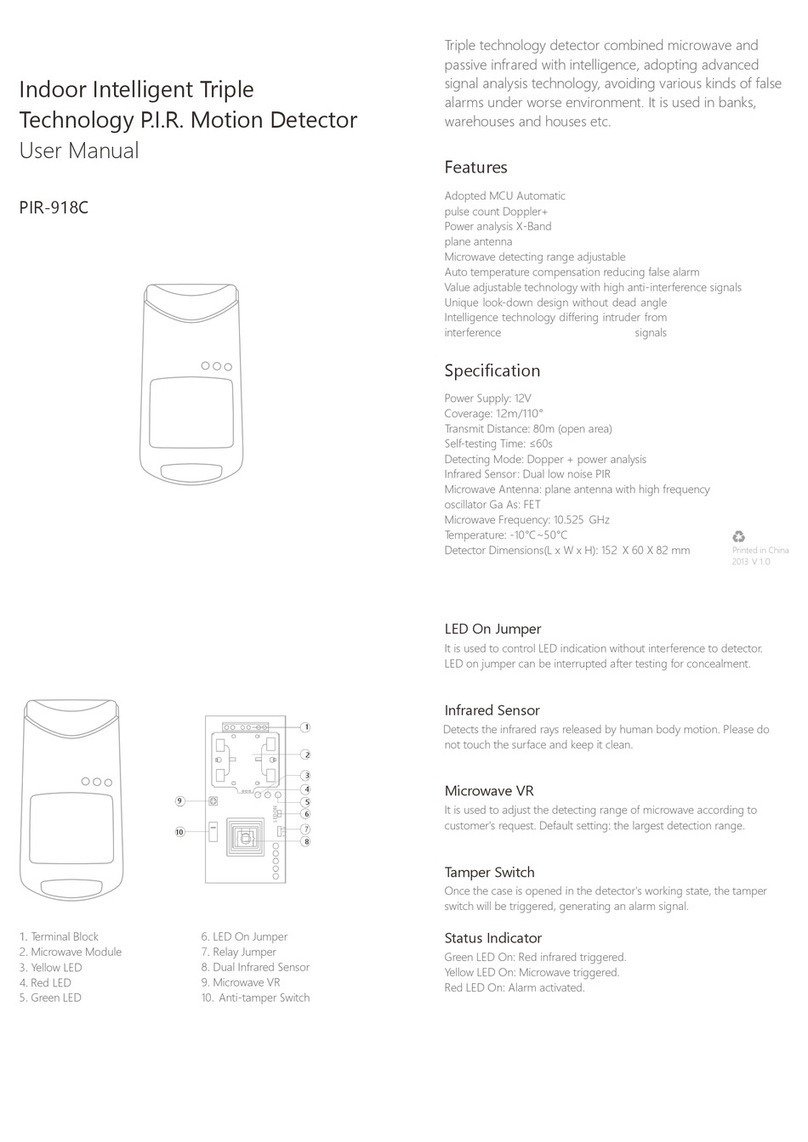
Chuango
Chuango PIR-918C user manual


