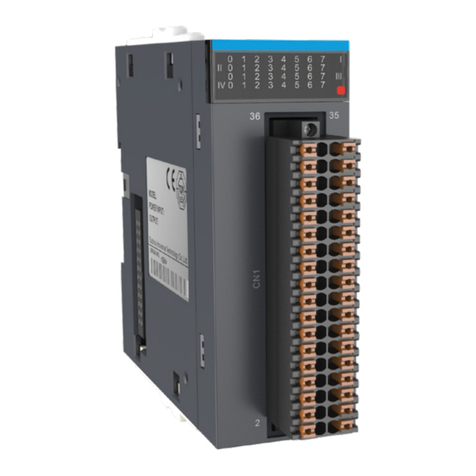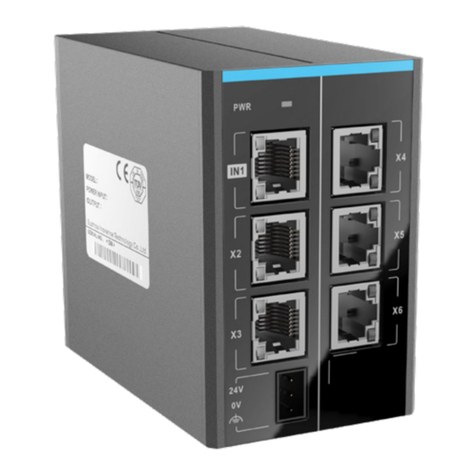
1. Overview
Thank you for purchasing the GL10-PS2 power module, which is independently developed and produced by
Inovance. Please read this manual carefully before using this product.
The GL10-PS2 module can work with modules including AM600CPU, AM600-RTU-ECT, AM600-RTU-COP and AM600-
RTU-DP. It can provide power of 24 VDC and 2 A.
This manual mainly describes the product's specications, characteristics and how-to-use. Read this manual
carefully before use for your safety. See the Medium-Sized PLC Programming Manual to understand the use of
the user program development environment and design method of the user program of the product. You can
download the latest materials from
www.inovance.com
.
2. Safety Precautions
The safety precautions are divided into two classes: "WARNING" and "NOTICE". Please pay attention to the safety
precautions before using the product.
Wrong operations can cause death or serious injury;
Wrong operations can cause moderate or minor injury and equipment damage.
Accidents described in the "NOTICE" class may cause serious subsequent in some cases. Follow the safety
instructions. Otherwise, death or heavy injury, damage to the product, machines and system can be caused.
Please keep this manual properly for reference when needed and deliver it to end users.
Control System Design
◆The safety circuit must be designed to ensure that the control system can continue working safely when the
external power is o or the PLC is faulty;
◆In case of long-time over-current on the output circuit caused by a current exceeding the rated value or
short-circuit of the load equipment, the module may smoke or get on re. Therefore, external safety devices
should be used, such as fuses or breakers.
◆The emergent braking circuit, protection circuit, interlock circuit for forward/reversal rotation, and top and
bottom position interlock switches that can prevent damage to equipment should be congured in the
external circuit of the PLC;
◆ Please congure the external protection circuit and safety mechanisms for output signals related to material
accidents to ensure that the equipment can work safely;
◆ When the CPU of the PLC detects any system exceptions, all outputs may be closed; when the circuit of the
controller is faulty, its outputs may become out of control. Therefore, an appropriate external control circuit
should be designed to ensure that the equipment can work properly;
◆ When the PLC is used in an outdoor electric environment or level-II over-voltage environment, the power
system should be equipped with anti-lighting devices to ensure that the over-voltage caused by the lightning
does not aect ports of the PLC, including the power input, or signal inputs and control outputs of the PLC..
1
Installation
◆Only professional service engineers who have received related electrical training and knowledge can install
the product;
◆Before disassembling the module, the external power supply must be disconnected from the system. If the
power supply is connected, it may lead to an electric shock or fault and false tripping;
◆Do not use a PLC under following conditions: Environment with dust, oil smoke, conductive dust, erosive
gas and ammable gases; environment exposure to high temperature, condensation, rain and wind;
environment under vibration and shock. Electric shock, re and misoperations can cause damage to the
product;
◆ The PLC is an open-type device. To protect operators without adequate knowledge about electric devices
from an electric shock, the PLC must be mounted in a control cabinet with a door lock. The casing of the
cabinet must meet IP20 or above safety requirements. Only operators who have received related training
about electric devices with adequate electric knowledge can open the cabinet.
◆ While handling bolt holes and connecting wires, do not let cuttings and wire crumbs fall into the PLC through
ventilation holes. This may cause re, faults and false tripping;
◆After a new PLC is installed, the ventilation surface of the PLC must not be covered. Otherwise, the ventilation
eciency will be lowered, causing re, faults and false tripping;
◆ When modules are being mounted, the modules must be rmly connected to their connectors and xed on
the hooks. If a module is not mounted correctly, it may cause false tripping, faults and the module to fall.
Wiring
◆Only professional service engineers who have received related electrical training and knowledge can wire the
product;
◆All external power supplies must be disconnected from the system during the wiring process. If a power
supply is connected, it may lead to an electric shock or fault and false tripping;
◆The PLC can be powered on after installation and wiring. The terminal cover must be mounted before starting
operations. If not, it may cause an electric shock;
◆Cable terminals must be insulated to ensure that the insulation distance between cables does not decrease
after the cables are connected.Otherwise, it may cause an electric shock or equipment damage;
◆ The input power distribution circuit should be equipped with suitable protective devices, generally including
disconnectors with fusing and detection functions or external fuses. Factors including the rated current,
overload capability and the short-circuit capability of the its preceding power distribution when choosing
protective devices.
◆Prevent dropping metal lings and wire ends drop into ventilation holes of the PLC at wiring. Failure to comply
may result in re, fault and malfunction.
◆ The external wiring specication and installation method must comply with local regulations. For details, see
the wiring section in this guide.
◆ To ensure safety of equipment and operator, use cables with sucient diameter and connect the cables to
ground reliably.
◆ When connecting the cable, ensure that you have recognized the connector type correctly. Failure to comply
may result in module and external equipment fault.
◆ Tighten bolts on the terminal block in the specied torque range. If the terminal is not tight, short-circuit, re
or malfunction may be caused. If the terminal is too tight, fall-o, short-circuit, re or malfunction may be
caused.
◆If the connector is used to connect with external equipment, perform correct crimping or welding with the tool
specied by manufacturer. If connection is in poor contact, short-circuit, re or malfunction may be caused.
◆A label on the top of the module is to prevent foreign matters entering the module. Do not remove the label
during wiring. Remember to remove it before system operation, facilitating ventilation.
◆Do not bundle control wires, communication wires and power cables together. They must be run with distance
of more than 100 mm. Otherwise, noise may result in malfunction.
◆ Select shielded cables for high-frequency signal input/output in applications with serious interference so as to
enhance system anti-interference ability.
Operation and Maintenance
◆ and maintain the product;
◆ Touching terminals when the PLC is power-on may cause an electric shock or false tripping;
◆All external power supplies must be disconnected from the system before cleaning modules or re-fastening
bolts on the terminal block and mounting bolts on connectors. Otherwise, it may cause an electric shock;
◆All external power supplies must be disconnected from the system before modules can be disassembled or
communication cables can be connected or disconnected. Otherwise, it may cause an electric shock or false
tripping.
Retirement
◆ The product should be disposed of as industrial waste;
◆The retirement of batteries should comply with the local regulations.
3. Product Information
■Model and Nameplate
.BSL %FTDSJQUJPO
-
-PDBMNPEVMF
.BSL 4FSJFT
TFSJFT
.BSL %FTDSJQUJPO
(
.BSL .PEVMF5ZQF
1PXFSTVQQMZ14
.BSL 0VUQVU$VSSFOU
"
(FOFSBM.PEVMF
"
"
.PEFM
*OQVU
0VUQVU
4FSJBM/P
/BNFQMBUF
.0%&-盘(-14
108&3*/165盘7"$")[
065165盘7%$"
9999999999999999
7FSTJPO/P
7&399999
9999999999999999
Figure 1 Model and nameplate
Model Type Description Applicable for
GL10-PS2 Power module 220 V input; 24 V/2 A output AM600
■External Ports
圧圦圃坒坘块坓坘块
L
N
100-240 VAC
INPUT
OUTPUT
24VDC-2A
POWER
圤圦圃坌坑坓坘块
圳在
圩在
Figure 2 Ports of the power module
The power module has two terminals. One is the input port, the other one is the output port. The AC input port
should meet the following requirements:
Port Denitions of functions
AC input port 100-240 VAC input
Protective ground (connecting to the AC input power ground cable)
Functional ground (connecting to the PLC casing)
The DC output port should meet the following requirements:
Network Type Function Remarks
24 V Output 24 VDC output -
5 V Output 5 VDC output For modules without 5 V terminal, the internal terminal is empty.
GND Output DC output ground -
GND Output DC output ground -
■General Specications
Item Specications
Input power 100~240 VAC(-15%~+10%)
Input frequency 50/60 Hz(-5%~+5%)
Output voltage 24 VDC±5%
Rated Output Current 2 A
Eciency Above 70%
Over-current protection Yes
Fuse Built-in
2 3
User Guide
GL10-PS2 Power Module 19011108 A00
