manuals.online logo
Brands
  1. Home
  2. •
  3. Brands
  4. •
  5. MG
  6. •
  7. Control Unit
  8. •
  9. MG R3-DC64C User manual

MG R3-DC64C User manual

EM-8349 Rev.2 P. 1 / 4
MG CO., LTD. www.mgco.jp
5-2-55 Minamitsumori, Nishinari-ku, Osaka 557-0063 JAPAN
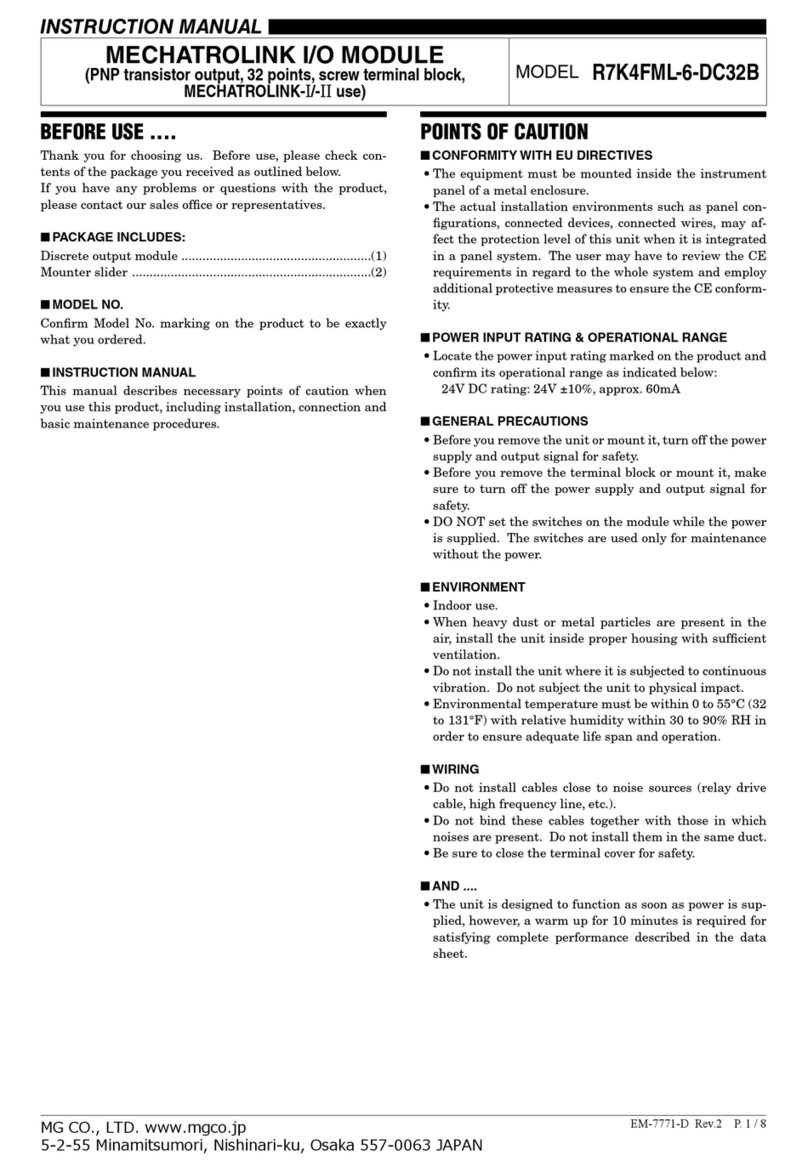
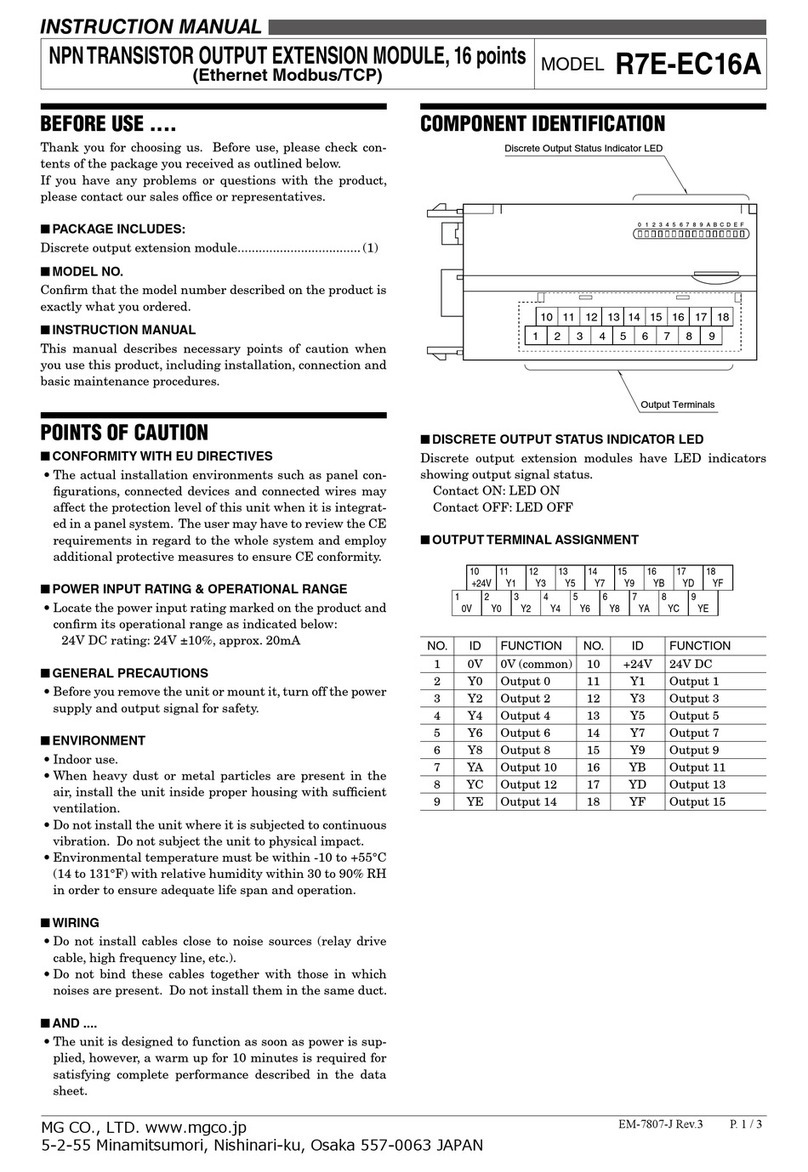
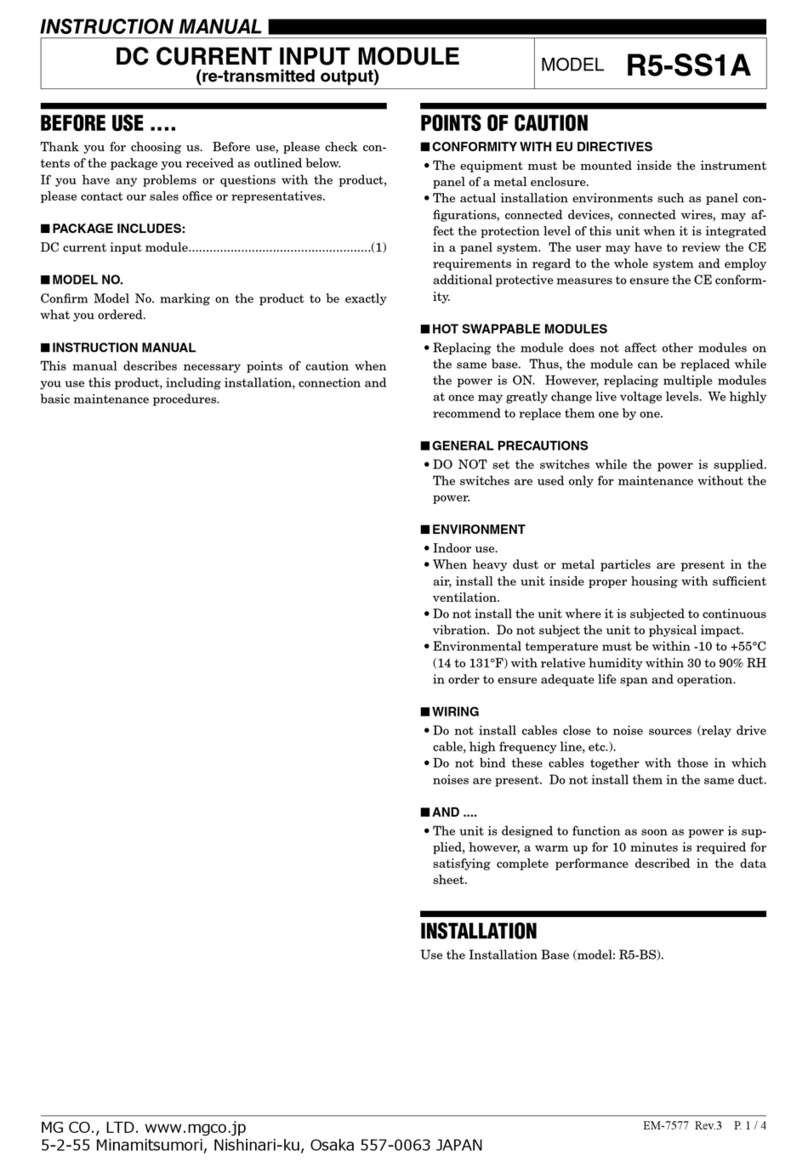
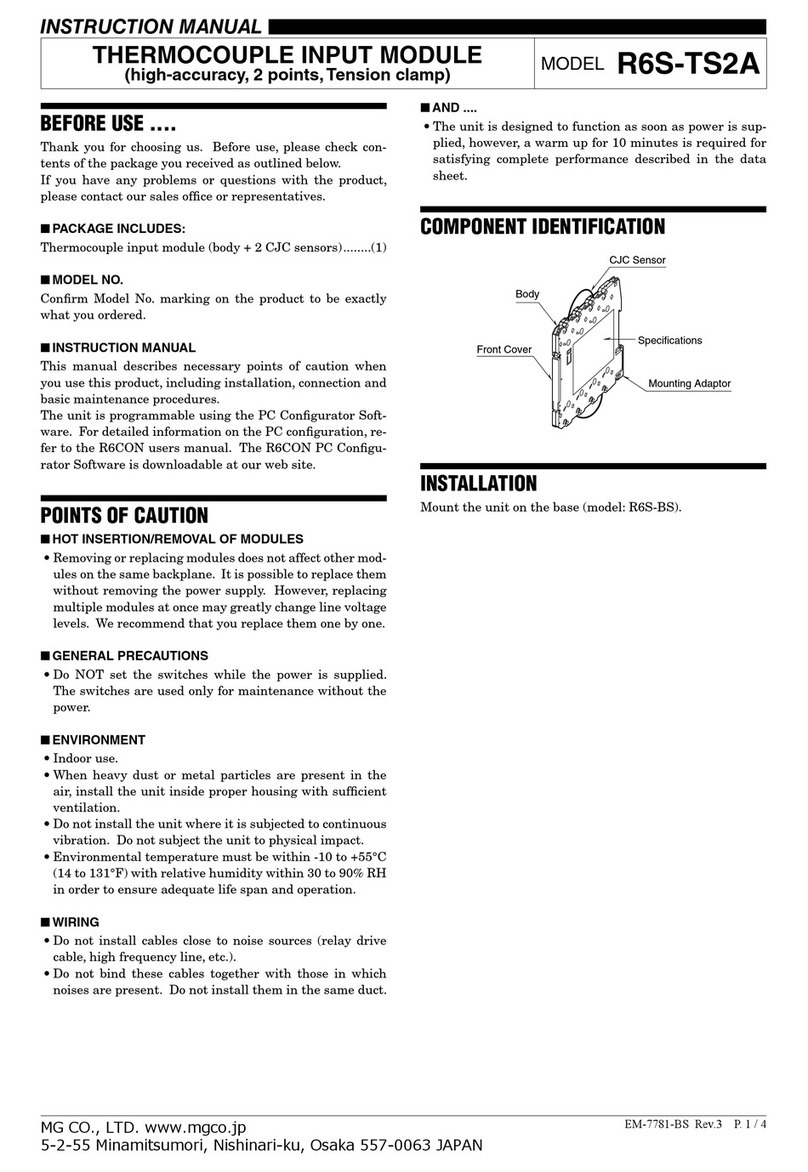
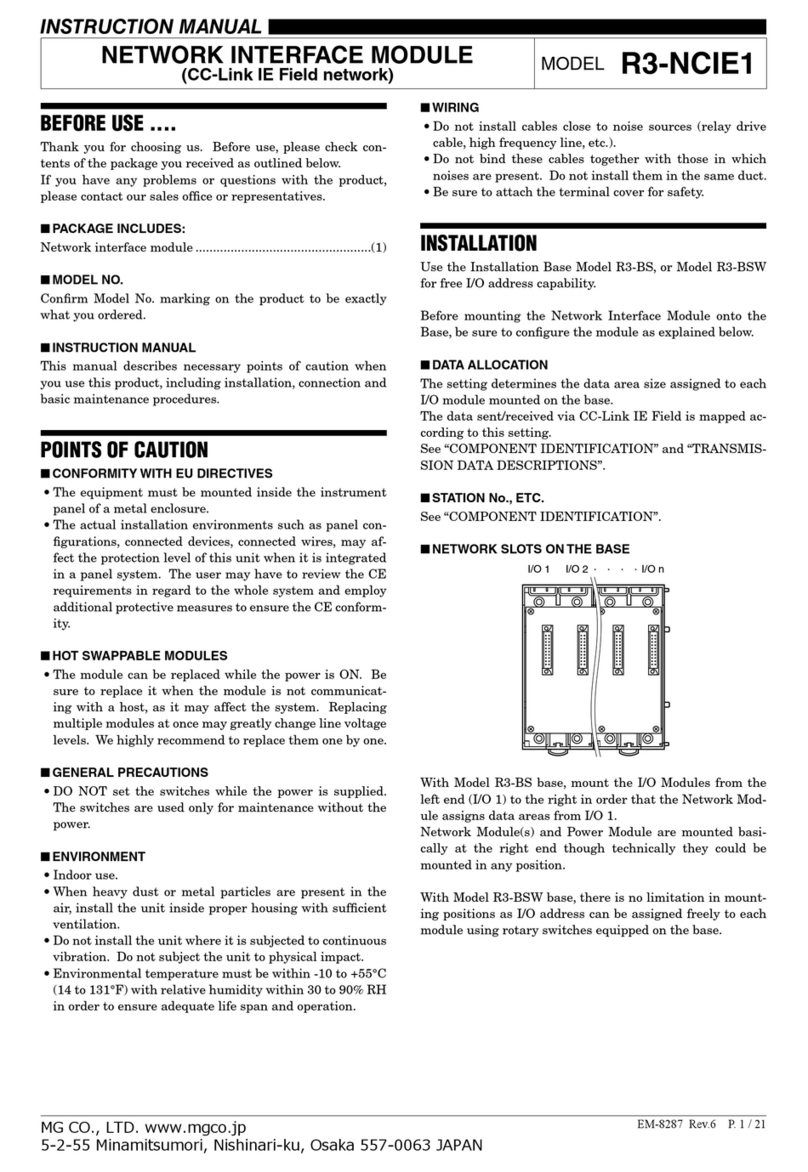
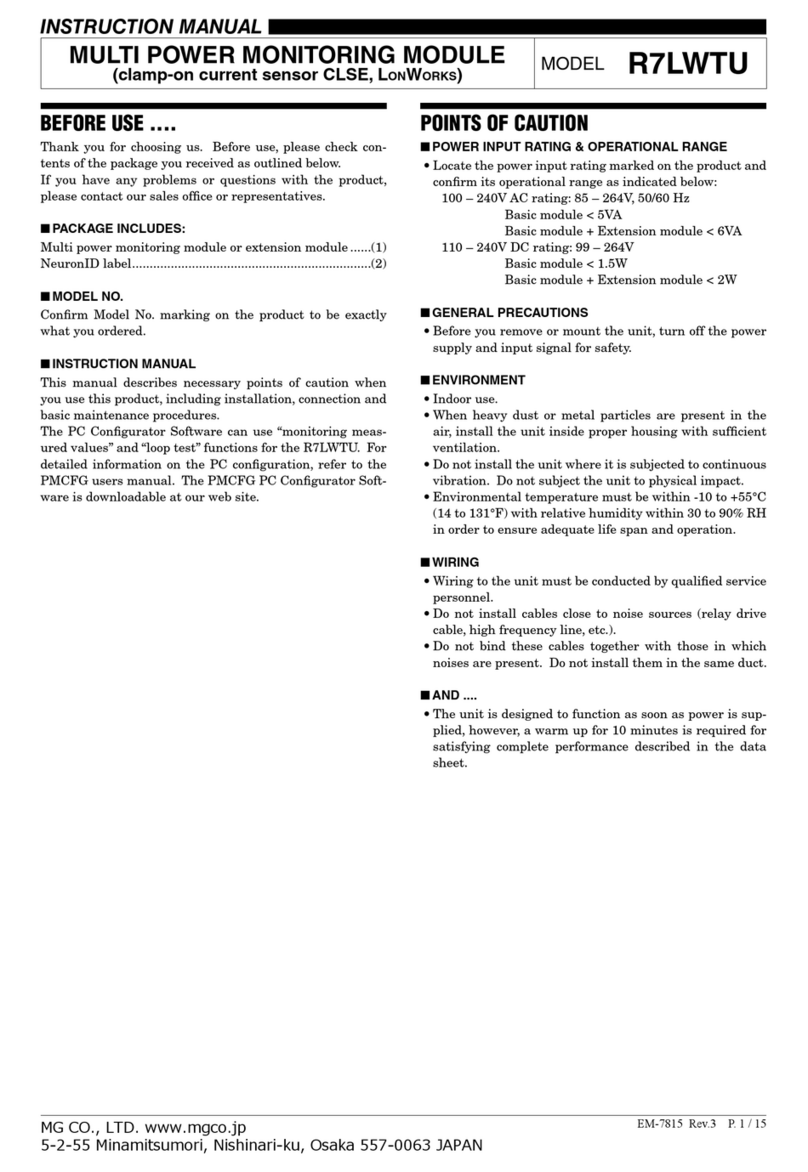
INSTRUCTION MANUAL
DISCRETE OUTPUT MODULE
(PNP transistor output, 64 points, shortcircuit protection) MODEL R3-DC64C
BEFORE USE ....
Thank you for choosing us. Before use, please check con-
tents of the package you received as outlined below.
If you have any problems or questions with the product,
please contact our sales office or representatives.
■PACKAGE INCLUDES:
Discrete output module.......................................................(1)
■MODEL NO.
Confirm Model No. marking on the product to be exactly
what you ordered.
■INSTRUCTION MANUAL
This manual describes necessary points of caution when
you use this product, including installation, connection and
basic maintenance procedures.
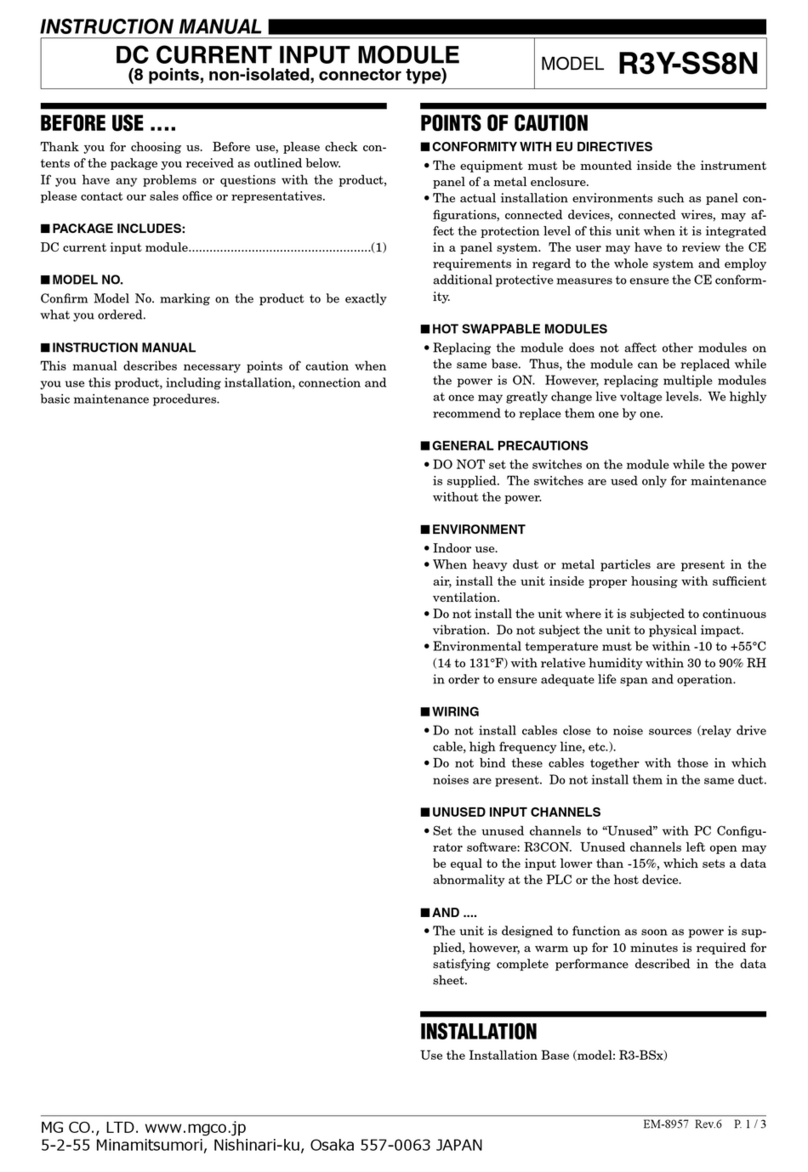
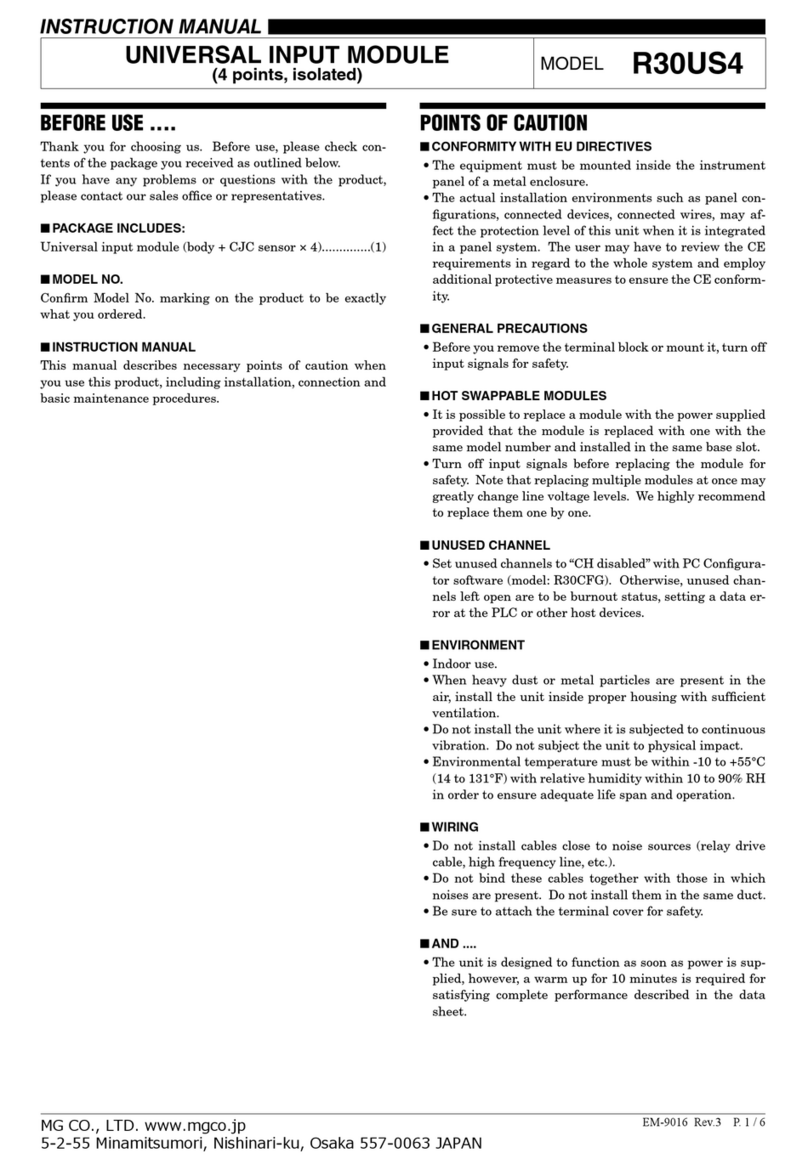
POINTS OF CAUTION
■CONFORMITY WITH EU DIRECTIVES
• The equipment must be mounted inside the instrument
panel of a metal enclosure.
• The actual installation environments such as panel con-
figurations, connected devices, connected wires, may af-
fect the protection level of this unit when it is integrated
in a panel system. The user may have to review the CE
requirements in regard to the whole system and employ
additional protective measures to ensure the CE conform-
ity.
■HOT SWAPPABLE MODULES
• Replacing the module does not affect other modules on
the same base. Thus, the module can be replaced while
the power is ON. However, replacing multiple modules
at once may greatly change live voltage levels. We highly
recommend to replace them one by one.
■GENERAL PRECAUTIONS
• DO NOT set the switches on the module while the power
is supplied. The switches are used only for maintenance
without the power.
■ENVIRONMENT
• Indoor use.
• When heavy dust or metal particles are present in the
air, install the unit inside proper housing with sufficient
ventilation.
• Do not install the unit where it is subjected to continuous
vibration. Do not subject the unit to physical impact.
• Environmental temperature must be within -10 to +55°C
(14 to 131°F) with relative humidity within 30 to 90% RH
in order to ensure adequate life span and operation.
■WIRING
• Do not install cables close to noise sources (relay drive
cable, high frequency line, etc.).
• Do not bind these cables together with those in which
noises are present. Do not install them in the same duct.
■AND ....
• The unit is designed to function as soon as power is sup-
plied, however, a warm up for 10 minutes is required for
satisfying complete performance described in the data
sheet.
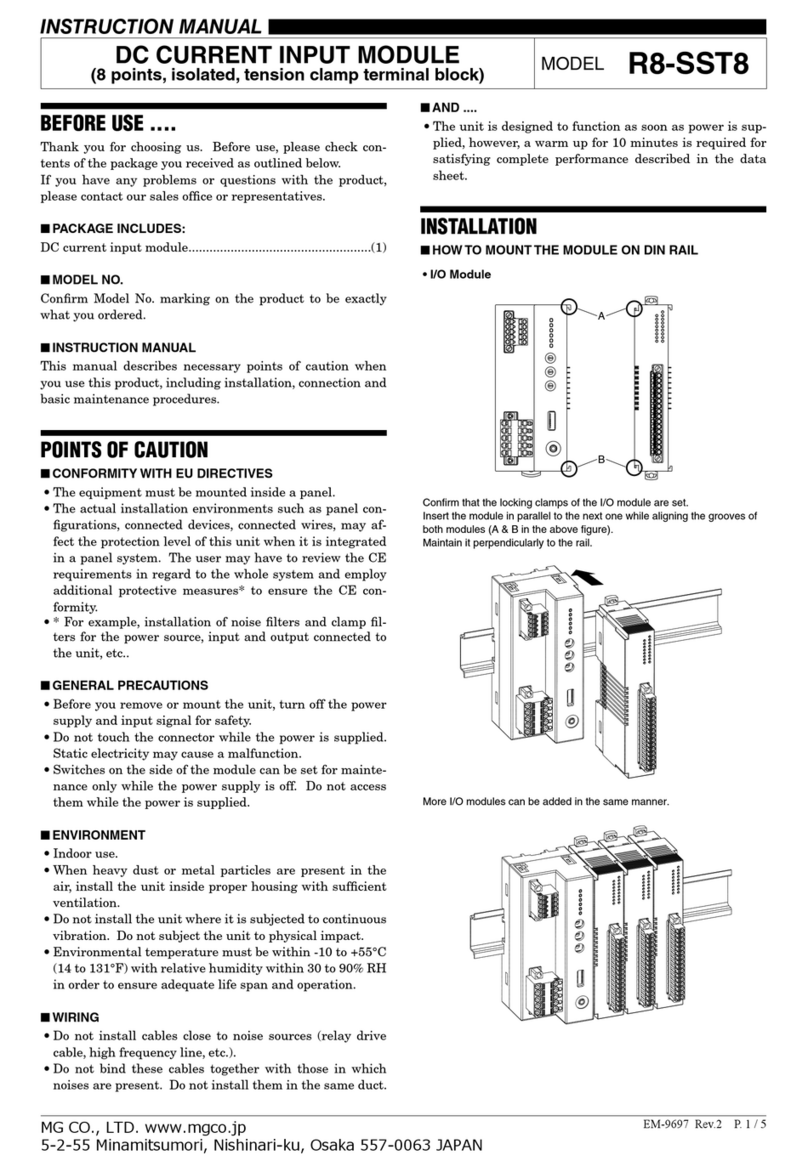
INSTALLATION
Use the Installation Base (model: R3-BSx).
R3-DC64C
EM-8349 Rev.2 P. 2 / 4
MG CO., LTD. www.mgco.jp
5-2-55 Minamitsumori, Nishinari-ku, Osaka 557-0063 JAPAN
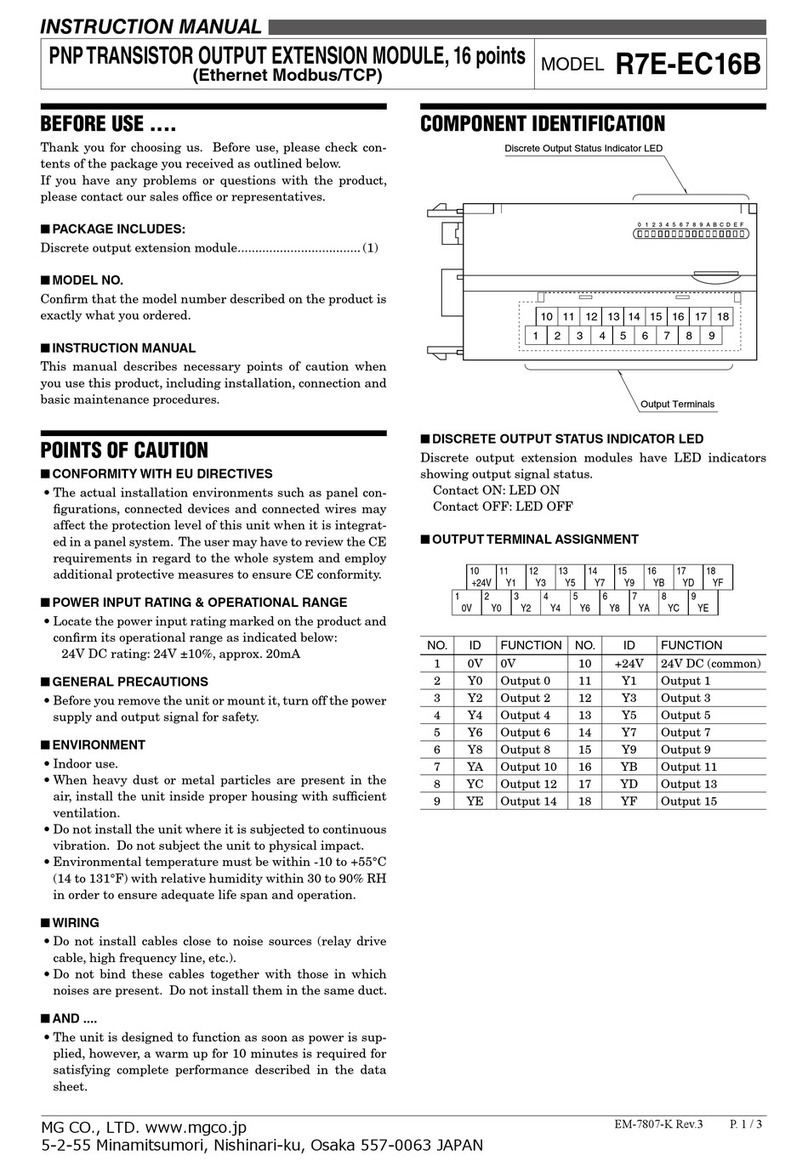
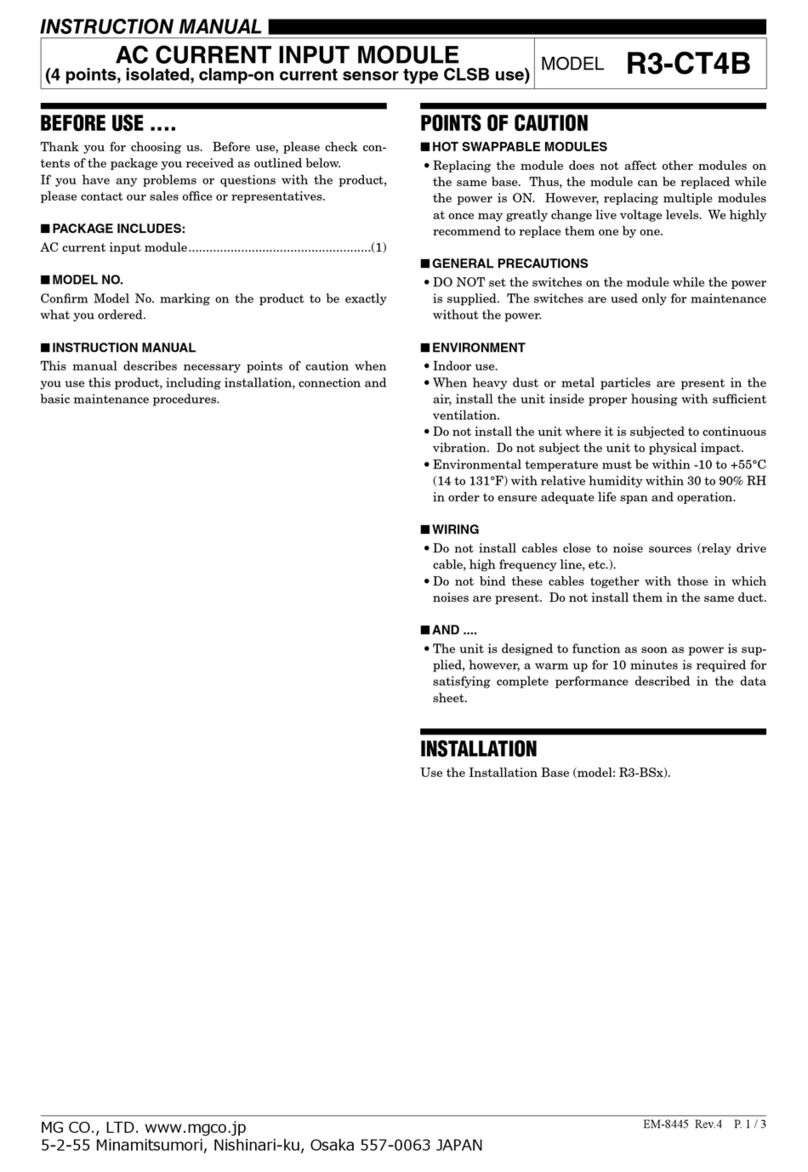
COMPONENT IDENTIFICATION
9
10
11
12
13
14
15
16
1
2
3
4
5
6
7
8
SW3
ON
4
3
2
1
A
1
B
1
A
20
B
20
B
A
CN1CN2
2
1
RUN LED
ERR LED
Output Status Indicator LEDs
■ FRONT VIEW ■ SIDE VIEW
Group Selector*
Output Connector
• Connector Pin
Assignment
Output
Hold
*Status Indicator LEDs show output status by 16-point group specified with Group Selector.
Group Selector position 1 means CN1, while 2 means CN2.
Group Selector position A means Side A pins, while B means Side B pins.
■STATUS INDICATOR LED
RUN indicator: Bi-color (red/green) LED;
Red when the bus A operates normally;
Green when the bus B operates normally;
Amber when both buses operate normally.
ERR indicator: Green LED turns on in normal operating
conditions.
Output status indicator: Red LED; turns on with the
output ON.
■GROUP SELECTOR
Switches the output status indicator.
CN1:
A. 1 – 8: Do 11 – Do 18
9 – 16: Do 21 – Do 28
B. 1 – 8: Do 31 – Do 38
9 – 16: Do 41 – Do 48
CN2:
A. 1 – 8: Do 51 – Do 58
9 – 16: Do 61 – Do 68
B. 1 – 8: Do 71 – Do 78
9 – 16: Do 81 – Do 88
■SIDE DIP SW
• Output Hold: SW3-1
SW OUTPUT HOLD
HOLD (*)OFF
SW3-1 OFF ON
(*) Factory setting
Note: Be sure to set unused SW3-2 through 3-4 to OFF.
TERMINAL CONNECTIONS
Connect the unit as in the diagram below.
■EXTERNAL DIMENSIONS unit: mm (inch)
130 (5.12)
27.5 (1.08) 109 (4.29) POSITIONING
GUIDE
R3-DC64C
EM-8349 Rev.2 P. 3 / 4
MG CO., LTD. www.mgco.jp
5-2-55 Minamitsumori, Nishinari-ku, Osaka 557-0063 JAPAN
■CONNECTION DIAGRAM
BUS CONNECTOR
INTERNAL BUS A
INTERNAL *BUS B
3A
1A
4A
2A
5A
6A
7A
8A
10A
Do 11
Do 12
COM1
24V DC_1
Do 13
Do 14
Do 15
Do 16
Do 17
Do 18
9A
20A
13A
14A
12A
15A
16A
17A
18A
19A
3B
1B
4B
2B
5B
6B
7B
8B
10B
9B
13B
11B
14B
12B
15B
16B
17B
18B
20B
19B
24V DC
L
L
L
L
L
L
L
L
11A
Do 21
Do 22
COM2
24V DC_2
Do 23
Do 24
Do 25
Do 26
Do 27
Do 28
24V DC
L
L
L
L
L
L
L
L
Do 31
Do 32
COM3
24V DC_3
Do 33
Do 34
Do 35
Do 36
Do 37
Do 38
24V DC
L
L
L
L
L
L
L
L
Do 41
Do 42
COM4
24V DC_4
Do 43
Do 44
Do 45
Do 46
Do 47
Do 48
24V DC
L
L
L
L
L
L
L
L
*For dual redundant communication.
3A
1A
4A
2A
5A
6A
7A
8A
10A
Do 51
Do 52
COM5
24V DC_5
Do 53
Do 54
Do 55
Do 56
Do 57
Do 58
9A
20A
13A
14A
12A
15A
16A
17A
18A
19A
3B
1B
4B
2B
5B
6B
7B
8B
10B
9B
13B
11B
14B
12B
15B
16B
17B
18B
20B
19B
24V DC
L
L
L
L
L
L
L
L
11A
Do 61
Do 62
COM6
24V DC_6
Do 63
Do 64
Do 65
Do 66
Do 67
Do 68
24V DC
L
L
L
L
L
L
L
L
Do 71
Do 72
COM7
24V DC_7
Do 73
Do 74
Do 75
Do 76
Do 77
Do 78
24V DC
L
L
L
L
L
L
L
L
Do 81
Do 82
COM8
24V DC_8
Do 83
Do 84
Do 85
Do 86
Do 87
Do 88
24V DC
L
L
L
L
L
L
L
L
INTERNAL POWER
R3-DC64C
EM-8349 Rev.2 P. 4 / 4
MG CO., LTD. www.mgco.jp
5-2-55 Minamitsumori, Nishinari-ku, Osaka 557-0063 JAPAN
OUTPUT CONNECTOR (40 pins)
■CN1
PIN NO. ASSIGNMENT PIN NO. ASSIGNMENT
1A Do 11 1B Do 31
2A Do 12 2B Do 32
3A Do 13 3B Do 33
4A Do 14 4B Do 34
5A Do 15 5B Do 35
6A Do 16 6B Do 36
7A Do 17 7B Do 37
8A Do 18 8B Do 38
9A COM1 9B COM3
10A 24V DC_1 10B 24V DC_3
11A Do 21 11B Do 41
12A Do 22 12B Do 42
13A Do 23 13B Do 43
14A Do 24 14B Do 44
15A Do 25 15B Do 45
16A Do 26 16B Do 46
17A Do 27 17B Do 47
18A Do 28 18B Do 48
19A COM2 19B COM4
20A 24V DC_2 20B 24V DC_4
■CN2
PIN NO. ASSIGNMENT PIN NO. ASSIGNMENT
1A Do 51 1B Do 71
2A Do 52 2B Do 72
3A Do 53 3B Do 73
4A Do 54 4B Do 74
5A Do 55 5B Do 75
6A Do 56 6B Do 76
7A Do 57 7B Do 77
8A Do 58 8B Do 78
9A COM5 9B COM7
10A 24V DC_5 10B 24V DC_7
11A Do 61 11B Do 81
12A Do 62 12B Do 82
13A Do 63 13B Do 83
14A Do 64 14B Do 84
15A Do 65 15B Do 85
16A Do 66 16B Do 86
17A Do 67 17B Do 87
18A Do 68 18B Do 88
19A COM6 19B COM8
20A 24V DC_6 20B 24V DC_8
FUNCTIONS
■OUTPUT HOLD or OUTPUT OFF
In normal conditions, the module outputs the signal from
the preferred bus A.
When an error is detected, the output is switched to the
data from the bus B.
• Output Hold
If both are in error, the module holds the signal and
stands by until one of the communications recovers.
• Output OFF
If both are in error, the module outputs OFF signals and
stands by until one of the communications recovers.
At the startup, it outputs OFF until the communication is
established and normal data is received.

Other MG Control Unit manuals

MG R8-SST8 User manual

MG

MG R8-SST8 User manual

MG R3-DC32C User manual

MG

MG R3-DC32C User manual

MG R80YVT4N User manual

MG

MG R80YVT4N User manual

MG 18KYC User manual

MG

MG 18KYC User manual

MG R3-YS4 User manual

MG

MG R3-YS4 User manual

MG R3Y-SS8N User manual

MG

MG R3Y-SS8N User manual

MG R3-CT4B User manual

MG

MG R3-CT4B User manual

MG R7E-EC16B User manual

MG

MG R7E-EC16B User manual

MG R3-NCIE1 User manual

MG

MG R3-NCIE1 User manual

MG R7K4FML3-6-DAC32A User manual

MG

MG R7K4FML3-6-DAC32A User manual

MG R6S-SV2 User manual

MG

MG R6S-SV2 User manual

MG 10BW User manual

MG

MG 10BW User manual

MG JFK User manual

MG

MG JFK User manual

MG R6S-SS2 User manual

MG

MG R6S-SS2 User manual

MG M8YCH User manual

MG

MG M8YCH User manual

MG R5-TS1A User manual

MG

MG R5-TS1A User manual

MG R7LWTU User manual

MG

MG R7LWTU User manual

MG R30US4 User manual

MG

MG R30US4 User manual

MG R7L-EC16B User manual

MG

MG R7L-EC16B User manual

MG R8-SV4N User manual

MG

MG R8-SV4N User manual

MG R7L-YS2 User manual

MG

MG R7L-YS2 User manual

MG R7F4HC-DAC32C-K User manual

MG

MG R7F4HC-DAC32C-K User manual

MG R7L-EA16 User manual

MG

MG R7L-EA16 User manual

MG R7L-EC16A User manual

MG

MG R7L-EC16A User manual

Popular Control Unit manuals by other brands

Edwards SIGA-IM2 Installation sheet

Edwards

Edwards SIGA-IM2 Installation sheet

Stanley 70501 Instruction and service manual

Stanley

Stanley 70501 Instruction and service manual

Sakura Seiki Tissue-Tek TEC 6 operating manual

Sakura Seiki

Sakura Seiki Tissue-Tek TEC 6 operating manual

Innomaker HIFI DAC HAT user manual

Innomaker

Innomaker HIFI DAC HAT user manual

TimeTec Security TimeTec BLE-2 installation guide

TimeTec Security

TimeTec Security TimeTec BLE-2 installation guide

Ag Leader Technology Raven Accu-Flow ISO Kit Installation

Ag Leader Technology

Ag Leader Technology Raven Accu-Flow ISO Kit Installation

Pentair Siata V132 SFE Installer manual

Pentair

Pentair Siata V132 SFE Installer manual

Honeywell BA295STN-11/2C Installation instruction

Honeywell

Honeywell BA295STN-11/2C Installation instruction

Estyma Vide user manual

Estyma

Estyma Vide user manual

Kaelus ACU0001F1V1 user guide

Kaelus

Kaelus ACU0001F1V1 user guide

Watts LFM113-40 Installation, operation and maintenance

Watts

Watts LFM113-40 Installation, operation and maintenance

Intratone 03-0102 manual

Intratone

Intratone 03-0102 manual

Honeywell 7800 SERIES installation instructions

Honeywell

Honeywell 7800 SERIES installation instructions

Avnet UltraZed-EG Hardware user's guide

Avnet

Avnet UltraZed-EG Hardware user's guide

NI 9477 Getting started guide

NI

NI 9477 Getting started guide

Raytheon ST7000+ Service manual

Raytheon

Raytheon ST7000+ Service manual

Cameron NAVCO S30 Installation, operation and maintenance manual

Cameron

Cameron NAVCO S30 Installation, operation and maintenance manual

Dynojet PCV F/I installation instructions

Dynojet

Dynojet PCV F/I installation instructions

manuals.online logo
manuals.online logoBrands
  • About & Mission
  • Contact us
  • Privacy Policy
  • Terms and Conditions

Copyright 2025 Manuals.Online. All Rights Reserved.