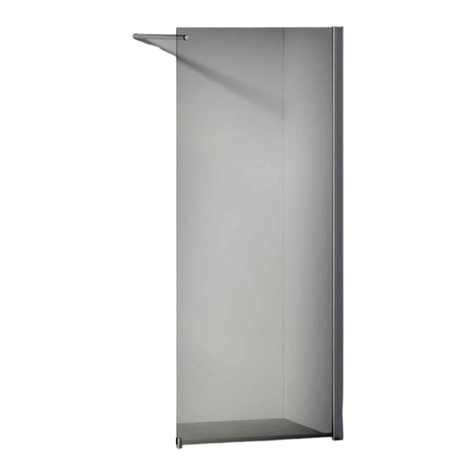
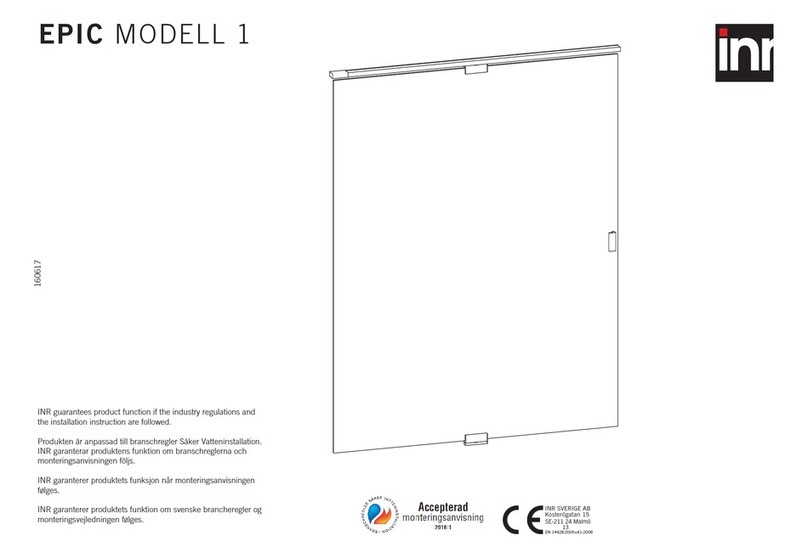
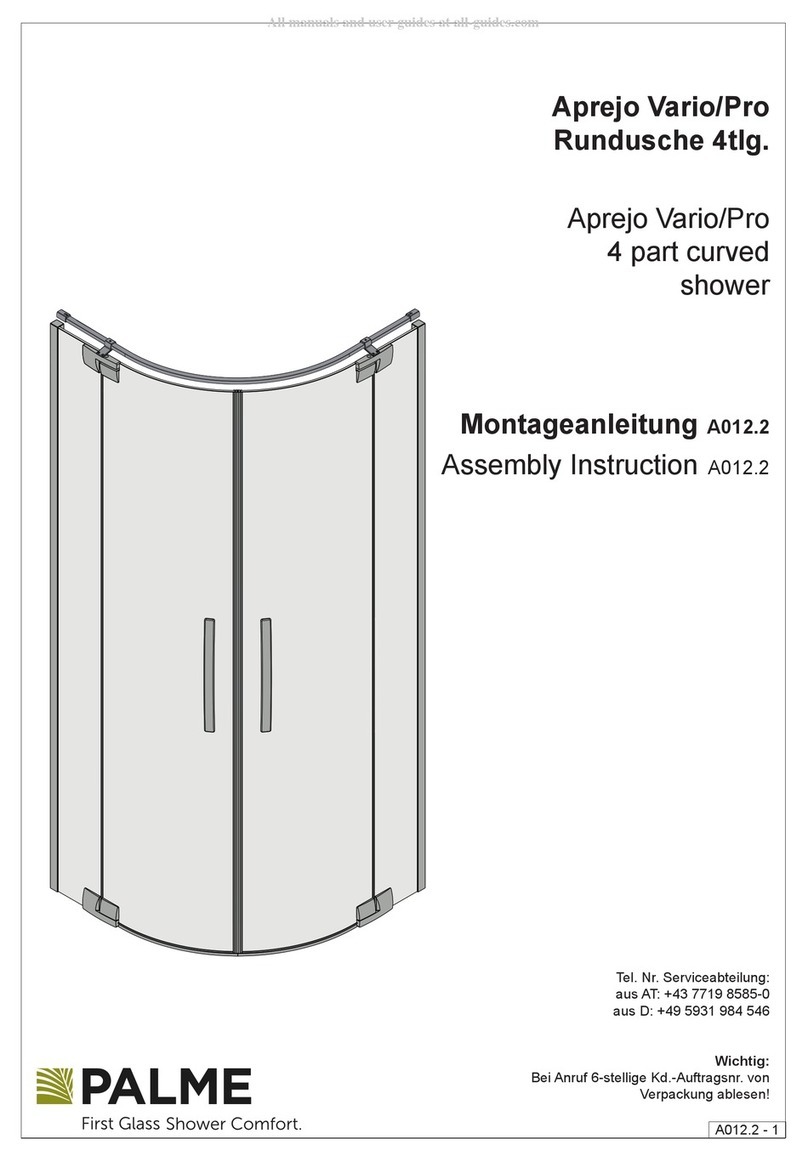
INR BASIC 30802399 User manual

INR SVERIGE AB
Kosterögatan 15
SE-211 24 Malmö
13
EN 14428:2005+A1:2008
171030
Art.nr 30802399, 30902399, 31002380, 31102380, 31102390
BASIC

2 (22)
SE INNEHÅLLSFÖRTECKNING
Säkerhetsföreskrifter ..................3
Stimson..............................4
Komponenter.....................5
Montering........................6
Dawson..............................8
Komponenter.....................9
Montering........................10
Ramona. . . . . . . . . . . . . . . . . . . . . . . . . . . . . .12
Komponenter.....................13
Montering........................14
Isabel................................16
Komponenter.....................17
Montering........................18
Garanti, skötselråd, återvinning .........20
Kontakt ..............................22
DK INDHOLDSFORTEGNELSE
Sikkerhed ............................3
Stimson..............................4
Indeholdende dele ................5
Montering........................6
Dawson..............................8
Indeholdende dele ................9
Montering........................10
Ramona. . . . . . . . . . . . . . . . . . . . . . . . . . . . . .12
Indeholdende dele ................13
Montering........................14
Isabel................................16
Indeholdende dele ................17
Montering........................18
Garanti, plejeinstruktioner, anvisning ....21
Kontakt ..............................22
FI SISÄLLYSLUETTELO
Turvallisuusmääräykset ................3
Stimson..............................4
Sisältyvät osat.....................5
Asennus .........................6
Dawson..............................8
Sisältyvät osat.....................9
Asennus .........................10
Ramona. . . . . . . . . . . . . . . . . . . . . . . . . . . . . .12
Sisältyvät osat.....................13
Asennus .........................14
Isabel................................16
Sisältyvät osat.....................17
Asennus .........................18
Takuu, hoito-ohjeet, kierrätys ...........21
Yhteystiedot..........................22
EN TABLE OF CONTENTS
Safety regulations .....................3
Stimson..............................4
Components .....................5
Installation .......................6
Dawson..............................8
Components .....................9
Installation .......................10
Ramona. . . . . . . . . . . . . . . . . . . . . . . . . . . . . .12
Components .....................13
Installation .......................14
Isabel................................16
Components .....................17
Installation .......................18
Warranty, care advice, recycling.........20
Contact ..............................22
NO INNHOLDSFORTEGNELSE
Sikkerhetsforskrifter ...................3
Stimson..............................4
Komponenter.....................5
Montering........................6
Dawson..............................8
Komponenter.....................9
Montering........................10
Ramona. . . . . . . . . . . . . . . . . . . . . . . . . . . . . .12
Komponenter.....................13
Montering........................14
Isabel................................16
Komponenter.....................17
Montering........................18
Garanti, vedlikeholdsråd, gjenvinning ...21
Kontakt ..............................22

3 (22)
SKYDDSFÖRESKRIFTER | SAFETY REGULATIONS | SIKKERHEDSFORSKRIFTER
SIKKERHETSFORSKRIFTER | TURVALLISUUSMÄÄRÄYKSET
DK
– Stil aldrig ubeskyttede
glaskanter mod et hårdt
underlag.
– Efter limning/tætning må
silikonen ikke udsættes for
vand i 24 timer.
– Duschen er at betragte
som duschtæt, ikke vandtæt.
At udsætte kritiske punkter
for vand under højt tryk kan
derfor medføre en vis lækage.
– På grund af kontinuerlig
produkt-udvikling kan visse
detaljer adskille sig fra
monteringsanvisningen.
FI
– Älä koskaan aseta
suojaamatonta lasia kovalle
pinnalle.
– Lasinliimaamisen tai
silikoinnin jälkeen ei sauma
saa joutua vedelle alttiiksi 24
tuntiin.
– Tämä tuote on ns.
suihkutiivis rakenne, ei
vesitiivis. Saumat ja tiivisteet
jne. eivät ole paineistetun
veden pitäviä.
– Jatkuvan tuotekehityksen
takia voivat jotkut
yksityiskohdat poiketa
asennusohjeen tiedoista.
EN
– Never install unprotected
glass edges against a hard
foundation.
– After application/sealing
the silicone should not be
exposed to water for 24
hours.
– The shower should be
thought of as shower-tight,
not watertight. To expose
critical points to water under
high pressure can result in
some leakage.
– Because of continual product
development certain details
may differ in the installation
instructions.
SV
– Ställ aldrig oskyddade
glaskanter mot ett hårt
underlag.
– Efter limning/tätning ska
silikonet ej utsättas för vatten
inom 24 tim.
– Duschen är att betrakta som
duschtät, inte vattentät. Att
utsätta kritiska punkter med
vatten under högt tryck kan
därför medföra visst läckage.
– På grund av kontinuerlig
produktutveckling kan
vissa detaljer skilja sig från
monteringsanvisningen.
NO
– Still aldri ubeskyttede
glasskanter mot et hardt
underlag.
– Etter liming/tetting må
silikonet ikke utsettes for vann
de første 24 timene.
– Dusjen er å betrakte som
dusjtett, ikke vanntett. Å
utsette kritiske punkter for
vann under høyt trykk kan
derfor føre til noe lekkasje.
– På grunn av kontinuerlig
produkt-utvikling kan
visse detaljer skille seg fra
monteringsanvisningen.
NL
– Plaats nooit onbeschermde
glaskanten op een harde
ondergrond.
– Na lijmen/afdichten mag
de silicone(kit) binnen 24 uur
niet worden blootgesteld aan
water.
– De douchedeur moet
beschouwd worden als
douchedicht, niet als
waterdicht. Kritieke punten
waar water aan hoge druk
blootgesteld wordt, kan
leiden tot lekkage.
– Door de voortdurende
product-ontwikkeling
kunnen bepaalde details van
de montagevoorschriften
afwijken.

4 (22)
STIMSON
Art.nr 30802399

5 (22)
KOMPONENTER | COMPONENTS | OSAT
x 1 x 2
x 6 x 4
x 4 x 4
Ø3
x 1
x 2
x 1 x 2
2,5 mm
x 1
x 2
STIMSON

6 (22)
MONTERING | INSTALLATION | ASENNUS
1
3
2
4
Silicone
x6
x6
Våtzon 1
Våtzon 1
Skruvinfästningar i våtzon 1 ska göras i betong eller annan massiv
konstruktion, träreglar, träkortlingar eller i konstruktion som är
provad och godkänd för infästning, till exempel skivkonstruktion.
Se exempel på godkända konstruktioner på säkervatten.se.
Alla infästningar i våtzon 1 och 2 ska tätas. Material för tätning ska
fästa mot underlaget och vara vattenbeständigt, mögelresistent
och åldersbeständigt.
Screw fastenings should be made in concrete or other solid
structure, wooden studs, wooden noggings or in structures that
have been tested and approved for fastenings, for example a
sheet construction. Requirements for sealing apply in wet zones 1
and 2. See examples of construction at säkervatten.se.
Sealing materials must be xed to the underlying layer and must
be waterproof, mould-resistant and age-resistant.
Hål på insidan
Holes on the inside
8
5
0
8
5
0
x6
STIMSON

7 (22)
56
Ø3 x 4
SV Vid behov, silikonera mellan vägg och
profil.
EN Where necessary add silicone between
the wall and the outline.
DK Silikone anvendes efter behov mellem
væg og profil.
NO Ved behov, tett med silikon mellom
vegg og profil.
FI Tiivistä tarvittaessa silikonilla pysty pro-
fiilin ja seinän sauma.
NL Zo nodig silicone(kit) tussen de muur en
het profiel aanbrengen.
87
SV Spänn skruvarna (i stängt läge) för att
aktivera lyftfunktionen.
EN Tighten screws (in closed pos.) to acti-
vate the lifting function.
DK Spænd skruerne (i lukked pos.) for at
aktivere løftefunktionen.
NO Stramme skruene (i lukket pos.) for
aktivering av løftefunksjon.
FI Kiristä ruuvit (ovet suljettuna) aktivoidak-
sesi nostomekanismin.
NL Draai de schroeven vast (in gesloten
positie) om de tilfunctie te activeren.
STIMSON

8 (22)
DAWSON
Art.nr 30902399

9 (22)
KOMPONENTER | COMPONENTS | OSAT
x 1 x 1 x 1x 2
x 6 x 4
x 4 x 4 x 2
Ø3
x 1
x 2x 1
2,5 mm
x 1
DAWSON

10 (22)
MONTERING | INSTALLATION | ASENNUS
1
3
2
4
Silicone
Våtzon 1
Våtzon 1
Skruvinfästningar i våtzon 1 ska göras i betong eller annan massiv
konstruktion, träreglar, träkortlingar eller i konstruktion som är
provad och godkänd för infästning, till exempel skivkonstruktion.
Se exempel på godkända konstruktioner på säkervatten.se.
Alla infästningar i våtzon 1 och 2 ska tätas. Material för tätning ska
fästa mot underlaget och vara vattenbeständigt, mögelresistent
och åldersbeständigt.
Screw fastenings should be made in concrete or other solid
structure, wooden studs, wooden noggings or in structures that
have been tested and approved for fastenings, for example a
sheet construction. Requirements for sealing apply in wet zones 1
and 2. See examples of construction at säkervatten.se.
Sealing materials must be xed to the underlying layer and must
be waterproof, mould-resistant and age-resistant.
Hål på insidan
Holes on the inside
900
900
x6
x6
x6
x2
DAWSON

11 (22)
56
87
Ø3
x4
SV Vid behov, silikonera mellan vägg och
profil.
EN Where necessary add silicone between
the wall and the outline.
DK Silikone anvendes efter behov mellem
væg og profil.
NO Ved behov, tett med silikon mellom
vegg og profil.
FI Tiivistä tarvittaessa silikonilla pysty pro-
fiilin ja seinän sauma.
NL Zo nodig silicone(kit) tussen de muur en
het profiel aanbrengen.
SV Spänn skruvarna (i stängt läge) för att
aktivera lyftfunktionen.
EN Tighten screws (in closed pos.) to acti-
vate the lifting function.
DK Spænd skruerne (i lukked pos.) for at
aktivere løftefunktionen.
NO Stramme skruene (i lukket pos.) for
aktivering av løftefunksjon.
FI Kiristä ruuvit (ovet suljettuna) aktivoidak-
sesi nostomekanismin.
NL Draai de schroeven vast (in gesloten
positie) om de tilfunctie te activeren.
x6
DAWSON

12 (22)
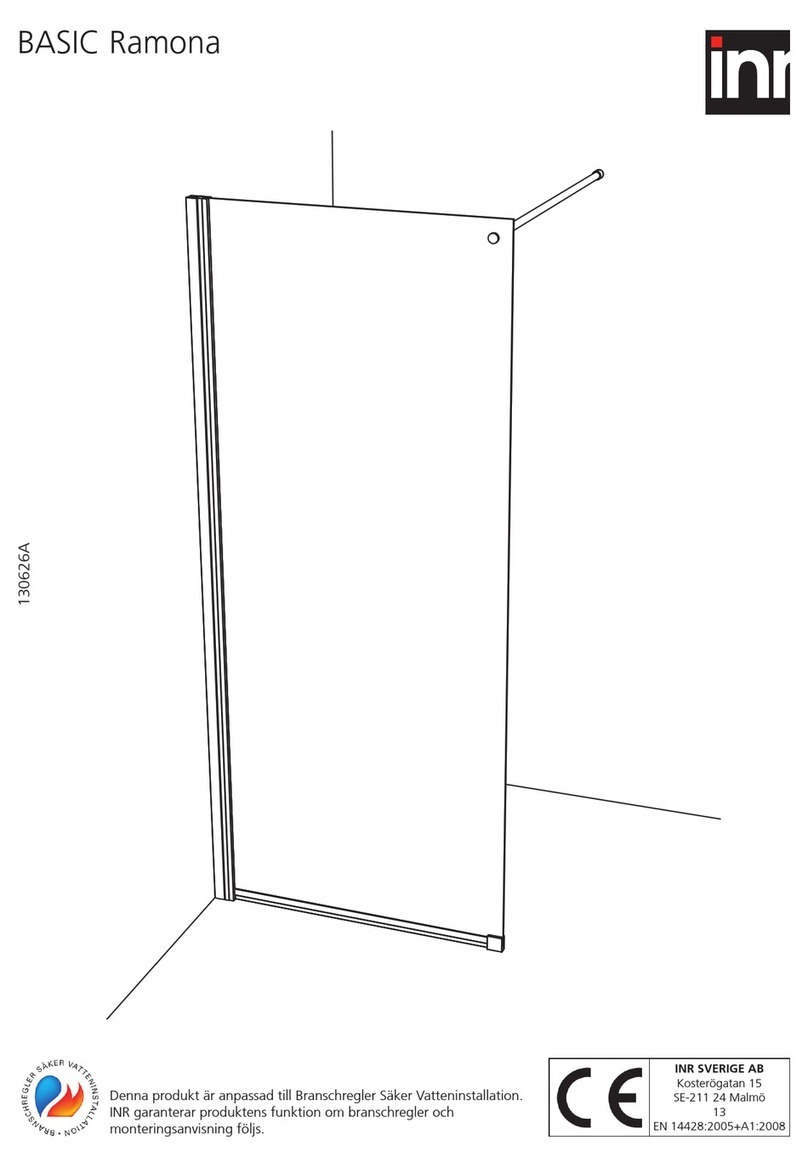
RAMONA
Art.nr 31102380, 31102390

13 (22)
KOMPONENTER | COMPONENTS | OSAT
Ø 3mm
(x1)
4mm
(x1)
2.5mm
(x1)
A
(x1)
B
(x1)
C
(x1)
D
(x4)
E
(x4)
E
(x4)
F
(x2)
G
(x2)
H
(x2)
J
(x2)
K
(x1)
J
(x2)
M
(x2)
M
(x2)
N
(x1)
O
(x2)
O
(x2)
P
(x4)
P
(x4)
Q
(x1)
R
(x1)
S
(x1)
T
(x2)
I
(x1)
RAMONA

14 (22)
MONTERING | INSTALLATION | ASENNUS
Våtzon 1
Våtzon 1
Skruvinfästningar i våtzon 1 ska göras i betong eller annan massiv konstruktion,
träreglar, träkortlingar eller i konstruktion som är provad och godkänd för
infästning, till exempel skivkonstruktion. Se exempel på godkända konstruktioner
på säkervatten.se. Alla infästningar i våtzon 1 och 2 ska tätas. Material för
tätning ska fästa mot underlaget och vara vattenbeständigt, mögelresistent och
åldersbeständigt.
Screw fastenings should be made in concrete or other solid structure, wooden
studs, wooden noggings or in structures that have been tested and approved
for fastenings, for example a sheet construction. Requirements for sealing apply
in wet zones 1 and 2. See examples of construction at säkervatten.se. Sealing
materials must be xed to the underlying layer and must be waterproof, mould-
resistant and age-resistant.
1
3
2
Silicone
MAX 1000 mm
SV Justera skärm in i väggprofil genom att
lossa klämbeslaget.
EN Adjust the screen in the wall profile by
loosening the clamp fixture.
DK Juster skærm ind i vægprofilen ved at
løsne klemmebeslaget.
NO Justere skjermen inn i veggprofil ved å
løsne klembeslaget.
FI Säädä lasi löysäämällä puristuskiinnikettä.
NL Breng het scherm in het muurprofiel aan
door het klembeslag los te maken.
4
SV Applicera lim (t.ex. Simson ISR70-03, Bostik, Maxibond,
Sikaflex-291) mellan golv och klämbeslag.
EN Spread glue (e.g. Simson ISR70-03, Bostik, Maxibond,
Sikaflex-291) between the floor and the clamp fixture.
DK Påfør lim (f.eks. Simson ISR70-03, Bostik, Maxibond,
Sikaflex-291) mellem gulv og klemmebeslag.
NO Før på lim (f.eks. Simson ISR70-03, Bostik, Maxibond,
Sikaflex-291), mellom gulv og klembeslag.
FI Käytä liimaa (esim. Simpson ISR70-03, Bostik, Maxibond,
Sikaflex-291) lasikiinnikkeen liimaamiseen lattiaan.
NL Breng tussen de vloer en het klembeslag lijm aan (bijv.
Simson ISR70-03, Bostik, Maxibond, Sikaflex -291).
x3
RAMONA

15 (22)
56
Ø 3mm
7
-25mm
8 9
10 11 12
SV Vid behov, silikonera mellan vägg och
profil.
EN Where necessary add silicone between
the wall and the outline.
DK Silikone anvendes efter behov mellem
væg og profil.
NO Ved behov, tett med silikon mellom vegg
og profil.
FI Tiivistä tarvittaessa silikonilla pysty profiilin
ja seinän sauma.
NL Zo nodig silicone(kit) tussen de muur en
het profiel aanbrengen.
RAMONA

16 (22)
ISABEL
Art.nr 31002380

17 (22)
KOMPONENTER | COMPONENTS | OSAT
Ø 3mm
(x1)
2.5mm
(x1)
E
(x2)
F
(x2)
G
(x2)
H
(x2)
A
(x1)
B
(x1)
C
(x1)
ISABEL

18 (22)
MONTERING | INSTALLATION | ASENNUS
Våtzon 1
Våtzon 1
Skruvinfästningar i våtzon 1 ska göras i betong eller annan massiv
konstruktion, träreglar, träkortlingar eller i konstruktion som är
provad och godkänd för infästning, till exempel skivkonstruktion.
Se exempel på godkända konstruktioner på säkervatten.se.
Alla infästningar i våtzon 1 och 2 ska tätas. Material för tätning ska
fästa mot underlaget och vara vattenbeständigt, mögelresistent
och åldersbeständigt.
Screw fastenings should be made in concrete or other solid
structure, wooden studs, wooden noggings or in structures that
have been tested and approved for fastenings, for example a
sheet construction. Requirements for sealing apply in wet zones 1
and 2. See examples of construction at säkervatten.se.
Sealing materials must be xed to the underlying layer and must
be waterproof, mould-resistant and age-resistant.
2
1
Silicone
3
x3
ISABEL

19 (22)
4
5
6
SV Vid behov, silikonera mellan vägg
och profil.
EN Where necessary add silicone
between the wall and the outline.
DK Silikone anvendes efter behov
mellem væg og profil.
NO Ved behov, tett med silikon mel-
lom vegg og profil.
FI Tiivistä tarvittaessa silikonilla pysty
profiilin ja seinän sauma.
NL Zonodig silicone(kit) tussen de
muur en het profiel aanbrengen.
SV Spänn skruvarna (i stängt läge) för att
aktivera lyftfunktionen.
EN Tighten screws (in closed pos.) to
activate the lifting function.
DK Spænd skruerne (i lukked pos.) for at
aktivere løftefunktionen.
NO Stramme skruene (i lukket pos.) for
aktivering av løftefunksjon.
FI Kiristä ruuvit (ovet suljettuna)
aktivoidaksesi nostomekanismin.
NL Draai de schroeven vast (in gesloten
positie) om de tilfunctie te activeren.
ISABEL

20 (22)
GARANTI
På alla duschväggar i BASIC-serien lämnar vi 5 års garanti mot alla eventuella fabrikationsfel.
Tätningslister och magnetlister omfattas ej av garantin utan ses som förbrukningsvaror. Vi
rekommenderar att lister byts ut årligen för bibehållen fräschör vid normalt bruk.
SKÖTSELRÅD
Gångjärnens rörliga detaljer ska smörjas med vattenfast fett en gång om året. Rengör dagligen
duschen med vatten och gummiskrapa. Mot ingrodd smuts rekommenderas för ändamålet avsedda
rengöringsmedel som kan köpas i dagligvaruhandeln. Tänk på att svampar och rengöringspasta med
slipmedel kan repa såväl glas som metall.
ÅTERVINNING
1. Använd skyddsglasögon och handskar.
2. Separera eventuella tätningslister från glaset.
3. Lägg ut någon form av skydd under glaset.
4. Knacka på hörnet med en hammare så att det går
sönder.
• Glas lämnas till glasåtervinning.
• Beslagen lämnas till metallåtervinning.
• Plastlister och andra plastdetaljer lämnas
till plaståtervinning.
WARRANTY
On all shower enclosures in the BASIC series, we leave a 5-year warranty against any manufacturing
defects. Sealing strips and magnetic strips are not covered by the warranty but are considered
consumables. We recommend that the strips are replaced annually to remain fresh.
CARE ADVICE
The hinges should be treated with waterproof lubricant once a year. Clean daily with water and
a squeegee. To combat ingrained dirt, you are recommended to use a detergent intended for the
purpose. Remember that sponges and abrasive paste cleaners can scratch both the glass as well as
metal.
RECYCLING
1. Wear protective goggles and gloves.
2. Separate the sealing strip from the glass.
3. Place some form of protection under the glass.
4. Strike one corner with a hammer to break the glass.
• Take glass to the glass recycling facility
• Take aluminium and screws to the metal
recycling facility.
• Take plastic strips and components to
the plastic recycling facility.
SV
EN
This manual suits for next models
4
Other INR Bathroom Fixture manuals
Popular Bathroom Fixture manuals by other brands
Brizo
Brizo Sotria 88750 Series quick start guide
Hans Grohe
Hans Grohe 27438 1 Series installation instructions

American Standard
American Standard Passage A8011T-RHO installation instructions
Signature Hardware
Signature Hardware HIBISCUS 949740 quick start guide

DURAVIT
DURAVIT DuraSquare 0031024600 Mounting instructions
Graff
Graff Ametis G-8750 Series installation instructions
