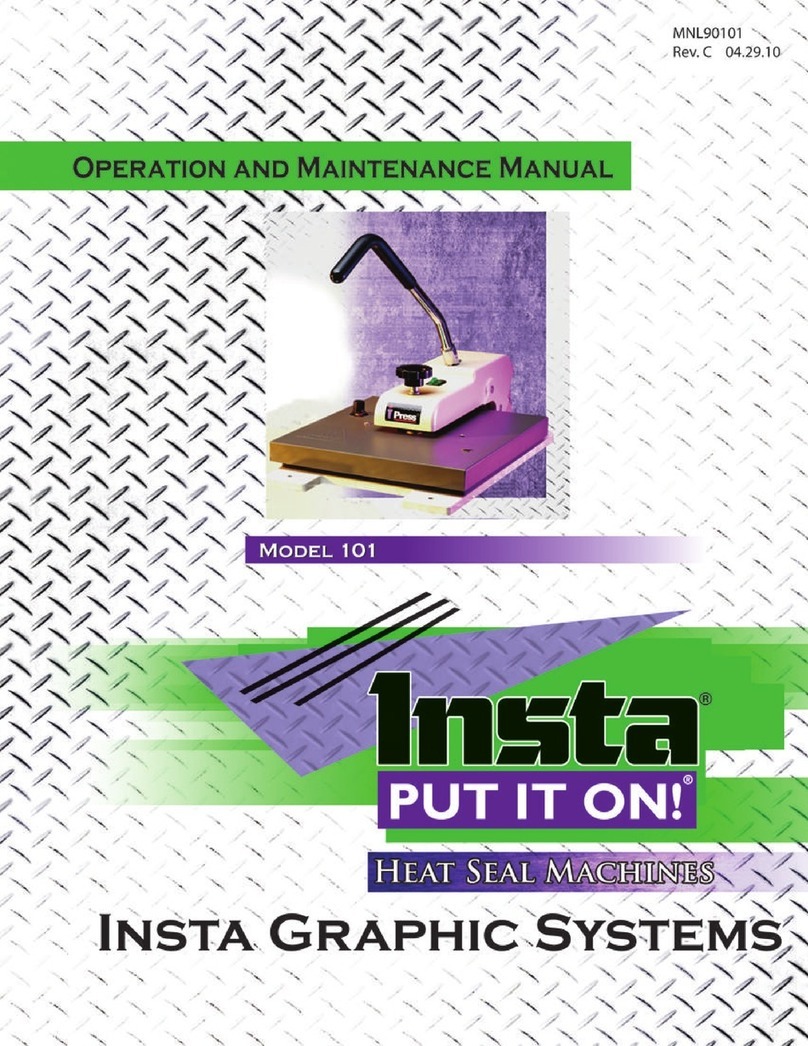
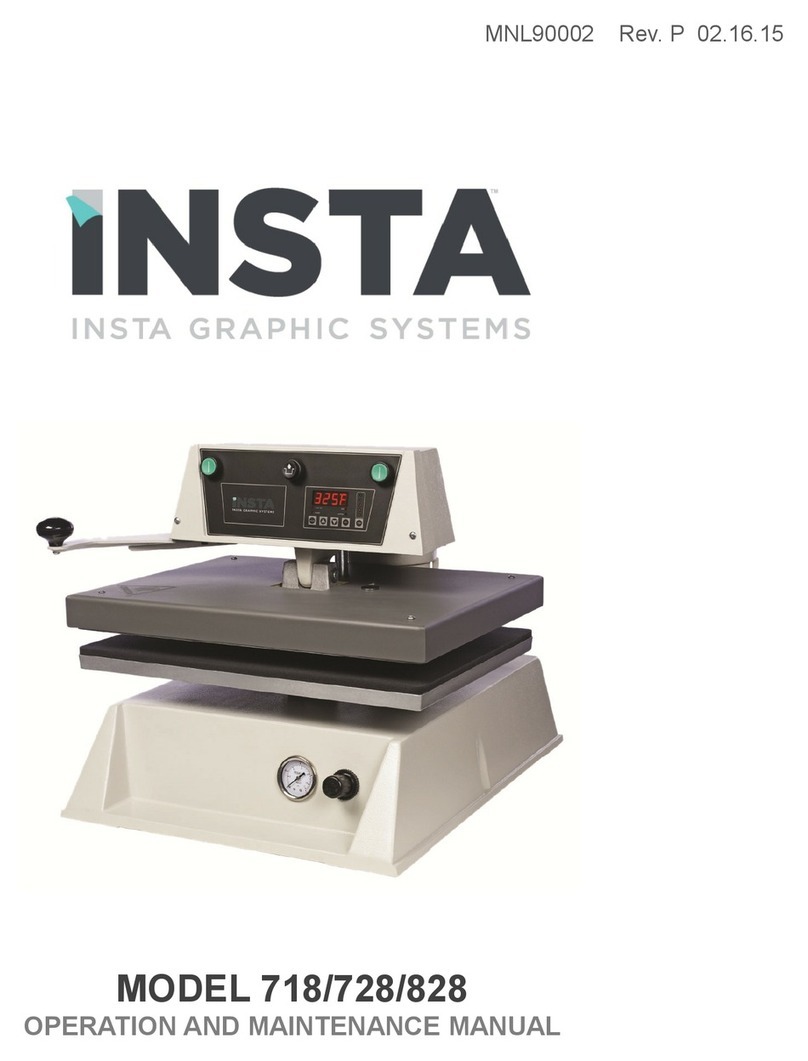
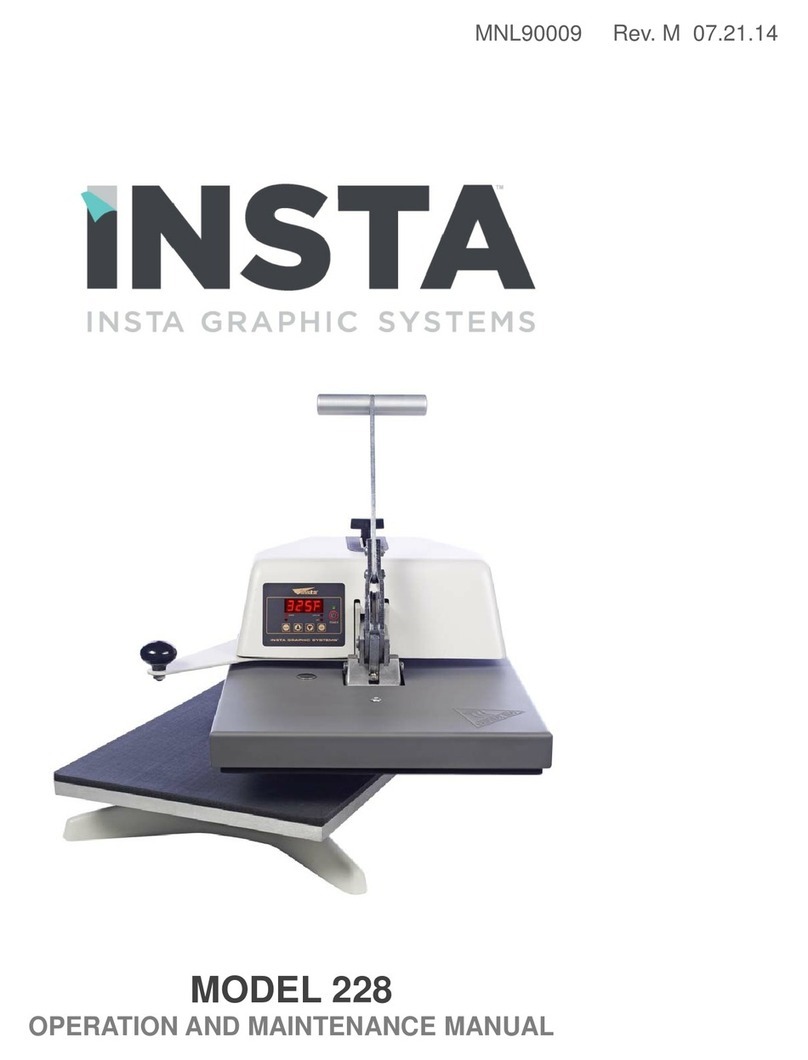
Insta 909 User manual

MMOODDEELL990099
MNL90010
06/06/05 Rev. B
Operation and Maintenance Manual


THIS MACHINE IS DESIGNED TO BE OPERATED BY ONE OPERATOR ONLY
-
-
3
Congratulations!
Your selection of the Insta Graphic Systems® heat seal
machine is a sound business decision. Insta
Graphic Systems® equipment is the result of the highest
quality engineering and time-tested design. Your
new machine combined with Insta's reputation of
innovation in the heat sealing field, insures the
continuing capability of delivering the best
decorated garments possible.
This manual describes installation, operation, and
maintenance procedures for your new 900 series
machine, as well as easy to use instructions for on
the spot maintenance.
Your 900 series machine will have a long trouble
free life. Read this manual. Keep it with your
machine, it's your key to proper operation and
lasting service.
Installation
DOMESTIC - 900 SERIES
Use a separate 15 amp AC circuit.
Only industrial extension cords with
proper wire size should be used: size
16/3 wire for distances up to 25 feet,
and size 14/3 for distances up to 50
feet.
INTERNATIONAL - 900 SERIES
Use a designated 16 amp AC cir-
cuit. Only industrial extension
cords with proper wire size (2.5 sq.
mm) shall be used.
Limited Machine Warranty
Insta Graphic Systems (IGS) warrants this heat
seal machine, when operated under normal con-
ditions, to be free from manufacturing defects in
material and workmanship for a period of one
year on parts (lifetime on the heating element)
and 90 days on labor.
This warranty will be effective only when IGS
authorizes the original purchaser to return the
product to the factory in Cerritos, California,
freight prepaid, and only when the product upon
examination has proven to be defective.
This warranty does not apply to any machine
that has been subjected to misuse, negligence or
accident.
IGS shall not be liable for the injury, loss or dam-
age, direct or consequential, arising out of the use
or the inability to use the product.
No claim of any kind shall be greater in amount
than the sale price of the product or part to
which claim is made.
This is the sole warranty given by the company, it is
in lieu of any other warranties, expressed or implied,
in law or in fact, including the warranties of
merchantability and fitness for a particular use, and
is accepted as such by the purchaser in taking delivery
of this product.
Operation
1. It is recommended that you review the "How to
Apply Instructions" (in our Product
Information Sheet) before beginning heat
sealing operations.
2. Push ON/OFF switch (on the side of the
machine) to ON position.
3. Press the Power button on the controller.
4. Set desired temperature.
5. Allow the machine to warm up until the
selected temperature is reached.
6. Set the desired pressure by adjusting the air
pressure regulator on the back of the machine.
7. Select the desired timing cycle.
8. Place the substrate on lower platen, smoothing
out all wrinkles.
9. Position transfer or lettering on substrate.
10. Depress both start buttons, one on each side of
the machine, simultaneously (Optional foot
pedal may be used). At this point the machine
operation is fully automatic. The upper platen
moves downward, seals the transfer to the
substrate and then releases automatically at the
end of the selected timing cycle.
NOTE
For safety reasons the buttons (or pedal)
must remain depressed until the upper
platen is in contact with the lower
platen.

FOR USE BY QUALIFIED SERVICE PERSONNEL ONLY
-
-
4
CAUTION
Do not place hands between the platens
after activating.
11. The DISENGAGE button may be pushed at
anytime to deactivate the machine.
Operation Timer/Temperature
Control
Solid State Controller
This controller has three (3) control features:
1. Temperature - Temperature may be set from
125-450°F (52-232°C).
2. Time - Time may be set from 1 second to 10
minutes.
3. Counter - Cycle counter counts the number
of applications from 1 to 9999 (see
additional Notes - Counter).
Controller Operation
1. If the temperature is not being displayed,
press the MODE button until temperature is
displayed.
2. Push and hold SET button and
simultaneously push UP (↑) or DOWN (↓)
arrow buttons to the desired temperature
setting.
3. Press the MODE button until time is
displayed.
4. Push and hold SET button and
simultaneously push UP (↑) or DOWN (↓)
arrow buttons to the desired timer setting.
ADDITIONAL NOTES:
Temperature
NOTE
Fahrenheit/Centigrade (Celsius)
Conversion
The temperature controller can be
programmed to display either °F or °C.
To change:
Press the MODE button until the
temperature is displayed, then push and
hold the SET button for 10 seconds.
Timer
•The controller has a count down timer
which automatically disengages (opens)
the machine at the completion of the
application.
•Timer display is minutes:seconds. Range
is 00:00 to 10:00, Colons (:) flash while
timer is running.
NOTE
The DISENGAGE switch (located in
the center of the instrument panel) may
be pushed at any time to deactivate the
machine. The cycle will stop
immediately, and the timer will reset.
Counter
The controller has a built in cycle counter.
•Press MODE button until the counter is
displayed.
•Counter display range is 0000 to 9999.
•To reset the cycle counter, display the counter
reading, then push and hold both UP (↑) and
DOWN (↓) arrow buttons for 3 seconds until
the counter resets to zero (0000) on the
display.

FOR USE BY QUALIFIED SERVICE PERSONNEL ONLY
-
-
5
Preventive Maintenance Suggestions
The Insta Graphic Systems® heat seal machines are
relatively maintenance free. For long trouble-free
life, the following preventive maintenance
instructions should be followed:
1. Do not heat seal items such as buttons,
pins, snaps, or zippers which tend to cut
the silicone rubber pad or scratch the
Teflon heat platen.
2. Periodically clean the Teflon-coated heat
platen with a non-abrasive piece of cloth.
Stubborn stains may be cleaned, when
platen is cool, with mineral spirits.
3. To prevent soiling of garment, periodic
wiping of the entire exterior machine,
including platens, with a clean rag is
recommended. If necessary, use mineral
spirits for cleaning a cold machine. Since
mineral spirits are flammable, use
precautions and keep away from sparks,
flame, or hot heat platen.
General Maintenance
It is recommended that you have the following
items available:
A. Regular screw driver
B. Phillips head screw driver
C. Small adjustable wrench
D. Needle nose pliers with insulated
handle
E. Set of Allen wrenches
With the above items you should be able to
accomplish most repairs.
WARNING
Power cord replacement should be
supplied from the manufacturer only
(because it requires a specially prepared
cord).
Specifications
120 V AC 50/60 Hz 8.4 Amps 1000 Watts
230 V AC 50/60 Hz 4.0 Amps 920 Watts
Weight 62 Pounds (28.1 KG)

FOR USE BY QUALIFIED SERVICE PERSONNEL ONLY
-
-
6
Safety Summary
WARNING
In case of power cord damage, do
not attempt to repair or replace the
power cord. Contact the manufac-
turer or the local distributor.
WARNING
Avoid touching hot surfaces while
operating the machine.
CAUTION
During normal operation, the base
of the machine needs to be installed
or placed above the wall socket.
CAUTION
The recommended input pressure
shall not exceed 100 psi. The oper-
ating pressure is from 30-100psi.
CAUTION
The operation may be terminated by
pressing the DISENGAGE switch.
CAUTION
The machine is to be operated by
one person only.
CAUTION
When moving, servicing, or
cleaning the machine make sure the
power cord is removed from the wall
socket and sufficient time has been
allowed for the machine to cool
down.
International Symbols
O
Power Off
I
Power On
Hot Surface
Risk of Electrical Shock
Protective Earth Terminal
Start Action
Disengage
Ground
Caution - Warning


GREEN/YELLOW
POWER
SWITCH
J1 (AC)
J2 (AC CT)
J3 (AC)
J13 (SOLENOID)
J5 START (LEFT)
J6 START (RIGHT)
J8 DISENGAGE
J7 CYLINDER
(LOCATION - UP)
HEAT PLATEN
RELAY
+
-
J15
J11
(+12)
J4 COMMON
J11 (+12V)
RTD 1
INPUT
BLUE
24 Vac
115 Vac
5
2
6
8
7
11
12
1
J14 (ZONE 2 HEATER)
BLUE
24 Vac
230 Vac
5
2
6
8
7
11
12
1
2
1
3 4
TAN
TAN
WHITE
WHITE
YELLOW
YEL/BLACK
PINK
BROWN
BROWN
BROWN
TAN
TAN
WHITE WHITE BLUE
GRAY
RED
BROWN
BLACK
TRANSFORMER
RTD 2
INPUT
NOC
J9 P&P RUNNING
(CLOSED WHEN RUNNING
OPEN WHEN DONE)
SOLENOID
VALVE
CHASSIS
GROUND
J12 SAFE/START
OK P&P TO RUN
(+12 OK TO START
0 PLATEN IN MOTION)
J10 (SAFETY GUARD INPUT)
NO
C
NO
SAFETY
GUARD
FOOT PEDAL
SOCKET
909 WIRING - REV B 06/06/05
WHITE
(BLUE-EUROPE)
BLACK
(BROWN-EUROPE)
RTD
RED
WHITE
GRAY/BLK
GRAY/BLK
GN/YEL
GN/YEL
GRAY/BLK
WHITE/BRN
PURPLE
1
4
2
5


MODEL MODEL
909 909
NO PART NAME 120V AC 230V AC
01 BASE ASSEMBLY MPB90109 MPB90109
02 BUSHING, GUIDE POST MPSB070 MPSB070
03 NUT, JAM MHJN21 MHJN21
04 NUT, JAM 1/2-20 MHNHJ1220 MHNHJ1220
05 KNOB,LOWER PLATEN MH4210H MH4210H
06 WIRE HARNESS (PICK 'N' PLACE) MPPW909C3 MPPW909C3
07 SCREW, RD HD 4-40 X 0.5" LG MHSR44012 MHSR44012
08 WIRE HARNESS (FOOT SWITCH) MPPW909C2 MPPW909C2
09 CORD, POWER (USA) 120V MPPW141 MPPW142
10 STRAIN RELIEF (CABLE) MPS90014 MPS90014
11 HOSE, AIR ASSEMBLY MPPA005 MPPA005
12 WIRE HARNESS (CONTROLLER) MPPW909C1 MPPW909C1
13 TUBING, BLACK AIR LINE 1/4" MPT90116 MPT90116
14 CYLINDER, AIR 2-1/2" X 6" MPC90015 MPC90015
15 AIR FITTING,90 DEG 1/4X1/4 MHAQ69P4X4 MHAQ69P4X4
16 SUPPORT, LOWER PLATEN MPS90111 MPS90111
17 SCREW, SOCKET HD 1/4-20 0.5 LG MHSSH142012 MHSSH142012
18 PLATEN, LOWER MPP90110 MPP90110
19 PAD, SILICONE 6 X 6 MPPP026 MPPP026
20 SENSOR, TEMP. REPLACEMENT KIT MPPS210 MPPS210
21 SCREW, SET 10-32 X 3/16 MHSST1032316 MHSST1032316
23 PIN, ROLL 3/8 X 1.50 LG MHPR38112 MHPR38112
24 INSULATORS, SPACER (4/SET) MPSI089 MPSI089
25 SLEEVING, PVC SIZE 'O' MPS90113 MPS90113
26 POST, GUIDE ASSEMBLY MPP90102 MPP90102
27 FIBERGLASS INSULATION 400 MPSP249 MPSP249
28 SHROUD, UPPER PLATEN MPS90112 MPS90112
29 SCREW, PAN HD #10 X 1.00" LG MPSS143 MPSS143
30 GUARD ASSEMBLY MPG90103 MPG90103
31 SWITCH, MICRO MPPS044 MPPS044
32 SCREW, ROUND HEAD #4-40 X 5/8 MHSR44058 MHSR44058
33 NUT, HEX 4-40 MHNH440 MHNH440
34 PANEL, TOP COVER MPP90108 MPP90108
35 CONTROLLER, TEMPERATURE MPC90115 MPC90115
36 WASHER, INT. TOOTH LOCK #6 MHWLIT6 MHWLIT6
37 NUT, HEX 6-32 MHNH632 MHNH632
38 SPACER, NYLON 0.166 ID X1/4 LG MH110969111 MH110969111
39 PANEL, FRONT MPP90107 MPP90107
40 SWITCH, DISENGAGE ASS'Y (BLK) MPPS713 MPPS713
41 LABEL,OVERLAY CONTROL PANEL MPL90005 MPL90005
42 PANEL, BOTTOM MPP90104 MPP90104
43 SCREW,BUTTON HD 1/4-20X1/2 MHSB142012 MHSB142012
44 SCREW, PAN HD 8-32 X .375" LG MHSP83238 MHSP83238
45 PANEL, WRAP-AROUND LEFT MPP90105 MPP90105
46 SWITCH, START ASS'Y MPPS703 MPPS703
47 TRANSFORMER MPPT700 MPPT700
48 SWITCH, POWER MPPS060 MPPS060
49 SCREW, PAN HD 8-32 X 1" LG MHSP8321 MHSP8321

MODEL MODEL
909 909
NO PART NAME 120V AC 230V AC
50 WASHER, #8 SAE MHWSAE8 MHWSAE8
51 WASHER, INTERNAL LOCK #8 MHWLIT8 MHWLIT8
52 NUT, HEX 8-32 MHNH832 MHNH832
53 REGULATOR, AIR FILTER ASS'Y MPR90101 MPR90101
54 GROMMET, 5/16-1/2 MH9600K31 MH9600K31
55 SCREW, PAN HD 8-32 X 1/2 LG MHSP83212 MHSP83212
56 RELAY, SOLID STATE MPSR2450 MPSR2450
57 PANEL, WRAP-AROUND RIGHT MPP90106 MPP90106
58 LABEL, MAX INPUT PRESSURE MPPL008 MPPL008
59 SOLENOID, AIR ASSEMBLY MPS90100 MPS90100
60 FITTING, AIR 90° 1/8" X 1/4" MHAQ69P4X2 MHAQ69P4X2
61 MUFFLER MPM90117 MPM90117
62 GAUGE, AIR MPG90118 MPG90118
63 FITTING, AIR INLET (ELBOW) MPF90119 MPF90119
64 FITTING, AIR 90° 1/4 NPT X 1/4 TUBE MPF90120 MPF90120
65 CLAMP, CABLE 9/16 MHCC916 MHCC916
66 CLAMP, CABLE 7/16 MHCC716 MHCC716
67 RETAINER, PUSH 1/4 MPR90121 MPR90121
68 BRACKET, MICROSWITCH MPB90122 MPB90122
69 WASHER #10 MHSAE10 MHSAE10
70 SCREW, PAN HD 10-32 X 1/4 LG MHSP103214 MHSP103214
71 PLATE, MICROSWITCH MPP90123 MPP90123
72 NUT, HEX 5/16 MHNH516 MHNH516
73 SPLIT WASHER 5/16 MHWL516 MHWL516
74 MICRO SWITCH MPS90018 MPS90018
75 MICRO SWITCH INSULATOR MH700214 MH700214
76 SCREW, RD HD #4-40 X 3/4 MHSR44034 MHSR44034
77 NUT, HEX #4-40 MHNH440 MHNH440
78 PICK-N-PLACE MICRO SWITCH BRACKET MPB90127 MPB90127
79 FITTING, AIR 1/4 NPT BRASS MPPF085 MPPF085
A1 PLATEN, HEAT ASSEMBL
Y
MPP9091
A
MPP9092
A
A2 PLATEN, HEAT (WIRING ONLY) MPP9091W MPP9092W
A3 PLATEN, LOWER ASSEMBL
Y
MAP90114 MAP90114

®
Service:(800) 426-3609 • Fax:(562) 861-1519 • (562) 861-2566 • Sales:(800) 421-6971 (562) 404-3000 • Fax:(562) 404-3010
http://www.instagraph.com
13925 E. 166th Street • Cerritos CA USA 90702-7900
Table of contents
Other Insta Food Saver manuals
