manuals.online logo
Brands
  1. Home
  2. •
  3. Brands
  4. •
  5. Instant Desks
  6. •
  7. Indoor Furnishing
  8. •
  9. Instant Desks IDA-1460 User manual

Instant Desks IDA-1460 User manual

MODEL
RTA-1460
ASSEMBLY INSTRUCTIONS
Thanks for purchasing one of our products.
Please read carefully the assembly instructions before the installation.
Please save this manual for future reference
MODEL IDA-1460
T O P W E IG HT LIMIT:50L bs
S MALL DRAWE R WE IG HT LIMIT:10Lb s
B IG DRAW E R W E IG HT LIMIT:15L bs
DO NO T exceed this limit.
47.25”
20.9”
28.74”
13.7”
3.8”
26.7”
15.4”
3.8”
13.7
2.24”
2.24”
24.9”
12.8”
x
2 S E TS
P.3
PAR TS LIST
Left structure
S liders
R ight structure B ack pa nel C entral panel
Main panel
x1 x1 x1 x1
Large drawer front
panel
Drawers left panel
Drawers right panel
Large drawer back panel
S mall drawer back panel
Large drawer support
panel
S mall drawer front
panel
S mall drawer bottom
panel
Large drawer bottom
panel
Handles
x1
x1
x2
x1
x2 x1 x1 x1
x1 x1
x2
R ight
L e ft
P.4
A
B
D
C
E
13
5
1
16
16
24
PART QTY . ITEM
3.5X12 MM
F3.8X35 MM
11
G4X18 MM4
WOODEN PIN
WOODEN PIN
6x40 MM CAM BOLT
6x40 MM CAM LOCK
Longer groove on cam lock must be pointing to the hole where th e cam bolt
enters in the panel.
Use the screwdriver to turn to the correct position.
A1. A2. A3.
CORRECT INCORRECT
ALIGNING THE CAM LOCK
Screw the ca m bolt
to one panel
Insert and align cam lock on the other
panel,and slide over panel with cam bolt
Turn cam lock clockwise
to lock the panels together
Cam lock
Cam bolt
SCREWS
HOW TO ASSEMBLE USING BOLTS AND CAM LOCKS
P.5
1460 5
P.6
12
34
STEPS
1
C
C
E
C
C
E
2
Left
15 15
Right
15
Right
Right
Left
Left
15
E
E
4
C
5
4
D
A
Instructions on page 4
Attention:Do not tighten the screws until all of them are in right positions
WARNING:HOLES ON PANELS MAY BE HIDDEN UNDERNEATH PVC LAMINATE!!!
Assemble one of the flat sliders (15) to the left
structure (1) using 3 screws (E), with the wheel facing
to the front. Then screw 2 bolts (C) on the back
of the structure as shown.
Assemble one of the flat sliders (15) to the right
structure (2) using 3 screws (E), with the wheel facing
to the front. Then screw 2 bolts (C) on the back
of the structure as shown.
Assemble the other 2 flat sliders (15) to both faces
and to the bottom of the central panel (4) using screws
(E), with the wheels facing to the front.
Place the main panel
(5) upside-down with
its front edge facing
towards you. Screw 8
bolts (C) into the places
shown. Insert 2 wooden pins
(A) as shown. Assemble
panel (4) to the main
panel (5) using cam locks
(D), make sure the wheels are facing to the front.
P. 7
5
6
STEPS
1
2
3
A
D
Instructions on page 4
Insert wooden pins (A) into the
structures (1) and (2) as shown.
Assemble the back panel (3) in between
the 2 structures using cam locks (D).
Insert 7 wooden pins (A) into the structures (1) and
(2), and the back panel (3) as shown. Then carefully
assemble the main panel (5) using cam locks (D).
D
5
A
P.8
7
8
STEPS
3
G
9
79
Left
15
15
Right
E
E
7
9
8
G
G
Use screws (G) to secure the back panel (3) as shown.
Assemble the sliders (15)tothe bottom of all
panels (7) and (9) using screws (E) as shown, with
the wheels facing to the front of the panels.
The channels on all panels will be at the bottom
and facing towards the inside.
Assemble the panel (8) in between 1 panel (7) and 1
panel (9) using screws (G) as shown. The channel on
all panels will be at the bottom and facing towards
the inside.
RTA-1460 P. 9
10 11
12 13
STEPS
11
10
G
6
F
16
HD
D
7
9
G
G
Instructions on page 4
F
C
C
F
Instructions on page 4
D
16
H
14
12
D
D
C
C
F
F
Assemble the panel (11) to the panel (8) using screw
(G) as shown. Make sure the hole for the cam lock on
panel (11) is facing outwards. Then slide the panel (10)
in between the panels, making sure it enters into all the
channels.
Screw bolts (C) to panel (6)
and insert wooden pins (F)
as shown.
Then assemble panel (6)
using cam locks (D) as
shown. Finally, assemble the
handle (16) using screws (H).
Assemble the panel (13) in between the other panel (7)
and the other panel (9) using screws (G) as shown.
The channel on all panels will be at the bottom and
facing towards the inside.
13
Then assemble panel (12)
using cam locks (D) as
shown. Finally, assemble the
handle (16) using screws (H).
Screw bolts (C) to panel (12)
and insert wooden pins (F)
as shown.
P. 10
14
15
STEPS
Insert both drawers as shown.
FINI SHED!
Enjoy your new unit!

Other Instant Desks Indoor Furnishing manuals

Instant Desks IDA-8401 User manual

Instant Desks

Instant Desks IDA-8401 User manual
Instant Desks IDA-2021 User manual

Instant Desks

Instant Desks IDA-2021 User manual
Instant Desks IDA-B005 User manual

Instant Desks

Instant Desks IDA-B005 User manual
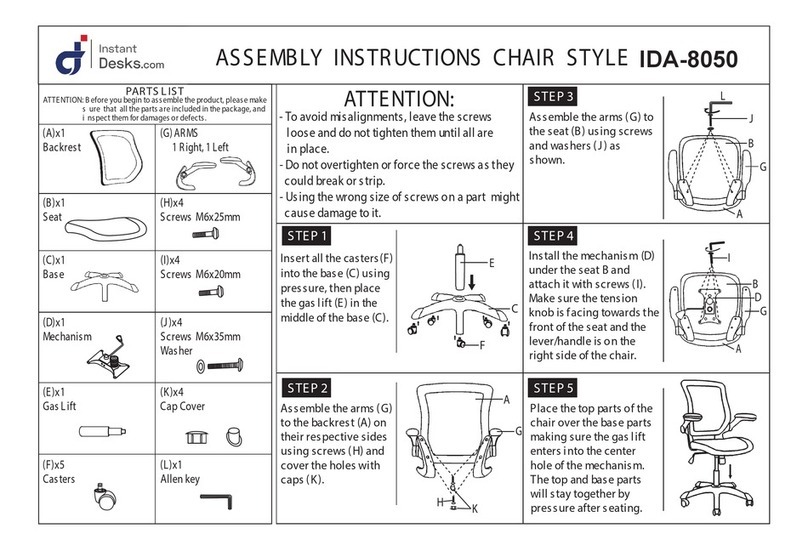
Instant Desks IDA-8050 User manual

Instant Desks

Instant Desks IDA-8050 User manual

Instant Desks IDA-8409 User manual

Instant Desks

Instant Desks IDA-8409 User manual
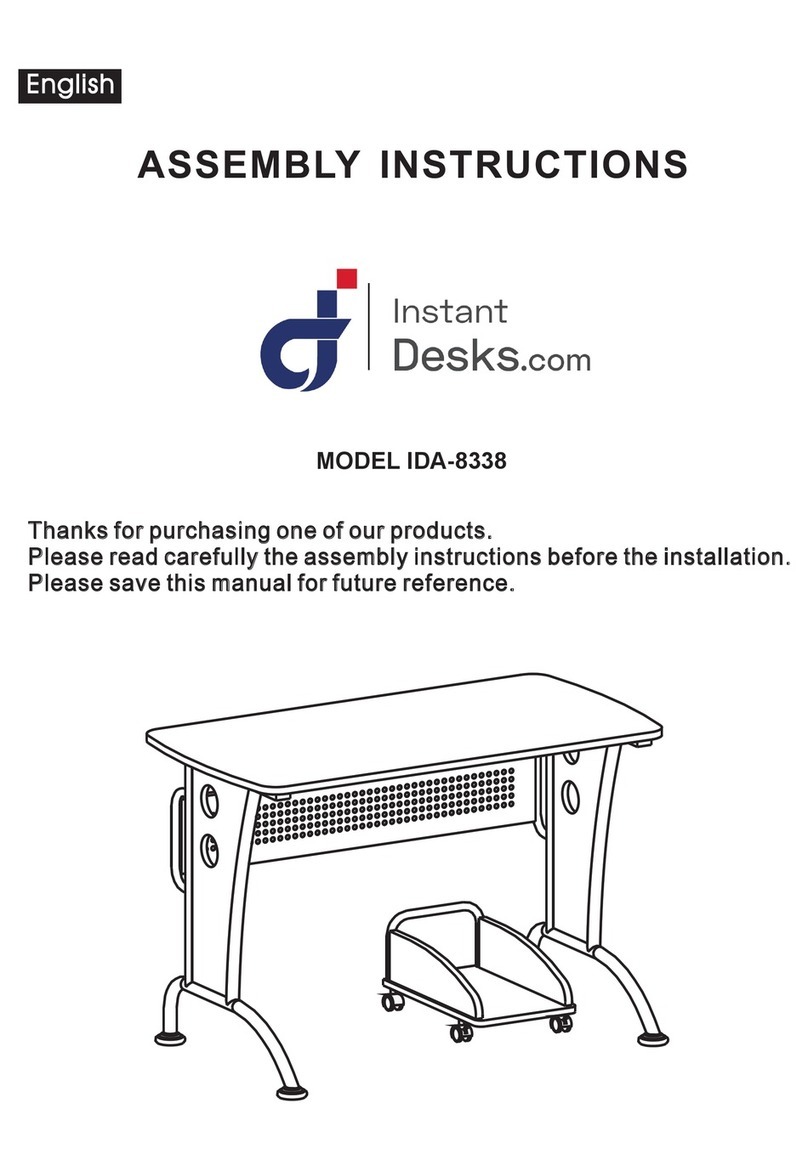
Instant Desks IDA-8338 User manual

Instant Desks

Instant Desks IDA-8338 User manual
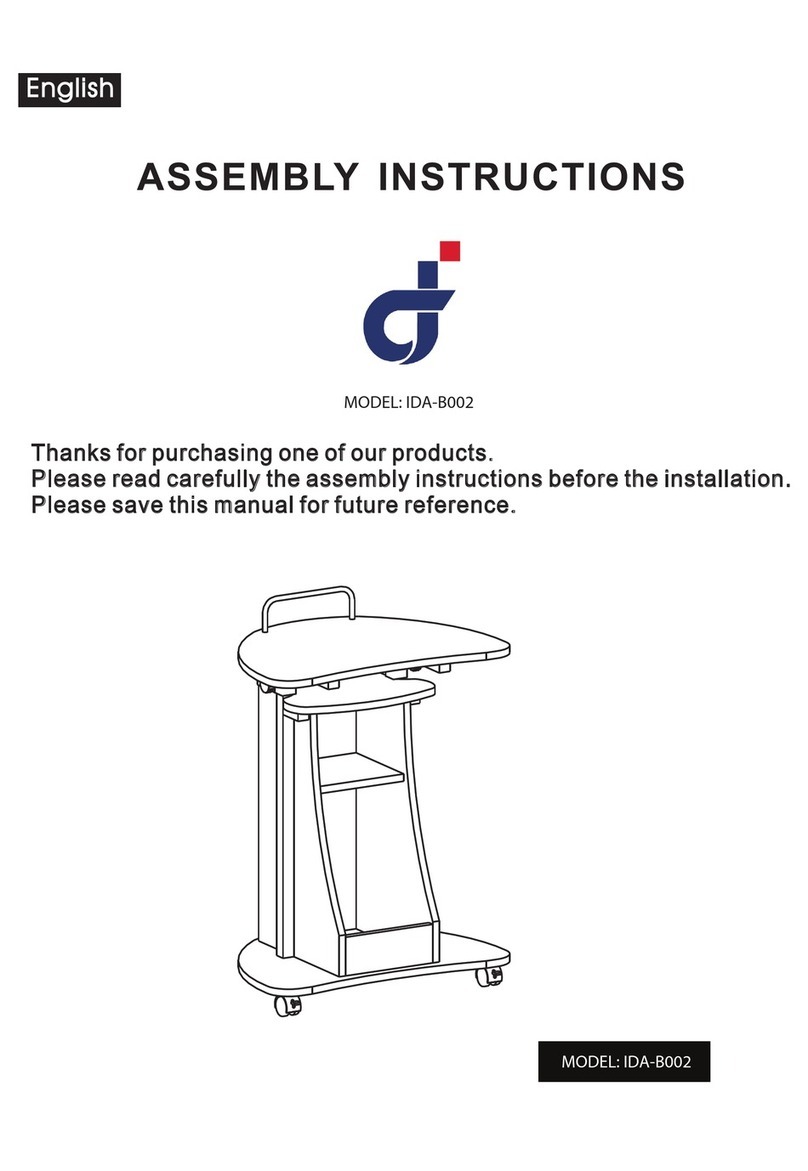
Instant Desks IDA-B002 User manual

Instant Desks

Instant Desks IDA-B002 User manual
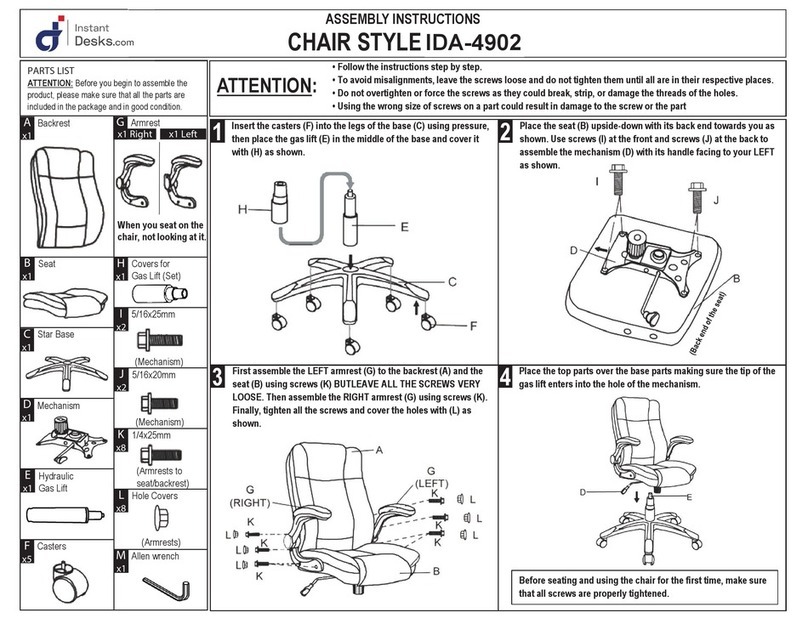
Instant Desks IDA-4902 User manual

Instant Desks

Instant Desks IDA-4902 User manual
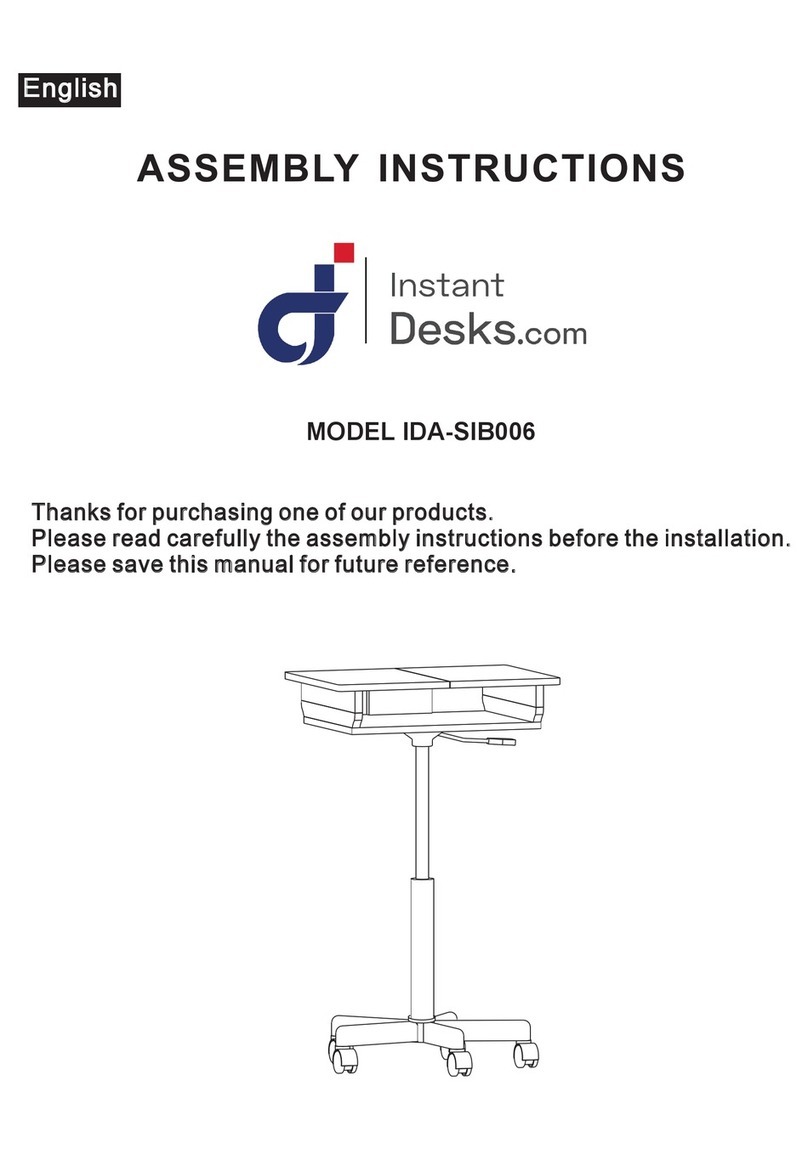
Instant Desks IDA-SIB006 User manual

Instant Desks

Instant Desks IDA-SIB006 User manual
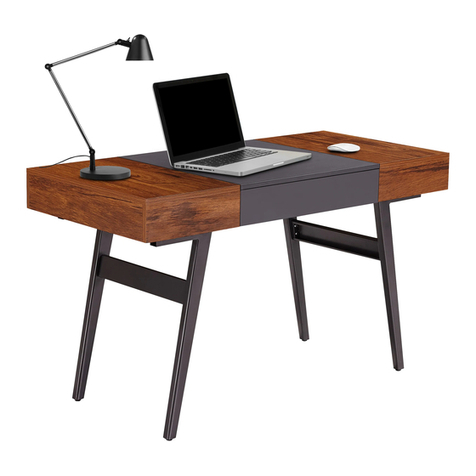
Instant Desks IDA-1854 User manual

Instant Desks

Instant Desks IDA-1854 User manual
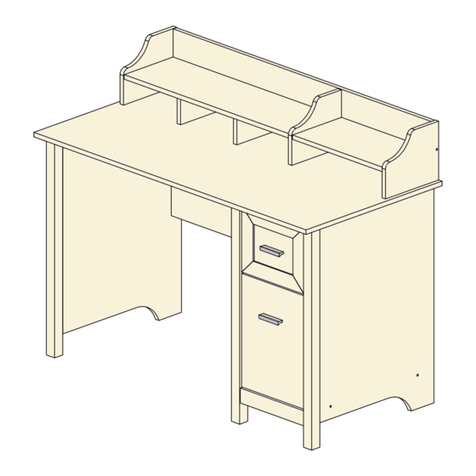
Instant Desks IDA-8411 User manual

Instant Desks

Instant Desks IDA-8411 User manual
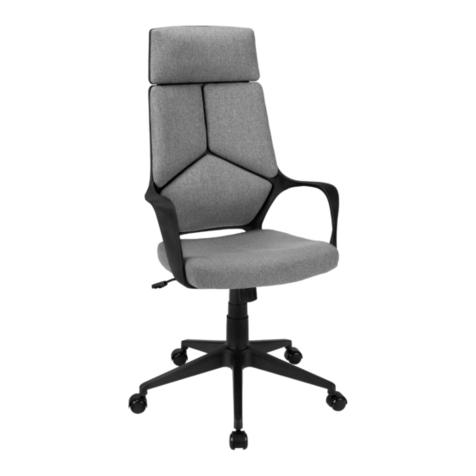
Instant Desks IDA-2023 User manual

Instant Desks

Instant Desks IDA-2023 User manual
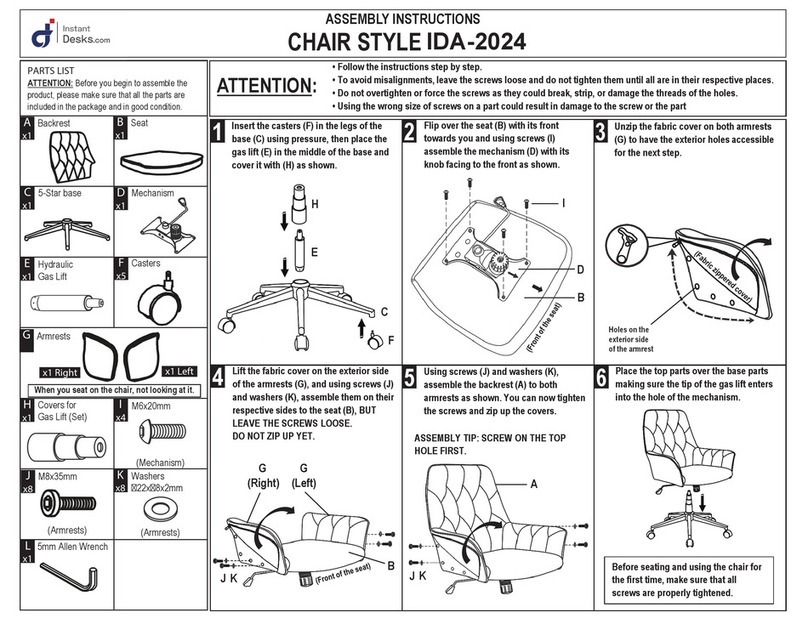
Instant Desks IDA-2024 User manual

Instant Desks

Instant Desks IDA-2024 User manual
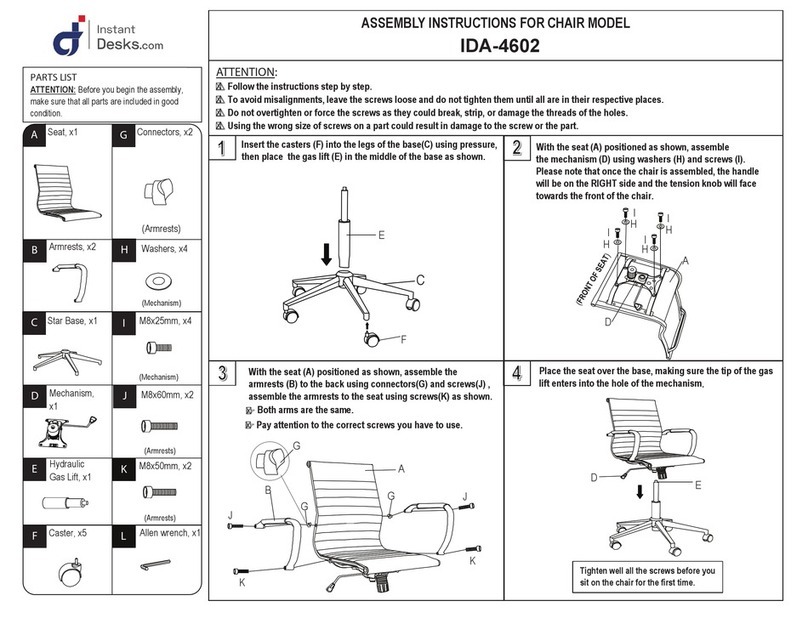
Instant Desks IDA-4602 User manual

Instant Desks

Instant Desks IDA-4602 User manual
Instant Desks IDA-7050 User manual

Instant Desks

Instant Desks IDA-7050 User manual

Instant Desks IDA-1462 User manual

Instant Desks

Instant Desks IDA-1462 User manual
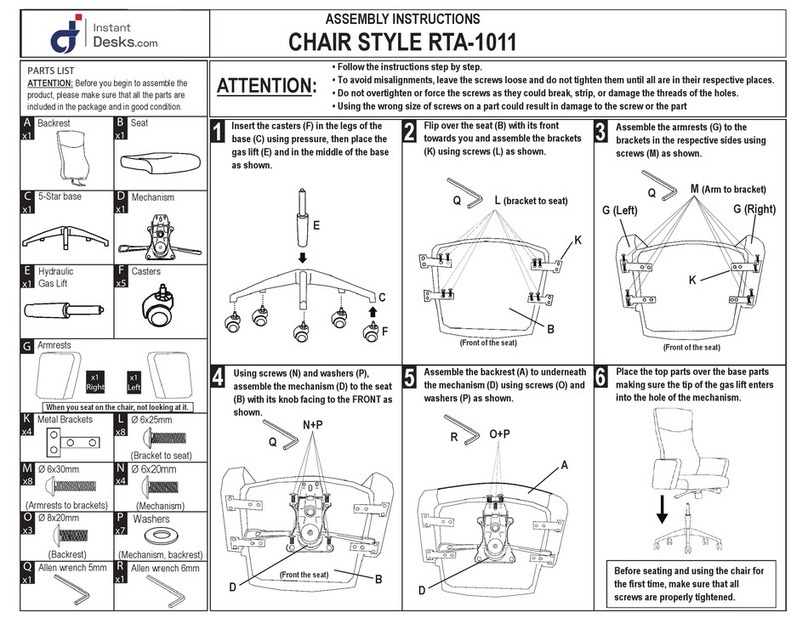
Instant Desks RTA-1011 User manual

Instant Desks

Instant Desks RTA-1011 User manual

Instant Desks IDA-M101 User manual

Instant Desks

Instant Desks IDA-M101 User manual
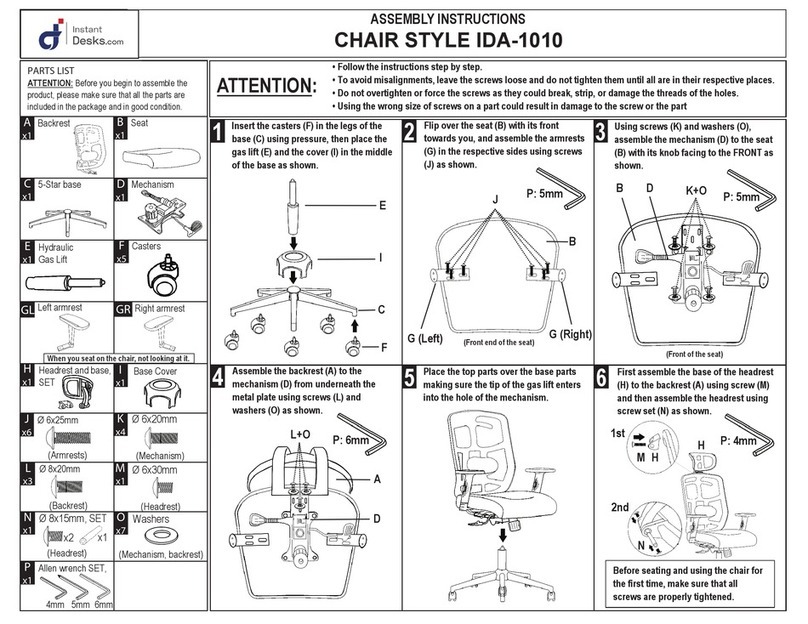
Instant Desks IDA-1010 User manual

Instant Desks

Instant Desks IDA-1010 User manual
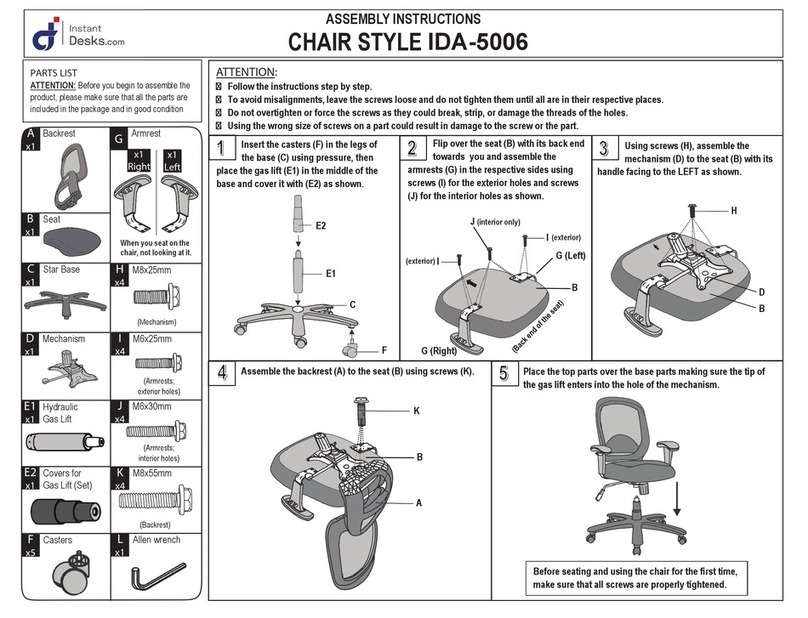
Instant Desks STYLE IDA-5006 User manual

Instant Desks

Instant Desks STYLE IDA-5006 User manual

Instant Desks IDA-8404 User manual

Instant Desks

Instant Desks IDA-8404 User manual

Instant Desks IDA-2706A User manual

Instant Desks

Instant Desks IDA-2706A User manual

Instant Desks 8408 User manual

Instant Desks

Instant Desks 8408 User manual

Instant Desks IDA-8211 User manual

Instant Desks

Instant Desks IDA-8211 User manual

Popular Indoor Furnishing manuals by other brands

Ambivalenz Flapps manual

Ambivalenz

Ambivalenz Flapps manual

STRUCTUBE JETT Assembly instructions

STRUCTUBE

STRUCTUBE JETT Assembly instructions

Zenith 7013W Assembly instructions

Zenith

Zenith 7013W Assembly instructions

Robern VALEG24H3D21T84 quick start guide

Robern

Robern VALEG24H3D21T84 quick start guide

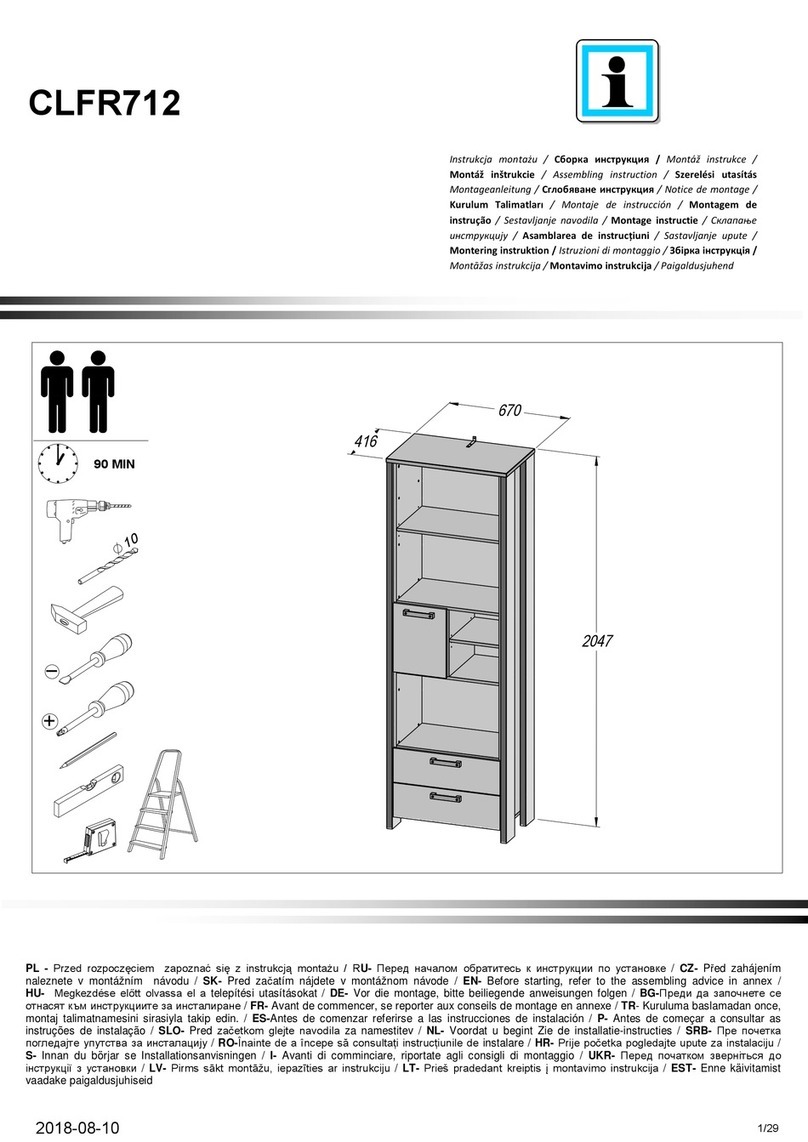
sconto CLFR712 Assembling Instruction

sconto

sconto CLFR712 Assembling Instruction

Bell'O WAVS335 Assembly instructions

Bell'O

Bell'O WAVS335 Assembly instructions

Classic Exhibits eco systems ECO-8C Setup instructions

Classic Exhibits

Classic Exhibits eco systems ECO-8C Setup instructions

LDI Spaces SAFCO 6689 Assembly instructions

LDI Spaces

LDI Spaces SAFCO 6689 Assembly instructions

Walker Edison WQ44CCR Assembly instructions

Walker Edison

Walker Edison WQ44CCR Assembly instructions

GEM SHORT BED WITH SIDES KIT quick start guide

GEM

GEM SHORT BED WITH SIDES KIT quick start guide

MARCKERIC 8435178395443 Assembly instructions
MARCKERIC

MARCKERIC 8435178395443 Assembly instructions

Rauch M1742 Assembly instructions

Rauch

Rauch M1742 Assembly instructions

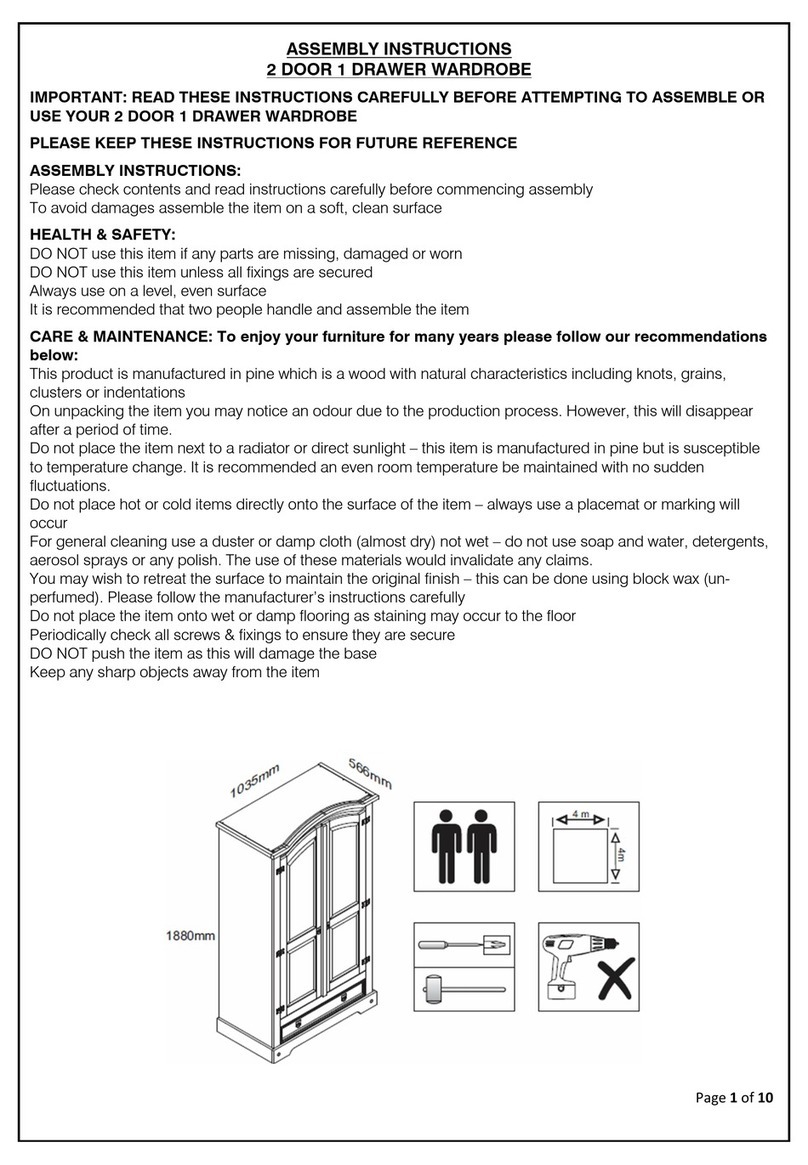
CORONA 2 DOOR 1 DRAWER WARDROBE Assembly instructions

CORONA

CORONA 2 DOOR 1 DRAWER WARDROBE Assembly instructions

Malouf Structures S655 owner's manual

Malouf

Malouf Structures S655 owner's manual

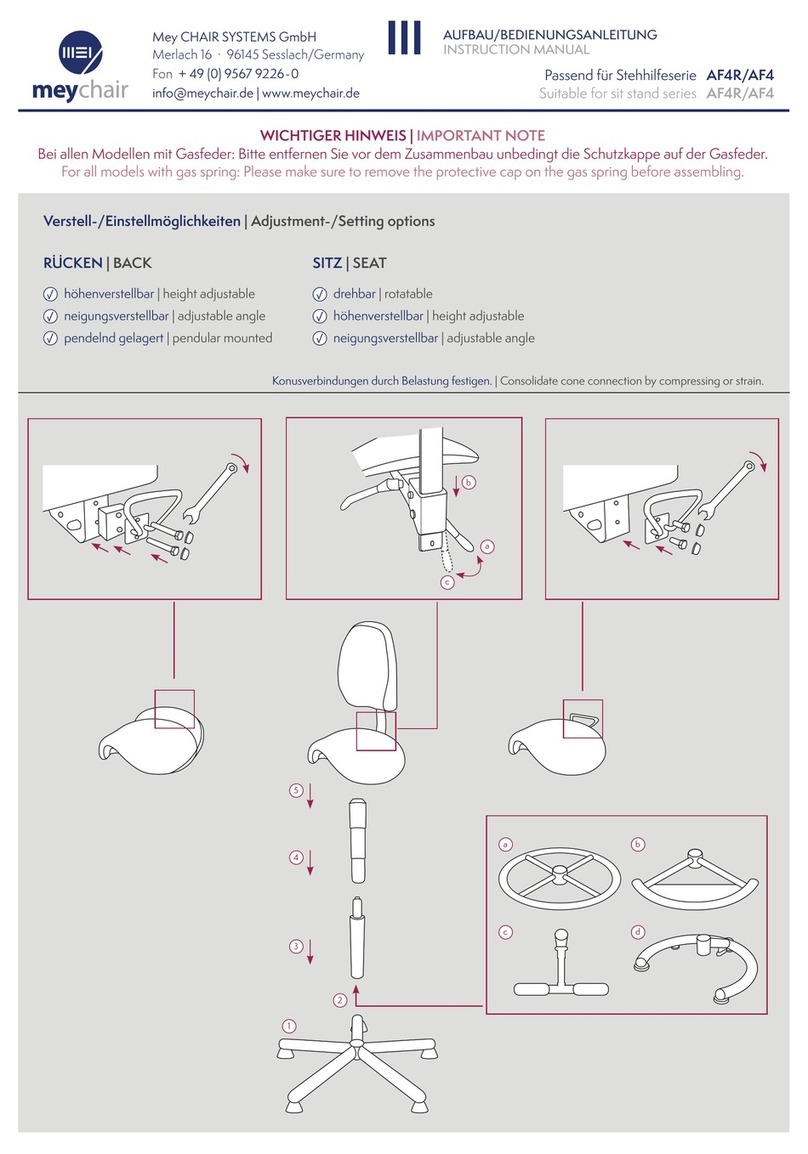
meychair AF4R manual

meychair

meychair AF4R manual

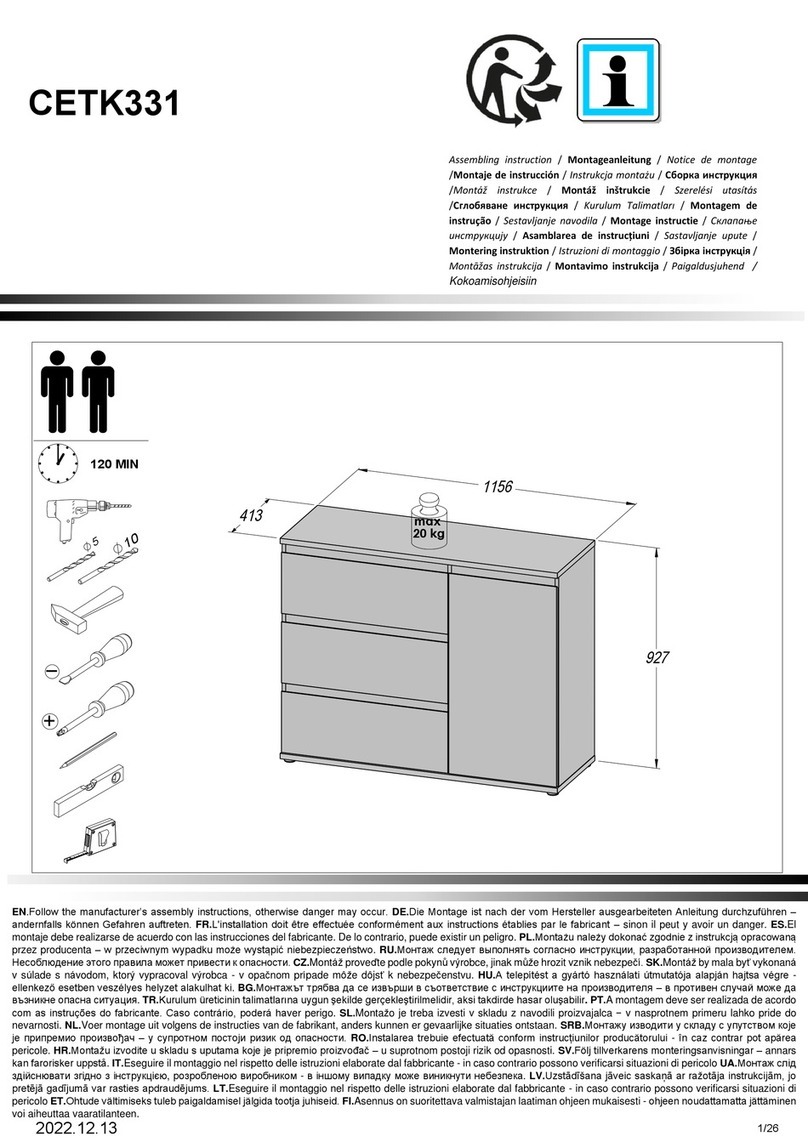
Forte CETK331 Assembling Instruction

Forte

Forte CETK331 Assembling Instruction

Home affaire 791946 Assembly instructions

Home affaire

Home affaire 791946 Assembly instructions

Lopas Valsa 02 Assembly instructions
Lopas

Lopas Valsa 02 Assembly instructions

manuals.online logo
manuals.online logoBrands
  • About & Mission
  • Contact us
  • Privacy Policy
  • Terms and Conditions

Copyright 2025 Manuals.Online. All Rights Reserved.