2AN1172.0
February 9, 2005
What is inside
The Evaluation Kit contains:
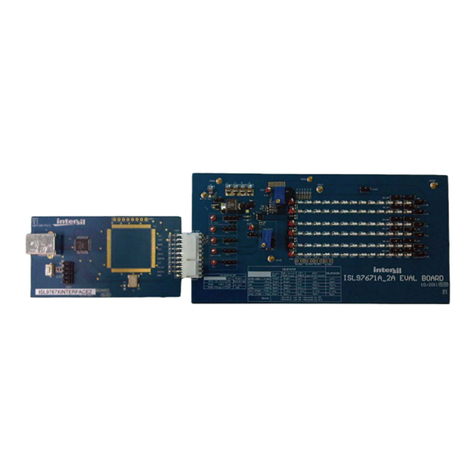
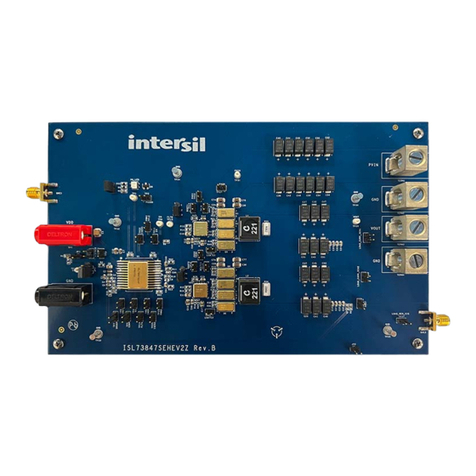
• ISL6298EVAL2 board
• The ISL6298 Data Sheet
• This ISL6298EVAL2 Application Note
What is needed
The following instruments will be needed to perform testing:
• Power supplies:
1 PS1: DC 20V/5A,
2 PS2: DC (sinks current) 20V/5A, such as
Agilent 6654A)
• Electronic load: 20V/5A
• Multimeters
• Function generator
• Oscilloscope
• Cables and wires
Quick Setup Guide
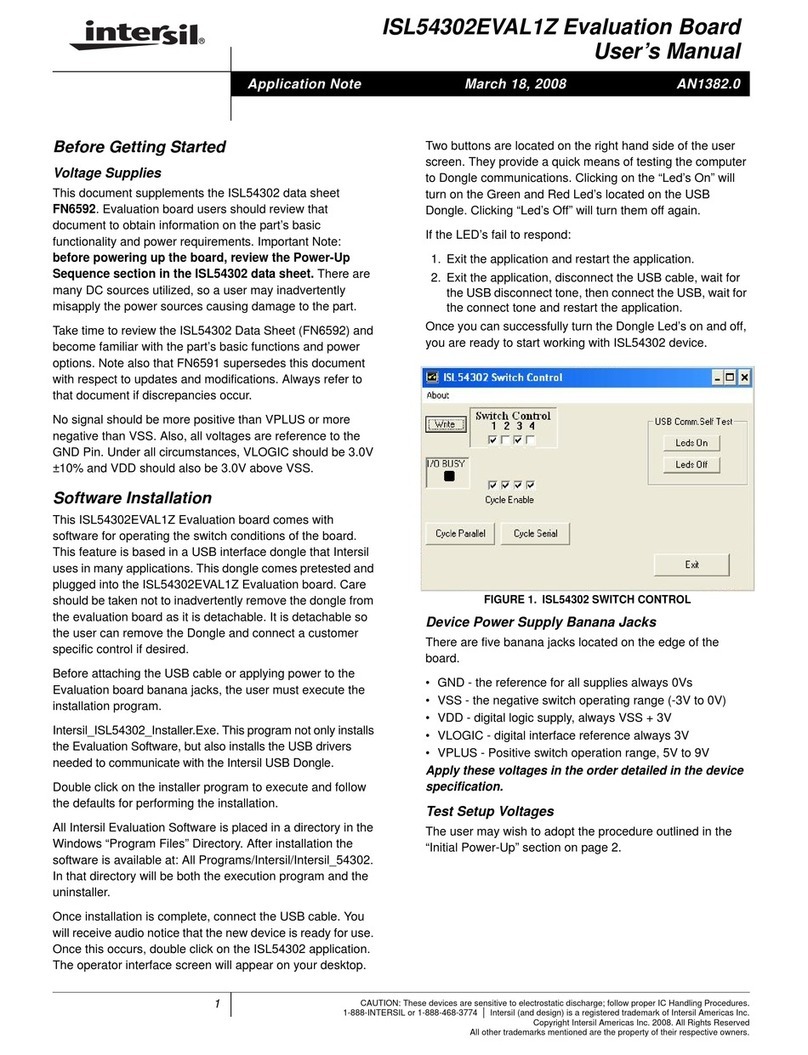
Step 1: Switch on bit 4 and bit 7 of the Dip-switch. Leave
all other bits off, (See Figure 1.)
DO NOT APPLY POWER UNTIL STEP 6
Step 2: Connect 5V on VIN.
Step 3: Connect 3.7V on VBAT.
Step 4: Connect 500mA electronic load on VBAT.
Step 5: Verify that no shunts across all jumpers.
Step 6: Turn on Power Supplies and electronic load.
Step 7: Green LED should be on, indicating normal
charging operation.
Step 8: If current meter is in series with VIN, it shall read
250mA as the charging current.
DIP Switch Settings
A 9-bit DIP switch is provided to set up voltage, current
reference, end-of-charge (EOC) current, and so on. The
functionality of the bits are described in Table 1.
.
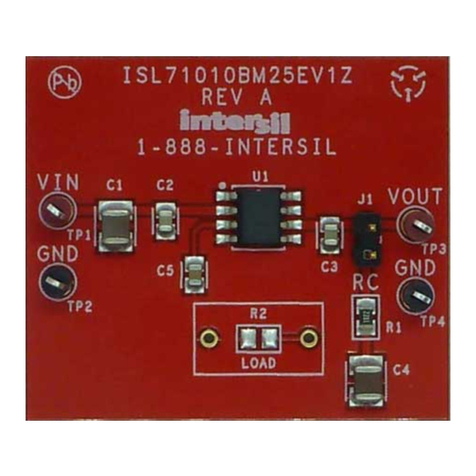
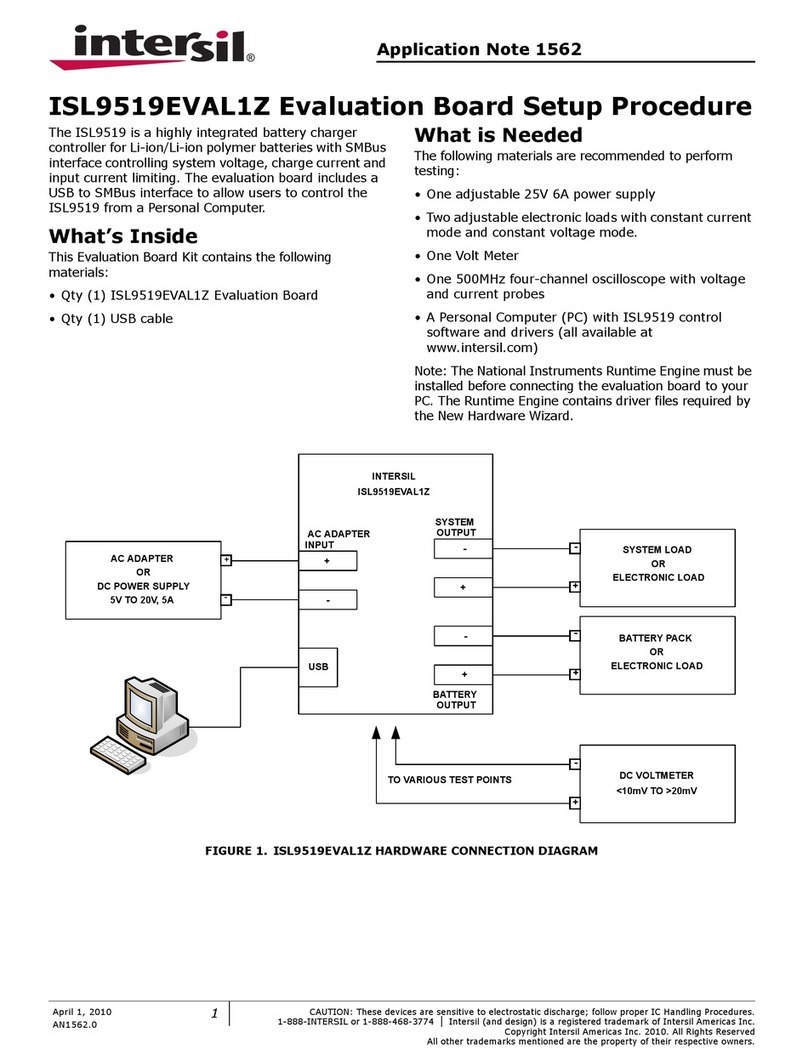
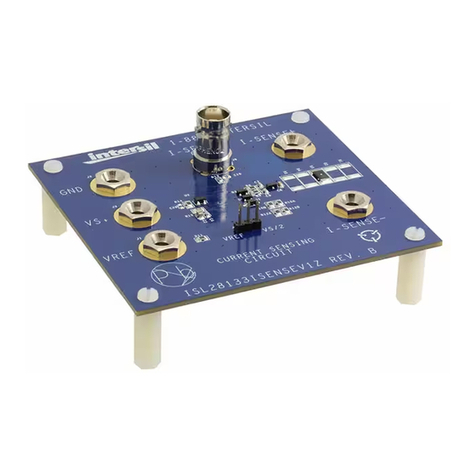
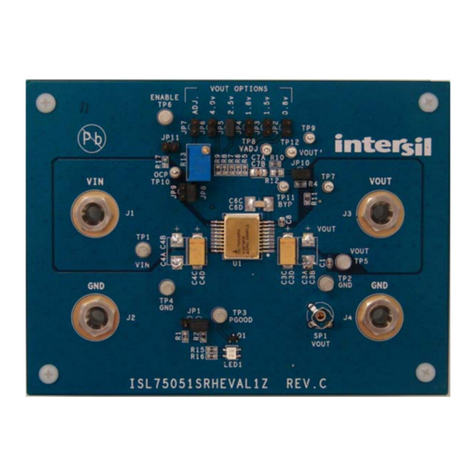
Initial Board Jumper Positioning (Refer to Figure 3)
JP1 - Selects the VIN pin to be connected to either a wall
adapter, or to a USB connector. If the J1 connector is being
used, a shunt must be installed across ‘WALL CUBE TO
VIN’, or if the J3 (USB) connector is being used, a shunt
must be installed across ‘USB TO VIN’. J1, J3 and JP1 can
be ignored if the power supply is connected directly to the
VIN test point, which is directly connected to the VIN pin of
the IC. A current meter, to measure the input current, can
replace the shunt mentioned above.
JP2 - Can connect the VBAT pin to the battery. If the J2
connector is being used, a shunt must be installed across
JP2. In this case, a current meter can also replace the shunt
to measure the VBAT current.
JP3 - Can connect the TEMP pin to the battery. Usually no
shunt is needed for JP3, as the Eval board can simulate
various battery thermal conditions. Only when a battery with
an attached thermistor is applied on J2 does it become
necessary to install a shunt across JP3, simultaneously
turning off bits 7, 8, and 9 on the DIP switch.
JP4 - Selects USB modes; a shunt across IREF and V2P8
will set USB 255mA mode, a shunt across IREF and GND
will set USB 100mA mode. When the charge current is
programmed by the resistors connected to IREF pin, no
shunt should be installed on JP4.
FIGURE 1. INITIAL DIP SWITCH SETTINGS
1
O N
O F F 23456789
TABLE 1. DIP SWITCH PIN DESCRIPTIONS
BIT DESCRIPTION ON OFF REMARK
1
Adjustable
TIMEOUT
5 hours
50 mins
3 hours
30 mins
2
TIMEOUT
disable/enable
TIMEOUT
disabled
TIMEOUT
enabled
3
Charger
enable/disable
Charger
disabled
Charger
enabled
4IREF setting 1 Add 125mA ICHG=125mA
When both off
5IREF setting 2 Add 250mA
6IMIN setting 25mA 12.5mA
7TEMP normal Normal All off
simulates
battery
removal
8TEMP high Too hot
9TEMP low Too cold
TABLE 2. JUMPER SETTINGS
JUMPER POSITION FUNCTION
JP1
USB TO VIN USB input selected
WALL CUBE TO
VIN
Wall adapter input selected
JP2 Shunt Installed Connect VBAT pin to battery
Current meter can replace shunt
JP3
shunt installed Battery attached to Thermistor at J2
not installed Default
JP4 IREF and V2P8 Setting USB 255mA mode
IREF and GND Setting USB 100mA mode
Application Note 1172
