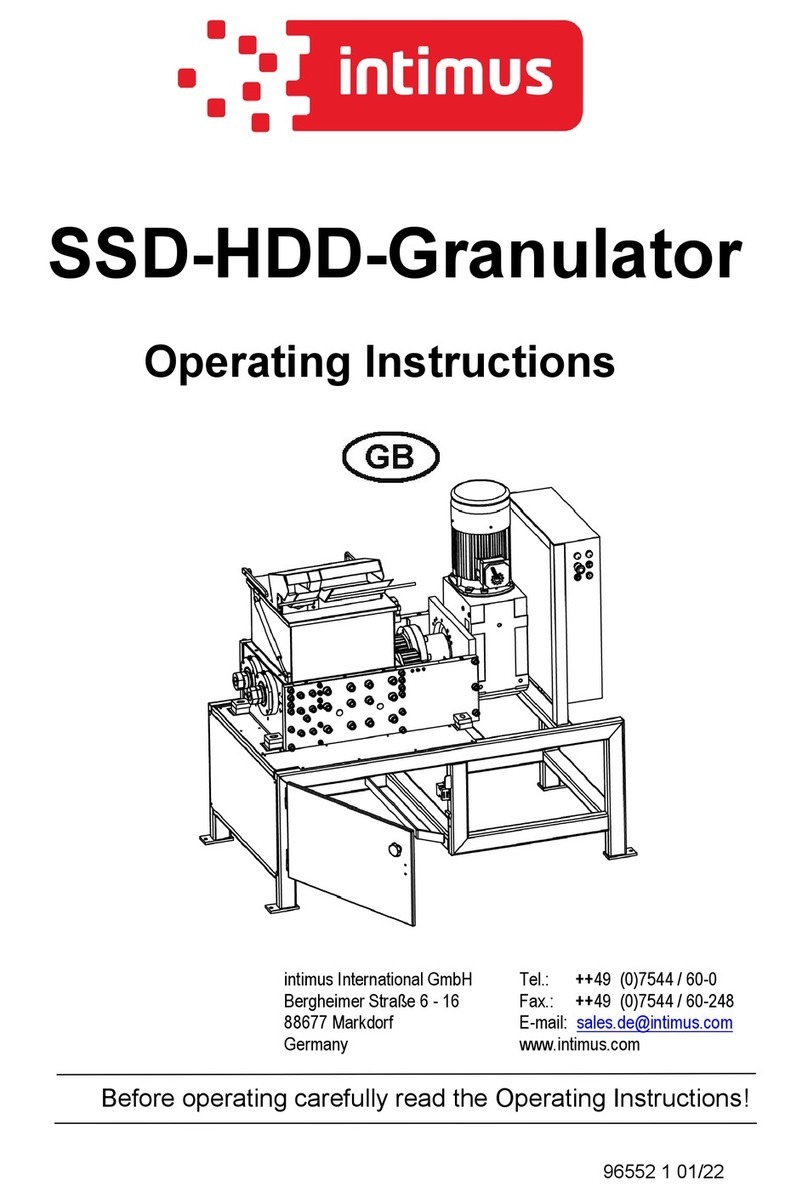
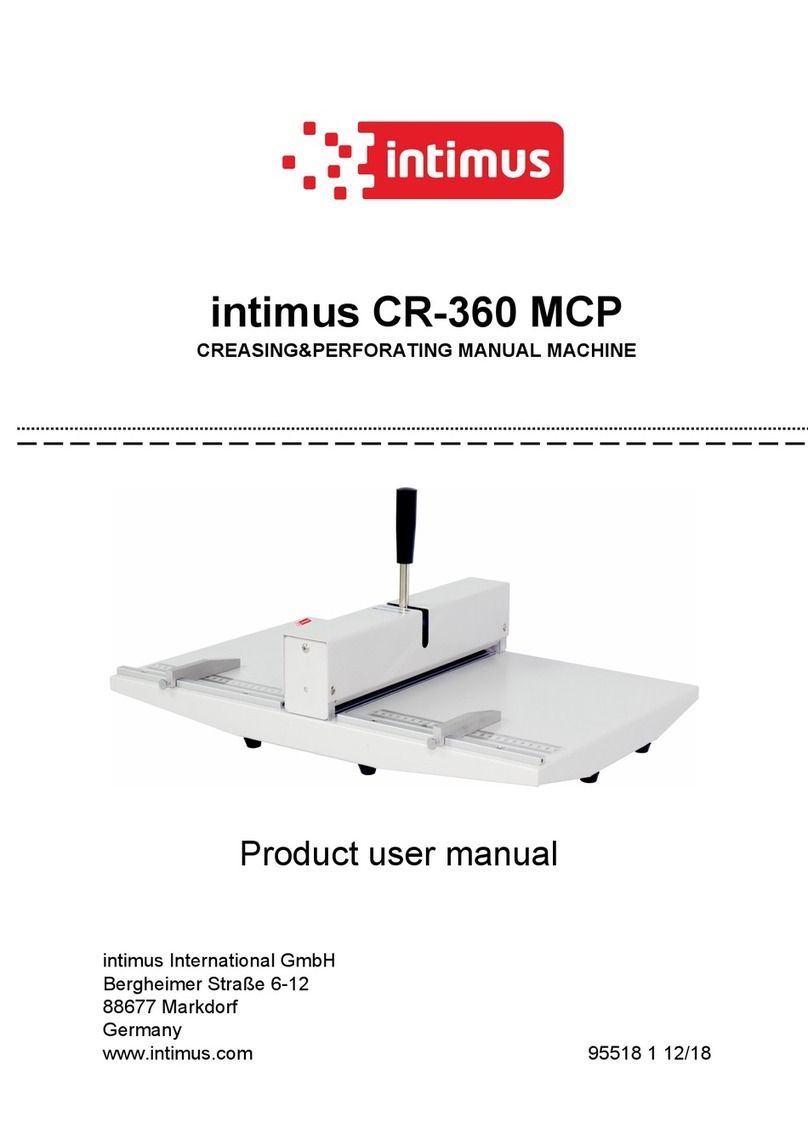
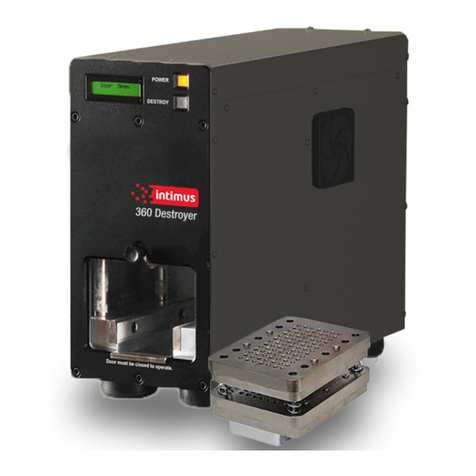
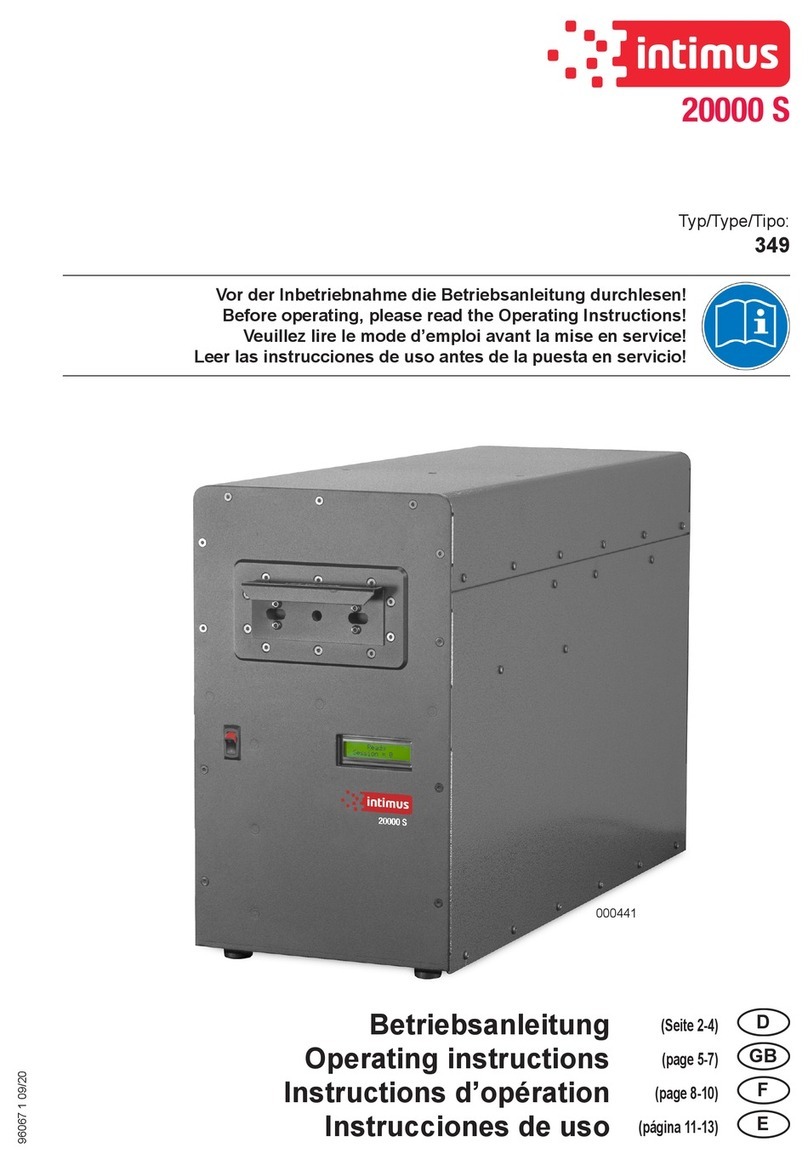
Intimus Auditor Pro User manual

Auditor Pro
Operator Manual
Operating instructions GB
000200
94656 2 11/20

94656 2 11/20
2
intimus Auditor Pro
Operator Manual
Typ/Type:
349
GB Operating instructions (page 3 - 12)
Before operating, please read the Operating Instructions!

94656 2 11/20
GB
3
Auditor Pro - Operator
Contents
1 Safety Information...............3
2 Overview........................3
2.1 Administrator Setup .......................3
2.2 Introduction ...............................3
2.3 Storage Capacity...........................4
2.4 Verication Processing Options.............4
2.5 Input devices ..............................4
3 Getting Started with
Auditor Pro......................4
4 Witness Login ...................5
5 Add Location or Job# ............5
6 Congure Auditor Pro System ....6
7 Degaussing and Destroying
with Auditor Pro . . . . . . . . . . . . . . . . . 6
8 Destroying with 240/360 Crusher /
360 Destroyer ...................8
9 Solid-State Media Destruction
Verication......................9
10 Logging Out and Powering
Down the System ...............10
11 Connecting Auditor Pro to a
Degausser or Destroyer
after turning on Auditor Pro .....10
12 Focusing Camera ...............11
13 Troubleshooting: ...............11
14 Disposal of the machine .........12
15 Technical Data ..................12
16 Certicate of Conformity ........13
1 Safety Information
DANGER!
Risk of injury! Damage to the machine!
)The machine‘s power supply must be near the machine and easily accessible!
)Only use the machine in closed, temperated (10-25°C) spaces.
The device may not be used by several
people at the same time!
The safety elements‘ design is based on safe
one-person operation.
No operator-serviceable parts inside
unit. Maintenance to be done only by
trained personnel!
In case of danger, disconnect the machi-
ne with the mains switch or emergency
stop button, or disconnect the power
plug
Check input voltage before plug in!
2 Overview
2.1 Administrator Setup
Use this administrator manual during initial set up of your Auditor Pro system and to perform administrative
functions, such as retrieving reports, adding and removing users, and changing user passwords.
2.2 Introduction
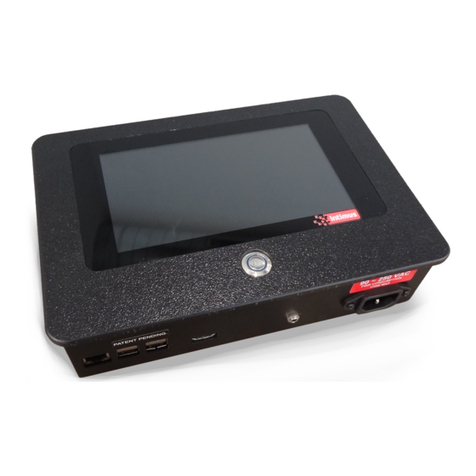
The intimus Auditor Pro ErasureVerication System is used with the intimus 20000, 20000S, 9000, and 8000 hard
drive degaussers and intimus Crusher hard drive destroyer.
94656 2 11/20
Translation of the Original Operation Manual
Übersetzung der Originalbetriebsanleitung
GB
4
The Auditor Pro captures JPG images of the erased
hard drive and collects information about the degauss
and crush cycle.
Auditor Pro creates Certicates of Erasure and De-
struction. The intimus Auditor Pro comes equipped
with USB and Ethernet ports allowing for direct prin-
ting, exporting to USB devices including optical &
thumb drives, and transferring to the network via FTP.
It is easy and convenient to download the CSV data-
base and JPG images, or to print or create PDF Certi-
cates of Erasure and Destruction directly from the
Auditor Pro.
2.3 Storage Capacity
intimus Auditor Pro can store up to 16G of memory.
When memory is 90% full, a warning will appear for
administrator to export and delete data. At 95%, Audi-
tor Pro will not collect any more data.
2.4 Verication Processing Options
The system can operate in one of two modes:“Verica-
tion Mode” with prompts for new operators; and “Pro-
cessing Mode”for faster processing.
2.5 Input devices
Touch Screen:
An on screen keyboard appears on all screens that re-
quire you to enter data. You can also connect a key-
board and mouse via USB port to the Auditor Pro sys-
tem.
Use the included stylus for ease of use.
Bar-Code Scanner:
The hand held scanner allows you to scan hard drive
serial numbers to auto populate the “Serial Number”
eld. In facilities that use bar-code ID badges, the scan-
ner also enables users to log in by scanning their ID
badges.
Image Capture Systems
Export Options:
USB: Flash Drives, Optical Drives, Print
Ethernet: FTP
3
Getting Started with Auditor Pro
Note: Auditor Pro is factory set with prompts allowing
operator to view and accept or reject each hard drive
image after the drive is degaussed. Prompts can be di-
sabled by an administrator to shorten processing time
Step 1: Power
Turn on your intimus degausser and/or hard drive
destroyer intimus Crusher
Turn on power to the Auditor Pro
Tap the splash screen to continue.
Step 2: LOGIN Screen
Enter your User ID
Enter your Password
Press the LOGIN button

94656 2 11/20
GB
5
Auditor Pro - Operator
4 Witness Login
Step 1: LOGIN Screen
Enter your User ID
Enter your Password
Press the LOGIN button
Step 2: Main Menu Screen
Press“WITNESS”
Step 3: Witness Login Screen
Enter WITNESS ID
Enter witness password
Press LOGIN
5 Add Location or Job#
Step 1: Main Menu Screen
Select LOCATION
Step 2: Location Screen
Enter the name of your location in LOCATION eld
Enter job number or select previous job # from
drop down arrow in JOB eld
Press SAVE

94656 2 11/20
Translation of the Original Operation Manual
Übersetzung der Originalbetriebsanleitung
GB
6
6 Congure Auditor Pro Sys-
tem
Step 1: Main Menu Screen
Press CONFIGURE SYSTEM
Step 2: Login/Shut down Screen
Select your Auditor Pro unit[s] (selected unit[s]
button[s] will be highlighted)
Press SAVE
7 Degaussing and Destroy-
ing with Auditor Pro
Degauss only steps 1-4 & 8 • Degauss and Destroy
steps 1-8
Step 1: Main Menu Screen
Press DATA ENTRY
Step 2: Media
Enter media serial number using scanner or input
manually
If desired, input INCIDENT NUMBER
Press NEXT
Step 3: Insert Media and Degauss
Insert media into degausser drawer/slot
Close drawer to automatically start degauss cycle
For intimus 20000 only: Press ERASE to start de-
gauss cycle

94656 2 11/20
GB
7
Auditor Pro - Operator
Step 4a: Image Capture
(20000S, 20000, 8000S series)
When degauss cycle is complete, open drawer and
wait
Auditor Pro automatically captures an image of
the degaussed media
If only degaussing, go to step 8
Step 4b: Image Capture (9000 series)
When the degauss cycle is complete, media will be
released into image capture device
The Auditor Pro automatically captures an image
of the degaussed media
If only degaussing, go to step 8
Step 5: Image Verication
Verify the clarity of the image
If acceptable, press ACCEPT and remove media
If the image is blurry, press REJECT and repeat
steps 2-4
Step 6: Destroy with Crusher
Place media into Crusher crush chamber and close
door
Press OK on Auditor Pro
Press DESTROY on Crusher
When crush cycle is complete, open door
Remove media
If post crush image is not enabled, go to step 8
For SPACESAVER and 9000 series, go to step 8
Step 7: Post Crush Image Capture
Place destroyed media in the degausser drawer
Press OK to capture POST CRUSH image
Step 8: Final Verication
Verify nal image
If acceptable, press ACCEPT and remove media
If the image needs to be retaken, press RETAKE

94656 2 11/20
Translation of the Original Operation Manual
Übersetzung der Originalbetriebsanleitung
GB
8
8 Destroying with 240/360
Crusher / 360 Destroyer
Step 1: Media
Enter media serial number using scanner or input
manually
If desired, input INCIDENT NUMBER
Select YES or NO to capture after crush image
Select SSD if you are destroying an SSD using the
SSD-1
Press NEXT
Step 2: Before Crush Image Capture
Place media on imaging platform
Press OK to capture BEFORE CRUSH image
Step 3: Image Verication
Verify the clarity of the image
If acceptable, press ACCEPT and remove media
If the image is blurry, press REJECT and repeat
steps 1-2
Step 4: Destroy Media
Place media into Crusher crush chamber and close
door
Press OK on Auditor Pro
Press DESTROY on Crusher
When crush cycle is complete, open door
Remove media
If post crush image is not enabled, go to step 6
Step 5: Post Crush Image Capture
Place crushed media on imaging platform
Press OK to capture BEFORE CRUSH image
Step 6: Final Verication
Verify nal image
If acceptable, press ACCEPT and remove media
If the image needs to be retaken, press RETAKE

94656 2 11/20
GB
9
Auditor Pro - Operator
9 Solid-State Media Destruc-
tion Verication
Auditor Pro is factory set to take before and after ima-
ges of SSD media. Instructions to change these set-
tings are in the Administrator Manual.
Step 1: Data Entry - SSD
Press SSD
Enter SSD serial number using scanner or input
manually
If desired, input INCIDENT NUMBER
Press NEXT
Step 2: Before Crush Image Capture
Place media in the degausser drawer or imaging
platform
Press OK to capture BEFORE CRUSH image
Note: images of solid-state media is not possible
when using the 9000 series
Step 3: Before Crush Image Verication
Verify the clarity of the image
If acceptable, press ACCEPT and remove media
If the image is blurry, press REJECT and repeat
steps 1-2
Step 4: Before Crush Image Verication
Place SSD-1 into PD-5 crush chamber
Insert solid-state media into SSD-1 using an SSD-
MT media transport sleeve
Close door
Press DESTROY on Crusher
Press OK on Auditor Pro
When crush cycle is complete, open door
Remove media
If post crush image is not enabled, go to step 6
Step 5: Post Crush Image Capture
Place media in the degausser drawer or imaging
platform
Press OK to capture POST CRUSH image
Step 6: Final Verication
Verify nal image
If acceptable, press ACCEPT and remove media
If the image needs to be retaken, press RETAKE

94656 2 11/20
Translation of the Original Operation Manual
Übersetzung der Originalbetriebsanleitung
GB
10
10 Logging out and powering
down the system
Step 1: Main Menu Screen
Go to the menu bar and press LOGOUT to end your
session
Step 2: Power Down
Press the power button
The Auditor Pro will automatically power down
Press POWER icon on the individual unit(s) to turn
o the degausser/destroyer
11
Connecting Auditor Pro to a
Degausser or Destroyer af-
ter turning on Auditor Pro
Step 1: Connection cable
Connect Auditor Pro connection cable to degaus-
ser/destroyer
Step 2: Main Menu
Press CONNECT

94656 2 11/20
GB
11
Auditor Pro - Operator
12 Focusing Camera
Focusing Camera
Place hard drive in media drawer/imaging plat-
form with serial number label facing up (do not
close drawer)
Select ADJUST CAMERA from Auditor Pro main
menu
You will see the camera view on the Auditor Pro
screen
Use the knob on the camera to adjust the focus
Focusing 9000 series Camera
Detach Image Capture device from 9000 series by
sliding towards you
Place a hard drive inside of the device
Select ADJUST CAMERA from Auditor Pro main
menu
The view from the camera will appear on the Au-
ditor Pro screen
Reach in from back side to adjust camera lens wat-
ching the image on the Auditor Pro screen for cla-
rity
13 Troubleshooting:
Problem: Screen freezes
Solution: Turn o Auditor Pro system, press the po-
wer button under the screen. Hold the button down
for three seconds and release. Then turn Auditor Pro
back on.
Problem: Image is blurry, 20000S/8000S series
Solution: Media drawer is being opened too slowly.
Open media drawer more quickly.
Problem: Control head does not advance to image af-
ter degauss cycle is complete
Solution: Check cable connection from Auditor Pro
to degausser

94656 2 11/20
Translation of the Original Operation Manual
Übersetzung der Originalbetriebsanleitung
GB
12
14 Disposal of the machine
Always dispose of the machine at the end of its
service life in an environmentally responsible
way. Do not toss any part of the machine or its
packaging into the garbage.
15 Technical Data
Auditor Pro
Power Supply: 90-240 VAC, 47-440 Hz
Power Consumption: 15 W
Storage Capacity: 16 GB
Fuse: 250 VAC H3, 15 A
Weight: 1,8 kg
Dimensions (H x D x W): 6,3 x 16,7 x 24,3cm

94656 2 11/20 13
Auditor Pro
16 Certicate of Conformity

94656 2 11/20
14

94656 2 11/20 15
Auditor Pro

94656 2 11/20
Dieses Papier ist aus 100 % Altpapier ohne optische Aufheller hergestellt.
This paper made from 100 % unbleached recycled paper.
Papier recyclable à 100 %.
International Network
Germany intimus International GmbH
Bergheimer Straße 6-16
88677 Markdorf / Bodensee
+49 (0) 7544 60-0
North America intimus North America
251 Wedcore Avenue
Wabash, IN 46992
(800) 775 2122
P.R. China intimus International Trading (Beijing) Limited
Room 260D, C Building
Guojigang No.E-2 Dong San Huan Bei Road,
Chaoyang District, Beijing 100027, PRC
+86 (0) 10 84 47 10 71 / 72 / 73
info@intimus.com.cn
Austria intimus International Austria Ges. m. b. H.
Ernst Melchior Gasse 20, 4. OG Top 6
1020 Wien
+ 43 (0)1 2583621 0
Belgium/Luxemburg intimus International Belgium NV
General de Wittelan 17B,
2800 Mechelen
+32 (0)15 - 29 46 30
infobel@intimus.com
Netherlands intimus International Netherlands, B.V.
Rivium Quadrant 2, 6e verdieping
2909 LC Capelle aan den Ijssel
+31 (0)10 - 242 11 00
informatie@intimus.com
Portugal intimus International Portugal
IIG Mailing and Information Security
Portugal Sociedade Unipesoal LDA.
Rua Alfredo Lopes Villaverde, 15-B, Escritorio 4,
Paço de Arcos e Caixas
2770-009 Lisboa
+351 214 415 153
Spain intimus International Ibérica, S.A.
Antón Fortuny, 14, 16 esc. C1° 1a
Esplugues de Llobregat
08950 Barcelona
+34 93 480 33 10
info[email protected]om
Other Countries intimus International GmbH
Bergheimer Straße 6-16
88677 Markdorf / Bodensee
+49 (0) 7544 60-0
Other manuals for Auditor Pro
2
This manual suits for next models
1
Table of contents
Other Intimus Industrial Equipment manuals

Intimus
Intimus Auditor Pro Use and care manual

Intimus
Intimus 16.99 SmartShred User manual

Intimus
Intimus CR-360 MCP Operational manual

Intimus
Intimus SSD-HDD-Granulator User manual

Intimus
Intimus 20000 S User manual

Intimus
Intimus CR-460 ECP Operational manual

Intimus
Intimus 2752 User manual

Intimus
Intimus 360 Destroyer User manual