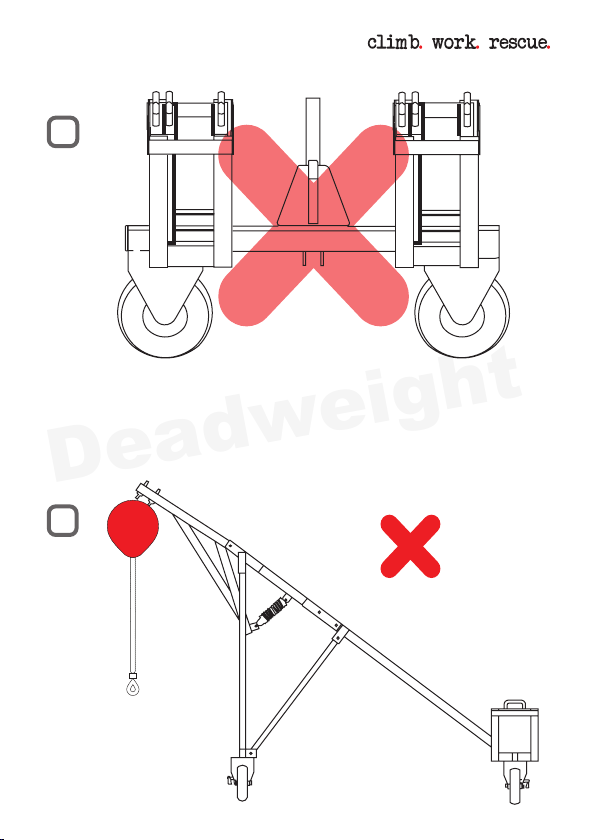
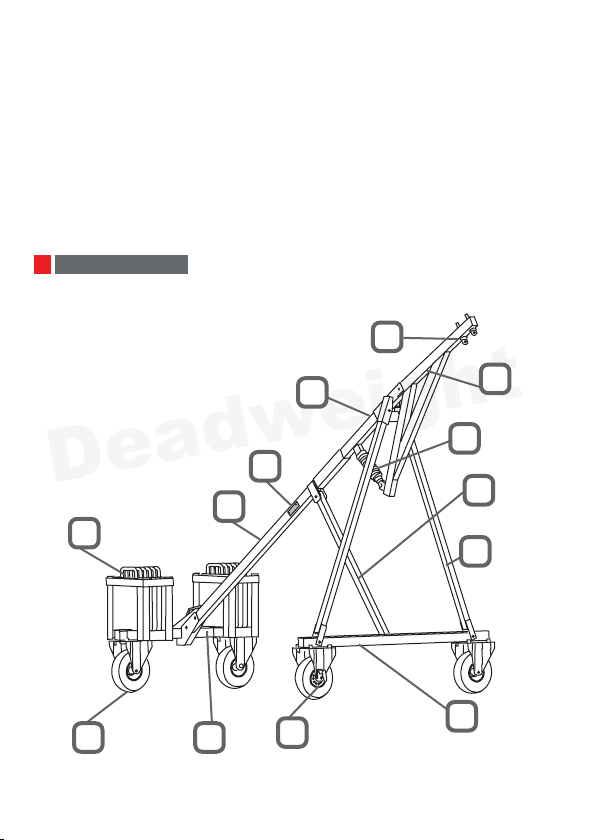
ISC DW200 User manual
Other ISC Safety Equipment manuals

ISC
ISC RP500 Instruction manual

ISC
ISC RP229 Operator's manual

ISC
ISC D4 Operator's manual

ISC
ISC D2 Instruction manual

ISC
ISC Keeloc SmartSnap RP420 Instruction manual

ISC
ISC RP248 Instruction manual

ISC
ISC Zip Trolley Series Instruction manual

ISC
ISC RP048 Instruction manual

ISC
ISC RP248 Instruction manual

ISC
ISC RP815 Instruction manual

Popular Safety Equipment manuals by other brands

Lanex
Lanex PB-20 instruction manual

SKYLOTEC
SKYLOTEC ANCHOR ROPES Instructions for use

Besto
Besto Buoyancy Aid 50N Instructions for use

TEUFELBERGER
TEUFELBERGER NODUS Manufacturer's information and instructions for use

Troy Lee Designs
Troy Lee Designs Tbone Product owners manual

Innova
Innova Xtirpa Instruction and safety manual

bolle SAFETY
bolle SAFETY B810 quick start guide

SHENZHEN FANHAI SANJIANG ELECTRONICS
SHENZHEN FANHAI SANJIANG ELECTRONICS A9060T instruction manual

Hiltron security
Hiltron security POWER8E Installation and use manual

Salewa
Salewa MTN SPIKE user manual

Hatco
Hatco B-950P installation guide

Sitec
Sitec TX MATIC operating manual