manuals.online logo
Brands
  1. Home
  2. •
  3. Brands
  4. •
  5. Isotta
  6. •
  7. Motorcycle Accessories
  8. •
  9. Isotta SC1086 User manual

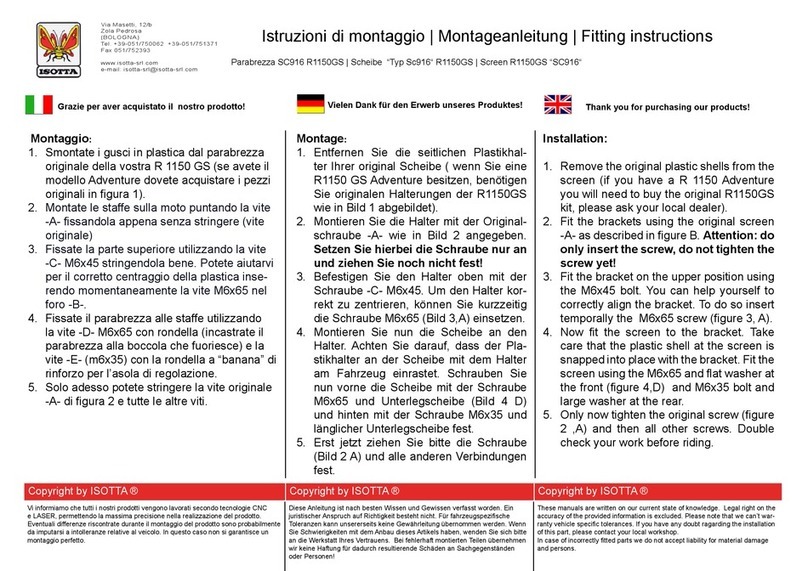
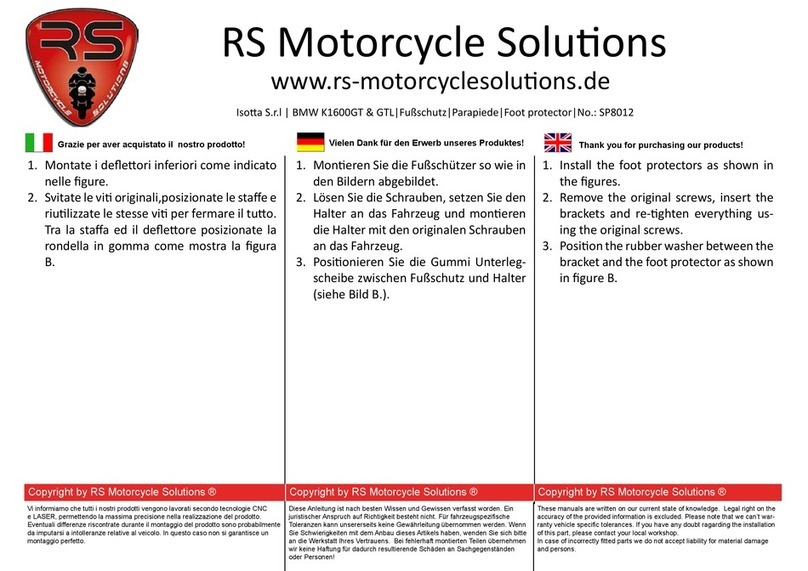
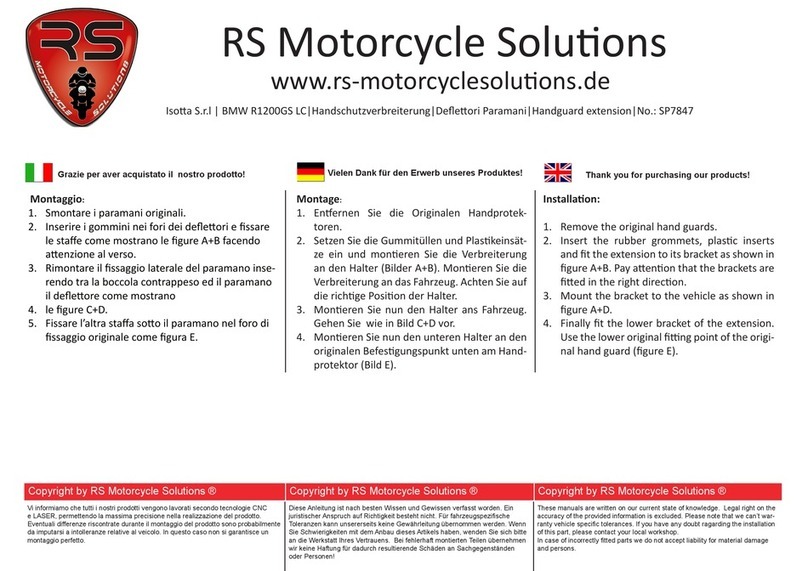
Isotta SC1086 User manual

Montaggio:
Smontate il cupolino originale rimuovendo le vi
indicate nella gura A.
Inserite i gommini nei fori del cupolino (la parte
grossa all’interno) ed all’interno degli stessi,in
corrispondenza dei tre fori inferiori, i funghe in
ferro come indicato dall’immagine C.
Ulizzando le vi M5x30 + le rondelle 5x15 fer-
mate, impuntando soltanto, il cupolino al soste-
gno originale come mostrato nella gura D.
Smontate la vite indicata nell’immagine E.
Montate le stae di rinforzo,facendo aenzione
al verso, come mostrato nella gura F, inserendo
tra la staa e il sostegno originale il distanziale
H9.
Fermate il tuo,senza stringere, ulizzando le vi
M5x40 + le rondelle 5x15.
Bloccate le stae al cupolino ulizzando le vi
QST dall’interno e le boccole tornite dall’esterno
come mostrano le gure G+H.
Posizionate correamente il cupolino e stringete
bene tue le vi di ssaggio.
1.
2.
3.
4.
5.
6.
7.
8.
Montage:
Lösen Sie die im Bild A beschriebenen Schrauben
und enernen Sie das originale Windschild.
Setzen Sie die Gummi (die dickere Seite zeigt nach
Innen) sowie die Metalleinsätze in die Löcher des
neuen Windschildes ein (Bild C.)
Moneren Sie das Windschild mit den mitgelie-
ferten Schrauben M5x30 und Unterlegscheiben
M5x15 an den originalen Halter (Bild D). Bie set-
zen Sie die Schrauben nur an (2-3 Umdrehungen)
und drehen Sie diese noch nicht fest.
Lösen Sie die Schraube wie in Bild E beschrieben.
Moneren Sie die Scheibenverstärkung mit der
M5x40 Schraube und Hülse H9 wie in Bild F+G
beschrieben an das Fahrzeug. Die Hülse H9 wird
zwischen originalem Halter und Verstärkung ein-
gesetzt.
Ziehen Sie die Schrauben noch nicht fest. Mone-
ren Sie das Windschild mit den Schlossschrauben
von Innen und Spezialmuern von Außen an die
Scheibenverstärkung Bilder H+I).
Richten Sie das Windschild aus und ziehen Sie alle
Schrauben fest.
1.
2.
3.
4.
5.
6.
Installaon:
Loosen the original screws as shown in gure A
and remove the windshield.
Insert the rubber grommets (the thick part shows
inside) and the metal inserts to the new Wind-
shield (gure C).
Mount the windshield to the original plasc sup-
port using the delivered M5x30 screws and M5x15
washers (gure D). Do not ghten the screws yet.
Turn the screws no more than 2-3 turns.
Loosen the screw as shown in gure E. Fit the rein-
forcement bracket to the vehicle using the M5x40
screws and H9 spacer (gures F+G). The spacer
comes between original plasc holder and rein-
forcement bracket.
Aach the windshield to the brackets using the
carriage bolts from inside and the special Allen
nuts from outside as shown in pictures H+I.
Align the windshield and ghten all screws.
1.
2.
3.
4.
5.
6.
Vi informiamo che tutti i nostri prodotti vengono lavorati secondo tecnologie CNC
e LASER, permettendo la massima precisione nella realizzazione del prodotto.
Eventuali differenze riscontrate durante il montaggio del prodotto sono probabilmente
da imputarsi a intolleranze relative al veicolo. In questo caso non si garantisce un
montaggio perfetto.
Diese Anleitung ist nach besten Wissen und Gewissen verfasst worden. Ein
juristischer Anspruch auf Richtigkeit besteht nicht. Für fahrzeugspezifische
Toleranzen kann unsererseits keine Gewährleitung übernommen werden. Wenn
Sie Schwierigkeiten mit dem Anbau dieses Artikels haben, wenden Sie sich bitte
an die Werkstatt Ihres Vertrauens. Bei fehlerhaft montierten Teilen übernehmen
wir keine Haftung für dadurch resultierende Schäden an Sachgegenständen
oder Personen!
These manuals are written on our current state of knowledge. Legal right on the
accuracy of the provided information is excluded. Please note that we can’t war-
ranty vehicle specific tolerances. If you have any doubt ragarding the installation
of this part, please contact your local workshop.
In case of incorrectly fitted parts we do not accept liability for material damage
and persons.
Copyright by ISOTTA ® Copyright by ISOTTA ® Copyright by ISOTTA ®
Grazie per aver acquistato il nostro prodotto! Vielen Dank für den Erwerb unseres Produktes! Thank you for purchasing our products!
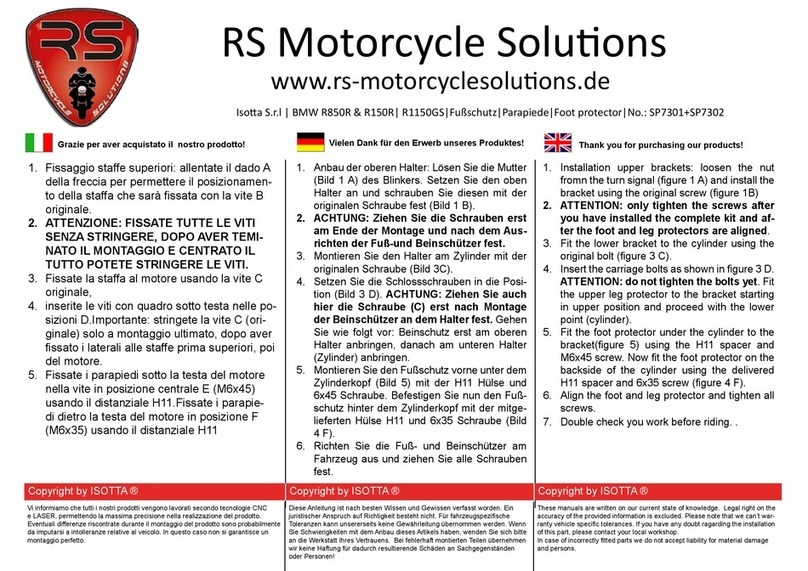
Isoa S.r.l | BMW F800R 2015-|Windschild|Parabrezza|Windshield|No.: SC SC1086+1087+1088
RS Motorcycle Soluons
www.rs-motorcyclesoluons.de
A B C
DE F
G H I
Vi informiamo che tutti i nostri prodotti vengono lavorati secondo tecnologie CNC
e LASER, permettendo la massima precisione nella realizzazione del prodotto.
Eventuali differenze riscontrate durante il montaggio del prodotto sono probabilmente
da imputarsi a intolleranze relative al veicolo. In questo caso non si garantisce un
montaggio perfetto.
Diese Anleitung ist nach besten Wissen und Gewissen verfasst worden. Ein
juristischer Anspruch auf Richtigkeit besteht nicht. Für fahrzeugspezifische
Toleranzen kann unsererseits keine Gewährleitung übernommen werden. Wenn
Sie Schwierigkeiten mit dem Anbau dieses Artikels haben, wenden Sie sich bitte
an die Werkstatt Ihres Vertrauens. Bei fehlerhaft montierten Teilen übernehmen
wir keine Haftung für dadurch resultierende Schäden an Sachgegenständen
oder Personen!
These manuals are written on our current state of knowledge. Legal right on the
accuracy of the provided information is excluded. Please note that we can’t war-
ranty vehicle specific tolerances. If you have any doubt ragarding the installation
of this part, please contact your local workshop.
In case of incorrectly fitted parts we do not accept liability for material damage
and persons.
Copyright by ISOTTA ® Copyright by ISOTTA ® Copyright by ISOTTA ®

This manual suits for next models

4

Other Isotta Motorcycle Accessories manuals

Isotta SP7822 R1200GS User manual

Isotta

Isotta SP7822 R1200GS User manual

Isotta R1150GS User manual

Isotta

Isotta R1150GS User manual

Isotta SC916 User manual

Isotta

Isotta SC916 User manual

Isotta SP8106 R1200R User manual

Isotta

Isotta SP8106 R1200R User manual

Isotta SP8150 User manual

Isotta

Isotta SP8150 User manual

Isotta SP7301 User manual

Isotta

Isotta SP7301 User manual

Isotta SP8106 User manual

Isotta

Isotta SP8106 User manual

Isotta SP8012 User manual

Isotta

Isotta SP8012 User manual

Isotta SP8013 User manual

Isotta

Isotta SP8013 User manual

Isotta SC1080 User manual

Isotta

Isotta SC1080 User manual

Isotta SC1098 User manual

Isotta

Isotta SC1098 User manual

Isotta SP7847 User manual

Isotta

Isotta SP7847 User manual

Isotta SC 1024 User manual

Isotta

Isotta SC 1024 User manual

Popular Motorcycle Accessories manuals by other brands

LSL 138-NO132.v Mounting and safety instructions

LSL

LSL 138-NO132.v Mounting and safety instructions

Airoh TWIST 2.0 instructions

Airoh

Airoh TWIST 2.0 instructions

Suzuki 990D0-19K00-060 installation instructions

Suzuki

Suzuki 990D0-19K00-060 installation instructions

ClearWater Lights Krista installation manual

ClearWater Lights

ClearWater Lights Krista installation manual

Cobra 602-2600 instruction manual

Cobra

Cobra 602-2600 instruction manual

3M Digital Media System 700 Series User instructions

3M

3M Digital Media System 700 Series User instructions

SRC NC750-14-01-SL Scope of Supply/Bill of Material & Mounting Drawings

SRC

SRC NC750-14-01-SL Scope of Supply/Bill of Material & Mounting Drawings

Mustang One-piece Seat Mounting instructions

Mustang

Mustang One-piece Seat Mounting instructions

SRC H-CRF250L-02-01-SL instruction manual

SRC

SRC H-CRF250L-02-01-SL instruction manual

optrel e650 manual

optrel

optrel e650 manual

SW-Motech TRT.00.640.32400/B Mounting instructions

SW-Motech

SW-Motech TRT.00.640.32400/B Mounting instructions

Arai Helmet TOUR-X5 Instructions for use

Arai Helmet

Arai Helmet TOUR-X5 Instructions for use

yasuni R2 Assembly instructions

yasuni

yasuni R2 Assembly instructions

hepco & becker 6264556 00 01 Mounting instructions

hepco & becker

hepco & becker 6264556 00 01 Mounting instructions

N-Com B902L User instructions and safety

N-Com

N-Com B902L User instructions and safety

Livall C20 Quick start guide & warranty

Livall

Livall C20 Quick start guide & warranty

Yoshimura 231032D320 manual

Yoshimura

Yoshimura 231032D320 manual

hepco & becker 6317569 00 01 manual

hepco & becker

hepco & becker 6317569 00 01 manual

manuals.online logo
manuals.online logoBrands
  • About & Mission
  • Contact us
  • Privacy Policy
  • Terms and Conditions

Copyright 2025 Manuals.Online. All Rights Reserved.