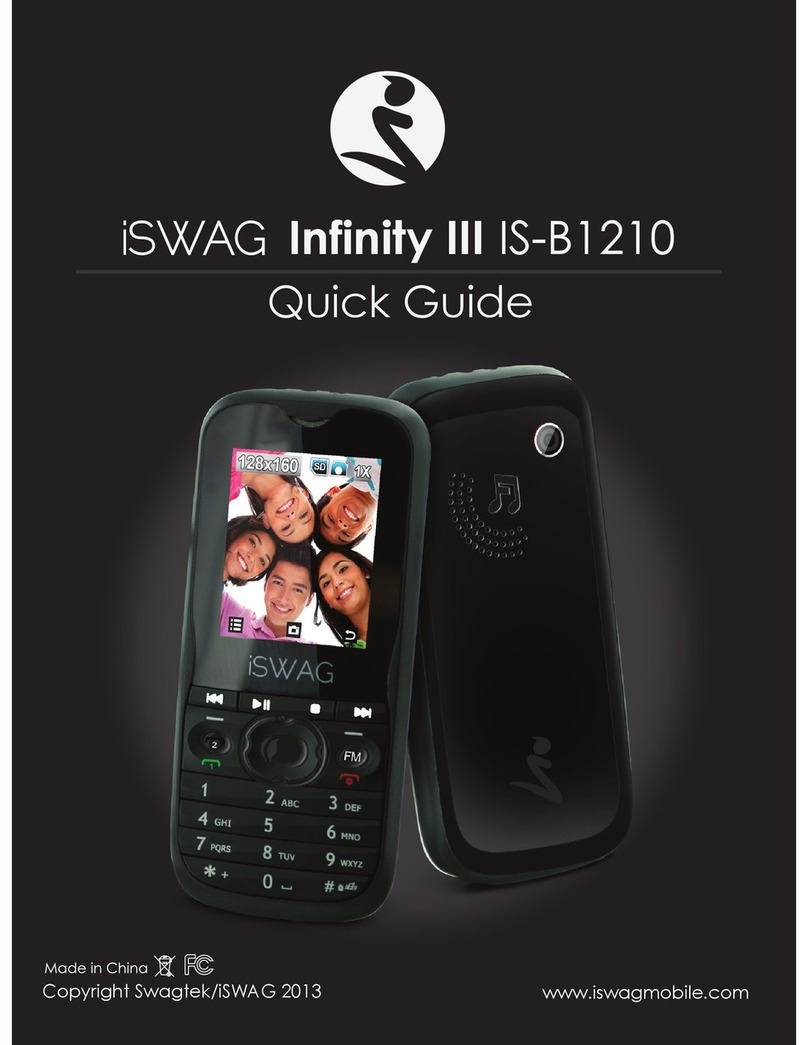
iSwag Infinity II User manual

Infinity II

1
WELCOME
Thank you for selecting the iSWAG IS-B1100/B1200 Infinity model.
By reading this manual you will fully understand the operation of your
mobile phone and will appreciate its ease of use and rich features.
The Infinity phone with color display is designed for use in a GSM network
environment. This model is Quadband: GSM (850/900/1800/1900 MHz)
and is available in two versions:
IS-B1100 Single SIM
IS-B1200 Dual SIM
The Infinity phone provides many functions such as short messages, audio
and video player, camera, video recorder, E-book reader, games, alarm
clock, calculator, simple calendar , on and off feature, it is well designed
to suite both work and personal activities.

2
CONTENT
SAFTEY NOTICE....…………….…………………….……………………..…......3
YOUR DEVICE…..…………….…...…………………..………………...............4
DESCRIPTION OF ICONS USED………………………...................................5
DESCRIPTION OF KEYS………………………………….…………...................6
BEGIN TO USE…………………………………………….……………………….9
INSTALL SIM CARD AND BATTERY ..……………………………....................9
CHARGING THE BATTERY…………………………………………………....….9
SECURITY CODE…….………………………..……………….…………..…......10
MEMORY CARD…………………………………..…………….……….………12
BASIC FUNCTIONS………………………………….………………….…..…….12
DIAL………………………………………………………….……..……………...14
FUNCTION MENU……..…………………….………….……………….…….....17
CALL LOGS…………………………………………………………...….……….17
CONTACTS………………………………………………….…………….………17
FILE MANAGEMENT……………………………………………….…….……...18
MULTIMEDIA………………………………...………..…………….……..……..18
MESSAGES……………………………..………………………….……………..19
TOOLS………………………………………………………..…….…………...…21
ENTERTAINMENT……………………………………………….........................22
PROFILES…………………….………………….……………………..………….22
SETTINGS………………………………………..………………………..………..23
IMPORTANT SECURITY INFORMATION………………..………...……..….....25

3
1 SAFETY NOTICE
You should read the following information carefully before using the
phone in order for you to use it safely and effectively.
Traffic safety is first
If you dial or answer a call while driving, please use the
hands-free device or use your phone after parking the vehicle.
Power the phone off at gas station
To avoid the risk of any explosion, please switch off the phone at
gas stations and places near fuel, chemicals or other dangerous
substances.
Power the phone off on flight
Please make sure your phone is switched off or in flight mode
during the whole flight, for mobile phone will interfere with the
communication network for the airplane.
Power the phone off at hospitals
Please switch off your phone near medical devices or places
which phone using is forbidden.
Disturbance
All phones may be susceptible to interference, which could
affect performance.
Use sensibly
Use only in a normal and proper manner. Do not put your hand
on the part of internal antenna since it is battery-costly and will affect
the conversation quality.
Qualified Service
Only qualified personnel may install or repair phone equipment.
Installing or repairing the mobile phone on your own may bring great
danger and violates the warranty rules.
Connectivity
4
If you need to connect your phone to other devices, please
read the user guide of that device carefully for safety.
Accessories
Use only approved accessories and batteries.
Children safety
Keep your phone and accessories out of the reach of children.
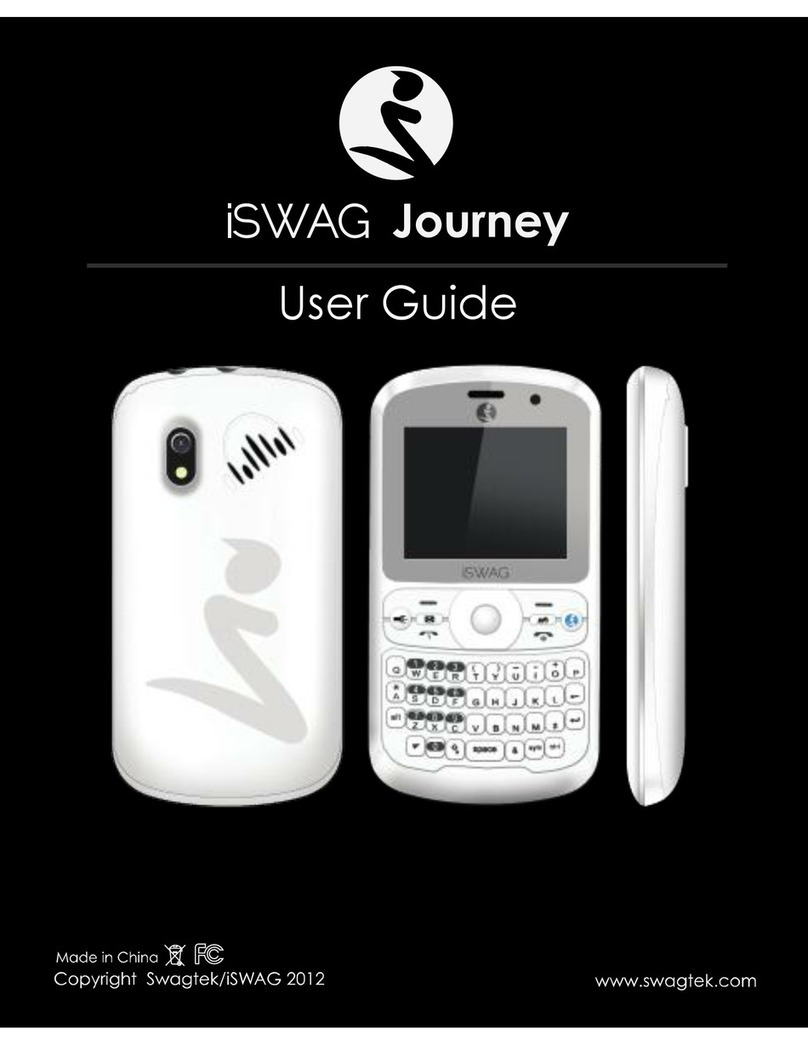
YOUR DEVICE
iSWAG Journey IS-Q3100/Q3200

5
Description of Icons used
Network signal strength – More bars more signal
strength
Network signal strength is the strength of the
connection of the mobile phone with the GSM network. The more
the stripe the stronger the signal. The icon with number 1
displayed, shows the signal strengh of the GSM network of SIM
card one. Number 2 shows signal strength of network belonging
to SIM card two.
Battery power level
Standby screen will show the icon. When the scene mode is
set as the mute mode, standby screen will show the icon.
Vibrate mode - When the scene mode is set to Vibration.
Indoor mode - When the scene mode is set as the indoor
mode, standby screen will show the icon.
Outdoor mode - When the scene mode is set as the
outdoor mode, standby screen will show the icon.
Power save mode -Click the icon to active the power save
mode

6
Description of Keys
Keys
Function
Left soft key/ Right
soft key
Execute functions that the
left-down/right-down corner indicator
shows.
2. In the standby mode, press Left Soft
key to access Message, Right Soft key
to access Contacts.
Navigation key
On other interfaces, it equals to
navigation key and direction key
except for special functions.

7
Dial key
Press this key to dial or receive an
incoming call.
2. When in the standby mode, press this
key to access Dialed Calls.
OK key
In the dial panel mode, press this key to
show or hide the dial panel.
MP3 key
Enter into audio player.
End key
Mainly used as power on/off.
Press to return to standby screen in any
interface.
3. End calls or reject incoming calls.
Number key
It is used to dial and input numbers or
characters. Press and hold Number
key 1 or 2 to get through the preset
voice inbox.
# Key
In text editing interface, press "#" key to
switch text to the input method.
2. On the standby interface Press and
hold "#" key to transfer the profile of
Normal/Silent/Vibrate.
Key
On the standby interface, input *; after
inputting telephone number, if you

8
want to input extension number,
please press the asterisk key twice and
when the display screen shows “+”,
please input your extension number.

9
BEGIN TO USE
Install SIM Card and Battery
Please be sure to disconnect the phone from the adapter before
removing or inserting the battery.
This version is a dual-SIM dual-standby phone which can support 2 SIM
cards. Both SIM cards can register onto an identical network or different
network. You should handle the SIM card with care. Use caution when
you insert and remove the SIM card because the SIM card can be
damaged easily.
Remove the battery cover.
Remove the battery.
Slide the SIM card into the socket.
Insert the battery.
Cover the battery.
Charging the Battery
A low battery warning will be given when bettery charge is insufficient.
The warning will be a sound and/or on screen warning. the phone may
not be used in partial functions. The phone will power off automatically
when the battery capacity is too low. Please charge the battery.

10
The battery icon on the screen will flash when the phone is being
charged. After completion of charging, the full battery icon will display
on the screen. The charging animation will be displayed on the screen
when the phone is being charged under the power-off state. After
completion of charging, the screen will display that it has finished
charging. Under the standby mode, it takes 2-3 hours to charge the
battery.
1. Insert the adapter in AC electric outlet.
2. Connect the adapter to the phone.
3. The symbol indication of charging the battery appears on the
screen. (The symbol indication of charging the battery can
appear after waiting for a few minutes if the battery capacity is
exhausted).
4. Pull the adapter from the power socket before disconnecting
the adapter from the phone.
Security code

11
PIN: The PIN (Personal identification number, 4 to 8 digits) code protects
your SIM card from unauthorized users. In general, the PIN is supplied with
SIM card by the network operator. If PIN check is enabled, you need to
input the PIN each time you power on your mobile phone. The SIM card
will be locked if you input wrong PIN code three times. To unlock the SIM,
you must contact your SIM card operator.
PIN2: The PIN2 comprises four to eight digits. Provided along with an SIM
card, it sets functions such as call billing and fixed dialing. Please contact
the network operator to verify whether your SIM card supports these
functions. If you enter PIN2 incorrectly three consecutive your SIM card
will be locked. To unlock, you must contact your SIM card operator.
PUK: The PUK code (Personal Unlocking Key, 8 digits) is required to
change a blocked PIN. It is supplied with SIM card. If not, contact your
network operator. If you input wrong PUK code 10 times, SIM card will be
invalid. Please contact the network operator to replace the SIM card.
Phone lock code
The phone lock code may be set to prevent your mobile phone from
being misused. In general, this code is provided along with the mobile
phone by the manufacturer. The initial phone lock code is set to 1234 by
the manufacturer. If the phone lock code is set, you need to input the
phone lock code when powering on the mobile phone.

12
Memory Card
This phone has MP3 player function and support T-flash cards also know
as T Card or MicroSD memory cards. To insert the T-flash card in the T card
slot you must first lift the metal cover by using you finger tip to gently pull
up the metal flap around its hinge. Next, insert T-flash card into the slot.
The slot is designed to fit the T card in one and only one direction. Once
the T card is in the slot, carefully close the metal flap and slide the metal
flap away from it’s hinge to lock into place. It locks with a click and your
T card is properly installed.
Prompt: If your phone cannot read the T card, please check whether it is
correctly installed.
Basic Functions
Feature Functions
The phone has many features beyond the basic functions of a mobile
phone, some of those features are as follows:
Contacts: Each contact record stored in the phone can have several
telephone numbers associated with it. The phone can store a maximum
of 100 records. Under contact menu, users can send SMS, and copy
contact record to and from the SIM card. This is a usual feature to backup
your contact list.

13
Scene mode: You can customize ring tone (include ring tone settings,
Adjust volume, Call alert, Message alert, Alarm & calendar remind, Key
tone, Battery low alert, Power on /off tone) according to different events
or modes.
Call log: The phone will automatically create and store call log for you.
In call log, you can check for missed or dialed telephone numbers; call
any telephone number in the call log; save the telephone number in the
call log to a contact; set a number as rejected call number; or send SMS
to a telephone number in the call log.
Message: The phone supports storing SMS messages. You have a
capacity of 50 SMS messages. The phone supports storing SMS in SIM card
and in the phone.
Media: Your phone provides all kinds of media functions including MP3
player, camera, FM radio, voice recorder.
Camera (optional): The phone supports camera and video function. You
can customize the camera and video.
Organizer: The phone supports various practical functions such as alarm,
calculator, world clock, and games.
Tools: The phone supports various practical functions such as B-tooth
(optional),
Settings: You can customize the phone according to your need,
including call settings ,phone settings, display settings, security settings
and other settings.

14
Input method: The phone supports various input modes which is
convenient for you to input English/Spanish letters, numbers and symbols.
Dial
To make a call:
Input the phone number (remember to affix the international/national/
regional code or district code if necessary) and then press [Dial Key]
under the standby mode. If two SIM cards are inserted, a prompt will
appear for you to select the SIM card to use to make the call. You can
select the SIM card using the navigation key to move selection up or
down. Once the correct SIM card is selected, press the OK key.
Or you may Press [Dial Key] to dial a phone number listed in the recent
call log under the standby mode.
Dial with the contact name or phone number stored as a contact in the
phone book.
The phone supports the dialing of the international emergency phone
number, such as 112 and 911 etc. even when no SIM cards have been
inserted. With this phone, you can dial the local emergency number,
under normal situation, regardless of having SIM card inserted when the
phone is located within the coverage of a supported GSM network. Input
the emergency phone number and press [Dial Key] to dial out.

15
Answer Incoming Call
To answer an incoming call:
Press [Dial Key] to receive the incoming call. You can use the earphone
to answer the call when the earphone (included) or B-tooth earphone
(optional) is attached properly to the phone.
Dialed Calls/ Received Calls/Missed Calls/ Rejected Calls
You can enter call log to check the relevant details of dialed calls, missed
calls, received calls and rejected calls.
Prompt: The record of incoming call from blacklist number will be saved in
Rejected Calls.
Call Divert
You can set up this phone to divert incoming calls to voice mail or
another telephone number (call charges may apply) Under call divert
menu you have the following options: Unconditional transfer, Divert if
busy, Divert if no answer, Divert if unreachable, Cancel all diverts.
Call Barring
You can use this function to set up restrictions on incoming and/or

16
outgoing calls for each SIM inserted. You have the following options: You
can set up barring on all outgoing calls, all incoming calls, incoming calls
when roaming, international calling, and outgoing when international
roaming. Selecting cancel all barring to remove all call restrictions. Please
note that you do not need to set up call barring if network provider
already restrict your calls, and cacel all barring will not remove network
providor restrictions. This function allows you to restrict certain calls on a
temporary basis, if you wish to permanantly restrict certain calls, please
contact your network provider.
Call Waiting
This feature allows you to answer an incoming call when you are already
on a call. You can place current call on hold and answer the incoming
call.
Power off the Phone
In the standby mode, press and hold End key to power off the phone.
T-flash Card
From the Multimedia menu you can browse and play MP3, MP4, picture,
video, photograph stored on your T-flash card.

17
Function Menu
Call Logs
Dialed calls: Display a list of your recent dialed telephone numbers.
Received calls: Display a list of your recent answered telephone numbers.
Missed calls: Display a list of your recent missed telephone numbers.
Rejected calls: Display the incoming call record of you blacklist numbers.
Delete all: You could delete all the records of the Dialed, Received,
Missed and Rejected calls.
Call timer: Display call time information details of both SIM1 and SIM2:
Last Call, Received Calls, Dialed Calls, and All Calls.
You may Press left soft key to "Reset" call counter.
Call cost: Press up/down navigation key to check: Total Cost, Max Cost,
Price per unit and Reset Cost.
Contacts
This function could help you to browse the contact list. You may create
new contact, edit and delete contact names and phone numbers stored
in the phone or in the SIM card. To facilitate the management of the
records this phone sets the group function collecting the similar items into
a group. The storage capacity of the SIM card depends on the capacity
of the SIM which varies depending on network provider, and the

18
maximum storage capacity of this phone is 100.
File management
Your phone’s internal storage can be managed via this function. You can
access or format the internal storage.
Multimedia
Camera (optional)
The device maybe equipped with a camera. You can take a photo at
any time and save the photo into the phone’s internal memory or onto
the SIM card. The photo can be used as a wallpaper of your phone or
you can share it with your friends via the B-tooth function (optional).
Image browser
To enter the images list interface press the left soft key and you could go
on the following operations.
Video recorder (optional)
The device is equipped with a video capture so that you can chat with
your friends through it. A driver is needed to be installed when the video
capture function is used. The details can be found in driver installation
guide.
Audio Player

19
This phone could play the MP3 stored in the phone memory and support
background play.
Video Player
This phone supports the video format of 3GP and mp4.
FM radio
To listen to the built in FM radio, connect the earphone included with this
phone. The earphone also acts as the antenna. Goto the Multimedia
icon and then select FM radio.
Recorder
By using this function you can record and playback your recordings. The
file format for the recording is wav. T-flash card need to be installed to use
this funtion.
Message
Write Message
You could write new messages by using this function. You may type
message or use message templates. Click OK to proceed to next menu
where you are prompted for the receipeint’s number. You can either
enter the telephone number or select from your contact list. Once the
receipient information is complete, press OK to send.
Inbox
Store the SMS message you’ve received. The SMS message could be
This manual suits for next models
2
Table of contents
Other iSwag Cell Phone manuals

iSwag
iSwag Eternity II User manual

iSwag
iSwag Magnum IS-T7100 User manual

iSwag
iSwag Lynx User manual

iSwag
iSwag Orbit User manual

iSwag
iSwag ICON User manual

iSwag
iSwag ICON User manual

iSwag
iSwag Infinity III IS-B1210 User manual

iSwag
iSwag Magnet 47 IS-X3141G User manual

iSwag
iSwag Fire User manual

iSwag
iSwag Profile IS-T4105 User manual