manuals.online logo
Brands
  1. Home
  2. •
  3. Brands
  4. •
  5. jablotron
  6. •
  7. Security Sensor
  8. •
  9. jablotron JA-83P User manual

jablotron JA-83P User manual

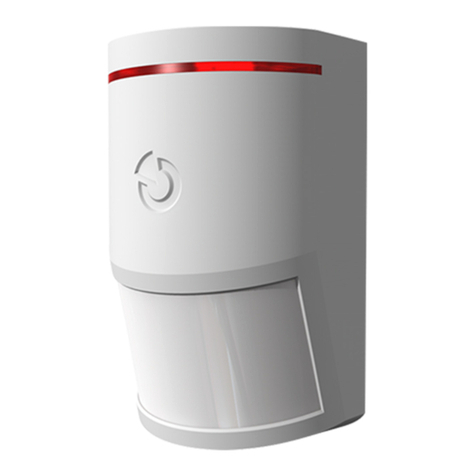
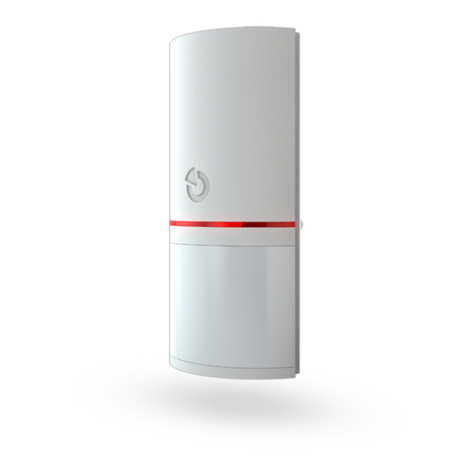
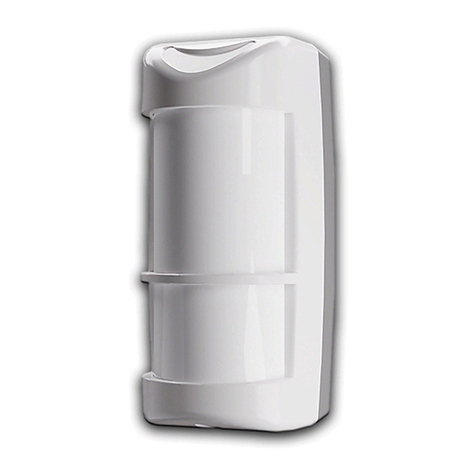
JA-83P - Wireless PIR Motion Detector
The JA-83P is a component of ClickSmart. It is designed to detect
human body movement. The detection pattern can be modied by
changing lenses. Detector immunity has two selectable levels.
The JA-83P detector is suitable for indoor use only.
Installation should only be undertaken by technicians holding a
certicate issued by an authorised distributor. The detector can be
installed on a at wall or in the corner of a room. Avoid objects rapidly
changing in temperature, such as electrical heaters, gas appliances
etc. being positioned within its detection area. Moving objects with
a temperature close to that of humans such as curtains moving
above a radiator, and pets should also be avoided. Detectors should
not face windows or spotlights or be near fast moving air e.g. near
ventilation fans or open windows or doors. There should also be
no obstacles blocking the detector’s “view” of the protected area.
Keep the detector away from metal objects which could interfere
with radio communications.
For use with the range of switching receivers.
e.g. RFSA-61B, RFSAI-61B, RFSA-62B, RFSA-61M & RFSA-66M
A. Open the detector
cover by pressing the
tab (5). Avoid touching
the internal PIR
element or damaging
the antenna.
B. Remove the PCB
which is held by an internal tab (3).
C. Punch screw holes through the rear plastic cover - for a at wall
(1) or for 45o(corner) mounting (4).
D. At least one screw should penetrate the tamper sensitive section
(2).
E. Screw the rear cover on to the wall, about 2.5 metres above the
oor (vertically, with the tab down).
F. Return the PCB to its original place.
Leave the battery disconnected and the cover open and assign to
the receiver as shown opposite.
Notes
To enrol a detector after having already connected a battery, rst
disconnect the battery, and press and release the tamper sensor
(11) to discharge any remaining charge to ready the device for
enrolment. After installing a battery into the detector, allow two
minutes for stabilisation.
During this period the LED is continuously lit.
Step 2 - Assign The Device
The device will now switch on / off without
any delay.
To programme an off delay proceed to Step 3.
To exit programming proceed to step 4.
Press & hold the ‘programming’ button on the receiver for 2 seconds
(the status LED will ash with a 1 second interval).
Programming button Status LED
Will ash once per
second
Press and hold 2
seconds
Step 1 - Activate The Receiver
To exit programming mode press the
programme button for 1 second only.
Replace the cover on the PIR device.
Press and hold for 1
second
Step 4 - Save And Exit
Pairing The Detector:
Insert the battery, the receiver LED will
ash to conrm the assignment.
Step 3 - Adding Time Delay Off
Installation
B. Press and hold programme button for
8 seconds - this will delete ALL stored functions
Release programming button and then press for <1 second to exit
Select A or B To Delete Stored Function
A. Press and hold programme button for
5 seconds the LED will ash twice a second.
Remove and re-install battery - this will delete
the single pairing.
Installation of receiving devices should be carried out by a qualied electrician.
Any device with the signs of damage and/or missing parts should NOT be installed and should be
returned to the seller.
Please refer to ‘installation guidance notes’ supplied with the receiver before commencing with the any
CLICKSMART installation.
Devices are designed to be mounted internally only.
Whilst the receiver LED is still ashing once
per second, remove the battery and re-insert
the battery to select the time delay mode.
Remove the battery once again.
Press the ‘PROG’ button on the receiver for 5 seconds (the
LED will ash twice a second) to start the timer.
When the required time has elapsed, re-insert the battery
Please read the ‘Note’ on ‘Testing The Detector’ overleaf to
ensure the correct time and sleep mode is selected
www.click-smart.com
DIP Switch 1 Selection - Immunity to false alarms.
The NORM (OFF) down position combines very good immunity
with fast sensor reactions.
The HIGH (ON) up position gives increased immunity with a slower
reaction time and is only used for problematic installations.
DIP Switch 2
Leave in ‘ON’
up position
We recommend using a high quality brand name battery (e.g. Duracell, Panasonic). After the batteries have been replaced, detector function
should be tested.
After battery replacement, the detector needs about 3 minutes to stabilise during which its LED lights continuously. After the LED has stopped
indicating, test the detector’s functioning.
If a partly discharged battery is inserted then the LED starts ashing for one minute. The LED will stop asing when a brand new battery is installed.
Expired batteries should be disposed of according to local regulations.
Battery Type: 1 x CR123A Lithium
Voltage: 3.0V DC
Typical battery life: Approx. 3 years (5 min. sleep mode)
Communication band: 868 MHz
Communication range: Approx. 300M (open area)
Recommended installation height: 2.0 to 2.5 M above oor level
Detection angle/detection range: 120° / 12 M (basic lens)
Operational environment according to EN 50131-1 II.indoor general
Operational temperature range: -10 to +40 °C
Dimensions: 85 x 60 x 55 mm
EN 50131-1, CLC/TS 50131-2-2, EN 50131-5-3 classication: Grade 2
Complies with: ETSI EN 300220, EN 50130-4, EN 55022, EN 60950-1
Can be operated according to: ERC REC 70-03
15 minutes after closing the detector cover, the indicator shows
detector activation.
5 minutes / 1 minute sleep time
To save battery energy, the detector switches the battery to battery-
save mode 15 minutes after its cover is closed. During battery-save
mode the detector will still detect movement. The rst movement
detected is then signalled to the receiver, and for the next 5 minutes
the detector ignores any further movement. After the 5 minutes
the detector then returns to watching out for movement until re-
triggered. The sleep time can be shortened to 1 minute by pressing
the tamper switch during battery installation and programming. Not
pressing the tamper switch gives a sleep time of 5 minutes.
Note: When adding the time element ‘Step 3’ of programming,
the recommended time is >5 minutes if the sleep mode is
set to 5 minutes, or >1 minute is the sleep mode is set to 1
minute. This ensure the PIR is active at all times.
The default lens supplied covers an angle of 120° and a distance
of 12 metres. The area is covered by three beams as shown in the
following pictures.
DIP Switches
Testing the Detector
Battery Replacement
Detection Characteristics
Technical Specications
Scolmore Park, Landsberg, Licheld Road Industrial Estate, Tamworth, Staffordshire B79 7XB
Tel: +44 (0) 1827 63454 Fax: +44 (0) 1827 63362 www.scolmore.com V1.0

Other jablotron Security Sensor manuals

jablotron JA-188P User manual

jablotron

jablotron JA-188P User manual

jablotron JA-83M User manual

jablotron

jablotron JA-83M User manual

jablotron JA-120PC User manual

jablotron

jablotron JA-120PC User manual

jablotron JA-180S User manual

jablotron

jablotron JA-180S User manual

jablotron JA-160PC User manual

jablotron

jablotron JA-160PC User manual

jablotron JA-151P-WW User manual

jablotron

jablotron JA-151P-WW User manual

jablotron JA-160PC User manual

jablotron

jablotron JA-160PC User manual

jablotron JA-80IR User manual

jablotron

jablotron JA-80IR User manual

jablotron JA-181M User manual

jablotron

jablotron JA-181M User manual

jablotron JA-15P User manual

jablotron

jablotron JA-15P User manual

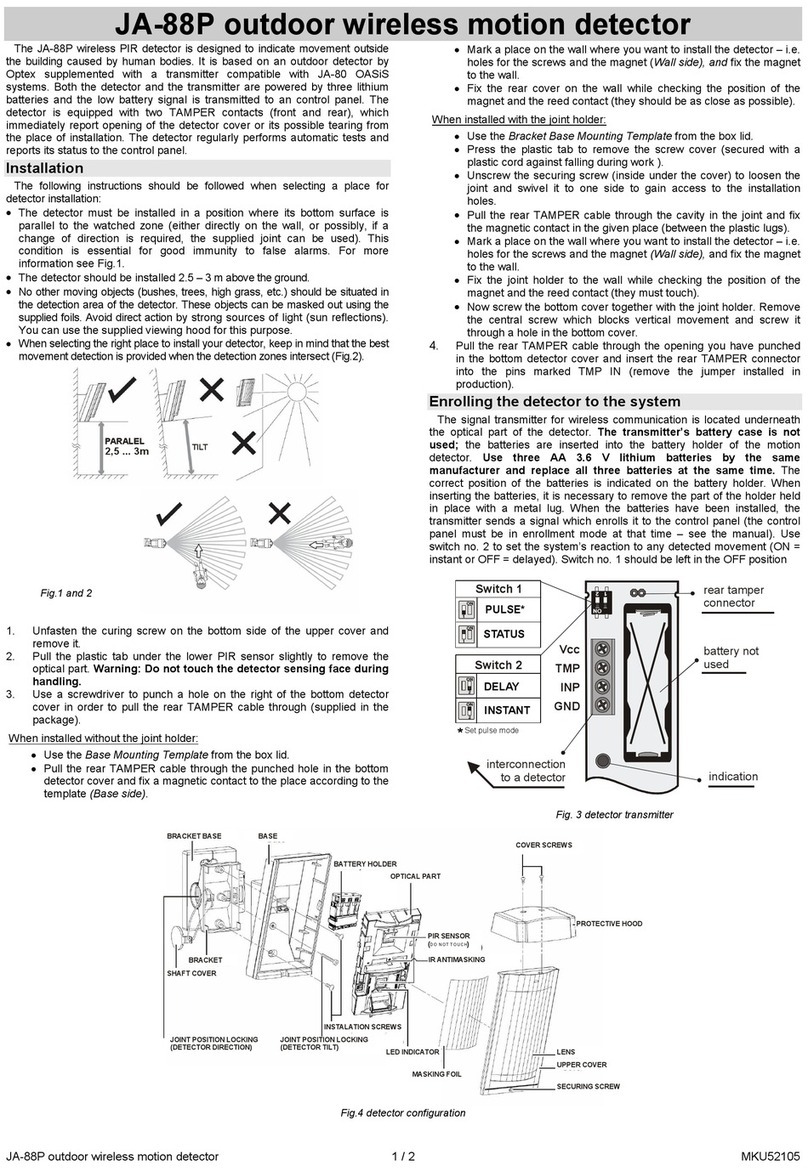
jablotron JA-88P User manual

jablotron

jablotron JA-88P User manual

jablotron JA-159P User manual

jablotron

jablotron JA-159P User manual

jablotron JA-83M User manual

jablotron

jablotron JA-83M User manual

jablotron JA-158P User manual

jablotron

jablotron JA-158P User manual

jablotron JA-159P User manual

jablotron

jablotron JA-159P User manual

jablotron JA-80PB User manual

jablotron

jablotron JA-80PB User manual

jablotron JA-151ST-A User manual

jablotron

jablotron JA-151ST-A User manual

jablotron JA-169P User manual

jablotron

jablotron JA-169P User manual

jablotron JA-87P User manual

jablotron

jablotron JA-87P User manual

jablotron JA-159P User manual

jablotron

jablotron JA-159P User manual

jablotron JA-111TH User manual

jablotron

jablotron JA-111TH User manual

jablotron JA-115P User manual

jablotron

jablotron JA-115P User manual

jablotron JA-159P User manual

jablotron

jablotron JA-159P User manual

jablotron JA-85P User manual

jablotron

jablotron JA-85P User manual

Popular Security Sensor manuals by other brands

FSA GT16-14 Install manual

FSA

FSA GT16-14 Install manual

Wohler GS 220 manual

Wohler

Wohler GS 220 manual

Emos G1240 manual

Emos

Emos G1240 manual

Potter EVD-1 Installation, operation and instruction manual

Potter

Potter EVD-1 Installation, operation and instruction manual

Visonic K-980D installation instructions

Visonic

Visonic K-980D installation instructions

PCB Piezotronics 8120G-400A Installation and operating manual

PCB Piezotronics

PCB Piezotronics 8120G-400A Installation and operating manual

Agilent Technologies 1100 Series Reference manual

Agilent Technologies

Agilent Technologies 1100 Series Reference manual

3M Dynatel 2210 Operator's manual

3M

3M Dynatel 2210 Operator's manual

Bosch RADION PIR RFPR-12 installation manual

Bosch

Bosch RADION PIR RFPR-12 installation manual

Eterna SDION installation instructions

Eterna

Eterna SDION installation instructions

Horstmann WEGA 2.2 Instructions for use

Horstmann

Horstmann WEGA 2.2 Instructions for use

Pfeiffer Vacuum ASM 340 operating instructions

Pfeiffer Vacuum

Pfeiffer Vacuum ASM 340 operating instructions

Faithfull FAIDETVOLT2 instructions

Faithfull

Faithfull FAIDETVOLT2 instructions

ABB Elos Series manual

ABB

ABB Elos Series manual

Nedap i45 user manual

Nedap

Nedap i45 user manual

Velleman PIR451B user manual

Velleman

Velleman PIR451B user manual

DMP Electronics 1126R installation guide

DMP Electronics

DMP Electronics 1126R installation guide

SAFEQUIP IONIC user manual

SAFEQUIP

SAFEQUIP IONIC user manual

manuals.online logo
manuals.online logoBrands
  • About & Mission
  • Contact us
  • Privacy Policy
  • Terms and Conditions

Copyright 2025 Manuals.Online. All Rights Reserved.